


七牛云创建空间,阿里云解析这些都没什么好说的了
1、引入maven依赖,就一个七牛云的
        <dependency>
            <groupId>com.qiniu</groupId>
            <artifactId>qiniu-java-sdk</artifactId>
            <version>[7.7.0, 7.7.99]</version>
        </dependency>
2、yml添加变量,AK和SK在七牛云 个人中心>密钥管理 里面可以找到
qiniu:
    #AK
    accesskey: 你的Ak
    #SK
    secretkey: 你的SK
    #空间名
    bucketname: 你的空间名
3.七牛文件上传工具类
package com.muchuantong.util;

import com.alibaba.fastjson.JSON;
import com.qiniu.http.Response;
import com.qiniu.storage.Configuration;
import com.qiniu.storage.Region;
import com.qiniu.storage.UploadManager;
import com.qiniu.storage.model.DefaultPutRet;
import com.qiniu.util.Auth;
import org.springframework.beans.factory.annotation.Value;
import org.springframework.stereotype.Component;
import org.springframework.web.multipart.MultipartFile;

/**
 * Created with IntelliJ IDEA.
 *
 * @Auther: ZouTiancong
 * @Date: 2022/05/13/21:54
 * @Description:
 */
@Component
public class Qiniu {

    @Value("${qiniu.accesskey}")
    private  String AccessKey;  //AK
    @Value("${qiniu.secretkey}")
    private  String SecretKey;  //SK
    @Value("${qiniu.bucketname}")
    private  String bucketName; //空间名称

    public String upload(MultipartFile file, String fileName){

        //构造Region对象的配置类
        Configuration cfg = new Configuration(Region.region2());  //填写自己的空间地址,官方API有对应简称

        UploadManager uploadManager = new UploadManager(cfg);

        try {
            byte[] uploadBytes = file.getBytes();
            Auth auth = Auth.create(AccessKey, SecretKey);
            String upToken = auth.uploadToken(bucketName);
            Response response = uploadManager.put(uploadBytes, fileName, upToken);
            //解析上传成功的结果
            DefaultPutRet putRet = JSON.parseObject(response.bodyString(), DefaultPutRet.class);
            return putRet.key;
        } catch (Exception ex) {
            ex.printStackTrace();
        }
        return null;
    }

}
4、controller层,调用上传工具类,并返回文件名称
package com.muchuantong.controller;

import com.muchuantong.util.Qiniu;
import com.muchuantong.util.Result;
import org.apache.commons.lang3.StringUtils;
import org.springframework.beans.factory.annotation.Autowired;
import org.springframework.web.bind.annotation.*;
import org.springframework.web.multipart.MultipartFile;
import java.util.UUID;

/**
 * Created with IntelliJ IDEA.
 *
 * @Auther: ZouTiancong
 * @Date: 2022/05/13/22:10
 * @Description:
 */
@RestController
@RequestMapping("/qiniu")
public class QiniuController {

    @Autowired
    private Qiniu qiniu ;

    @RequestMapping(value = "/upload", method = RequestMethod.POST)
    public Result upload(@RequestParam("file") MultipartFile file){

        //文件名称
        String originalFilename = file.getOriginalFilename() ;
        //将原始名称修改为:唯一文件名称
        String fileName = UUID.randomUUID().toString() + "." + StringUtils.substringAfterLast(originalFilename, ".");
        //调用文件上传
        String uploadFileName = qiniu.upload(file, fileName);
        if (uploadFileName !=null){
            //上传成功
            return new Result<>(uploadFileName);
        }
        return new Result<>("201","图片 上传失败!") ;
    }
}
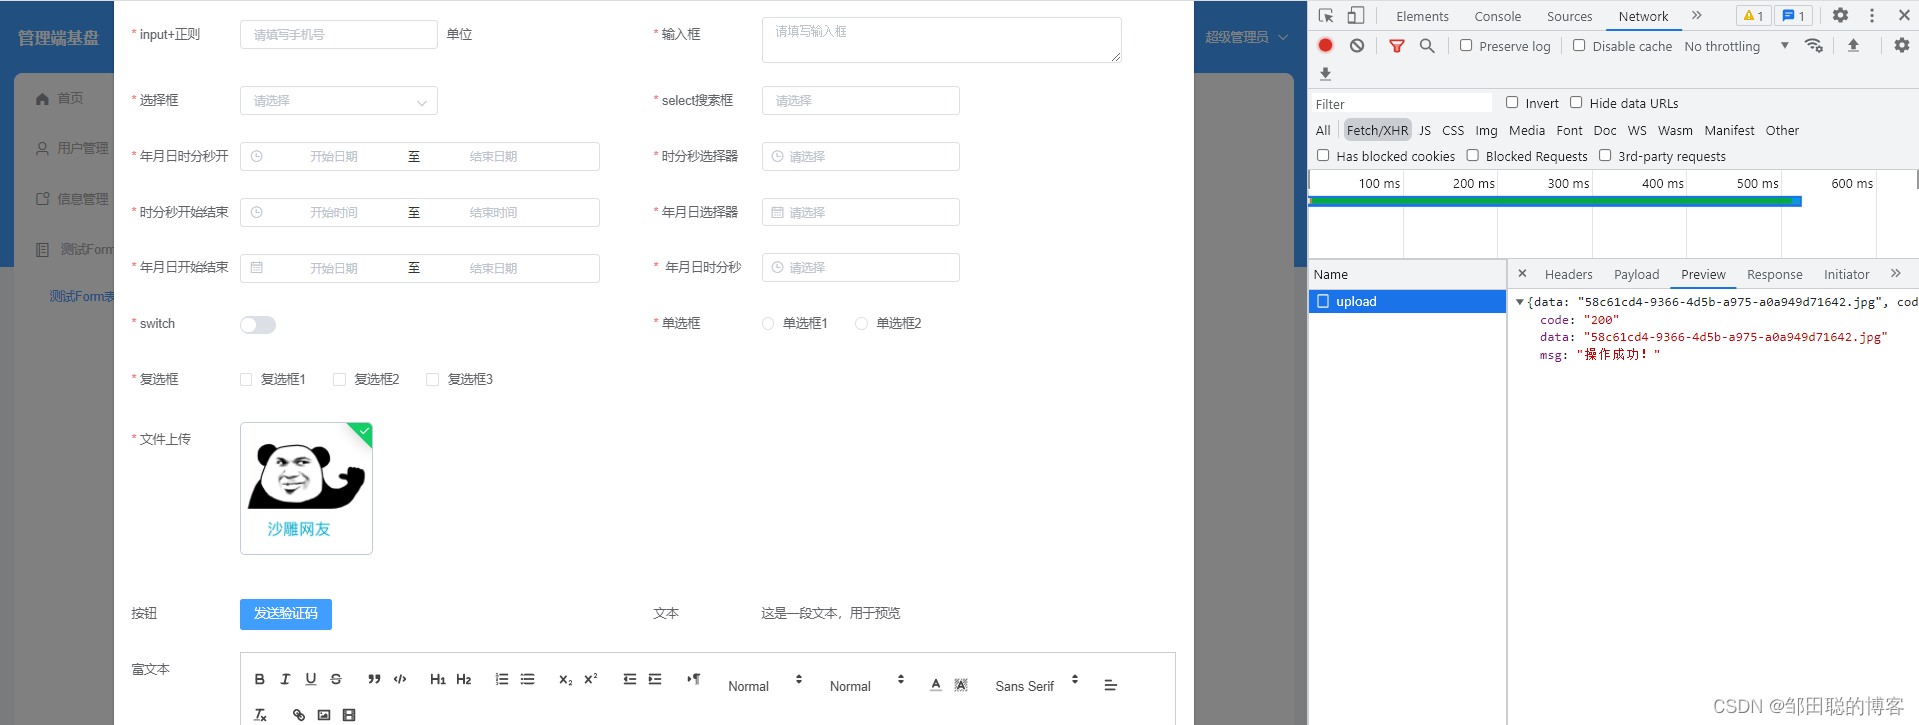
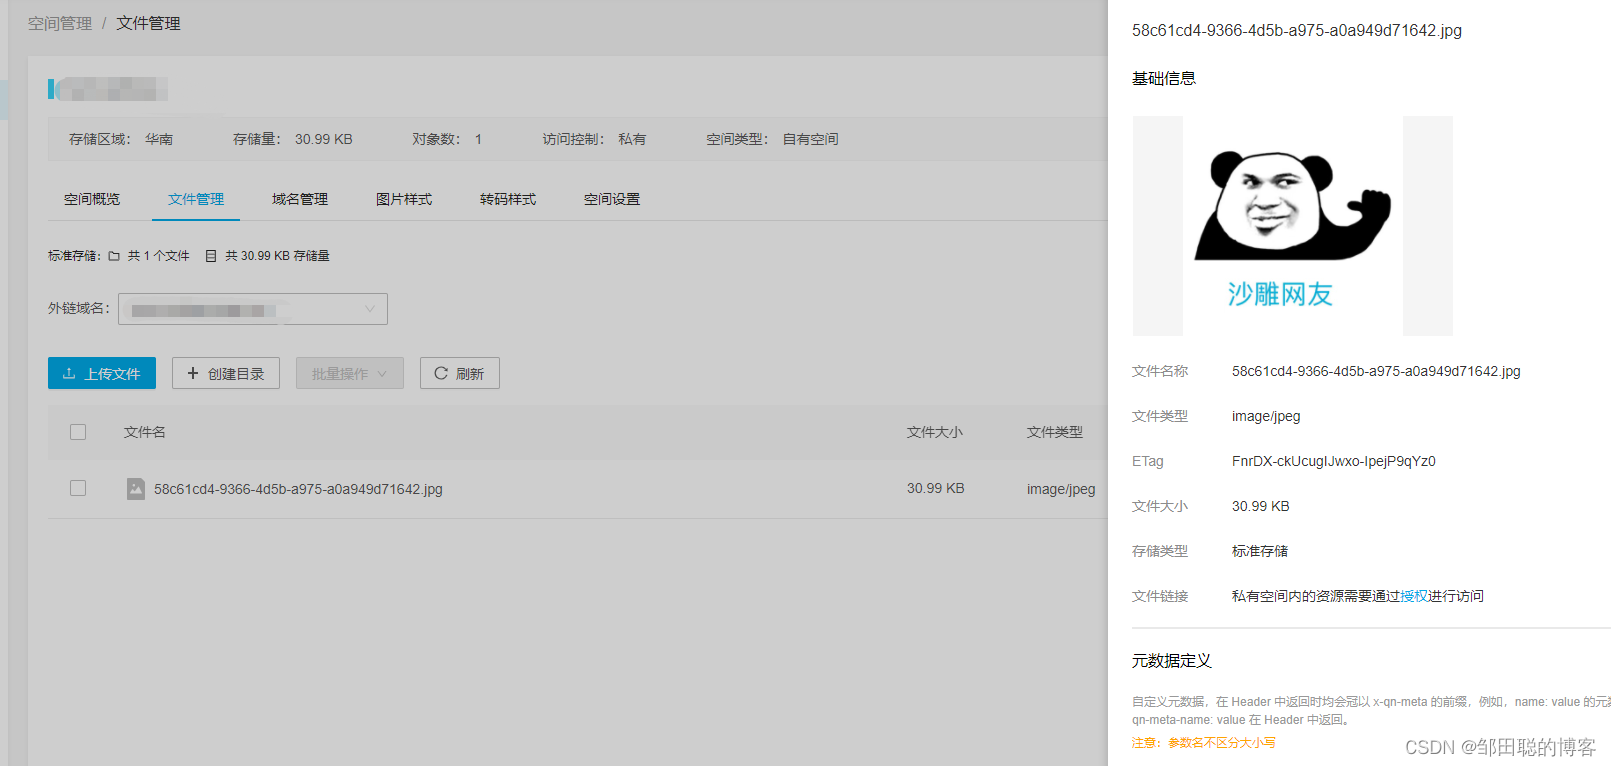
5、前端上传,我使用的elementui的文件上传,可以看到返的文件名称。去七牛云空间也能看到对应的文件


 1518
1518


 被折叠的 条评论
为什么被折叠?
被折叠的 条评论
为什么被折叠?
 到【灌水乐园】发言


