


最近看的springboot 在网上看到了很多教程,跳转有很多方法,在这里,我记录了三种,供大家参考
spring boot 在springmvc的视图解析器方面就默认集成了ContentNegotiatingViewResolver和BeanNameViewResolver,在视图引擎上就已经集成自动配置的模版引擎,如下:
1. FreeMarker
2. Groovy
3. Thymeleaf
4. Velocity (deprecated in 1.4)
6. Mustache
JSP技术spring boot 官方是不推荐的,原因有三:
1. 在tomcat上,jsp不能在嵌套的tomcat容器解析即不能在打包成可执行的jar的情况下解析
2. Jetty 嵌套的容器不支持jsp
3. Undertow
spring Boot加载html默认到resources/templates里寻找:
Thymeleaf
首先 增加依赖:
    <dependency>
            <groupId>org.springframework.boot</groupId>
            <artifactId>spring-boot-starter-thymeleaf</artifactId>
    </dependency>
1)
如 index.html.
需要注意的是:自动生成的html, 是不全的,注意区分。
<!DOCTYPE html>
<html xmlns:th="http://www.thymeleaf.org">
<head>
    <meta charset="UTF-8"/>
    <title>Title</title>
</head>
<body>
Hello world!
</body>
</html>
Controller进行跳转,
提供了两种方式,1)是直接返回字符串,字符串为html的名字,视图会自动解析。
2)是利用ModelAndView,如图:
@Controller
public class TestController {
    @RequestMapping("/mvc1")
    public String mvc1(){
    return "index";
    }
    @RequestMapping("/mvc2")
    @ResponseBody
    public ModelAndView mvc2(){
        ModelAndView mv = new ModelAndView("index");
        return mv;
    }
    }
此时测试
localhost:8080/mvc1成功跳转界面
FreeMarker详解
首先,增加依赖,freemarker和devtools必须有,还有web,这个自动就有,如果没有记得加上
<!--加载静态文件模板第二种方法,freemarker,一定记得加devtools-->
        <dependency>
            <groupId>org.springframework.boot</groupId>
            <artifactId>spring-boot-starter-freemarker</artifactId>
        </dependency>
        <dependency>
            <groupId>org.springframework.boot</groupId>
            <artifactId>spring-boot-devtools</artifactId>
            <optional>true</optional>
        </dependency>
        <dependency>
            <groupId>org.springframework.boot</groupId>
            <artifactId>spring-boot-starter-web</artifactId>
        </dependency>
1)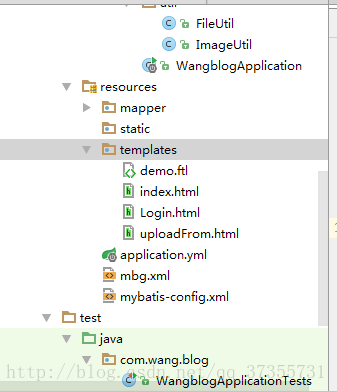
在这里首先是demo.ftl
一定注意是ftl结尾。
<!DOCTYPE html>
<html>
<head>
    <meta charset="UTF-8"/>
    <title>Insert title here</title>
</head>
<body>
请看说明:${descrip} <br />
</body>
</html>
2)TestController
@Controller
public class TestController {
    @RequestMapping("/demo")
    public String demo(Map<String, Object> map) {
        map.put("descrip", "It's a springboot integrate freemarker's demo!!!!");
        return "demo";
    }
}
3)浏览器测试
local:8080/demo完美成功。当然 还有最重要的jsp。不推荐用


 546
546

 被折叠的 条评论
为什么被折叠?
被折叠的 条评论
为什么被折叠?
 到【灌水乐园】发言


