


1、upload使用简介
1.1 在真实的项目中使用的时候,需要有个中转地址,upload里的action里的地址,是存放图片的地址,不是后台直接把数据存到库里的添加删除的地址(重要)。
upload里的action里的地址,是存放图片的地址。正确的顺序是:
调用查询接口获取数据-----展示数据------点击上传按钮,选择图片,上传到中转地址------中转地址,返回结果 ,以及图片的id name 等信息 ---- 点击图片上的删除按钮-----从中转地址 删除此图片 -------点击确定,将图片的信息(从中转地址得到的)发送给更新接口
这里一共3个接口: 查询的、中转存储的(支持删除和添加)、更新图片的。
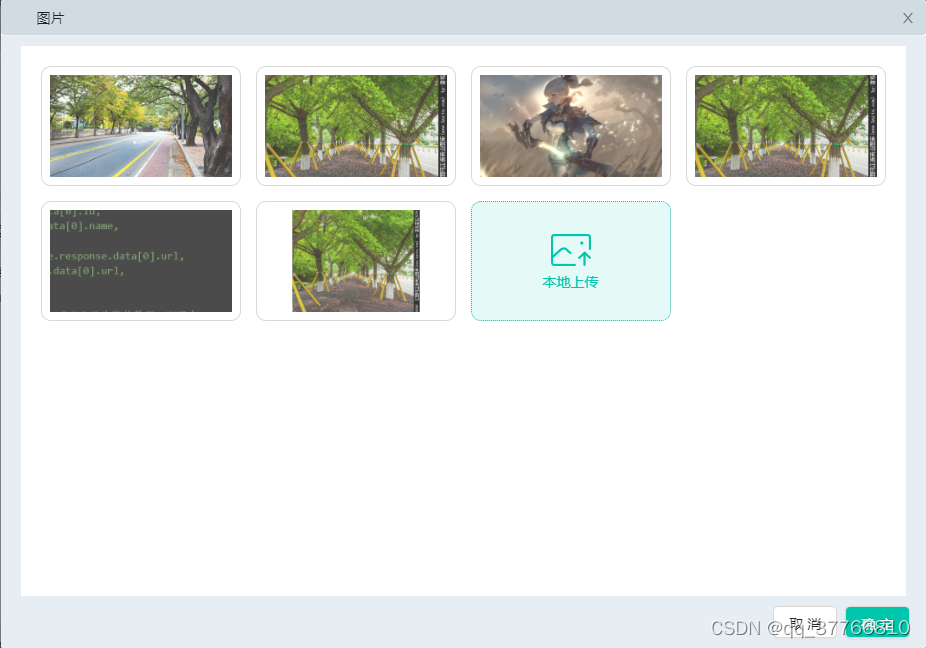
upload部分代码
	<Upload
						action="http://61.50.111.214:28282/publish-system/humanActivity/xxxxx"
						name="files"
						listType="picture-card"
						multiple
						fileList={fileList}
						showUploadList={{
							showRemoveIcon:
								(props.timeType === 2 && props.task_state === 5) ||
								(props.timeType === 1 && props.task_state !== 2)
									? false
									: true,
						}}
						accept="image/*"
						maxCount={max_img_count}
						onChange={(info) => {
							handelFile(info);
							// setFileList(info.fileList);
						}}
						onPreview={handlePreview}
					>
						{(props.timeType === 2 && props.task_state === 5) ||
						(props.timeType === 1 && props.task_state !== 2)
							? null
							: uploadButton}
					</Upload>
和中转存储接口的,交互函数
	//info.file.status: uploading --- done   error  ---- dele
	function handelFile(info) {
		if (info.file.status !== 'done') {
			setFileList(info.fileList);
		}
		if (info.file.status === 'error') {
			message.error(info.file.name + '文件上传失败');
		}
		if (info.file.status === 'done') {
			let imgs = info.fileList.map((value) => {
				let img;
				// 1、处理上传成功的数据
				if (value.response && value.response.data) {
					// 2、改成下面这种写法能解决闪动问题。
					//由于后续点击确定,调用接口塞数据的时候,需要每个图片的 在上传地址的 id。所以这里拼个id进去。保留原始返回的数据
						img = {
						...value,
						id: value.response.data[0].id,
						url: imgBaseUrl + value.response.data[0].url, //如果不加这个会,导致有时候无法预览(dog)
					};

					// 这种写法,直接将info.fileList的数据捞出来,只截取需要的简洁数据,会造成图片列表闪动的问题,应该是缺什么字段,导致的
					// img = {
					// 	id: value.response.data[0].id,
					// 	uid: value.response.data[0].id,
					// 	name: value.response.data[0].name,
					// 	status: 'done',
					// 	url: imgBaseUrl + value.response.data[0].url,
					// 	// url: value.response.data[0].url,
					// };
				} else {
					// 3、如果是之前处理过的数据、或者上传失败的数据,则没有value.response、value.response.data,直接塞进去就行
					img = value;
				}

				return img;
			});
			console.log(imgs);
			setFileList(imgs);
		}
	}
将所有图片信息,更新到数据库的方法
	// 点击确定
	function onOk() {

			let resourceIds = [];
			console.log(fileList);
			fileList.forEach((element) => {
				if (element.status === 'done') resourceIds.push(element.id);
			});
//这是调用 接口3  更新接口的
			appendPics({ questionId: props.id, resourceIds }, (res) => {
				if (res.code === 200) {
					message.success('保存成功!');
					hideModal();
				} else {
					message.error('保存失败,请稍后再试');
				}
			});

	}
1.2 为啥会闪动
由于handelFile(info);里的数据,并不是规范的传递给更新接口的数据,所以我写了下面的代码,来过滤出我需要 filelist 的属性
	function handelFile(info) {
		if (info.file.status !== 'done') {
			setFileList(info.fileList);
		}
		if (info.file.status === 'error') {
			message.error(info.file.name + '文件上传失败');
		}
		if (info.file.status === 'done') {
			let imgs = info.fileList.map((value) => {
				let img;
				// 1、处理上传成功的数据
				if (value.response && value.response.data) {
				// (!!!!看这里,错误写法!!!!)这种写法,直接将info.fileList的数据捞出来,只截取需要的简洁数据,会造成图片列表闪动的问题,应该是缺什么字段,导致的
					img = {
						id: value.response.data[0].id,
						uid: value.response.data[0].id,
						name: value.response.data[0].name,
						status: 'done',
						url: imgBaseUrl + value.response.data[0].url,

					};
					//  (!!!!看这里,正确写法!!!!)2、改成下面这种写法能解决闪动问题。
					// //由于后续点击确定,调用接口塞数据的时候,需要每个图片的 在上传地址的 id。所以这里拼个id进去。保留原始返回的数据
					// img = { ...value, id: value.response.data[0].id };
				} else {
					// 3、如果是之前处理过的数据、或者上传失败的数据,则没有value.response、value.response.data,直接塞进去就行
					img = value;
				}

				return img;
			});
			console.log(imgs);
			setFileList(imgs);
		}
	}

1.3在网上看,还有个解决方法。挺离谱的,直接改样式,
	:global {
		.ant-upload-list-picture-card {
			padding-bottom: 0.2rem;

			// 解决图片多出来闪动的问题
			.ant-upload-animate-inline-leave
			.ant-upload-animate-inline-leave-active {
				// display: none !important;
				width: 0 !important;
				height: 0 !important;
				margin-right: 0.15rem !important;
				margin-bottom: 0.15rem !important;
			}
		}
这个还是会有问题,会造成,图片的间距没了,上传好才排版正常,总之,直接改样式是最蠢的行为
总结:如果你需要对handelFile(info)里的数据进行处理,不能直接捞出来,可以选择添加属性的方式,否则会出现闪动问题。可能是某个upload组件的必要字段在捞出来的时候被漏掉了。


 5136
5136


 被折叠的 条评论
为什么被折叠?
被折叠的 条评论
为什么被折叠?
 到【灌水乐园】发言


