


文章目录
一、用python执行地理处理工具
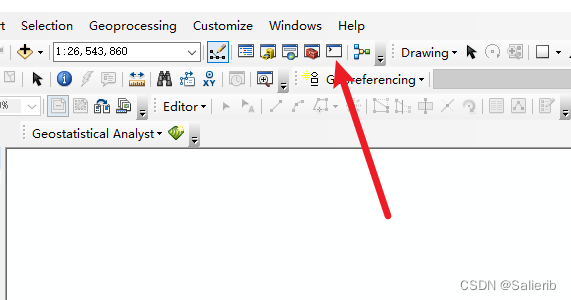
ArcMap内置了python2的环境,我们可以在ArcMap中通过python脚本来运行地理处理工具
1.1 例:乘以0.0001
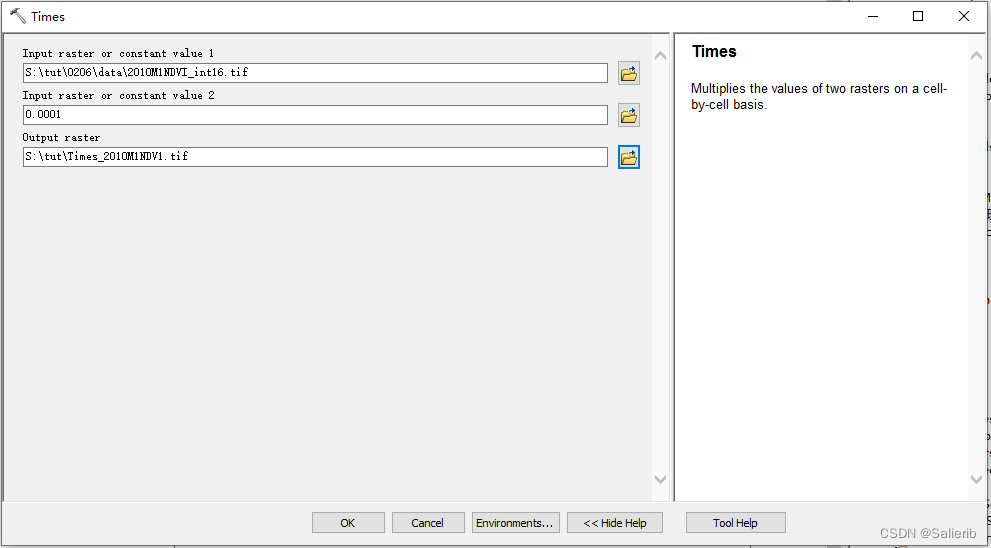
import arcpy
arcpy.gp.Times_sa(r"xxx.tif", 0.0001, r"xxx.tif")
inraster = r"S:\tut\0206\data\2010M1NDVI_int16.tif"
factor = 0.0001
outraster = r"S:\tut\0206\data\2010M1_NDVI_v2.tif"
arcpy.gp.Times_sa(inraster, factor, outraster)
1.2 例:裁剪栅格
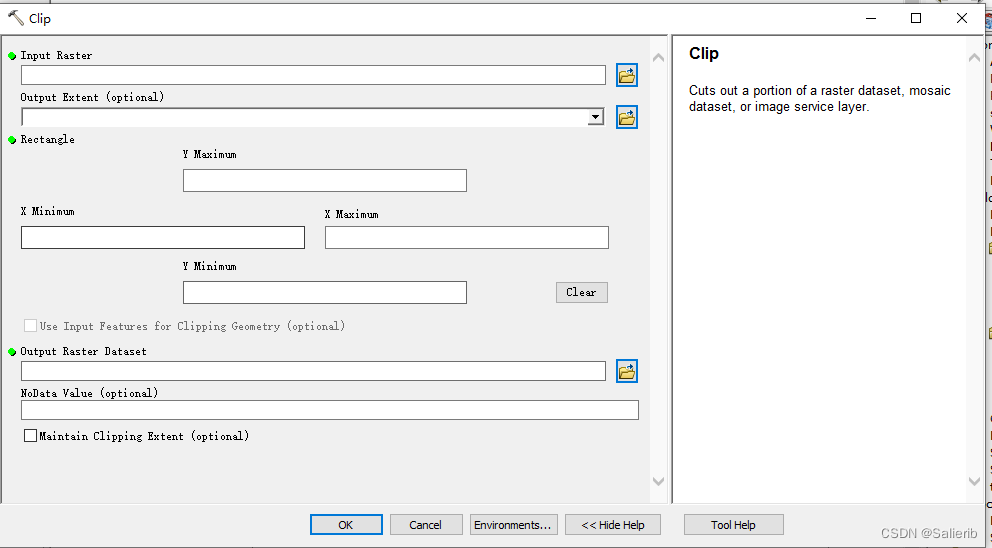
import arcpy
inraster = r"S:\tut\0203\year NDVI\2010.tif"
mask = r"S:\tut\0204\subzone.shp"
outraster = r"S:\tut\0203\year NDVI\clip_2010.tif"
arcpy.Clip_management(inraster, "#", outraster, mask, "#", "ClippingGeometry")
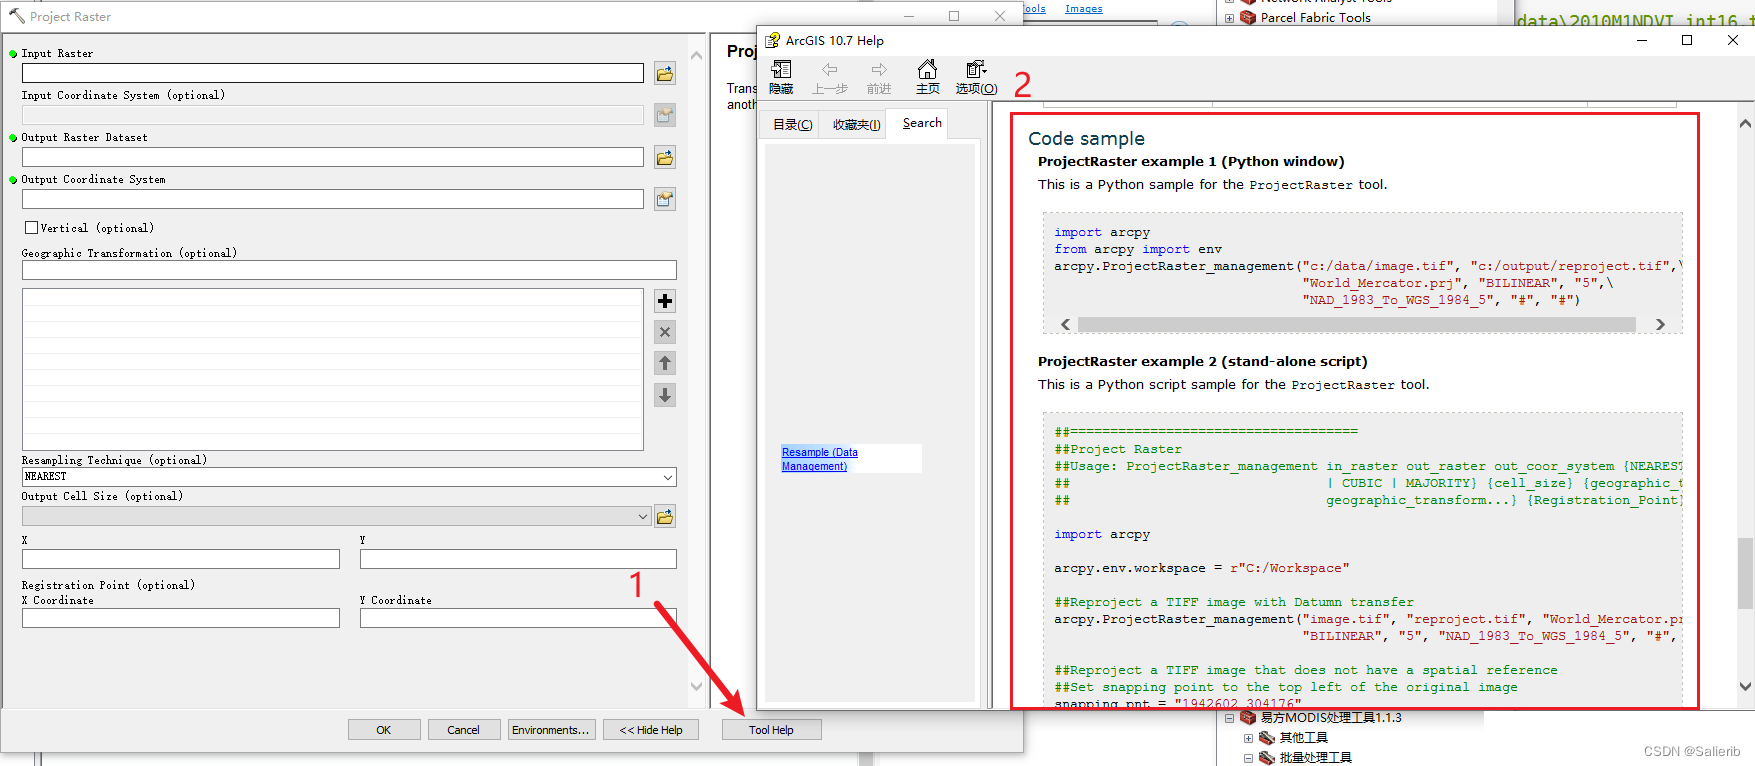
1.3 哪里查看调用某工具的代码?
- 右键某工具查看帮助文档
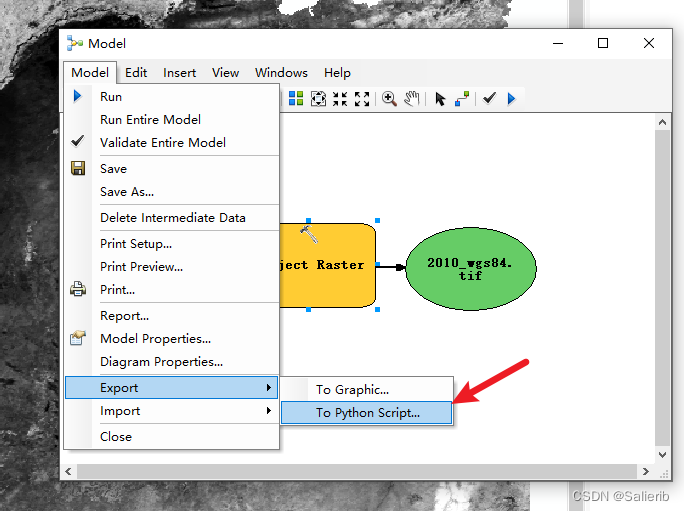
- 模型构筑器中导出代码(*推荐)
将待执行的地理处理工具拖入模型构筑器中,设置好地理处理工具的相关参数后,在模型菜单后导出至python脚本,如下图所示
二、用python批量执行地理处理工具
python基本语法 + arcpy调用地理处理工具 = 批处理代码
2.1 必需的python语法知识
for循环语句
- 依次打印数字1-5
nums = [1,2,3,4,5] # nums = list(range(1,6)
for num in nums:
    print(num)
- 打印当前文件夹中所有扩展名为.tif的文件名
import os  # 导入os库
in_folder = r"xxx" # 输入:文件夹的路径
for i in os.listdir(in_folder): # 遍历文件夹中的所有文件名
    if i.endswith(".tif"):     # 如果文件名以tif结尾
        print(i)                # 打印
- 打印当前文件夹中所有扩展名为.tif的绝对路径
import os  # 导入os库
in_folder = r"xxx" # 输入:文件夹的路径

for filename in os.listdir(in_folder):
    if filename.endswith(".tif"):
        print(os.path.join(in_folder, filename))
缩进的使用
与其他编程语言不同(代码缩进仅出于可读性的考虑),python中的缩进十分重要,若缩进使用错误,会报语法错误。
- 例:判断整型变量num和20的大小关系
num = 25
if num >= 20:
    print('这个数字大于等于'+ str(num)+'.')
else num < 20:
    print('这个数字小于' + str(num) + '.')
注释的使用
C是用 //,而python中用 # 进行单行注释,如
in_folder = r"xxx" # 输入:待处理栅格文件所在的文件夹路径
在ArcMap调用python代码的过程,建议尽量避免在代码中出现中文字符(即使是注释部分)。
2.2 一个批处理栅格的代码模板
# params
in_path = r"xxx" # str
out_path = r"xxx" # str
prefix = "xx" # str

rasters = [os.path.join(in_path,i) for i in os.listdir(in_path) if i.endswith(".tif")]
nums = len(rasters)
num = 1
for raster in rasters:
    raster_name = os.path.split(raster)[1]
    out_raster = os.path.join(out_path, prefix + raster_name)
    if not os.path.exists(out_raster):
        try:
            # 这里插入要批量执行的地理处理相关的代码
            arcpy.AddMessage("%d/%d | %s completed" % (num, nums, out_raster))
        except Exception as err:
            arcpy.AddMessage("%d/%d | %s errored, %s" % (num, nums, out_raster, err))
    else:
        arcpy.AddMessage("%d/%d | %s already exists" % (num, nums, out_raster))
    num = num + 1
练习:根据通用模板,实现批量乘功能
需要对某个文件夹中的所有栅格执行某个工具,共三步:
-
复制模板
-
修改 输入文件夹、输出文件夹、文件名前缀这三个变量
```python # params in_path = r"xxx" # str out_path = r"xxx" # str prefix = "xx" # str -
添加核心语句(python 调用某个地理处理工具的语句)
# 例如
arcpy.gp.Times_sa(raster, 0.0001, out_raster)
三、创建自定义脚本工具箱
该部分建议配合视频讲解一起看,让ArcMap变得更加强大,用Python编写自定义脚本工具箱
除了上述利用python脚本使用任何可用的工具以外,我们也可以创建自己的自定义工具。这些自定义工具可以用于执行特定的地理处理任务,并且更容易共享(有界面)。
ArcMap中创建工具箱有两种方法,分别为
- 自定义工具箱(.tbx)
- python工具箱(.pyt)
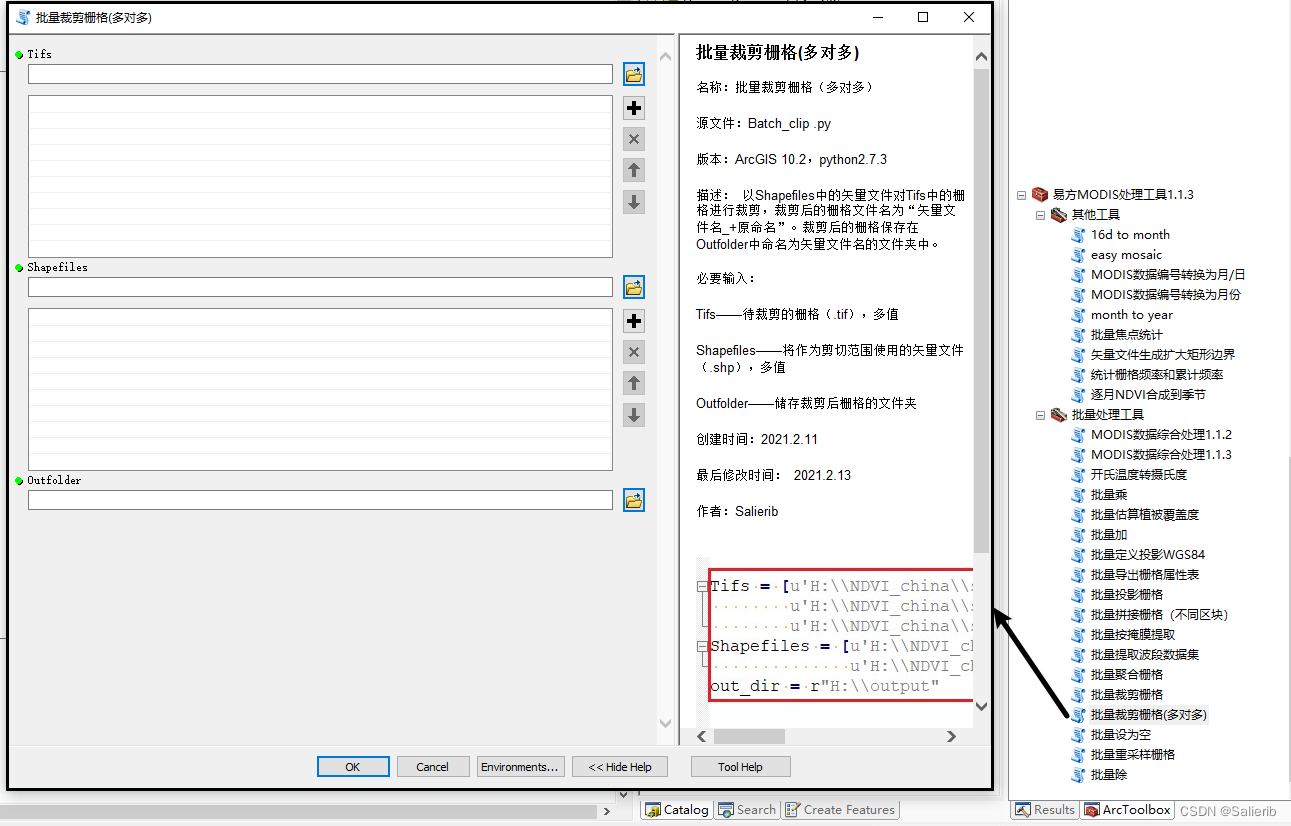
3.1 自定义工具箱添加脚本工具
可以在ArcToolbox的 自定义工具箱(.tbx) 中创建自定义的地理处理脚本工具,步骤主要有:
-
创建自定义工具箱(.tbx)
-
创建python脚本文件(.py)
核心:使用arcpy中的GetParameterAsText()函数来接受用户的动态输入
#!/usr/bin/python
# -*- coding: UTF-8 -*-

import arcpy
from arcpy import env
import os
import time
import sys
reload(sys)
sys.setdefaultencoding('utf8')

tifs = arcpy.GetParameterAsText(0)
masks = arcpy.GetParameterAsText(1)
out_dir = arcpy.GetParameterAsText(2)
tifs = tifs.split(";")
masks = masks.split(";")
names = [os.path.splitext(os.path.basename(mask))[0] for mask in masks]

size = len(tifs) * len(masks)
num = 1
for i, mask in enumerate(masks):
    # create a new folder named by mask's name
    new_folder = out_dir + os.sep + names[i]
    if not os.path.exists(new_folder):
        os.mkdir(new_folder)
    else:
        arcpy.AddMessage("Folder {0} already exists. Please check it.".format(new_folder))
    for tif in tifs:
        s = time.time()
        cliped_tif = os.path.join(new_folder, "{0}_{1}".format(names[i],os.path.split(tif)[1]))
        if not os.path.exists(cliped_tif):
            arcpy.Clip_management(tif, "#", cliped_tif, mask, "#", "ClippingGeometry")
            e = time.time()
            arcpy.AddMessage("{0}/{1} | {2} Completed, time used {3}s".format(num, size, cliped_tif, e - s))
        else:
            e = time.time()
            arcpy.AddMessage("{0}/{1} | {2} already exists.".format(num, size, cliped_tif))
        num += 1
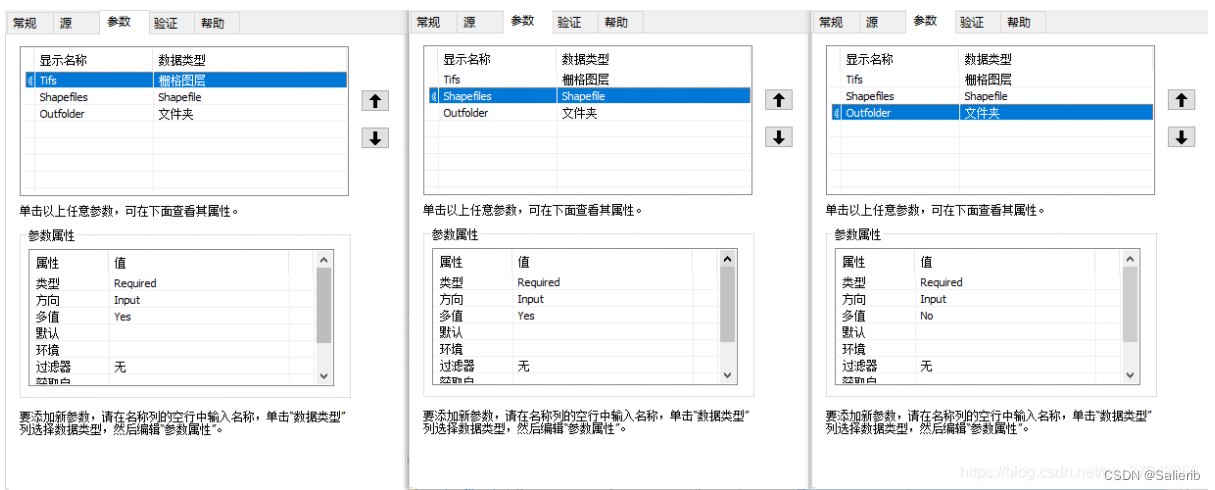
- 设置工具参数
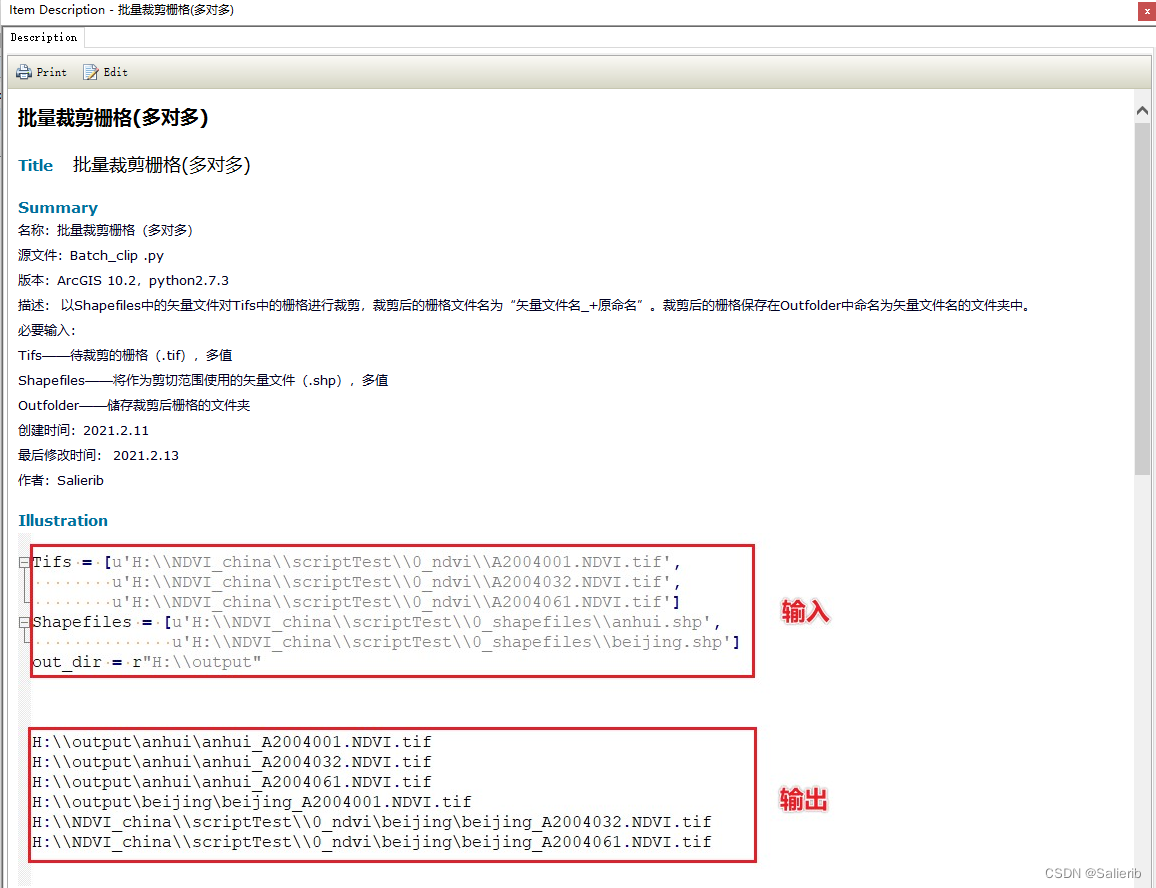
- 创建工具描述和帮助文档
- 导入脚本和保存工具箱
3.2 python工具箱的创建
python工具箱(.pyt)与ArcToolbox中的工具箱(.tbx)类似,但它完全是用python创建的,下面展示了pyt文件的代码模板
import arcpy


class Toolbox(object):
    def __init__(self):
        """Define the toolbox (the name of the toolbox is the name of the
        .pyt file)."""
        self.label = "Toolbox"
        self.alias = ""

        # List of tool classes associated with this toolbox
        self.tools = [Tool]


class Tool(object):
    def __init__(self):
        """Define the tool (tool name is the name of the class)."""
        self.label = "Tool"
        self.description = ""
        self.canRunInBackground = False

    def getParameterInfo(self):
        """Define parameter definitions"""
        params = None
        return params

    def isLicensed(self):
        """Set whether tool is licensed to execute."""
        return True

    def updateParameters(self, parameters):
        """Modify the values and properties of parameters before internal
        validation is performed.  This method is called whenever a parameter
        has been changed."""
        return

    def updateMessages(self, parameters):
        """Modify the messages created by internal validation for each tool
        parameter.  This method is called after internal validation."""
        return

    def execute(self, parameters, messages):
        """The source code of the tool."""
        return

    def postExecute(self, parameters):
        """This method takes place after outputs are outputs are processed and
        added to the display."""
        return
python脚本工具箱 (.pyt) 将参数、验证代码以及源代码封装在一起,在代码管理和版本控制方面更友好。
3.3 中文乱码问题、pycharm调用arcpy
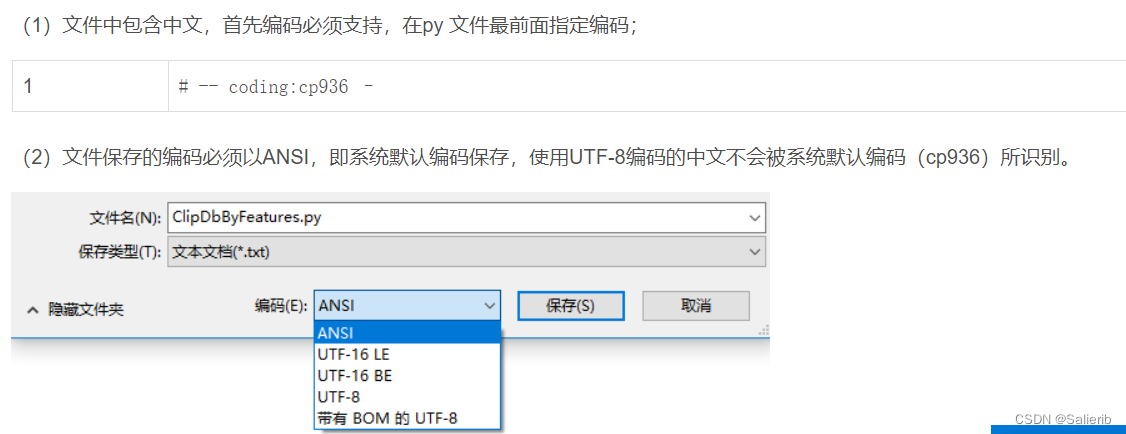
如果想在pycharm中调用arcpy中的函数,添加下列代码:
import sys
arcpy_path = [r'C:\Program Files (x86)\ArcGIS\Desktop10.2\arcpy',
              r'C:\Program Files (x86)\ArcGIS\Desktop10.2\bin',
              r'C:\Program Files (x86)\ArcGIS\Desktop10.2\ArcToolbox\Scripts']#修改成Arcgis安装对应路径
sys.path.extend(arcpy_path)
推荐阅读
- python 入门

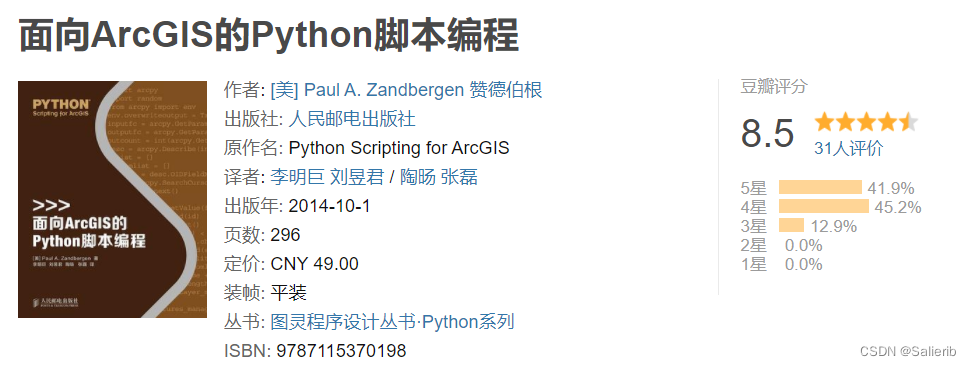
- 面向ArcGIS的Python脚本编程【入门】
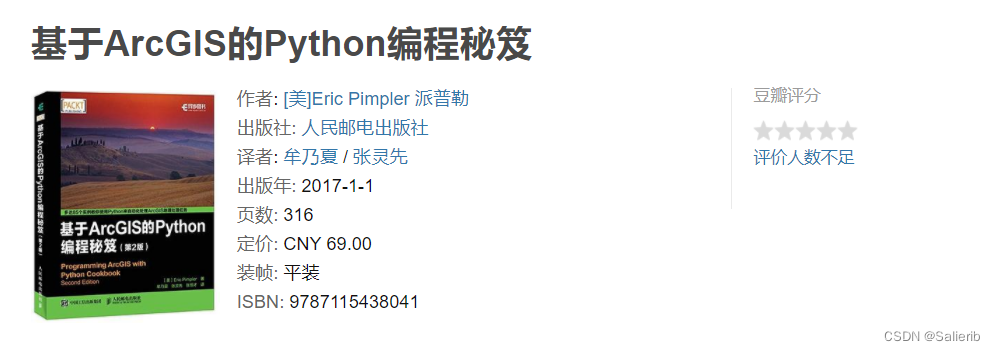
- 基于ArcGIS的Python编程秘笈(第2版)【进阶】
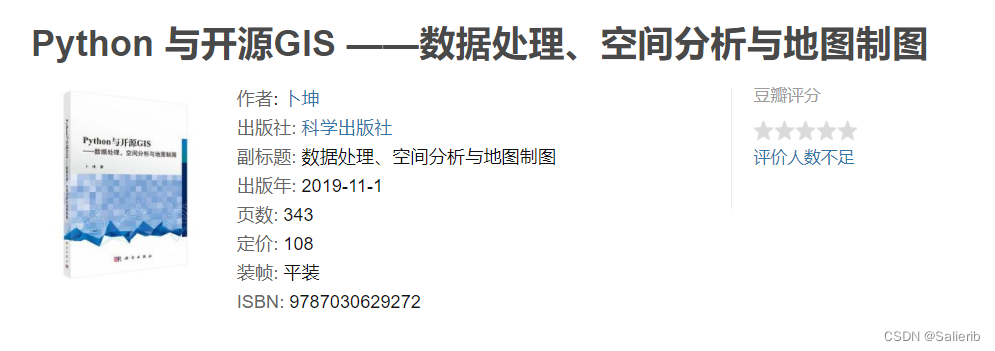
- Python 与开源GIS ——数据处理、空间分析与地图制图
Python与开源GIS:数据处理、空间分析与地图制图 — 首页


 1771
1771


 被折叠的 条评论
为什么被折叠?
被折叠的 条评论
为什么被折叠?
 到【灌水乐园】发言


