


CodeFirst添加字段、删除字段、修改字段名、修改字段名的数据类型然后数据库中的表也进行相应的增加列、删除列、修改列名、修改列的数据类型更新
如图,被**括起来的代码部分为更新的列的数据类型和新增的列,下面开始同步到数据库(操作是只加1句C#代码和写2句程序控制台管理代码,不复杂的)
public class StudentInfo
    {
        [Key]
        public int SID { get; set; }
        [StringLength(8)]
        public string SName { get; set; }
        *[StringLength(8)]*
        public string SYear { get; set; }
        *public string SNickName { get; set; }*
        public virtual ClassInfo ClassInfo{get;set;}
    }
步骤1:打开程序包管理控制台准备输入程序控制台代码
工具–NuGet包管理器–程序包管理器控制台
步骤2:在程序包管理器控制台里输入命令:enable-migrations
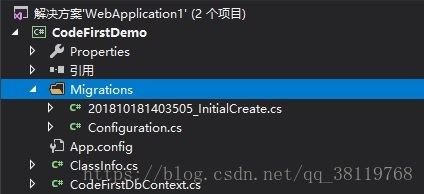
它的作用是允许实体类的改变迁移到数据库里,执行完毕后项目里会自动生成一个叫Migrations的文件夹
步骤3:打开Migrations文件夹下的Configuration.cs文件,并在Configuration()构造方法中加上这句代码:AutomaticMigrationsEnabled = true;
internal sealed class Configuration : DbMigrationsConfiguration<CodeFirstDemo.CodeFirstDbContext>
    {
        public Configuration()
        {
            AutomaticMigrationsEnabled = false;
            ContextKey = "CodeFirstDemo.CodeFirstDbContext";
            AutomaticMigrationsEnabled = true;//还差这句代码 设置自动迁移为true
        }
        protected override void Seed(CodeFirstDemo.CodeFirstDbContext context)
        {
            //  This method will be called after migrating to the latest version.
            //  You can use the DbSet<T>.AddOrUpdate() helper extension method
            //  to avoid creating duplicate seed data.
        }
    }
步骤4:在程序包管理器控制台里输入命令:update-database -force
没有报错就大功告成


 1585
1585


 被折叠的 条评论
为什么被折叠?
被折叠的 条评论
为什么被折叠?
 到【灌水乐园】发言


