


第一 准备工作
在windows或Linux环境部署类似,使用一样这里为了方便直接在windows环境使用
ActiveMQ安装:下载路径 http://activemq.apache.org/download.html (windows直接解压缩安装bin目录下的有32位/64位启动.bat文件)
启动后访问:http://127.0.0.1:8161/
8161为active的默认端口

默认账号密码:admin
登陆成功说明安装成功
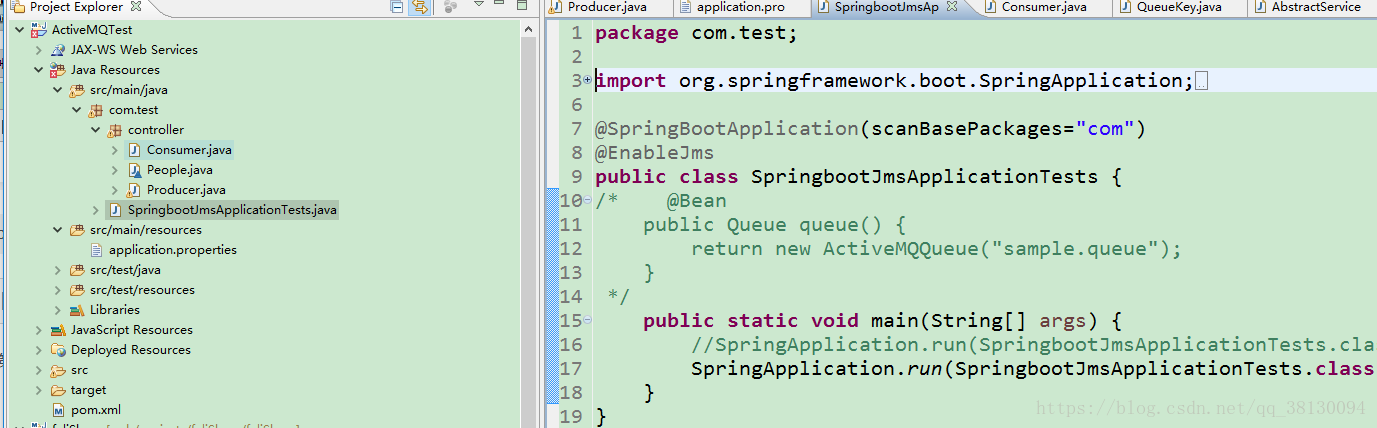
第二新建项目及相应目录结构
启动类都一样在这就不贴出来了
第三 pom 文件
<!-- 继承父包,此包会添加依赖,spring用到的核心包 -->
	<parent>
		<groupId>org.springframework.boot</groupId>
		<artifactId>spring-boot-starter-parent</artifactId>
		<version>1.5.1.RELEASE</version>
		<relativePath></relativePath>
	</parent>
	<dependencies>
		<dependency>
			<groupId>org.springframework.boot</groupId>
			<artifactId>spring-boot-starter-web</artifactId>
		</dependency>
		<dependency>
			<groupId>org.springframework.boot</groupId>
			<artifactId>spring-boot-starter-freemarker</artifactId>
		</dependency>
        <!-- activemq 相关jar包-->
        <dependency>
			<groupId>org.springframework.boot</groupId>
			<artifactId>spring-boot-starter-activemq</artifactId>
		</dependency>
		<dependency>
			<groupId>org.apache.activemq</groupId>
			<artifactId>activemq-pool</artifactId>
		</dependency>
	</dependencies>
	<build>
		<plugins>
			<plugin>
				<groupId>org.springframework.boot</groupId>
				<artifactId>spring-boot-maven-plugin</artifactId>
			</plugin>
		</plugins>
	</build>
相关配置信息:application.properties
spring.activemq.broker-url=tcp://localhost:61616
spring.activemq.in-memory=false
spring.activemq.pool.enabled=true
spring.activemq.pool.max-connections=100
spring.activemq.packages.trust-all=true
spring.jms.pub-sub-domain=true

spring.mvc.view.prefix=/WEB-INF/jsp/
spring.mvc.view.suffix=.jsp
生产者Producer :
package com.test.controller;

import org.springframework.beans.factory.annotation.Autowired;
import org.springframework.jms.core.JmsMessagingTemplate;
import org.springframework.stereotype.Controller;
import org.springframework.web.bind.annotation.RequestMapping;
import org.springframework.web.bind.annotation.ResponseBody;

@Controller
@RequestMapping("/test")
public class Producer {

    @Autowired // 也可以注入JmsTemplate,JmsMessagingTemplate对JmsTemplate进行了封装
    private JmsMessagingTemplate jmsTemplate;

    // 发送消息,destination是发送到的队列,message是待发送的消息
    @RequestMapping("/mq")
	@ResponseBody
    public void sendMessage(){
    	for(int i=0;i<50;i++) {
    		jmsTemplate.convertAndSend("mytest.queue", new People("ss"+1,i));
    	}
    }
}
消费者 Consumer :
package com.test.controller;


import javax.jms.JMSException;
import javax.jms.ObjectMessage;

import org.springframework.jms.annotation.JmsListener;
import org.springframework.stereotype.Component;

@Component
public class Consumer {

    //使用JmsListener配置消费者监听的队列,其中text是接收到的消息
    @JmsListener(destination ="mytest.queue")
    public void receiveQueue(ObjectMessage text) throws JMSException {
        //字符串直接接收即可
        //实体类强转
		People message =(People)text.getObject();
        System.out.println("Consumer收到的报文为:"+message);
    }
}
传输的对象:需要实现序列化接口
package com.test.controller;

import java.io.Serializable;
class People implements Serializable{

	private static final long serialVersionUID = 2337941180119711855L;
	String name;
	int age;
	public People() {

	}
	public People(String name,int age) {
		this.name=name;
		this.age=age;
	}
	public String getName() {
		return name;
	}
	public void setName(String name) {
		this.name = name;
	}
	public int getAge() {
		return age;
	}
	public void setAge(int age) {
		this.age = age;
	}
	@Override
	public String toString() {
		return "People [name=" + name + ", age=" + age + "]";
	}
}


 175
175


 被折叠的 条评论
为什么被折叠?
被折叠的 条评论
为什么被折叠?
 到【灌水乐园】发言


