


Memcached 的安装与使用;SpringBoot 整合 Memcached 代码详解
- Memcached 的下载安装:
- 下载地址为:http://static.runoob.com/download/memcached-win64-1.4.4-14.zip
- 安装:以管理员身份打开 CMD:执行下列命令安装 Memcached。

- Memcached 的启停:

- Memcached 的三种客户端介绍:
- Memcached Client For Java:最早期客户端,稳定可靠,用户多。
- SpyMemcached:效率更高。
- Xmemcached:并发处理更好。
- SpringBoot 未提供对 Memcached 的整合,需要使用硬编码方式实现客户端初始化管理。
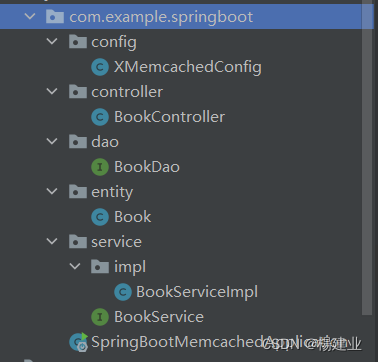
- 目录结构如下:
- 通过配置类注册 Bean:
// XMemcachedConfig.java
import net.rubyeye.xmemcached.MemcachedClient;
import net.rubyeye.xmemcached.MemcachedClientBuilder;
import net.rubyeye.xmemcached.XMemcachedClientBuilder;
import org.springframework.context.annotation.Bean;
import org.springframework.context.annotation.Configuration;

@Configuration
public class XMemcachedConfig {

    @Bean
    public MemcachedClient memcachedClient(){
        MemcachedClient memcachedClient = null;
        try {
            MemcachedClientBuilder builder = new XMemcachedClientBuilder("localhost:11211");
            memcachedClient = builder.build();
        }catch (Exception e){
            e.printStackTrace();
        }
        return memcachedClient;
    }

}
- 实体类 Book.java
package com.example.springboot.entity;

import lombok.*;

import java.io.Serializable;

@Data
@NoArgsConstructor
@AllArgsConstructor
public class Book implements Serializable {

    private String id;
    private String name;
    private String description;
    private Float price;

}
- 在业务层使用 MemcachedClient 如下:
// BookService.java
import com.baomidou.mybatisplus.extension.service.IService;
import com.example.springboot.entity.Book;

public interface BookService extends IService<Book> {
    Book setCacheById(String id);
    Boolean checkCacheById(String id, String name);
}
// BookServiceImpl.java
import com.baomidou.mybatisplus.extension.service.impl.ServiceImpl;
import com.example.springboot.dao.BookDao;
import com.example.springboot.entity.Book;
import com.example.springboot.service.BookService;
import net.rubyeye.xmemcached.MemcachedClient;
import net.rubyeye.xmemcached.XMemcachedClient;
import net.rubyeye.xmemcached.exception.MemcachedException;
import org.springframework.beans.factory.annotation.Autowired;
import org.springframework.stereotype.Service;

import java.util.concurrent.TimeoutException;

@Service
public class BookServiceImpl extends ServiceImpl<BookDao, Book> implements BookService {

    @Autowired
    private MemcachedClient memcachedClient;

    @Override
    public Book setCacheById(String id) {
        try {
        	// 往 memcached 中放数据,第一个参数为key
        	// 第二个参数为过期时间(0表示永不过期)
        	// 第三个参数为要存放到缓存中的数据(需实现序列化)
            memcachedClient.set(id, 0, getById(id));
        } catch (TimeoutException e) {
            e.printStackTrace();
        } catch (InterruptedException e) {
            e.printStackTrace();
        } catch (MemcachedException e) {
            e.printStackTrace();
        }
        return null;
    }

    @Override
    public Boolean checkCacheById(String id, String name) {
        Book cacheData = null;
        try {
        	// 根据key, 从缓存中取数据
            cacheData = memcachedClient.get(id);
        } catch (TimeoutException e) {
            e.printStackTrace();
        } catch (InterruptedException e) {
            e.printStackTrace();
        } catch (MemcachedException e) {
            e.printStackTrace();
        }
        return name.equals(cacheData.getName());
    }
}
- 表现层 BookController.java 代码:
import com.example.springboot.entity.Book;
import com.example.springboot.service.BookService;
import org.springframework.beans.factory.annotation.Autowired;
import org.springframework.web.bind.annotation.*;

@RestController
@RequestMapping("/books")
public class BookController {

    @Autowired
    private BookService bookService;

    @GetMapping("{id}")
    public Book getById(@PathVariable String id){
        return bookService.setCacheById(id);
    }

    @PostMapping
    public Boolean checkById(@RequestBody Book book){
        return bookService.checkCacheById(book.getId(), book.getName());
    }
}
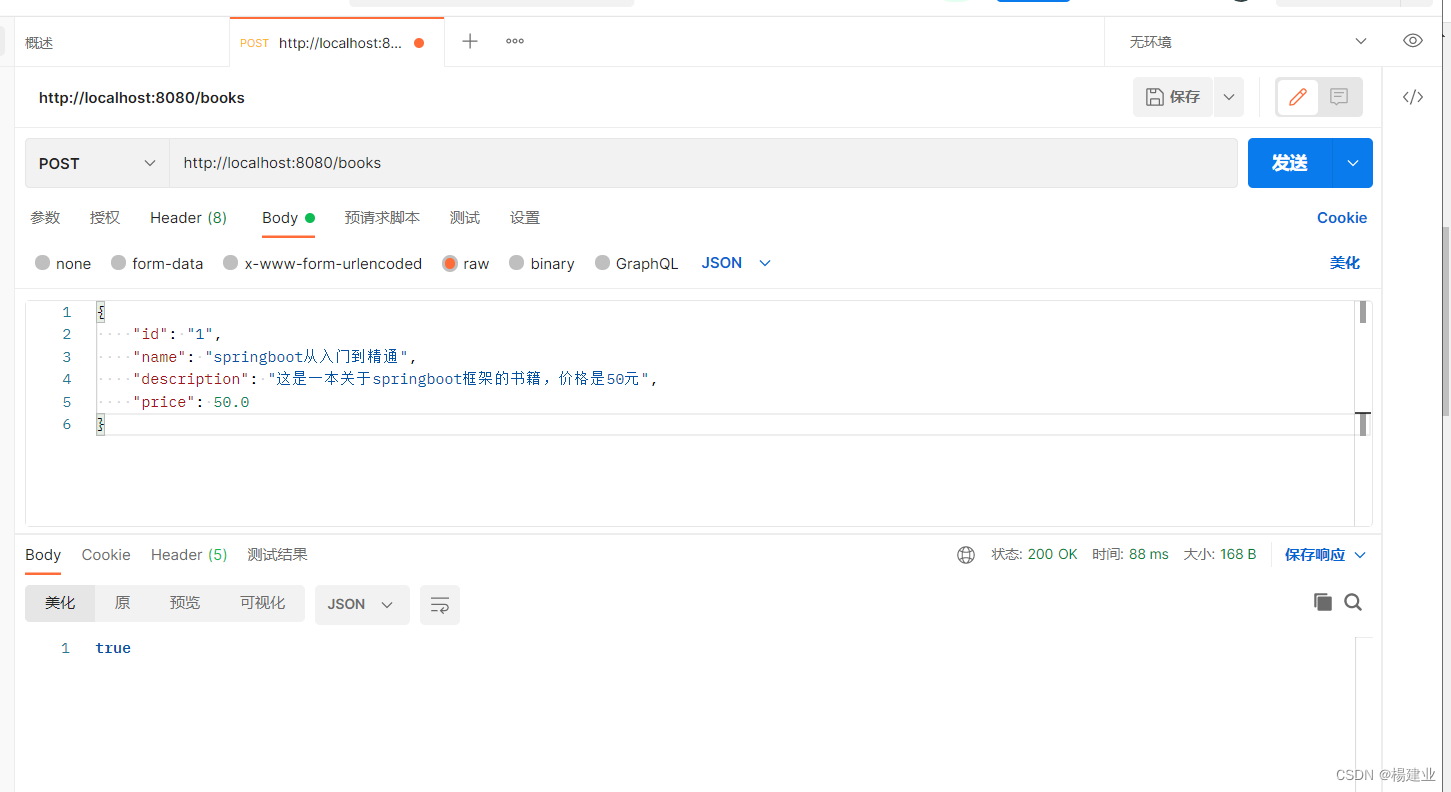
- 通过 Postman 测试如下:
-
往 Memcached 中放数据:
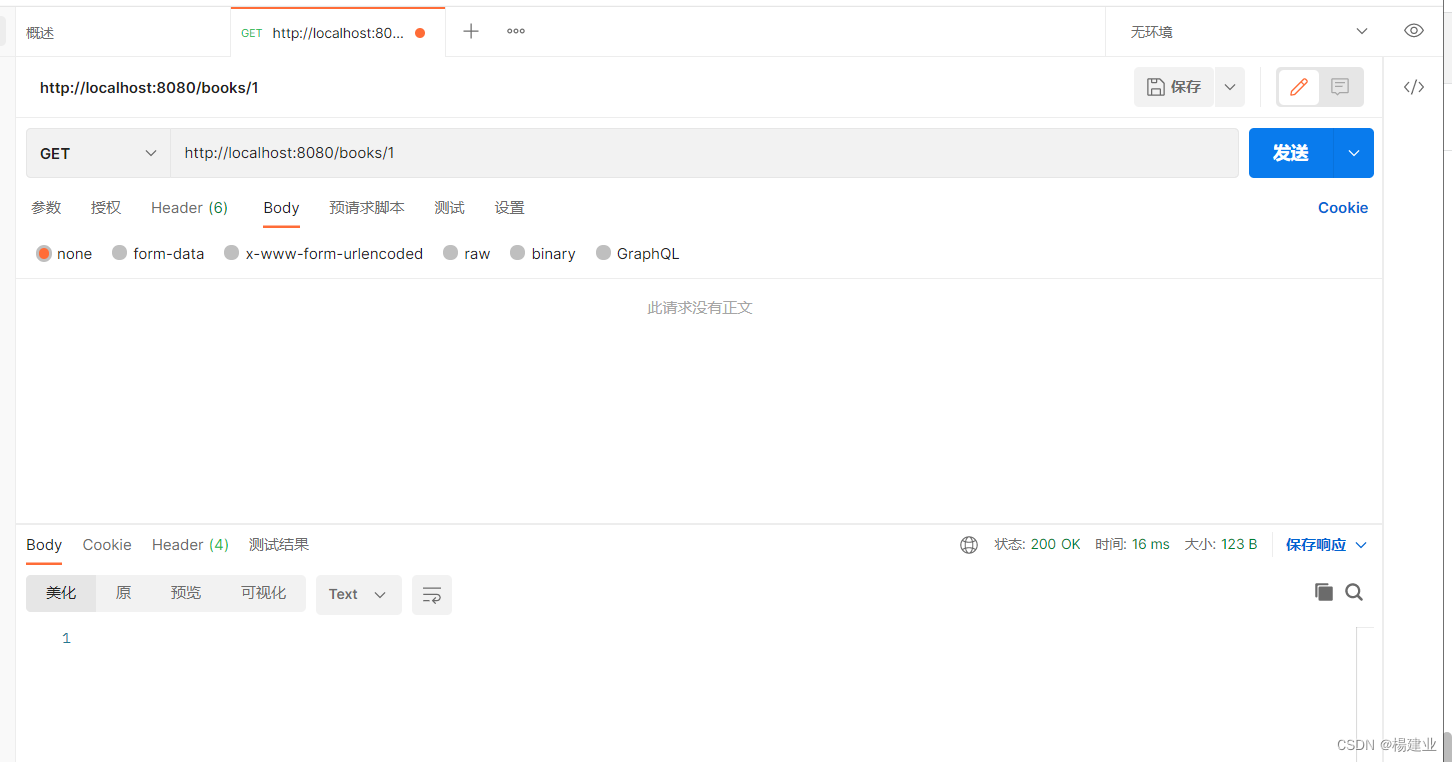
-
从 Memcached 中取数据:


 1万+
1万+


 被折叠的 条评论
为什么被折叠?
被折叠的 条评论
为什么被折叠?
 到【灌水乐园】发言


