首先分享大老的链接: https://www.jianshu.com/p/53759778284a (这是个合集里边很多这个大佬的文章很棒!感谢!)
ps:上面文章中objectAnimator链接有问题点击这个:ObjectAnimator文章
大佬的补间动画专文: https://www.jianshu.com/p/733532041f46 (文章最后还讲了activity与fragment的切换动画)
补间动画分类:

1:平移动画(Translate)
代码中:
        // 1. fromXDelta :视图在水平方向x 移动的起始值
        // 2. toXDelta :视图在水平方向x 移动的结束值
        // 3. fromYDelta :视图在竖直方向y 移动的起始值
        // 4. toYDelta:视图在竖直方向y 移动的结束值
        val animation = TranslateAnimation(0f, 500f, 0f, 500f)
        animation.startOffset = 1000 // 开始动画延迟
        animation.duration = 3000 // 动画持续时间
        animation.fillBefore = true // 动画播放完后,视图是否会停留在动画开始的状态,默认为true
        animation.fillAfter = false // 动画播放完后,视图是否会停留在动画结束的状态,优先于fillBefore值,默认为false
        animation.isFillEnabled = true // 是否应用fillBefore值,对fillAfter值无影响,默认为true
        animation.repeatMode = RESTART // 选择重复播放动画模式,restart代表正序重放,reverse代表倒序回放,默认为restart
        animation.repeatCount = -1 // 重放次数(所以动画的播放次数=重放次数+1),为infinite时无限重复(-1也能实现无限)
        val mAnticipateInterpolator = AnticipateInterpolator() // 插值器
        animation.interpolator = mAnticipateInterpolator // 插值器,即影响动画的播放速度,可以让动画有先快后慢等效果
        btn.setOnClickListener {
            btn.startAnimation(animation)
            Toast.makeText(this,"啦啦啦",Toast.LENGTH_SHORT).show()
        }
效果:
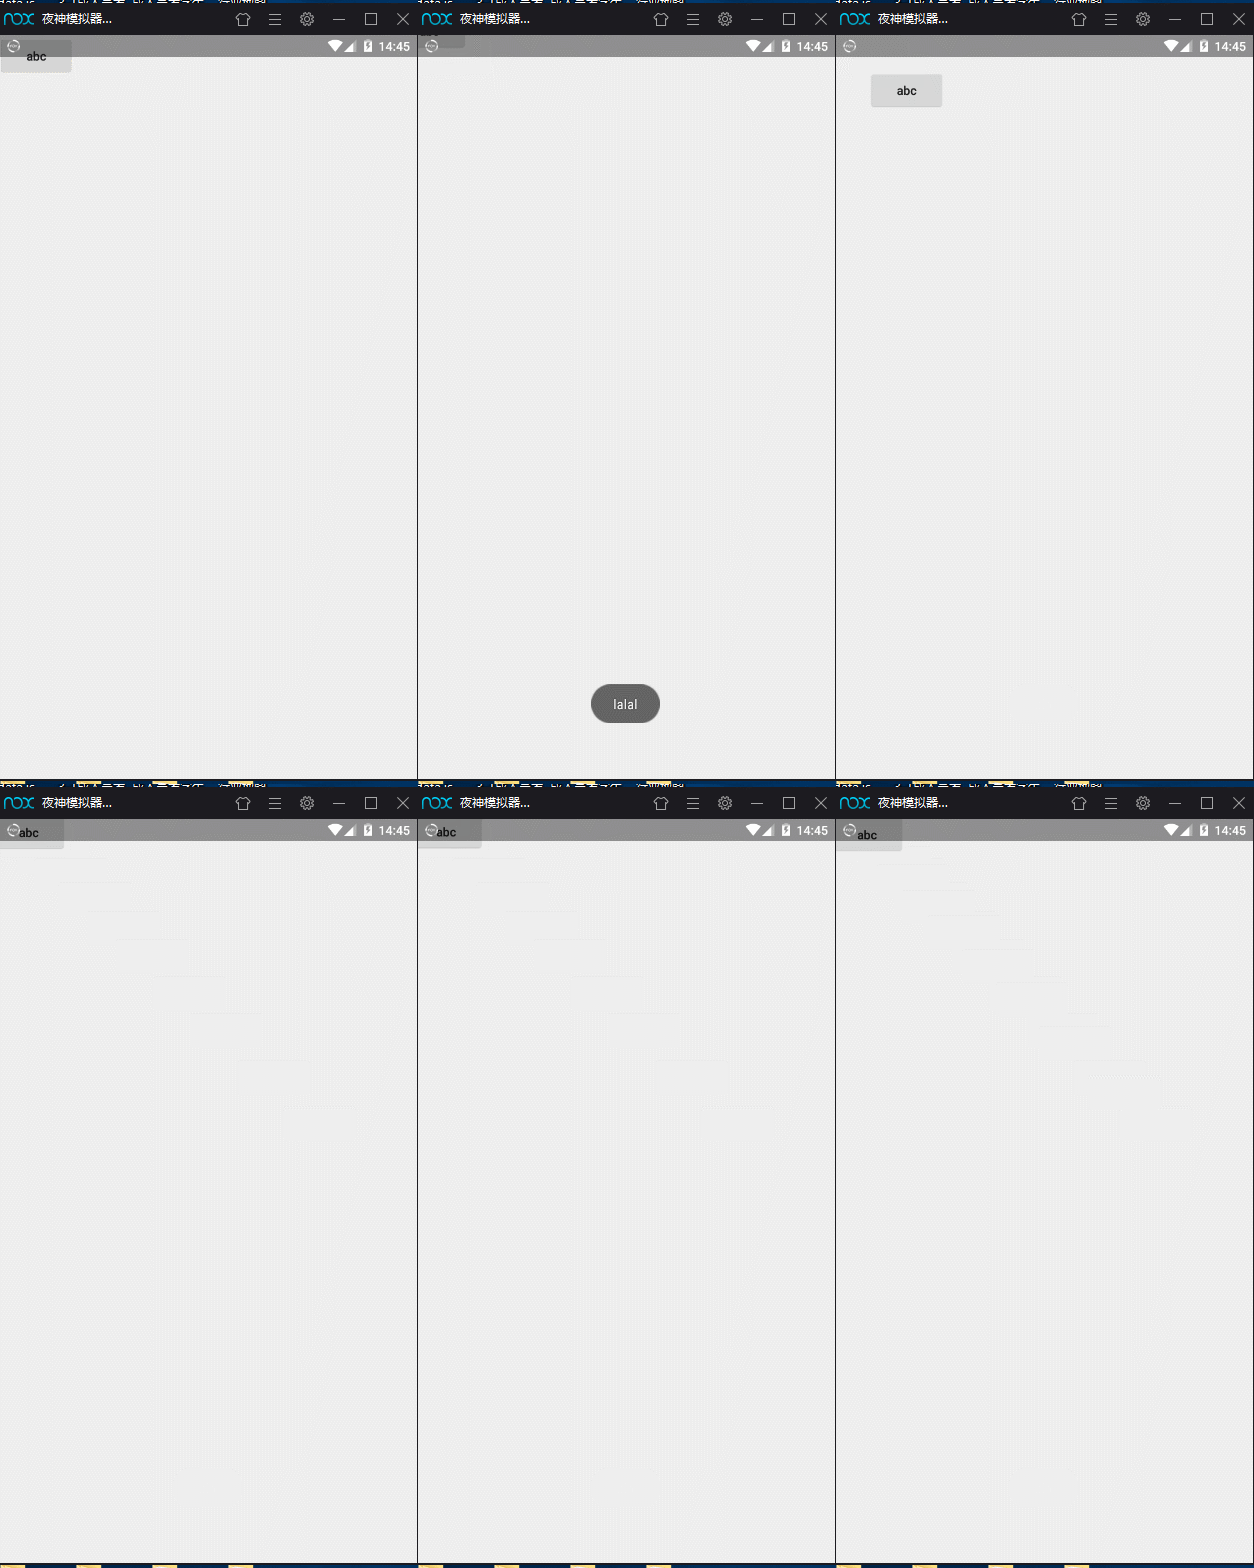
这里说下插值器: 插值器(Interpolator)和估值器(TypeEvaluator)是实现 复杂动画效果的关键,
Android内置了 9 种内置的插值器实现:

上面例子用到了AnticipateInterpolator,其他效果可以自己体验。
再附上大佬对插值器和估值器的详细讲解: https://www.jianshu.com/p/2f19fe1e3ca1
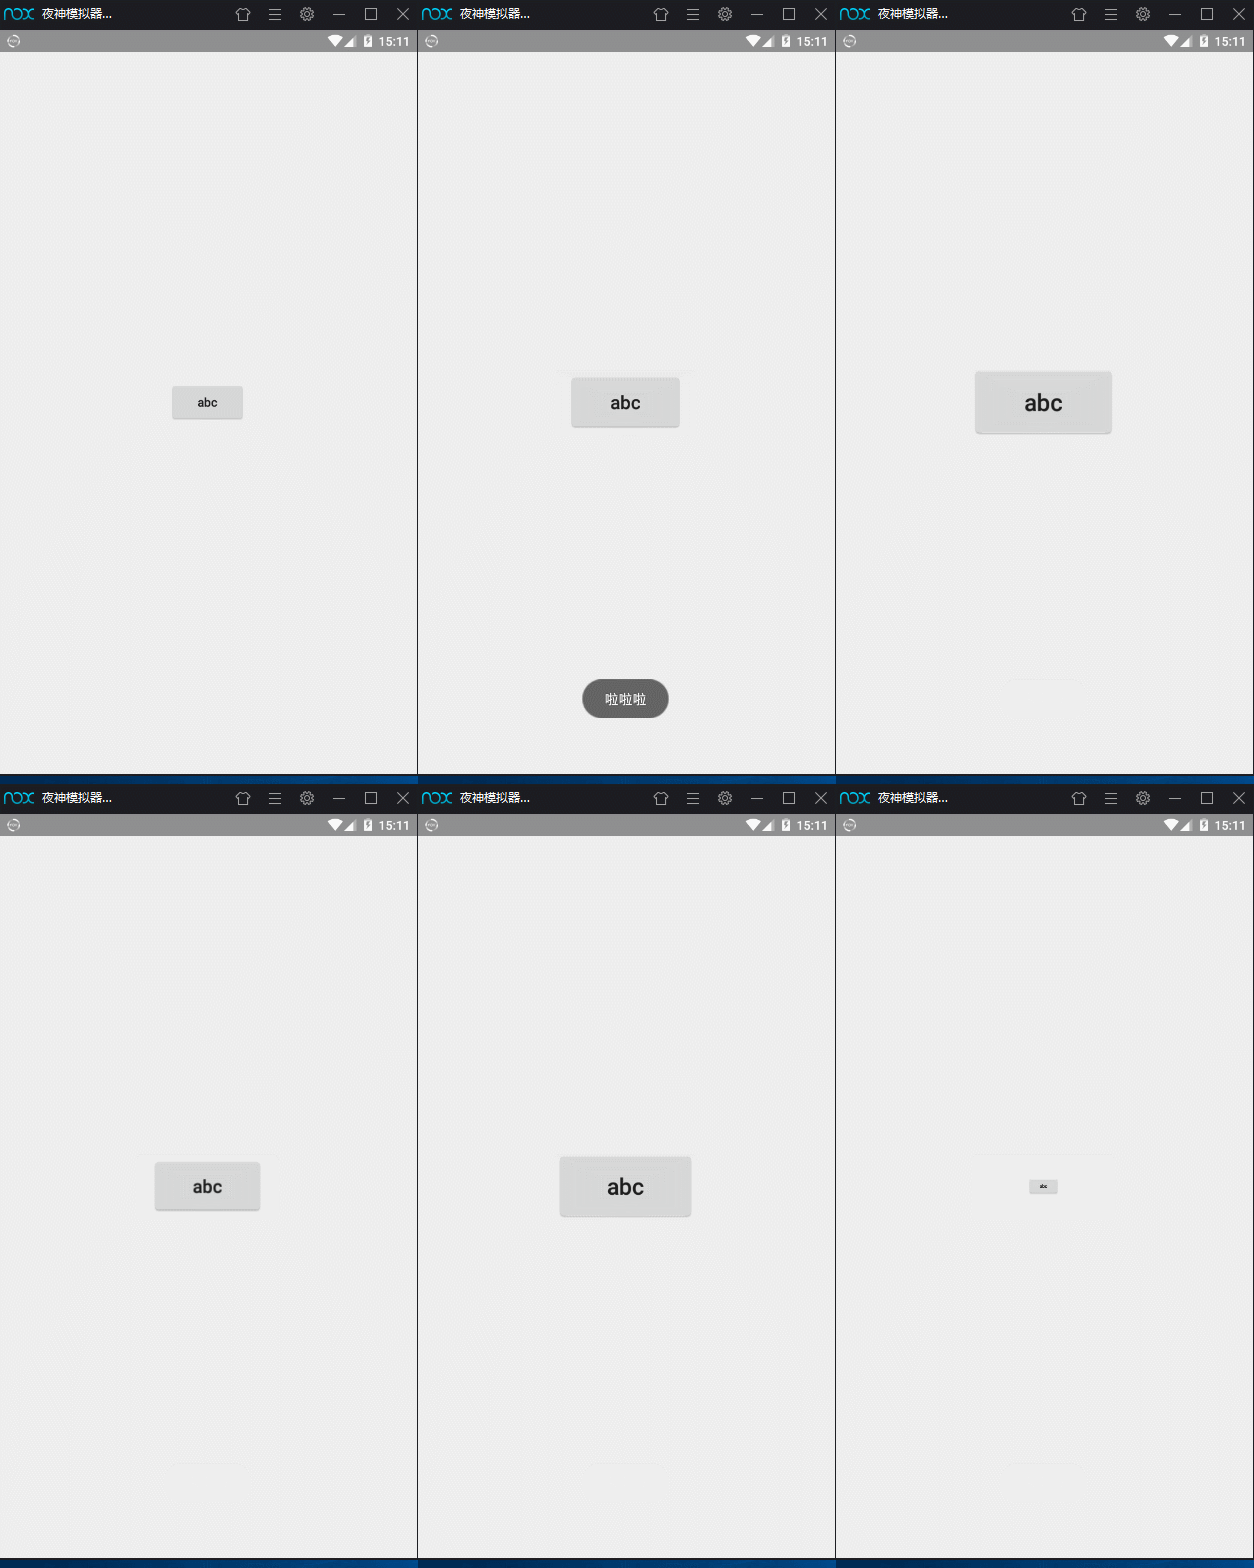
2:缩放动画(Scale)
代码中:
 // 1. fromX :动画在水平方向X的结束缩放倍数
        // 2. toX :动画在水平方向X的结束缩放倍数
        // 3. fromY :动画开始前在竖直方向Y的起始缩放倍数
        // 4. toY:动画在竖直方向Y的结束缩放倍数
        // 5. pivotXType:缩放轴点的x坐标的模式
        // 6. pivotXValue:缩放轴点x坐标的相对值
        // 7. pivotYType:缩放轴点的y坐标的模式
        // 8. pivotYValue:缩放轴点y坐标的相对值

        // pivotXType = Animation.ABSOLUTE:缩放轴点的x坐标 =  View左上角的原点 在x方向 加上 pivotXValue数值的点(y方向同理)
        // pivotXType = Animation.RELATIVE_TO_SELF:缩放轴点的x坐标 = View左上角的原点 在x方向 加上 自身宽度乘上pivotXValue数值的值(y方向同理)
        // pivotXType = Animation.RELATIVE_TO_PARENT:缩放轴点的x坐标 = View左上角的原点 在x方向 加上 父控件宽度乘上pivotXValue数值的值 (y方向同理)

        val animation = ScaleAnimation(0f,2f,0f,2f,
                Animation.RELATIVE_TO_SELF,0.5f,Animation.RELATIVE_TO_SELF,0.5f)
        animation.startOffset = 0 // 开始动画延迟
        animation.duration = 3000 // 动画持续时间
        animation.fillBefore = true // 动画播放完后,视图是否会停留在动画开始的状态,默认为true
        animation.fillAfter = false // 动画播放完后,视图是否会停留在动画结束的状态,优先于fillBefore值,默认为false
        animation.isFillEnabled = true // 是否应用fillBefore值,对fillAfter值无影响,默认为true
        animation.repeatMode = RESTART // 选择重复播放动画模式,restart代表正序重放,reverse代表倒序回放,默认为restart
        animation.repeatCount = -1 // 重放次数(所以动画的播放次数=重放次数+1),为infinite时无限重复(-1也能实现无限)
        val mBounceInterpolator = BounceInterpolator() // 插值器
        animation.interpolator = mBounceInterpolator // 插值器,即影响动画的播放速度
        btn.setOnClickListener {
            btn.startAnimation(animation)
            Toast.makeText(this,"啦啦啦",Toast.LENGTH_SHORT).show()
        }
效果:
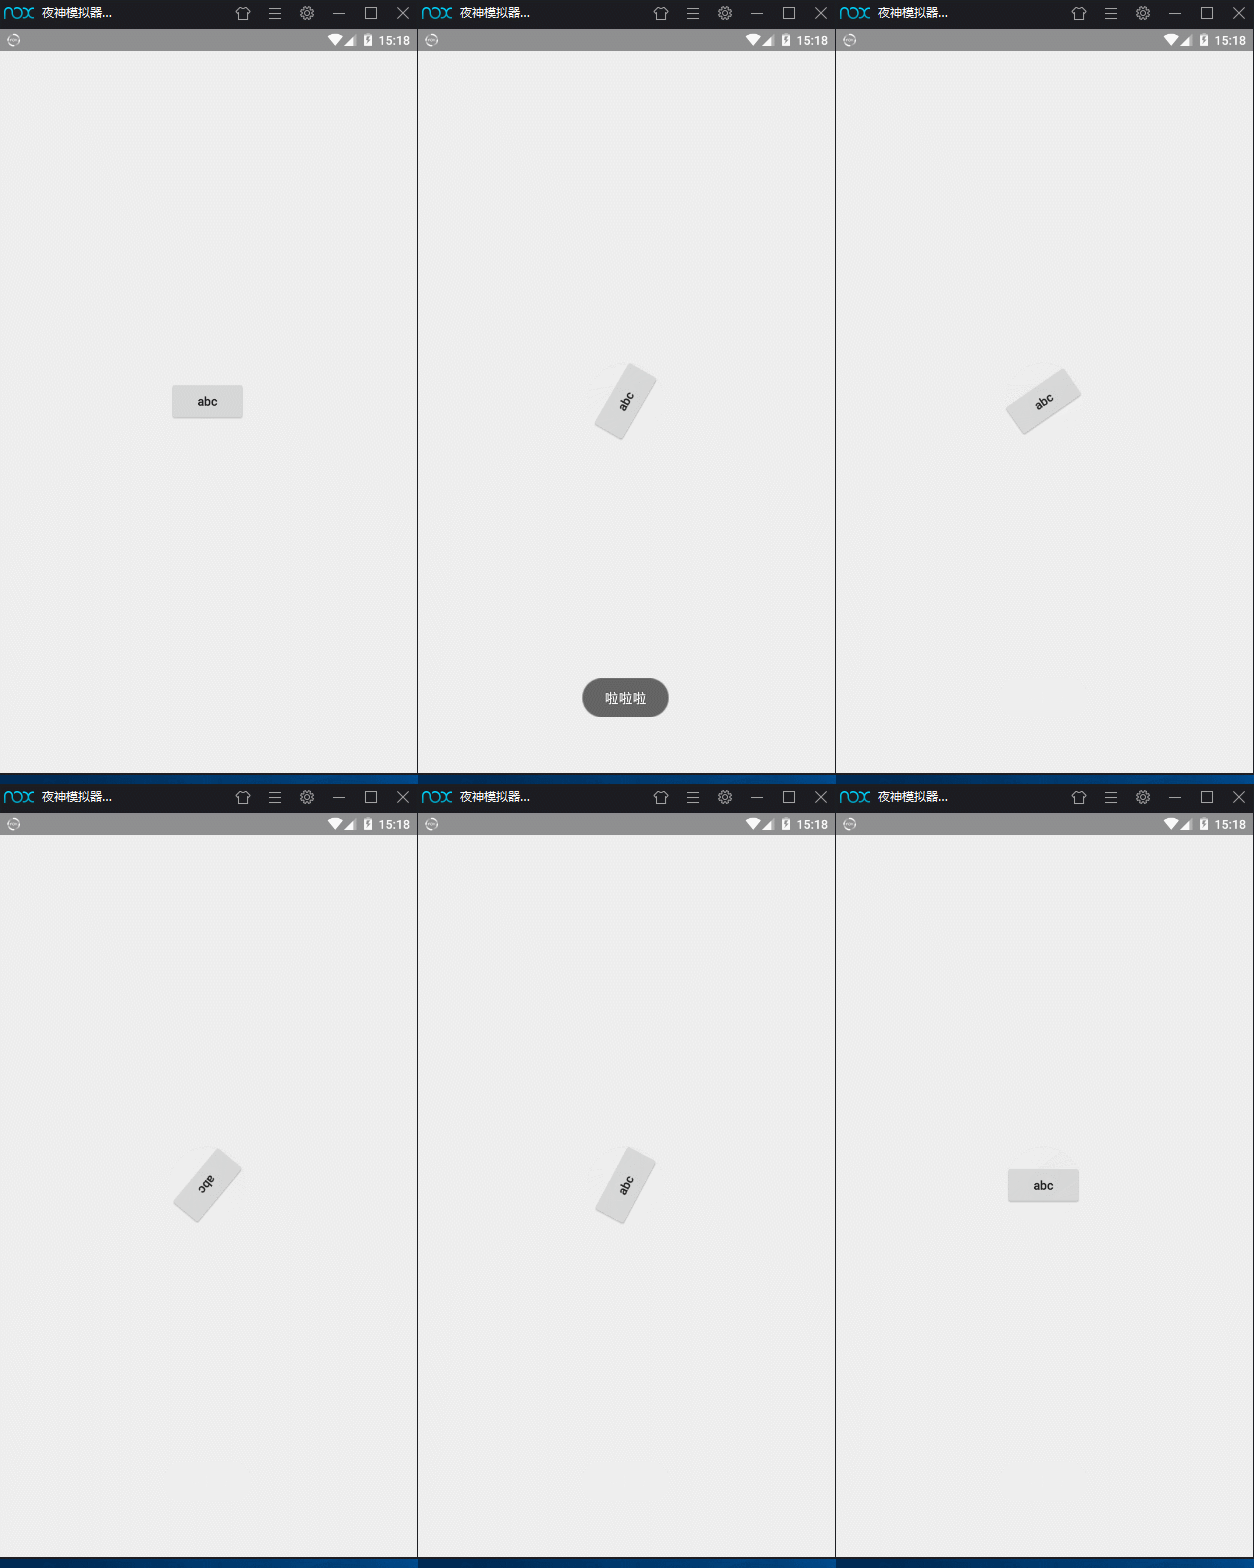
3:旋转动画(Rotate)
 // 1. fromDegrees :动画开始时 视图的旋转角度(正数 = 顺时针,负数 = 逆时针)
        // 2. toDegrees :动画结束时 视图的旋转角度(正数 = 顺时针,负数 = 逆时针)
        // 3. pivotXType:旋转轴点的x坐标的模式
        // 4. pivotXValue:旋转轴点x坐标的相对值
        // 5. pivotYType:旋转轴点的y坐标的模式
        // 6. pivotYValue:旋转轴点y坐标的相对值

        // pivotXType = Animation.ABSOLUTE:旋转轴点的x坐标 =  View左上角的原点 在x方向 加上 pivotXValue数值的点(y方向同理)
        // pivotXType = Animation.RELATIVE_TO_SELF:旋转轴点的x坐标 = View左上角的原点 在x方向 加上 自身宽度乘上pivotXValue数值的值(y方向同理)
        // pivotXType = Animation.RELATIVE_TO_PARENT:旋转轴点的x坐标 = View左上角的原点 在x方向 加上 父控件宽度乘上pivotXValue数值的值 (y方向同理)

        val animation = RotateAnimation(0f,360f,
                Animation.RELATIVE_TO_SELF,0.5f,Animation.RELATIVE_TO_SELF,0.5f)
        animation.startOffset = 0 // 开始动画延迟
        animation.duration = 3000 // 动画持续时间
        animation.fillBefore = true // 动画播放完后,视图是否会停留在动画开始的状态,默认为true
        animation.fillAfter = false // 动画播放完后,视图是否会停留在动画结束的状态,优先于fillBefore值,默认为false
        animation.isFillEnabled = true // 是否应用fillBefore值,对fillAfter值无影响,默认为true
        animation.repeatMode = RESTART // 选择重复播放动画模式,restart代表正序重放,reverse代表倒序回放,默认为restart
        animation.repeatCount = -1 // 重放次数(所以动画的播放次数=重放次数+1),为infinite时无限重复(-1也能实现无限)
        val mBounceInterpolator = BounceInterpolator() // 插值器
        animation.interpolator = mBounceInterpolator // 插值器,即影响动画的播放速度
        btn.setOnClickListener {
            btn.startAnimation(animation)
            Toast.makeText(this,"啦啦啦",Toast.LENGTH_SHORT).show()
        }
效果:
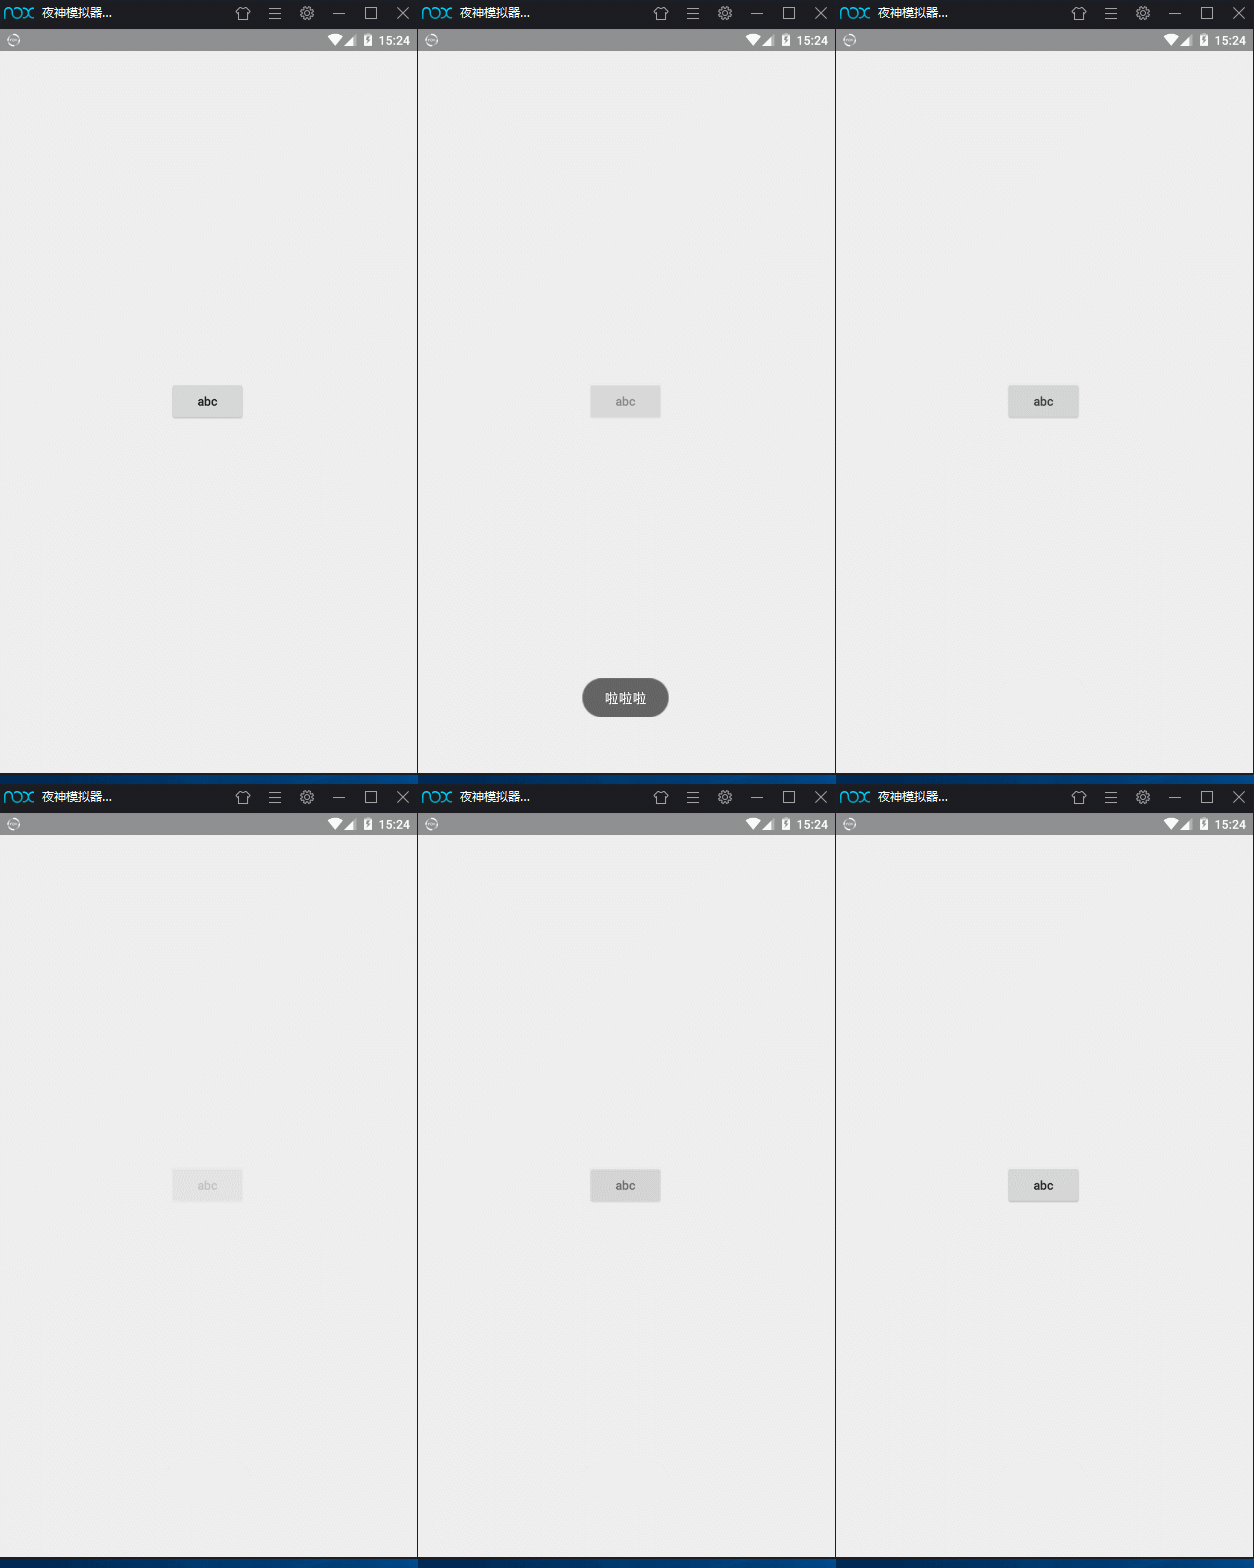
4:透明动画(Alpha)
 // 1. fromAlpha:动画开始时视图的透明度(取值范围: -1 ~ 1)
        // 2. toAlpha:动画结束时视图的透明度(取值范围: -1 ~ 1)
        val animation = AlphaAnimation(1f, 0f)
        animation.startOffset = 0 // 开始动画延迟
        animation.duration = 2000 // 动画持续时间
        animation.fillBefore = true // 动画播放完后,视图是否会停留在动画开始的状态,默认为true
        animation.fillAfter = false // 动画播放完后,视图是否会停留在动画结束的状态,优先于fillBefore值,默认为false
        animation.isFillEnabled = true // 是否应用fillBefore值,对fillAfter值无影响,默认为true
        animation.repeatMode = RESTART // 选择重复播放动画模式,restart代表正序重放,reverse代表倒序回放,默认为restart
        animation.repeatCount = -1 // 重放次数(所以动画的播放次数=重放次数+1),为infinite时无限重复(-1也能实现无限)
        val mLinearInterpolator = LinearInterpolator() // 插值器
        animation.interpolator = mLinearInterpolator // 插值器,即影响动画的播放速度
        btn.setOnClickListener {
            btn.startAnimation(animation)
            Toast.makeText(this,"啦啦啦",Toast.LENGTH_SHORT).show()
        }
效果:
这几种动画可以组合使用,这里简单举例:
组合动画:
 val animation = AnimationSet(true)  //动画的总体(可加入其他动画)
        animation.startOffset = 0 // 开始动画延迟
        animation.duration = 3000 // 动画持续时间
        animation.fillBefore = true // 动画播放完后,视图是否会停留在动画开始的状态,默认为true
        animation.fillAfter = false // 动画播放完后,视图是否会停留在动画结束的状态,优先于fillBefore值,默认为false
        animation.isFillEnabled = true // 是否应用fillBefore值,对fillAfter值无影响,默认为true
        animation.repeatMode = RESTART // 选择重复播放动画模式,restart代表正序重放,reverse代表倒序回放,默认为restart
        animation.repeatCount = -1 // 重放次数(所以动画的播放次数=重放次数+1),为infinite时无限重复(-1也能实现无限)
        val mBounceInterpolator = BounceInterpolator() // 插值器
        animation.interpolator = mBounceInterpolator // 插值器,即影响动画的播放速度

        val animation1 = TranslateAnimation(0f,0f,0f,500f)
        animation1.repeatCount = -1 // 重放次数(所以动画的播放次数=重放次数+1),为infinite时无限重复(-1也能实现无限)
        val animation2 = ScaleAnimation(0f,1f,0f,1f,
                Animation.RELATIVE_TO_SELF,0.5f,Animation.RELATIVE_TO_SELF,0.5f)
        animation2.repeatCount = -1 // 重放次数(所以动画的播放次数=重放次数+1),为infinite时无限重复(-1也能实现无限)

        animation.addAnimation(animation1)
        animation.addAnimation(animation2)

        btn.setOnClickListener {
            btn.startAnimation(animation)
            Toast.makeText(this,"啦啦啦",Toast.LENGTH_SHORT).show()
        }
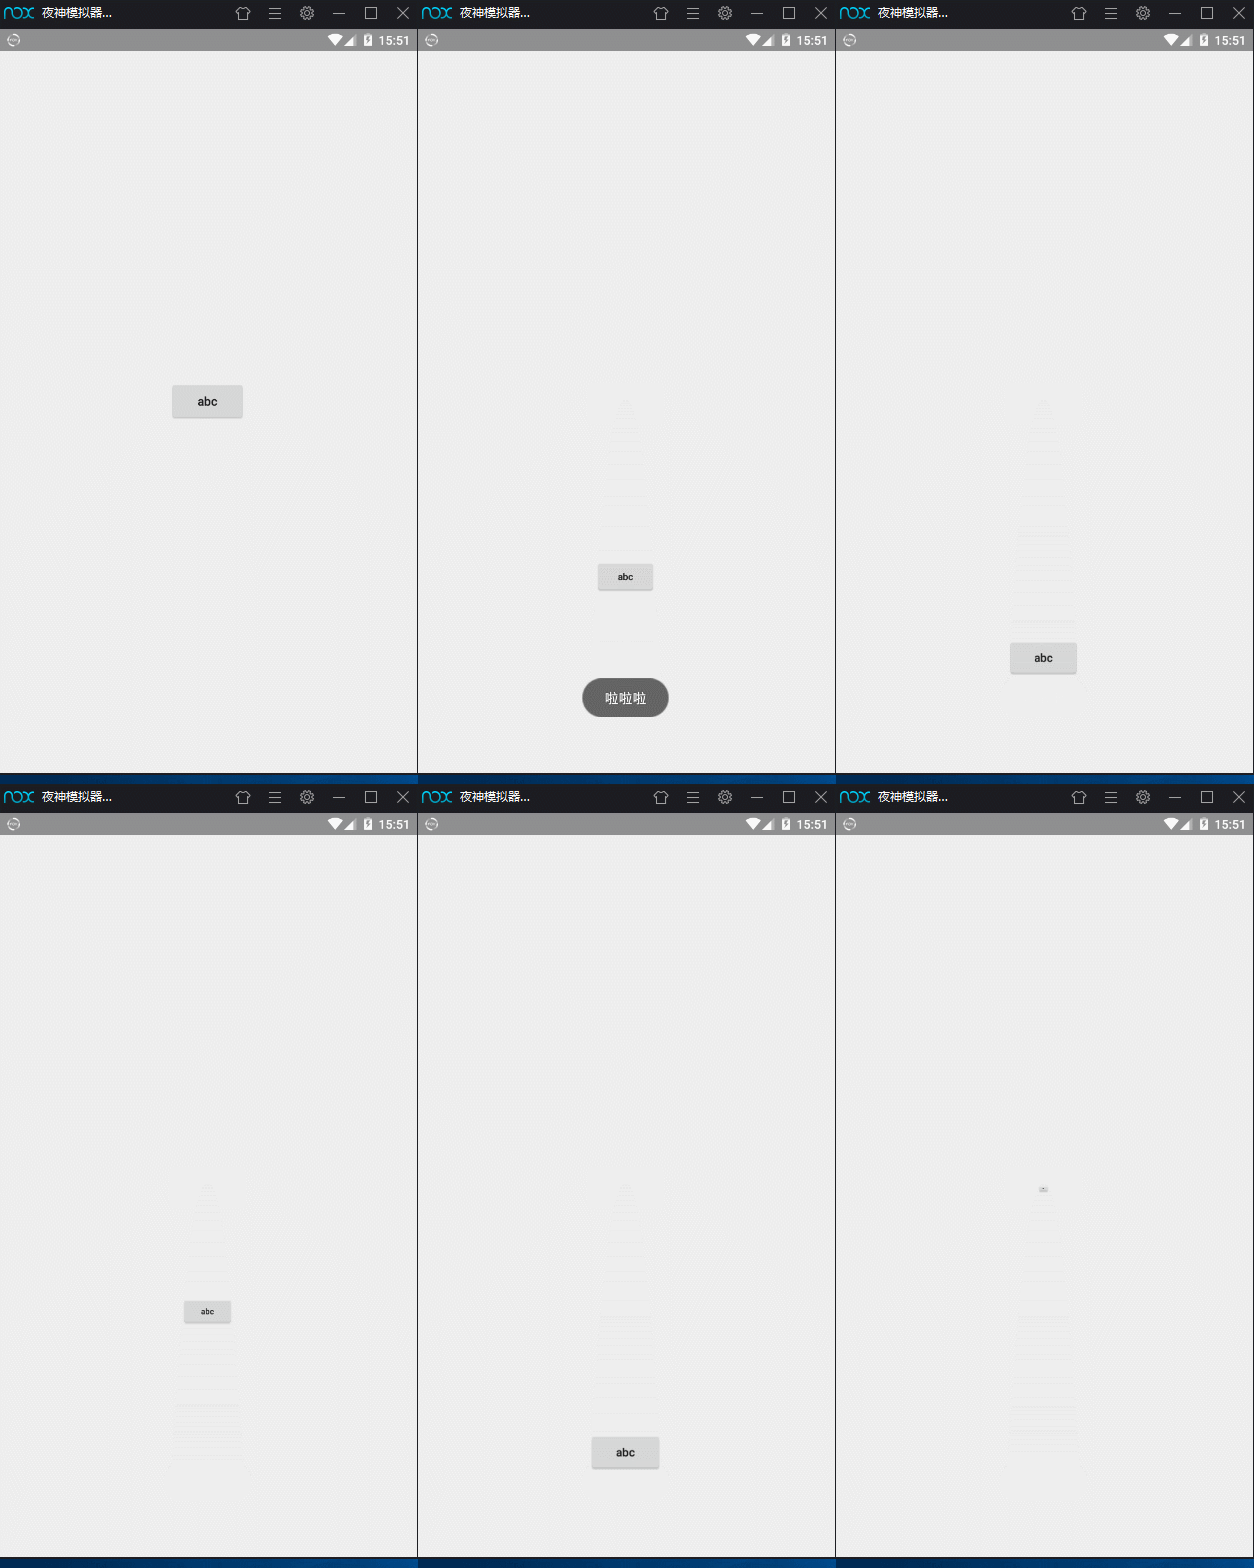
效果:
对动画的监听:
 animation.setAnimationListener(object : Animation.AnimationListener {
            override fun onAnimationStart(animation: Animation) {
                // 动画开始时回调
            }

            override fun onAnimationEnd(animation: Animation) {
                // 动画结束时回调
            }

            override fun onAnimationRepeat(animation: Animation) {
                //动画重复执行的时候回调
            }
        })
如果不在代码中直接定义动画,也可以在res目录下新建anim包,在里面新建set.xml后使用
xml中的动画属性:
<?xml version="1.0" encoding="utf-8"?>
<!--动画的同一属性
// 以下参数是4种动画效果的公共属性,即都有的属性(即可写在set中也可以在自己的属性中写)
    android:duration="3000" // 动画持续时间(ms),必须设置,动画才有效果
    android:startOffset ="1000" // 动画延迟开始时间(ms)
    android:fillBefore = “true” // 动画播放完后,视图是否会停留在动画开始的状态,默认为true
    android:fillAfter = “false” // 动画播放完后,视图是否会停留在动画结束的状态,优先于fillBefore值,默认为false
    android:fillEnabled= “true” // 是否应用fillBefore值,对fillAfter值无影响,默认为true
    android:repeatMode= “restart” // 选择重复播放动画模式,restart代表正序重放,reverse代表倒序回放,默认为restart
    android:repeatCount = “0” // 重放次数(所以动画的播放次数=重放次数+1),为infinite时无限重复
    android:interpolator = @[package:]anim/interpolator_resource // 插值器,即影响动画的播放速度
-->
<set xmlns:android="http://schemas.android.com/apk/res/android"
    android:duration="3000"
    android:fillAfter="false"
    android:fillBefore="true"
    android:fillEnabled="true"
    android:interpolator="@android:anim/bounce_interpolator"
    android:repeatCount="0"
    android:repeatMode="restart"
    android:startOffset="1000">

    <!--平移动画
      1. fromXDelta :视图在水平方向x 移动的起始值
      2. toXDelta :视图在水平方向x 移动的结束值
      3. fromYDelta :视图在竖直方向y 移动的起始值
      4. toYDelta:视图在竖直方向y 移动的结束值
    -->
    <translate
        android:fromXDelta="0"
        android:fromYDelta="0"
        android:toXDelta="500"
        android:toYDelta="500" />

    <!--缩放动画
         1. fromX :动画在水平方向X的结束缩放倍数
         2. toX :动画在水平方向X的结束缩放倍数
         3. fromY :动画开始前在竖直方向Y的起始缩放倍数
         4. toY:动画在竖直方向Y的结束缩放倍数
         5. pivotXType:缩放轴点的x坐标的模式
         6. pivotXValue:缩放轴点x坐标的相对值
         7. pivotYType:缩放轴点的y坐标的模式
         8. pivotYValue:缩放轴点y坐标的相对值

         pivotXType = Animation.ABSOLUTE:缩放轴点的x坐标 =  View左上角的原点 在x方向 加上 pivotXValue数值的点(y方向同理)
         pivotXType = Animation.RELATIVE_TO_SELF:缩放轴点的x坐标 = View左上角的原点 在x方向 加上 自身宽度乘上pivotXValue数值的值(y方向同理)
         pivotXType = Animation.RELATIVE_TO_PARENT:缩放轴点的x坐标 = View左上角的原点 在x方向 加上 父控件宽度乘上pivotXValue数值的值 (y方向同理)
    -->
    <scale
        android:fromXScale="0.0"
        android:fromYScale="0.0"
        android:pivotX="50%"
        android:pivotY="50%"
        android:toXScale="2"
        android:toYScale="2" />
    <!--透明动画
         1. fromAlpha:动画开始时视图的透明度(取值范围: -1 ~ 1)
         2. toAlpha:动画结束时视图的透明度(取值范围: -1 ~ 1)
    -->
    <alpha
        android:fromAlpha="1.0"
        android:toAlpha="0.0" />
   <!--旋转动画
         1. fromDegrees :动画开始时 视图的旋转角度(正数 = 顺时针,负数 = 逆时针)
         2. toDegrees :动画结束时 视图的旋转角度(正数 = 顺时针,负数 = 逆时针)
         3. pivotXType:旋转轴点的x坐标的模式
         4. pivotXValue:旋转轴点x坐标的相对值
         5. pivotYType:旋转轴点的y坐标的模式
         6. pivotYValue:旋转轴点y坐标的相对值

         pivotXType = Animation.ABSOLUTE:旋转轴点的x坐标 =  View左上角的原点 在x方向 加上 pivotXValue数值的点(y方向同理)
         pivotXType = Animation.RELATIVE_TO_SELF:旋转轴点的x坐标 = View左上角的原点 在x方向 加上 自身宽度乘上pivotXValue数值的值(y方向同理)
         pivotXType = Animation.RELATIVE_TO_PARENT:旋转轴点的x坐标 = View左上角的原点 在x方向 加上 父控件宽度乘上pivotXValue数值的值 (y方向同理)
   -->
    <rotate
        android:duration="1000"
        android:fromDegrees="0"
        android:pivotX="50%"
        android:pivotY="0"
        android:toDegrees="270" />

</set>
代码中的使用:
 btn.setOnClickListener {
            val mAnimation = AnimationUtils.loadAnimation(this,R.anim.activity)  //创建动画,将自己定义的动画xml传入
            btn.startAnimation(mAnimation) 启动动画
        }


 8155
8155


 被折叠的 条评论
为什么被折叠?


