


 本文介绍了如何使用Vue.js创建一个自动聚焦的验证码输入框,当用户完成一个输入框的输入后,焦点会自动切换到下一个。同时,通过JavaScript进行输入验证,限制输入为数字,并在输入完成后调用API进行验证码校验。代码示例包括HTML、JS和CSS部分,展示了完整的实现逻辑和样式设计。
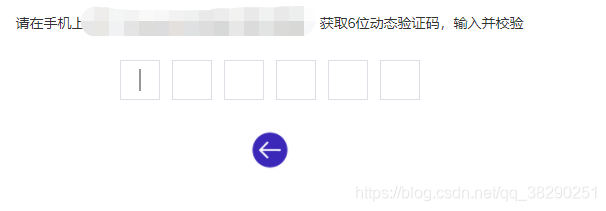
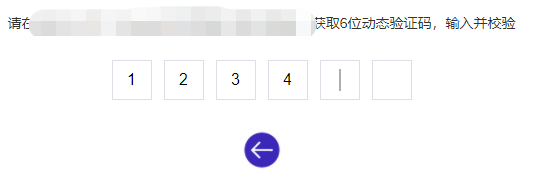
1、实现效果如下:
鼠标默认聚焦在第一个输入框
 、
、
当完成第一个的输入时,鼠标聚焦到第二个
2、实现逻辑:
- 利用 input 来获得焦点,自动聚焦,如果是手机的话,可以自动调起手机的键盘
- 将实际的input输入框隐藏
- 用 label 的for属性与 input 联动来显示输入的数字
3、代码整理:
html 代码:
          <div class="code-container">
            <div class="vcode">
                <el-input type="tel" maxlength="6" ref="code" id="code" :autofocus="true" v-model="codeValue" autocomplete="off"
                  @focus="focus = true" @blur="focus = false" class="code-input" />
                <div class="flex-row-center">
                    <label class="flex-row-center label" for="code"
                      v-for="(item,index) in length" :key="index" v-text="arrCode[index]"
                      :class="{active: focus === true && index === currentIndex }">
                    </label>
                </div>
            </div>
          </div>
js:
<script>
import { computed, defineComponent, reactive, toRefs, watch, getCurrentInstance, onMounted } from 'vue';
import { useRouter } from 'vue-router';
import { showLoading, hideLoading } from '@/utils/loading'
import { xxxApi } from '@/api/login'

export default defineComponent({
  name: 'xxx',
  setup() {
    // @ts-ignore
    const { proxy } = getCurrentInstance();
    const router = useRouter()
    const data = reactive({
      // 验证码
      codeValue: '',

      // 密码长度,根据实际需求设定;
      length: 6,

      // 用于填充label标签内容
      arrCode: computed(() => {
        return (data.codeValue && data.codeValue.split('')) || []
      }),

      // 判断输入框的焦点状态
      focus: true,

      // 当前获得焦点的label的索引
      currentIndex: computed(() => data.codeValue.length),
    })

    // 监听用户输入的验证码
    watch(() => data.codeValue, newV => {
      data.codeValue = newV.replace(/[^\d]/g, ''); // 限制非数字
      if (data.codeValue.length >= 6) {
        showLoading()
        const params = {
          codeValue: data.codeValue,
        }
        xxxApi(params).then(() => {
          hideLoading()
        }).catch(() => {
          hideLoading()
          data.codeValue = ''
          proxy.$refs.code.focus()
          data.focus = true
        })
      }
    })

    onMounted(() => {
        // 自动聚焦
        proxy.$refs.code.focus()
    })

    return {
        ...toRefs(data)
    }
  }
})
</script>
样式:
<style lang="scss" scoped>
      .code-container {
        .vcode {
          position: relative;
          width: 100%;
          overflow: hidden;
        }
        .code-input {
          width: 100px;
          padding: 0;
          height: 30px;
          overflow: hidden;
          border: none;
          outline: none;
          opacity: 0;
          margin-left: -200%; // ios上透明度为0时依然有光标
          -webkit-tap-highlight-color: transparent;
        }

        .label {
          width: 38px;
          height: 38px;
          border: 1px solid #dcdfe6;
          margin: 0 6px;
          cursor: pointer;
          -webkit-tap-highlight-color: transparent;// 解决ios点击灰色阴影的问题
        }

        // 伪类实现光标效果
        .active:after {
          content: "";
          display: inline-block;
          height: 60%;
          width: 2px;
          background: #313131;
          animation: .8s animate infinite;
        }

        @keyframes animate {
          100% {
            opacity: 0;
          }
        }
      }
</style>


 2555
2555

 被折叠的 条评论
为什么被折叠?
被折叠的 条评论
为什么被折叠?
 到【灌水乐园】发言


