


CENTOS
安装GitLab
1、防火墙配置
systemctl stop firewalld
systemctl enable firewalld
iptables -F
2、安装依赖
yum -y install curl policycoreutils-python openssh-server perl
3、安装 Postfix(可选)
使用Postfix发送通知电子邮件。如果想使用其他解决方案发送电子邮件,请跳过此步骤并在安装GitLab后配置外部SMTP服务器。
yum -y install postfix
systemctl enable postfix
systemctl start postfix
4、配置Yum源
这里咱们选用清华源镜像,速度比较快
清华源gitlab-ce镜像官网:https://mirrors.tuna.tsinghua.edu.cn/gitlab-ce/
[root@gitlab ~]# vi /etc/yum.repos.d/gitlab.repo
[gitlab]
name=gitlab
baseurl=https://mirrors.tuna.tsinghua.edu.cn/gitlab-ce/yum/el7/
enabled=1
gpgcheck=0
5、直接安装最新版本(大约1个G)
yum -y install gitlab-ce
6、如果想安装指定的版本
yum -y install gitlab-ce-x.x.x
//x.x.x代表版本号
配置GitLab
安装完之后,gitlab是不能用systemctl服务其管理的,有个专属命令:gitlab-ctl
1、配置Gitlab服务的IP地址
vi /etc/gitlab/gitlab.rb
...
external_url 'http://192.168.9.10'         #指定IP,默认是80端口因为由GitLab中Nginx提供Web服务,如果向指定其它的端口直接此写成:IP:999
...
2、其实修改完这一步就可以初始化配置了
gitlab-ctl reconfigure
//第一次配置时间较长,请耐心等待
3、启动Gitlab
gitlab-ctl restart
4、找到root用户的密码
在新版本中,默认的root密码是放在一个目录中的:
[root@gitlab ~]# cat /etc/gitlab/initial_root_password
# WARNING: This value is valid only in the following conditions
#          1. If provided manually (either via `GITLAB_ROOT_PASSWORD` environment variable or via `gitlab_rails['initial_root_password']` setting in `gitlab.rb`, it was provided before database was seeded for the first time (usually, the first reconfigure run).
#          2. Password hasn't been changed manually, either via UI or via command line.
#
#          If the password shown here doesn't work, you must reset the admin password following https://docs.gitlab.com/ee/security/reset_user_password.html#reset-your-root-password.

Password: Nx8rvFZe0leYdaKGgkPIAaAvOd60Sd0QVb4P/LrOQ7U=             #这个就是root用户的密码,它默认就在24h后被自动删除的,因此我们在登陆进gitlab中后首先需要更改密码

# NOTE: This file will be automatically deleted in the first reconfigure run after 24 hours.
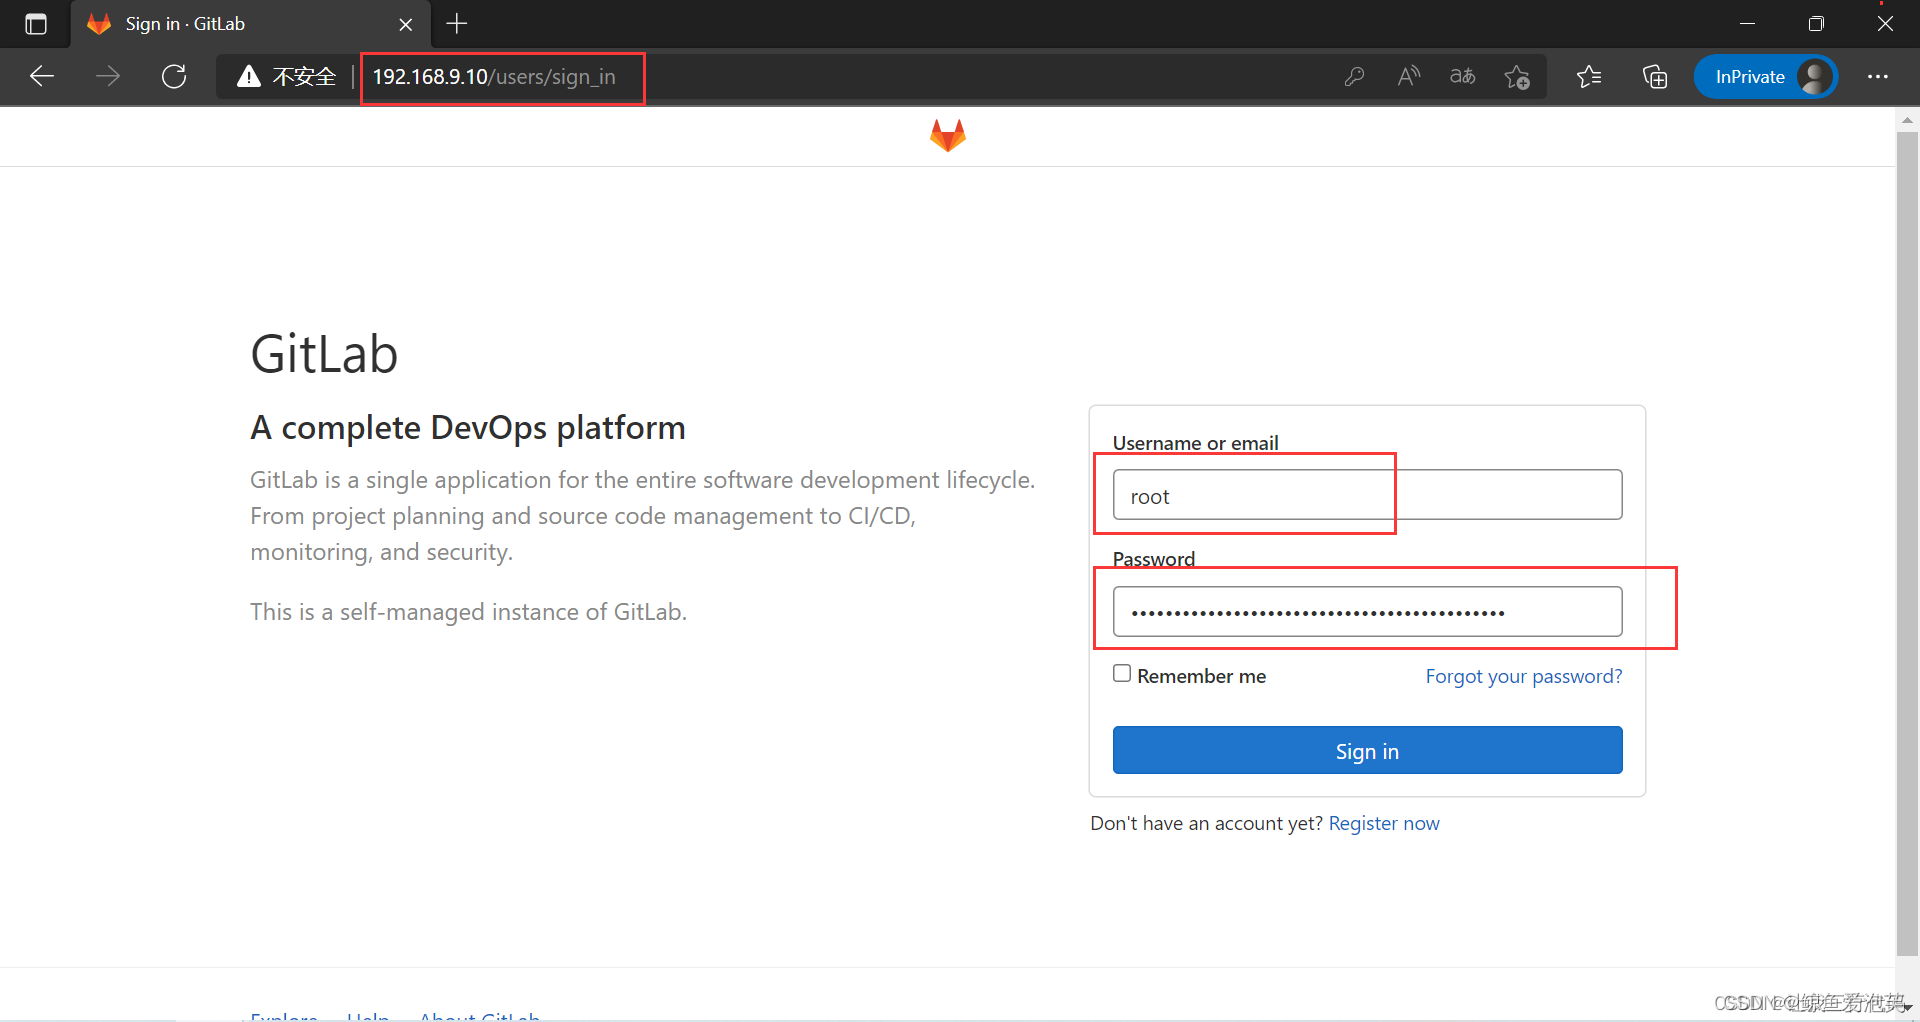
5、Web访问Gitlab
用户:admin
密码:就是那一串字符串
6、修改密码
UBUNTU
1.安装包下载
Ubuntu16.04下载地址:http://releases.ubuntu.com/16.04/ubuntu-16.04.7-desktop-amd64.iso
VMwarePro15.5下载地址:http://www.downza.cn/iopdfbhjl/277470?module=soft&id=277470&token=5e7842a8a1b932c651284bb66a1e686c&isxzq=0
(centos ,wget下载后 rpm -ivh安装)
gitlabce下载地址:https://mirrors.tuna.tsinghua.edu.cn/gitlab-ce/yum/el8/
注意:在用其他的安装包的时候有可能会出现各种问题,为了保险,最好下载官方版本
2.依赖包安装
sudo apt-get update
sudo apt-get install -y curl openssh-server ca-certificates
如果要安装Postifx 来发送邮件,在安装过程中选择“Internet Site”。 也可以使用Sendmail,或者配置客户端SMTP 服务器来发送邮件。
3.邮箱配置
选择Internet那一项,不带Smarthost的
sudo apt-get install -y postfix
3.安装gitlab(坑比较多)
3.1 企业版的gitlab和社区版的gitlab区别
简单的说,企业版拥有社区版的全部功能,下载企业版能正常使用社区版的所有功能,并且在你想要订阅企业版特有的功能的时候不需要关闭服务器,而社区版需要关闭服务器,并且重新配置。而且在下载中社区版的下载更加麻烦,还有可能下载不成功,但是我尝试了下载企业版,下载速度一直很快的。
3.2 下载安装企业版gitlab
curl https://packages.gitlab.com/install/repositories/gitlab/gitlab-ee/script.deb.sh | sudo bash
sudo apt-get update
sudo apt-get install gitlab-ee
3.3 下载安装社区版gitlab
一、如果是在windows上使用VMware安装的Ubuntu,则建议使用桥接模式,可以使下载过程更加稳定。
设置桥接模式:
1、打开VM菜单栏->Settings
2、在弹出的Virtual Machine Setting对话框中点击Network Adapter,在右边的设置选项中选择Bridged
二、打开virtual network editor,并修改默认设置
1、打开Edit菜单栏->virtual network editor
2、在弹出的Virtual Network Editor对话框中选择VMnet0,选择Bridged,并在Bridged to下拉菜单中选择Realtek PCIe GBE Family Controller(本地网卡名称),点击OK,完成设置
3、进入到虚拟机里面,重连网络,这个时候你将会看到虚拟机IP和主机IP在同一网段,与主机在同一网段的开发板也能和虚拟机通信。
二、首先信任GitLab的GPG公钥
curl https://packages.gitlab.com/gpg.key 2> /dev/null | sudo apt-key add - &>/dev/null
接下来打开gitlab-ce.list文本
sudo vim /etc/apt/sources.list.d/gitlab-ce.list
然后写入如下内容
deb https://mirrors.tuna.tsinghua.edu.cn/gitlab-ce/ubuntu xenial main
最后 :wq保存退出。文本写入成功之后,执行下列命令安装GitLab。
sudo apt-get update
sudo apt-get install gitlab-ce
若出现这界面,安装成功。
3.4配置访问路径
sudo vim /etc/gitlab/gitlab.rb
修改 external_url ‘http://127.0.0.1’
或者修改为自己想要的ip
- 安装完成之后更新配置并启动GitLab
打开sshd和postfix服务
service sshd start
service postfix start
更新配置并启动GitLab
sudo gitlab-ctl reconfigure
sudo gitlab-ctl restart
最后输入下列命令, 检查GitLab是否成功运行
sudo gitlab-ctl status
如果成功运行, 在浏览器中输入http://127.0.0.1便可访问到GitLab界面。首次使用时,GitLab会提示设置密码, 设置完成之后便可成功使用,初始的用户名为root
5.配置gitlab
5.1更改服务器IP地址
打开gitlab.yml文件
cd /opt/gitlab/embedded/service/gitlab-rails/config
sudo vim gitlab.yml
找到下列内容


gitlab:
    ## Web server settings (note: host is the FQDN, do not include http://)
    host: localhost
    port: 80
    https: false
将localhost修改为本机IP,例如修改为192.168.1.25

gitlab:
    ## Web server settings (note: host is the FQDN, do not include http://)
    host: 192.168.1.25
    port: 80
    https: false
 修改完成并保存之后,重启GitLab服务器。

sudo gitlab-ctl restart
 重启成功之后,便可通过http://192.168.1.25访问GitLab服务器。
5.2更改服务器端口(没有必要建议不要改,就用默认的80端口)
    如果80和8080端口被其他应用占用, 比如apache, 此时就要更改GitLab服务器端口, 此处将端口改为8081.

    首先打开gitlab.rb文件
cd /etc/gitlab
vim gitlab.rb
找到下列内容
#nginx[‘listen_port’]=nil
修改为(注意解开注释)
nginx[‘listen_port’]=8081
接下来重启GitLab配置
sudo gitlab-ctl reconfigure
sudo gitlab-ctl restart
最后便可用http://192.168.1.25:8081访问gitlab服务器
5.3设置GitLab开机自启动
设置GitLab开机自启动命令为
sudo systemctl enable gitlab-runsvdir.service
禁止GitLab开机自启动命令为
sudo systemctl disable gitlab-runsvdir.service
6.配置gitlab
一、进入gitlab首先修改自己的邮箱,click setting ->Users->eidt
二、权限说明
Guest : 可以创建issue、发表评论,
Reporter : 可以克隆代码,不能提交,QA、PM可以赋予这个权限
Developer :可以克隆代码、开发、提交、push,RD可以赋予这个权限
Maintainer :可以创建项目、添加tag、保护分支、添加项目成员、编辑项目,核心RD负责人可以赋予这个权限
Owner:可以设置项目访问权限 - Visibility Level、删除项目、迁移项目、管理组成员,开发组leader可以赋予这个权限
三、添加用户
click setting ->Users->new user。在这过程中,我把子用户的邮箱设置为公司的邮箱无法接受到邮件,改为QQ邮箱即可正常接受
四、上传与下载
若使用http进行传输,则不需要配置ssh,否则需要配置,这里不做说明
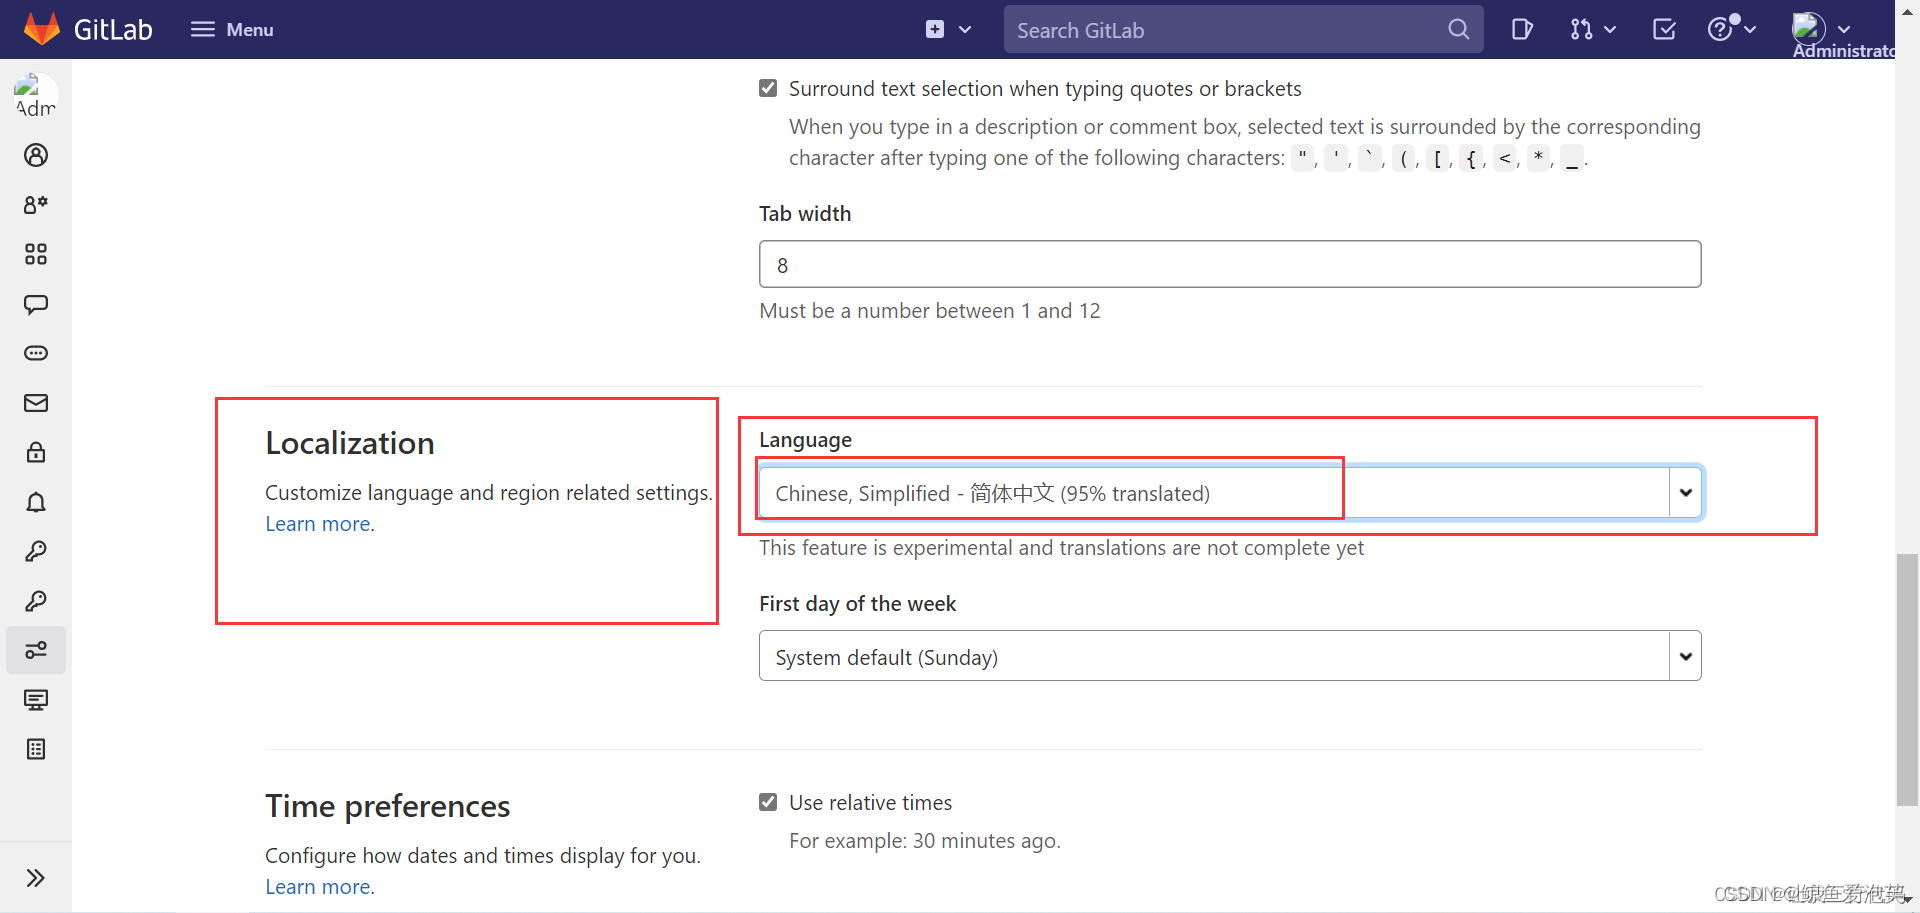
Gitlab中文语言包(汉化)

Gitlab备份
1、备份配置文件
tar -czvf $(date "+etc-gitlab-%s.tar").tar.gz /etc/gitlab/
2、备份数据文件
默认数据备份目录是/var/opt/gitlab/backups,手动创建备份文件:
gitlab-rake gitlab:backup:create
更加贴切的是指定个计划任务(crontab),
https://blog.csdn.net/popo1097/article/details/122991268


 2677
2677


 被折叠的 条评论
为什么被折叠?
被折叠的 条评论
为什么被折叠?
 到【灌水乐园】发言


