


在Bean对象的生命周期的方法中有好几个接口是Aware接口的子接口,所以弄清楚Aware接口对于理解Spring框架还是很有帮助的。
文章目录
Aware接口
Aware接口从字面上翻译过来是感知捕获的含义。单纯的bean(未实现Aware系列接口)是没有知觉的;实现了Aware系列接口的bean可以访问Spring容器。这些Aware系列接口增强了Spring bean的功能,但是也会造成对Spring框架的绑定,增大了与Spring框架的耦合度。(Aware是“意识到的,察觉到的”的意思,实现了Aware系列接口表明:可以意识到、可以察觉到)
接口的源码如下:
public interface Aware {

}
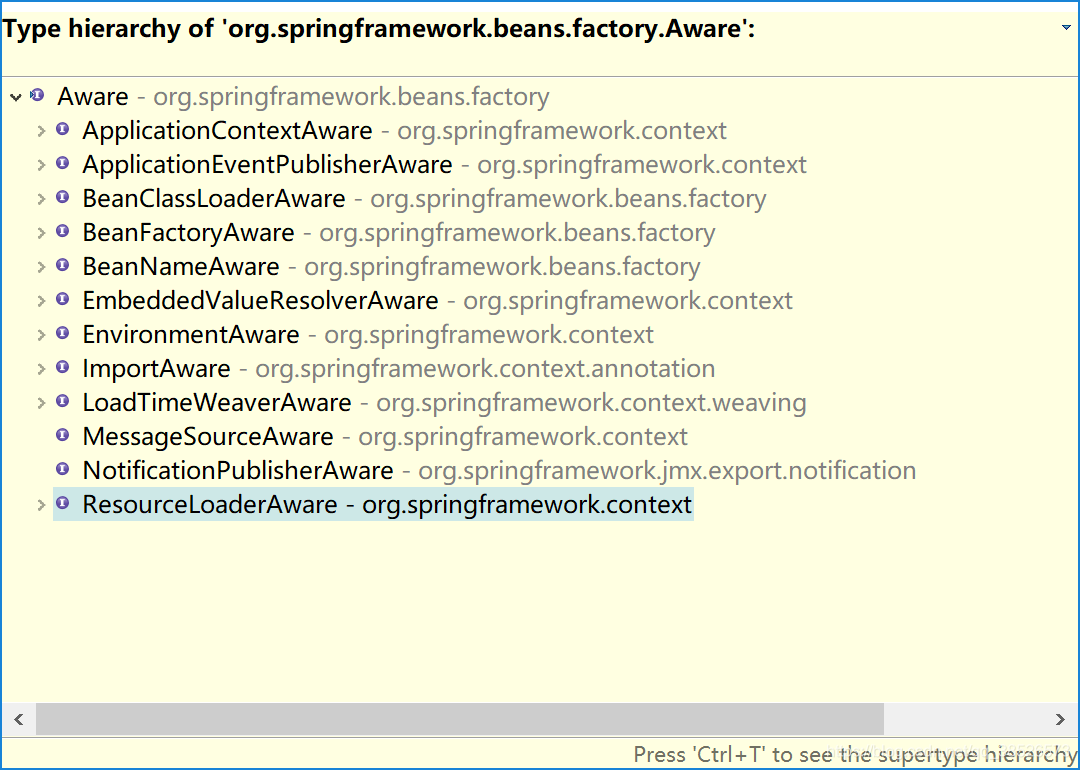
可以发现该接口中并没有定义任何方法,所以这是个标识接口。该接口的子接口有如下:
1.Aware系列接口的共性
- 都以“Aware”结尾
- 都是Aware接口的子接口,即都继承了Aware接口
- 接口内均定义了一个set方法
2.Aware子接口中的set方法
2.1ApplicationContextAware
void setApplicationContext(ApplicationContext applicationContext)
2.2BeanClassLoaderAware
void setBeanClassLoader(ClassLoader classLoader);
2.3BeanFactoryAware
void setBeanFactory(BeanFactory beanFactory)
2.4BeanNameAware
void setBeanName(String name);
…每个子接口都定义了set方法。而方法中的形参是接口Aware前面的内容,也就是当前Bean需要感知的内容。所以我们需要在Bean中声明相关的成员变量来接收。
3.举例说明
目标类
/**
 * 实现了
 * 	ApplicationContextAware
 *  BeanClassLoaderAware
 *  BeanFactoryAware
 *  BeanNameAware
 *  接口
 * @author dengp
 *
 */
public class User implements ApplicationContextAware,BeanClassLoaderAware,BeanFactoryAware,BeanNameAware{

	private int id;

	private String name;
	// 保存感知的信息
	private String beanName;
	// 保存感知的信息
	private BeanFactory beanFactory;
	// 保存感知的信息
	private ApplicationContext ac;
	// 保存感知的信息
	private ClassLoader classLoader;

	public BeanFactory getBeanFactory() {
		return beanFactory;
	}

	public ApplicationContext getAc() {
		return ac;
	}

	public ClassLoader getClassLoader() {
		return classLoader;
	}

	public User(){
		System.out.println("User 被实例化");
	}

	public int getId() {
		return id;
	}

	public void setId(int id) {
		this.id = id;
	}

	public String getName() {
		return name;
	}

	public void setName(String name) {
		this.name = name;
	}

	public String getBeanName() {
		return beanName;
	}

	/**
	 * 自定义的初始化方法
	 */
	public void start(){
		System.out.println("User 中自定义的初始化方法");
	}

	@Override
	public String toString() {
		return "User [id=" + id + ", name=" + name + ", beanName=" + beanName + "]";
	}

	@Override
	public void setBeanClassLoader(ClassLoader classLoader) {
		System.out.println(">>> setBeanClassLoader");
		this.classLoader = classLoader;
	}

	@Override
	public void setApplicationContext(ApplicationContext applicationContext) throws BeansException {
		System.out.println(">>> setApplicationContext");
		this.ac = applicationContext;
	}

	@Override
	public void setBeanName(String name) {
		System.out.println(">>> setBeanName");
		this.beanName = name;
	}

	@Override
	public void setBeanFactory(BeanFactory beanFactory) throws BeansException {
		System.out.println(">>> setBeanFactory");
		this.beanFactory = beanFactory;
	}
}
测试类
@Test
public void test1() {
	ApplicationContext ac = new ClassPathXmlApplicationContext("applicationContext.xml");
	User user = ac.getBean(User.class);
	System.out.println("beanFactory:"+user.getBeanFactory());
	System.out.println("beanName:"+user.getBeanName());
	System.out.println("applicationContext:"+user.getAc());
	System.out.println("classLoader:"+user.getClassLoader());
	System.out.println(user);
}
输出结果
User 被实例化
>>> setBeanName
>>> setBeanClassLoader
>>> setBeanFactory
>>> setApplicationContext
User 中自定义的初始化方法
beanFactory:org.springframework.beans.factory.support.DefaultListableBeanFactory@4520ebad: defining beans [user]; root of factory hierarchy
beanName:user
applicationContext:org.springframework.context.support.ClassPathXmlApplicationContext@311d617d: startup date [Sun Mar 03 22:43:08 CST 2019]; root of context hierarchy
classLoader:sun.misc.Launcher$AppClassLoader@4aa298b7
User [id=0, name=波波烤鸭, beanName=user]
Aware系列接口,主要用于辅助Spring bean访问Spring容器


 724
724

 被折叠的 条评论
为什么被折叠?
被折叠的 条评论
为什么被折叠?
 到【灌水乐园】发言


