


(手把手详细)教你如何使用go-swagger文档
前言
基于go的Swagger文档的配置。网上相关文章几乎全是复制粘贴,描述模糊,很难根据那些粗略的文章配置Swagger文档。本文比较详细,步骤清晰,希望可以帮助到大家。
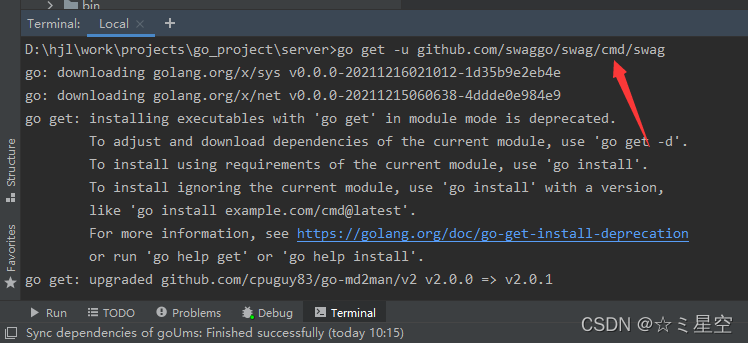
流程1:安装需要用到的包
root@localhost github.com # go get -u github.com/swaggo/swag/cmd/swag
root@localhost github.com # swag -v
swag version v1.4.0

root@localhost github.com # go get -u github.com/swaggo/gin-swagger
root@localhost github.com # go get -u github.com/swaggo/gin-swagger/swaggerFiles
如下图
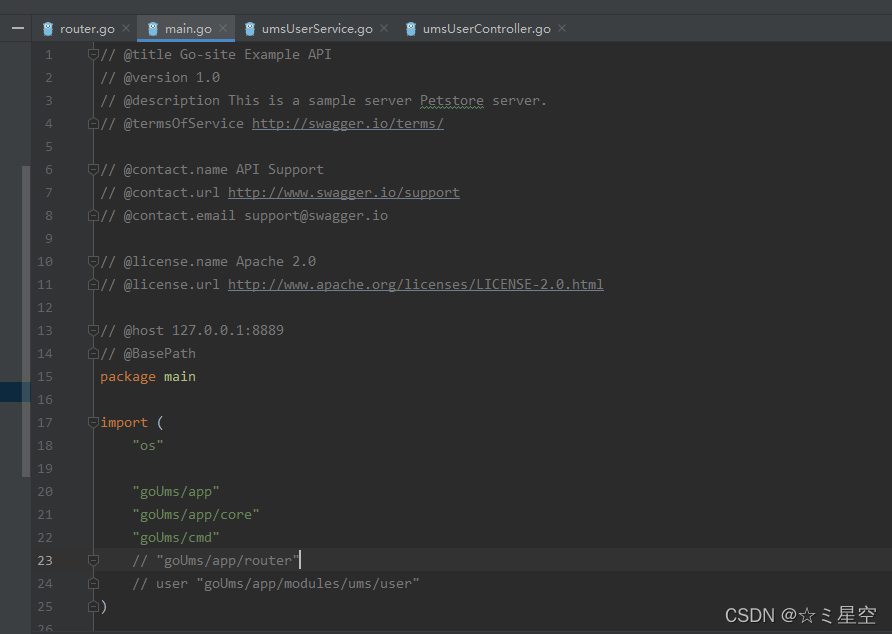
流程2:在main.go上添加以下注释
// @title Go-site Example API
// @version 1.0
// @description This is a sample server Petstore server.
// @termsOfService http://swagger.io/terms/

// @contact.name API Support
// @contact.url http://www.swagger.io/support
// @contact.email support@swagger.io

// @license.name Apache 2.0
// @license.url http://www.apache.org/licenses/LICENSE-2.0.html

// @host 127.0.0.1:8889
// @BasePath
如下图所示:
流程3:在router中添加swagger的handler
// 浏览器输入可以打开页面
// http://localhost:8889/swagger/index.html
router.GET("/swagger/*any", ginSwagger.WrapHandler(swaggerFiles.Handler))
如下图所示:

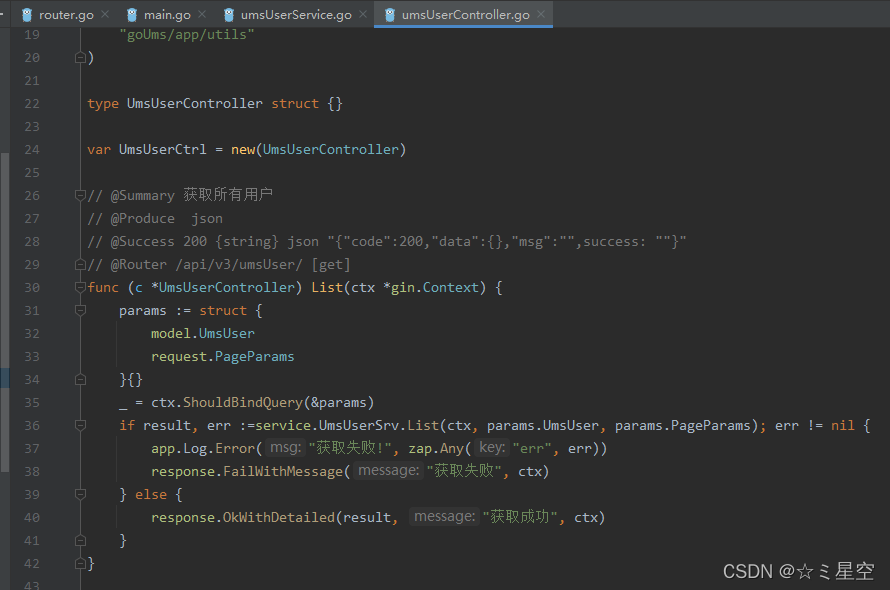
流程4:在controller中添加注释
// @Summary 获取所有用户
// @Produce  json
// @Success 200 {string} json "{"code":200,"data":{},"msg":"",success: ""}"
// @Router /api/v3/umsUser/ [get]
如下图所示:
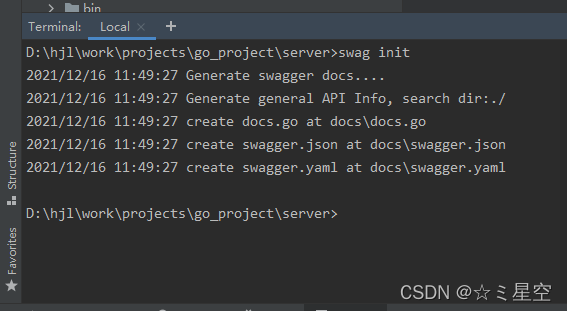
最后一步
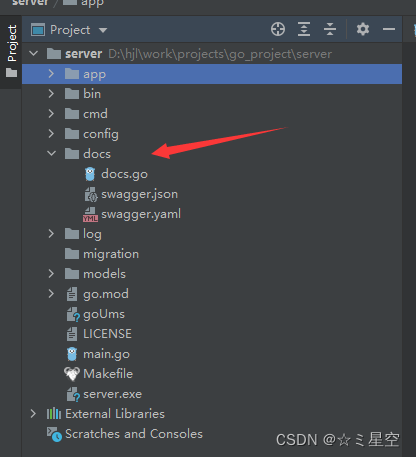
执行以下命令,生成docs文件夹。流程3中第三个箭头指的就是引入这个docs文件夹路径。
swag init
如下图所示:
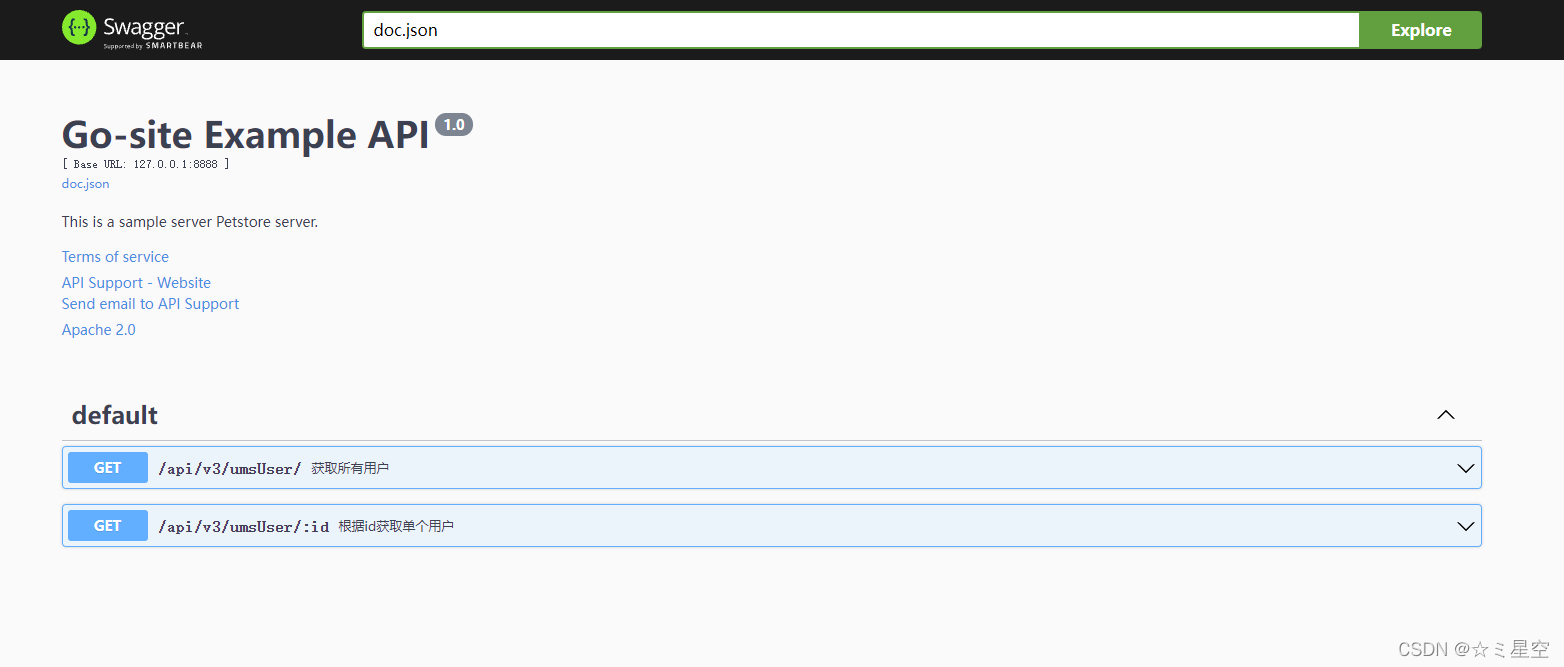
最后访问一下链接,我项目配置的是8889端口
链接: http://127.0.0.1:8889/swagger/index.html
图片:


 1137
1137

 被折叠的 条评论
为什么被折叠?
被折叠的 条评论
为什么被折叠?
 到【灌水乐园】发言


