


先在application.yml加入配置
#这里是用的服务器是SMTP,邮箱是QQ邮箱,默认端口为25端口,如果不知道去百度搜一下
spring.mail.host= smtp.qq.com
#QQ邮箱账户
spring.mail.username= 271066981@qq.com
#这个是授权码不是邮箱密码,需要在邮箱设置里面开通
spring.mail.password= fygafaxvwkfubjbh
spring.mail.properties.mail.smtp.auth= true
spring.mail.properties.mail.smtp.starttls.enable= true
spring.mail.properties.mail.smtp.starttls.required= true
在写一个Servicel类我把整个类都贴出来,
第一个方法是以文本方式发送服务,
第二个是使用的Html的方式发送,设置发送人邮箱的时候如果不想使用配置文件的数据
可直接在上面写字符串格式的发送人邮箱
package com.yunhe.controller;

import org.springframework.beans.factory.annotation.Autowired;
import org.springframework.beans.factory.annotation.Value;
import org.springframework.mail.MailMessage;
import org.springframework.mail.SimpleMailMessage;
import org.springframework.mail.javamail.JavaMailSender;
import org.springframework.mail.javamail.MimeMailMessage;
import org.springframework.mail.javamail.MimeMessageHelper;
import org.springframework.scheduling.annotation.Async;
import org.springframework.stereotype.Service;

import javax.mail.MessagingException;
import javax.mail.internet.MimeMessage;

/**
 * class
 *
 * @author 安能
 * @date 2018年12月17日
 */
@Service
public class MailService {

    @Autowired
    //框架自带的
    private JavaMailSender mailSender;

    @Autowired
    MailService mailService;

    @Value("${spring.mail.username}")
    //发送人的邮箱  比如155156641XX@163.com,使用EL表达式获取在配置文件的发送人邮箱
    private String from;

    @Async  //意思是异步调用这个方法
    public void sendMail(String title, String url, String email) {
        SimpleMailMessage message = new SimpleMailMessage();
        // 发送人的邮箱
        message.setFrom(from);
        //标题
        message.setSubject(title);
        //发给谁  对方邮箱
        message.setTo(email);
        //内容
        message.setText(url);
        //发送
        mailSender.send(message);
    }

    public void sendHtmlMail(String to, String subject, String centent) throws MessagingException {
        MimeMessage mimeMessage = mailSender.createMimeMessage();
        MimeMessageHelper helper = new MimeMessageHelper(mimeMessage, true);
        helper.setFrom(from);
        helper.setTo(to);
        helper.setSubject(subject);
        helper.setText(centent, true);
        mailSender.send(mimeMessage);

    }

}
下面在把控制器里面的信息贴出来
发送文本的控制器就不写了
都是一样的只是把内容换了一下
package com.yunhe.controller;

import org.springframework.stereotype.Controller;
import org.springframework.web.bind.annotation.RequestMapping;
import org.springframework.web.bind.annotation.ResponseBody;
import org.thymeleaf.TemplateEngine;
import org.thymeleaf.context.Context;

import javax.annotation.Resource;
import javax.mail.MessagingException;

/**
 * class
 *
 * @author 安能
 * @date 2018年12月19日
 */
@Controller
public class MailController {

    @Resource
    MailService mailService;

    @Resource
    TemplateEngine templateEngine;


    @RequestMapping("/tomail")
    @ResponseBody
    public String toMail() throws MessagingException {

        String title = "E-mail!";
        String email = "271766981@qq.com";
        Context context = new Context();
//        设置传入模板的页面的参数 参数名为:id 参数随便写一个就行
        context.setVariable("id", "123");
//        emailTemplate是你要发送的模板我这里用的是Thymeleaf
        String process = templateEngine.process("emailTemplate", context);
        mailService.sendHtmlMail(email, title, process);
        return "success";

    }

}
模板部分和普通的没什么区别
<!DOCTYPE html>
<html xmlns:th="http://www.thymeleaf.org" lang="en">
<head>
<meta charset="UTF-8">
<title>Title</title>
</head>
<body>
<div style="border: black;width: 400px;height: 400px;background: #2a6496">
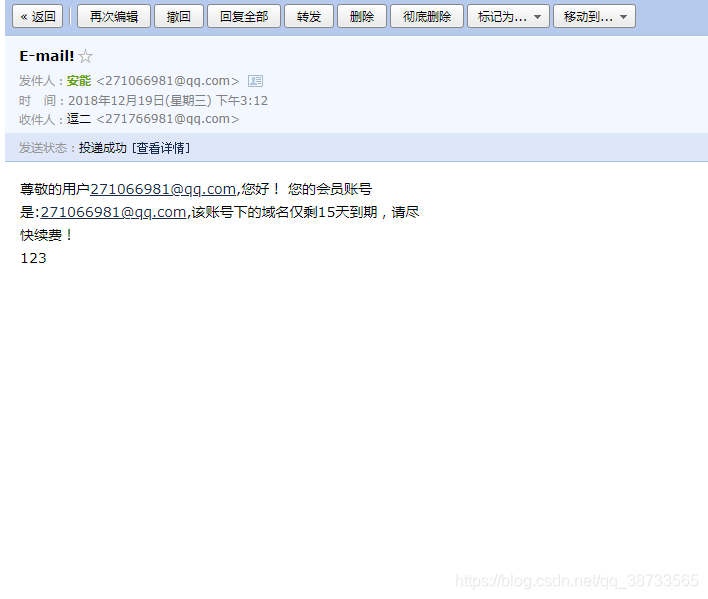
尊敬的用户271066981@qq.com,您好!
您的会员账号是:271066981@qq.com,该账号下的域名仅剩15天到期,请尽快续费!
<div th:text="${id}"></div>
</div>
</body>
</html>现在算是完成了一个简单的SpringBoot发送邮件
把成果贴出来:


 1万+
1万+

 被折叠的 条评论
为什么被折叠?
被折叠的 条评论
为什么被折叠?
 到【灌水乐园】发言


