


二、前端开发—搭建静态网站(1)
本节主要的工作就是 搭建React 环境,以及配置一些常用的库,并且通过 react 搭建网站的顶部导航栏。
准备工作:
最好之前有一些 html 、css 以及 js 的基础。同时学习一些 React 的基础语法。(推荐B站上尚硅谷的React 视频)
开始
使用 create-react-app 创建 react 应用:
# 1.首先使用 npm 在全局安装 create-react-appnpm install -g create-react-app

# 2.在指定目录中创建一个 react 项目工程create-react-app my-blog
# my-blog 是自己设置的项目名称

# 3.进入到指定的项目文件,启动项目cd my-blog

npm run start # 启动项目
项目框架
my-blog
├── node_modules      : 存放 npm 安装的工具包 或 模块
├── public            : 一些静态文件,一般不需要修改,除了网站标题和icon,或者要添加一些特定的东西
|── src               : 项目的源代码及资源
|   ├── api           : 连接后端接口的 js 代码
|   ├── assets        : 存放公共资源
|   ├── component     : 存放项目共用的组件(不会修改其他组件状态)
|   ├── containers    : 存放项目共用的组件(将会修改其他组件状态的组件)
|   ├── redux         : 存放状态管理组件的 js 代码
|   └── index.js      : js 的入口文件
└── package.json      : 项目的配置文件
引入 antd 组件
React 是基于组件化的编程的,我们可以很方便的使用其他人写好的组件,博客中将大量使用 Ant Design 设计体系的 React UI 组件库 所以首先引入 antd 组件库
-
根据官方教程引入 antd 组件库
yarn add antd-
在使用 antd 组件库时,需要自定义它的组件样式,所以还需要安装
craco
bash yarn add @craco/yarn add craco-less -
修改
my-blog\package.json中的scripts属性
/* package.json */ "

scripts": {

-   "start": "react-scripts start",

-   "build": "react-scripts build",

-   "test": "react-scripts test",

+   "start": "craco start",

+   "build": "craco build",

+   "test": "craco test",

}-
在项目根目录创建一个 craco.config.js 即
my-blog\craco.config.js\用于修改默认配置。
const CracoLessPlugin = require('craco-less');module.exports = {
  plugins: [
    {
      plugin: CracoLessPlugin,
      options: {
        lessLoaderOptions: {
          lessOptions: {
            modifyVars: { '@primary-color': '#1DA57A' },
            javascriptEnabled: true,
          },
        },
      },
    },
],};-
项目中会引入一些 antd 的 icon 图标,所以导入 icon 组件
bash yarn add @ant-design/icons
构建静态博客框架
首先修改my-blog\src\index.js 入口文件:
import React from 'react'

import ReactDom from 'react-dom'

import Main from "./components/main/main";

import 'antd/dist/antd.less';   // 导入 antd 组件样式

ReactDom.render(<Main />, document.getElementById('root'))
在 my-blog\src\components\main\ 中新建 main.jsx 文件:
import React, {Component} from "react";import {Layout} from 'antd' const { Header, Footer, Content } = Layout;export default class Main extends Component{
    render() {
        return (
            <Layout>
                <Header>
                    导航栏
                </Header>

                <Content>
                    内容体
                </Content>

                <Footer>
                    页脚
                </Footer>
            </Layout>
        )
    }}
Layout、Header、Content、Footer 都是 antd 中做好的组件,我们只需要拿来用即可。
编写静态导航栏
在 my-blog\src\components\nav-top\ 文件夹中新建 nav-top.jsx 写入:
import React, {Component} from "react";import {MailOutlined,EditFilled,TabletFilled} from '@ant-design/icons'import { Menu } from 'antd';export default class NavTop extends Component{

    state = {
        navList : [
            {
                path: '/index',
                text: '首页',
                icon: <MailOutlined/>
            },
            {
                path: '/project',
                text: '项目',
                icon: <EditFilled />
            },
            {
                path: '/diary',
                text: '日记',
                icon: <TabletFilled />
            },
        ]
    }

    render() {

        const {navList} = this.state

        return (
            <div>
                <Menu theme={"dark"}  mode="horizontal">
                    {
                        navList.map((nav, index) => (
                            <Menu.Item icon={nav.icon} key={nav.path} selected={true}>
                                {nav.text}
                            </Menu.Item>
                        ))
                    }
                </Menu>
            </div>
        )
    }}// Meau 是 antd 的导航菜单组件库,它提供了许多的 api,theme 可以设置主题样式、mode 设置菜单是横向排列还是竖向排列。// 有多少个 Menu.Item ,就有多少个菜单
然后在静态博客框架 main.js 文件中导入 NavTop :
import React, {Component} from "react";import {Layout} from 'antd'import NavTop from "../nav-top/nav-top";const { Header, Footer, Content } = Layout;export default class Main extends Component{
    render() {
        return (
            <Layout>
                <Header>
                    <NavTop />
                </Header>

                <Content>
                    内容体
                </Content>

                <Footer>
                    页脚
                </Footer>
            </Layout>
        )
    }}
导航栏的效果就显示出来了。

但是这和我们之前预想的导航栏效果不一样,这是就需要自定义 antd 组件样式,即覆盖到 antd 原有的组件样式。
自定义 antd 导航栏组件样式
在 my-blog\src\assets\css\ 中新建 index.less 文件:
// 修改导航栏背景样式

.ant-layout-header {

 background: #f0f2f5;

}

.ant-menu{

 background: #f0f2f5;

}// 修改导航栏字体样式

.ant-menu  .anticon + span {

 color: #738192;

}

.ant-menu  .anticon {

 color: #738192;

}

.ant-menu .ant-menu-item-selected  .anticon + span {

 color: #20a0ff;

}

.ant-menu .ant-menu-item-selected .anticon {

 color: #20a0ff;

}
在博客项目中导入 index.less:
// my-blog\src\index.js 中导入  index.less

...

import 'antd/dist/antd.less';  // 导入 antd 组件样式

import './assets/css/index.less'; // 用于覆盖上面 antd 定义的变量,必须放在 antd.less 下方

...
在 my-blog\src\components\nav-top\ 中新建 nav-top.less 样式文件:
.ant-menu {
  display: inline-block;
  float: right;

}
随后,在 同级的文件 nav-top.jsx 中引入 nav-top.less 样式文件:
...
import { Menu } from 'antd';

import "./nav-top.less"  // 引入nav-top.less 样式文件

export default class NavTop extends Component{
...
注: 为什么要在 src\assets\css\ 中新建一个 index.less 样式文件之后,还要在 nav-top.jsx 同级目录中新建一个 nav-top.less 样式文件。
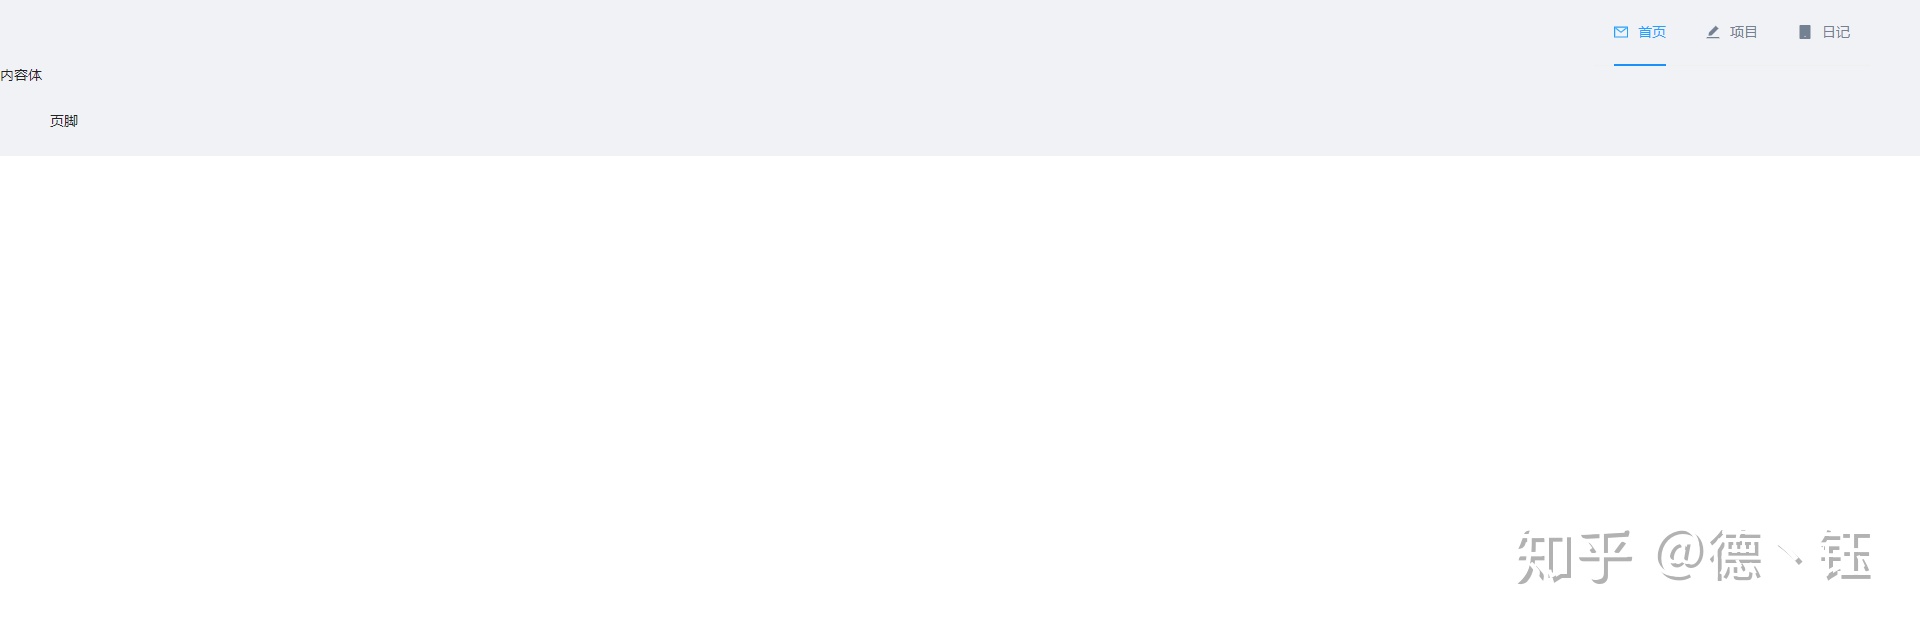
原因是,index.less 中的样式是服务整个网站的,而 nav-top.less 是对 nav-top.jsx 中的 html 样式微调。nav-top 文件也为组件,包含它的样式 less 文件以及 jsx 前端代码。
最后的效果图:
END

这个公众号分享一些
我平时的胡思乱想和其他东西
如果您稍微感兴趣
可以关注一下


 278
278


 被折叠的 条评论
为什么被折叠?
被折叠的 条评论
为什么被折叠?
 到【灌水乐园】发言


