


脚手架的安装
通过node安装
首先,你需要使用 npm 全局安装@tarojs/cli
npm install -g @tarojs/cli
需要安装某个固定版本,或者回到某个版本,例如我们要安装 1.3.9
npm install -g @tarojs/cli@1.3.9
使用
使用命令创建模板项目
taro init myApp

安装时一直回车,会选择Typescript语法、sass预处理语言和默认模板
最后等待自动的cnpm install 拉取模板,这一步是自动的,等待就好

等出现这个提示之后,项目就创建成功了
让项目跑起来
cd 到项目文件夹下,使用npm run dev:h5命令启动项目

启动完成后会自动打开网页显示初始的模板项目

这样,我们就可以根据项目需求开始开发了
接口
在src目录下新建文件夹,在文件夹内新建接口文件
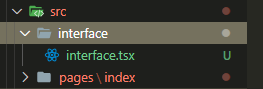
接口的使用
interface.tsx
export interface Istate {
    username: string,
    sex?: string,
    [propname: string]: any
}

export interface IChildProps{
    age:number
}
在需要使用的地方引入
index.tsx
import IState=require("../../interface/interface");
export default class Index extends Component {

  config: Config = {
    navigationBarTitleText: '首页'
  }
  state:IState.Istate={
    username:"张三疯",
    sex:"男",
    userId:"01001"
  }

  render () {
    let {username} = this.state;
    return (
      <View className='index'>
        <Text>Hello world! {username}</Text>
      </View>
    )
  }
}
组件的创建和接口使用
在合适的地方新建组件引入到要使用的文件内并且使用
import Child from './Child'
<View className='index'>
       <Text>Hello world! {username}</Text>
       <Child></Child>
</View>
组件的传值
index.tsx
 <View className='index'>
       <Text>Hello world! {username}</Text>
       <Child age={100}></Child>
</View>
子组件内使用
Child.tsx
return (
      <View className='index'>
        <Text>Child----> {this.props.age}</Text>
      </View>
)
函数的封装和使用
创建函数文件并且新建函数
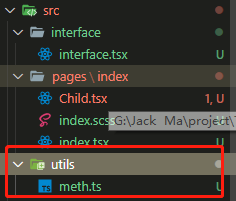
meth.ts
function math(a:number,b:number):number{
    return a+b;
}
export default math;
在需要使用的地方引入
Child.tsx
import math from '../../utils/meth'
return (
      <View className='index'>
        <Text>Child----> {this.props.age}</Text>
        <View>{math(1,2)}</View>
      </View>
)


 4228
4228


 被折叠的 条评论
为什么被折叠?
被折叠的 条评论
为什么被折叠?
 到【灌水乐园】发言


