


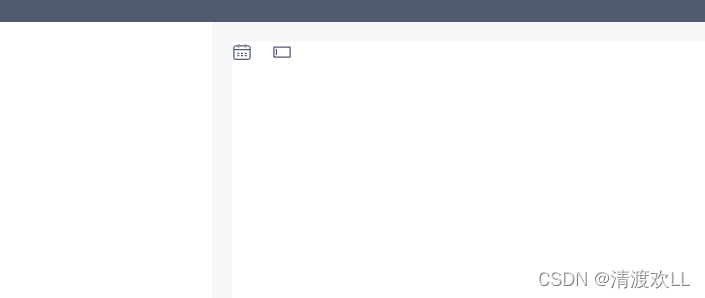
首先看一下要达到的效果,通过 <svg icon-class=“xxx”/> 的方式使用到项目中:
一、安装 svg-sprite-loader 插件
npm install svg-sprite-loader
二、配置vue.config.js (vue-cli@3.xx +)
vue.config.js
const path = require('path')

function resolve(dir) {
    return path.join(__dirname, dir)
}
module.exports = {
	//....
	// 解析svg相关
    chainWebpack(config) {
        // set svg-sprite-loader
        config.module
          .rule('svg')
          .exclude.add(resolve('src/icons'))
          .end()
        config.module
          .rule('icons')
          .test(/\.svg$/)
          .include.add(resolve('src/icons'))
          .end()
          .use('svg-sprite-loader')
          .loader('svg-sprite-loader')
          .options({
            symbolId: 'icon-[name]'
          })
          .end()
      }
}
三、新建目录相关
1、src/components/SvgIcon/index.vue
- vue组件
<template>
  <div
    v-if="isExternal"
    :style="styleExternalIcon"
    class="svg-external-icon svg-icon"
    v-on="$listeners"
  />
  <svg
    v-else
    :class="svgClass"
    aria-hidden="true"
    v-on="$listeners"
  >
    <use :xlink:href="iconName" />
  </svg>
</template>

<script>
// doc: https://panjiachen.github.io/vue-element-admin-site/feature/component/svg-icon.html#usage
function isExternal(path) {
  return /^(https?:|mailto:|tel:)/.test(path)
}

export default {
  name: 'SvgIcon',
  props: {
    iconClass: {
      type: String,
      required: true
    },
    className: {
      type: String,
      default: ''
    }
  },
  computed: {
    isExternal() {
      return isExternal(this.iconClass)
    },
    iconName() {
      return `#icon-${this.iconClass}`
    },
    svgClass() {
      if (this.className) {
        return `svg-icon ${this.className}`
      }
      return 'svg-icon'
    },
    styleExternalIcon() {
      return {
        mask: `url(${this.iconClass}) no-repeat 50% 50%`,
        '-webkit-mask': `url(${this.iconClass}) no-repeat 50% 50%`
      }
    }
  }
}
</script>

<style scoped>
.svg-icon {
  width: 1em;
  height: 1em;
  vertical-align: -0.15em;
  fill: currentColor;
  overflow: hidden;
}

.svg-external-icon {
  background-color: currentColor;
  mask-size: cover!important;
  display: inline-block;
}
</style>
2、src/icons 文件夹
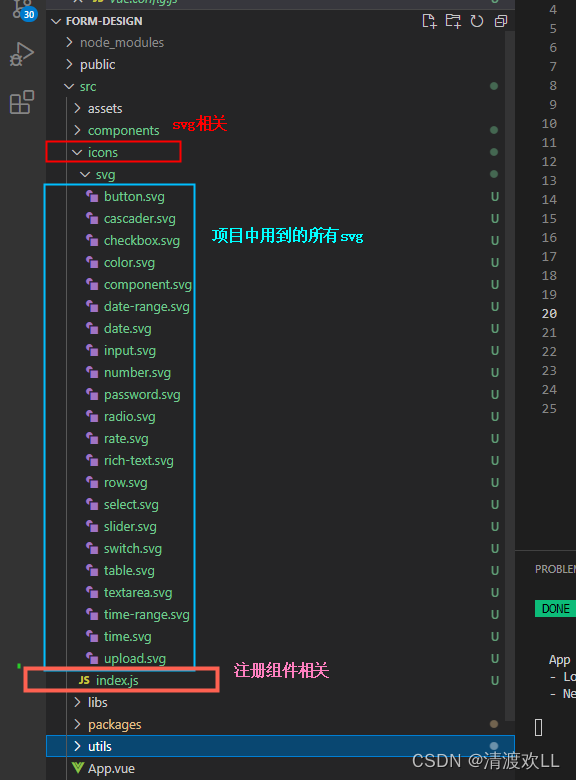
- src/icons/index.js
import Vue from 'vue'
import SvgIcon from '@/components/SvgIcon'// 引入上面封装的svg component

// register globally
Vue.component('svg-icon', SvgIcon)

const req = require.context('./svg', false, /\.svg$/)
const requireAll = requireContext => requireContext.keys().map(requireContext)
requireAll(req)
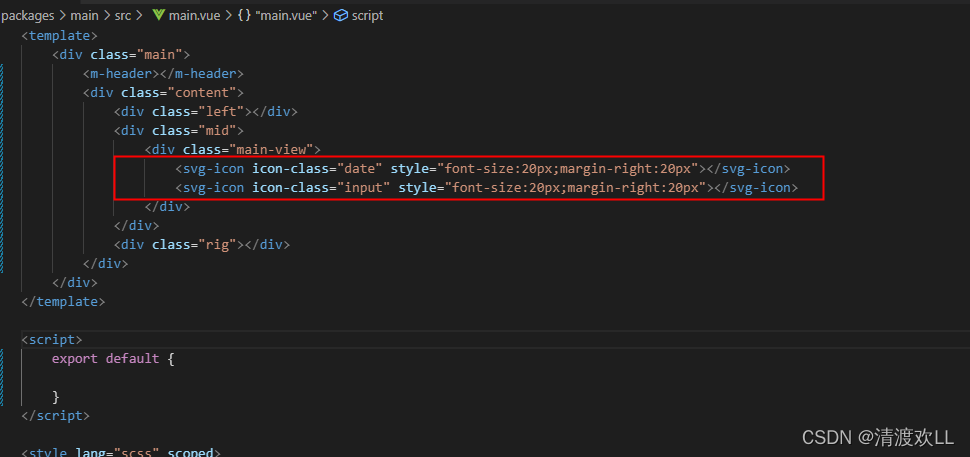
四、使用
 <svg-icon icon-class="date" style="font-size:20px;margin-right:20px"></svg-icon>
 <svg-icon icon-class="input" style="font-size:20px;margin-right:20px"></svg-icon>
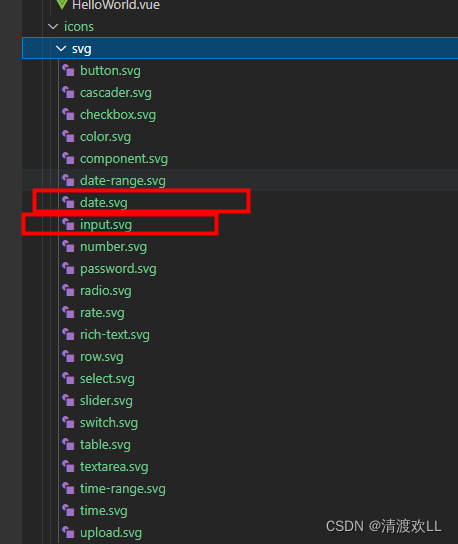
如上,svg标签的icon-class属性对应我们的svg文件夹中的svg名就可以了


 2377
2377


 被折叠的 条评论
为什么被折叠?
被折叠的 条评论
为什么被折叠?
 到【灌水乐园】发言


