


完整的项目结构:

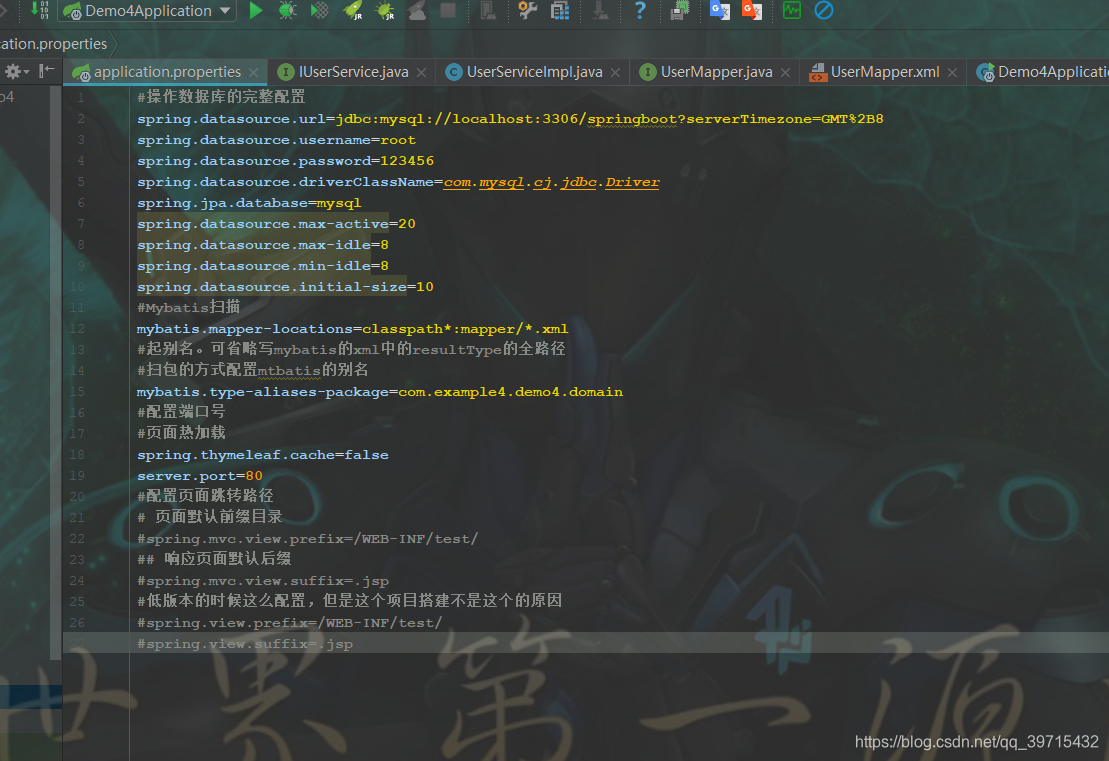
资源文件application.properties
#操作数据库的完整配置
spring.datasource.url=jdbc:mysql://localhost:3306/springboot?serverTimezone=GMT%2B8
spring.datasource.username=root
spring.datasource.password=123456
spring.datasource.driverClassName=com.mysql.cj.jdbc.Driver
spring.jpa.database=mysql
spring.datasource.max-active=20
spring.datasource.max-idle=8
spring.datasource.min-idle=8
spring.datasource.initial-size=10
#Mybatis扫描
mybatis.mapper-locations=classpath*:mapper/*.xml
#起别名。可省略写mybatis的xml中的resultType的全路径
#扫包的方式配置mtbatis的别名
mybatis.type-aliases-package=com.example4.demo4.domain
#配置端口号
#页面热加载
spring.thymeleaf.cache=false
server.port=80
#配置页面跳转路径
页面默认前缀目录
#spring.mvc.view.prefix=/WEB-INF/test/
响应页面默认后缀
#spring.mvc.view.suffix=.jsp
#低版本的时候这么配置,但是这个项目搭建不是这个的原因
#spring.view.prefix=/WEB-INF/test/
#spring.view.suffix=.jsp
controller

service

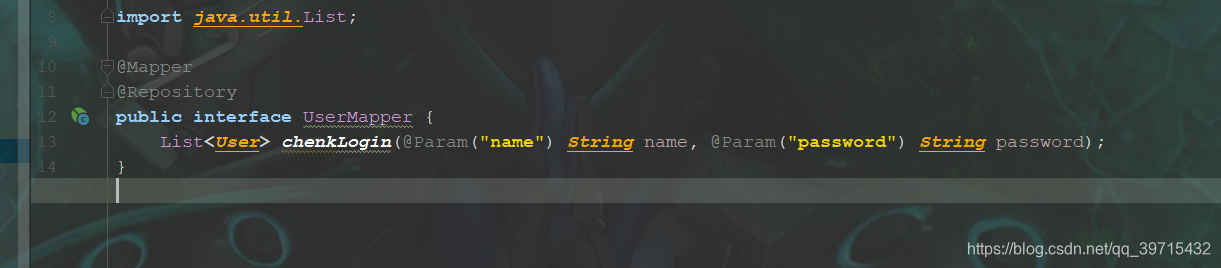
mapper:
mapper.xml文件
<?xml version="1.0" encoding="UTF-8" ?>
<!DOCTYPE mapper PUBLIC "-//mybatis.org//DTD Mapper 3.0//EN" "http://mybatis.org/dtd/mybatis-3-mapper.dtd" >
<mapper namespace="com.example5.demo5.mapper.UserMapper" >
    <select id="checkLogin" resultType="User">
        SELECT * FROM t_login WHERE name=#{name} AND password=#{password}
    </select>
</mapper>
注:注意应用文件Demo4Application的位置,一定要能够扫描到所有的包


 839
839


 被折叠的 条评论
为什么被折叠?
被折叠的 条评论
为什么被折叠?
 到【灌水乐园】发言


