


canal同步mysql数据到es
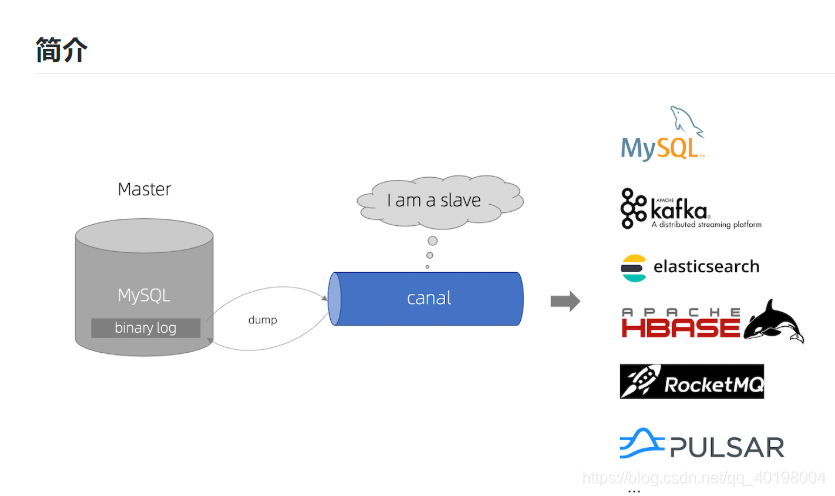
更多请看:https://github.com/alibaba/canal/wiki
1.环境
centos7
jdk1.8
ElasticSearch:6.x(我的是6.7.1)
Kibana:6.x
canal.deployer:1.1.4(不支持es 7版)
canal.adapter:1.1.4
下载地址: https://github.com/alibaba/canal/releases
说明:这里需要下载的是:
1、canal.deployer1.1.4版本- - - 可以理解为相当于canal的服务端
2、canal.adapter1.1.4版本- - - 可以理解为相当于canal的插件
3、最新的是1.1.5版本,但是是快照版,我们这里还是选择稳定版本
es和kibana的安装:https://blog.csdn.net/qq_40198004/article/details/89194129
mysql的配置
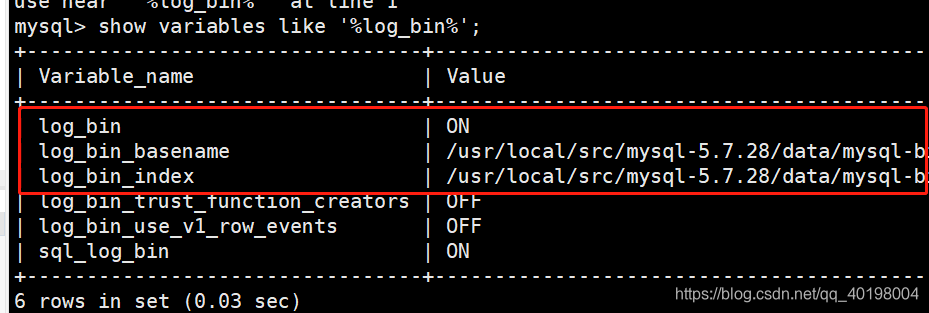
开启MySQL的 binlog 写入功能,配置 binlog-format 为 ROW 模式
找到my.cnf文件,我的是/etc/my.cnf,添加以下配置:
log-bin=mysql-bin   # 开启 binlog
binlog-format=ROW   # 选择 ROW 模式
server_id=1        # 配置 MySQL replaction 需要定义,不要和 canal 的 slaveId 重复

重启mysql:service mysql restart
查看是否开启 binlog: show variables like '%log_bin%';
准备:es_db数据库
CREATE DATABASE es_db;
创建tb_item表
CREATE TABLE `tb_item` (
  `id` bigint(20) NOT NULL AUTO_INCREMENT COMMENT '商品id,同时也是商品编号',
  `title` varchar(100) NOT NULL COMMENT '商品标题',
  `sell_point` varchar(500) DEFAULT NULL COMMENT '商品卖点',
  `price` decimal(20,2) NOT NULL COMMENT '商品价格,单位为:分',
  `num` int(10) NOT NULL COMMENT '库存数量',
  `brand` varchar(255) DEFAULT NULL COMMENT '品牌',
  `barcode` varchar(30) DEFAULT NULL COMMENT '商品条形码',
  `image` varchar(500) DEFAULT NULL COMMENT '商品图片',
  `cid` bigint(10) NOT NULL COMMENT '所属类目,叶子类目',
  `status` tinyint(4) NOT NULL DEFAULT '1' COMMENT '商品状态,1-正常,2-下架,3-删除',
  `created` timestamp NOT NULL DEFAULT CURRENT_TIMESTAMP COMMENT '创建时间',
  `updated` timestamp NULL DEFAULT NULL COMMENT '更新时间',
  PRIMARY KEY (`id`),
  KEY `cid` (`cid`),
  KEY `status` (`status`),
  KEY `updated` (`updated`),
  KEY `title` (`title`)
) ENGINE=InnoDB  DEFAULT CHARSET=utf8 COMMENT='商品表';
canal.deployer修改配置
打开canal.deployer-1.1.4/conf/example/instance.properties修改
## mysql serverId , v1.0.26+ will autoGen
#  这个东西可以不设置,如果要设置别和上面mysql配置文件中的值重复就行
# canal.instance.mysql.slaveId=0

# enable gtid use true/false
canal.instance.gtidon=false

# position info
#mysql启动的ip:端口  #例如:192.168.34.66:3306
canal.instance.master.address=192.168.221.132:3306

## 这个可以根据需要修改过滤,默认是直接监听所有
canal.instance.filter.regex=.*\\..*

# username/password 自己的用户名和密码(也可以是root)
canal.instance.dbUsername=canal
canal.instance.dbPassword=canal
canal.instance.connectionCharset = UTF-8
启动./bin/startup.sh
查看日志:cat logs/canal/canal.log
canal.adapter修改配置
1.修改adapter-1.1.4/conf/application.yml
server:
  port: 8081
spring:
  jackson:
    date-format: yyyy-MM-dd HH:mm:ss
    time-zone: GMT+8
    default-property-inclusion: non_null

canal.conf:
  mode: tcp # kafka rocketMQ
## 修改成自己canal-deployer启动的ip和端口 默认端口是:11111
  canalServerHost: 192.168.221.132:11111
#  zookeeperHosts: slave1:2181
#  mqServers: 127.0.0.1:9092 #or rocketmq
#  flatMessage: true
  batchSize: 500
  syncBatchSize: 1000
  retries: 0
  timeout:
  accessKey:
  secretKey:
  srcDataSources:
    defaultDS:
      url: jdbc:mysql://192.168.221.132:3306/es_db?useUnicode=true # mysql的地址和端口
      username: canal
      password: canal
  canalAdapters:
  - instance: example # canal instance Name or mq topic name
    groups:
    - groupId: g1
      outerAdapters:
      - name: logger
#      - name: rdb
#        key: mysql1
#        properties:
#          jdbc.driverClassName: com.mysql.jdbc.Driver
#          jdbc.url: jdbc:mysql://127.0.0.1:3306/mytest2?useUnicode=true
#          jdbc.username: root
#          jdbc.password: 121212
#      - name: rdb
#        key: oracle1
#        properties:
#          jdbc.driverClassName: oracle.jdbc.OracleDriver
#          jdbc.url: jdbc:oracle:thin:@localhost:49161:XE
#          jdbc.username: mytest
#          jdbc.password: m121212
#      - name: rdb
#        key: postgres1
#        properties:
#          jdbc.driverClassName: org.postgresql.Driver
#          jdbc.url: jdbc:postgresql://localhost:5432/postgres
#          jdbc.username: postgres
#          jdbc.password: 121212
#          threads: 1
#          commitSize: 3000
#      - name: hbase
#        properties:
#          hbase.zookeeper.quorum: 127.0.0.1
#          hbase.zookeeper.property.clientPort: 2181
#          zookeeper.znode.parent: /hbase
      - name: es
        hosts: 192.168.221.132:9300 # 127.0.0.1:9200 for rest mode
        properties:
#          mode: transport # or rest
#          # security.auth: test:123456 #  only used for rest mode
          cluster.name: my-application
注意和es中配置对应

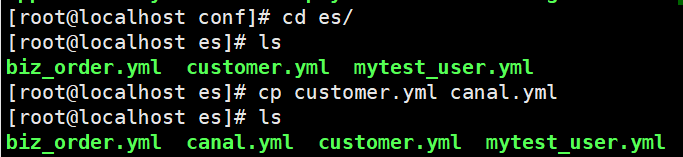
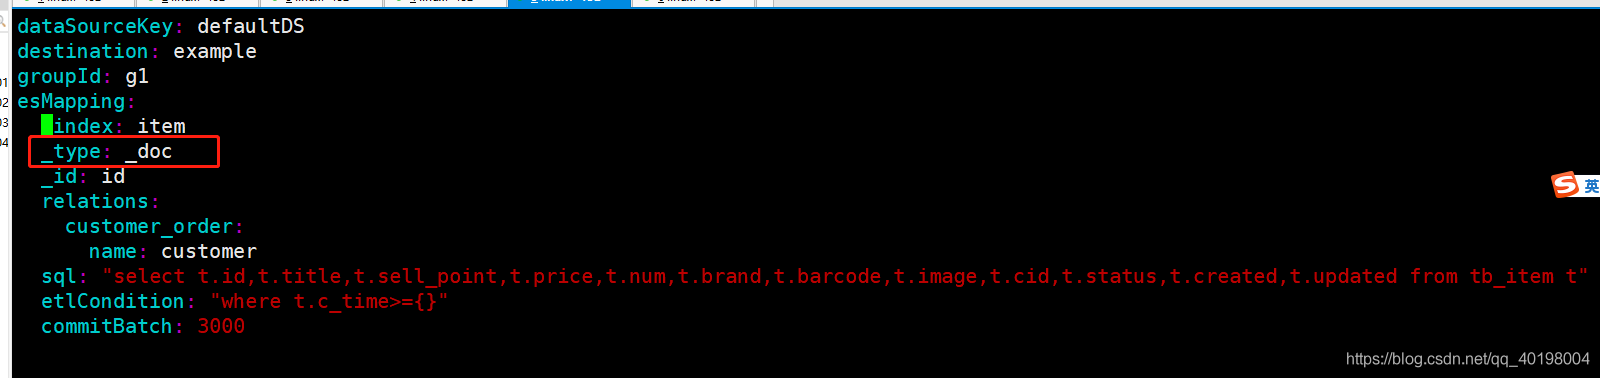
2.进入到adapter-1.1.4/conf/es文件中
cp customer.yml canal.yml
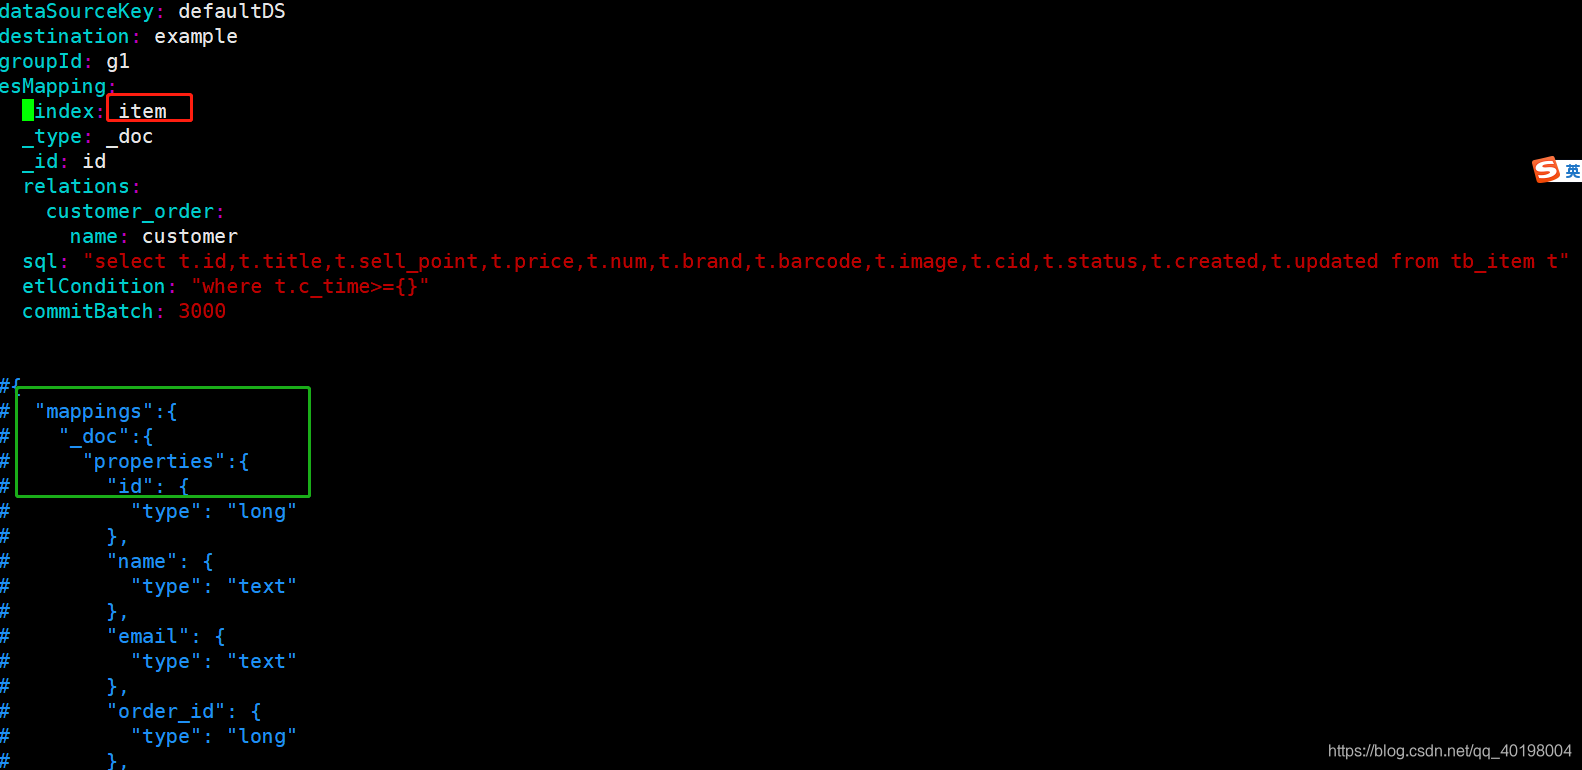
dataSourceKey: defaultDS
destination: example
groupId: g1
esMapping:
  _index: item
  _type: _doc
  _id: id
  relations:
    customer_order:
      name: customer
  sql: "select t.id,t.title,t.sell_point,t.price,t.num,t.brand,t.barcode,t.image,t.cid,t.status,t.created,t.updated from tb_item t"
  etlCondition: "where t.c_time>={}"
  commitBatch: 3000
mappings不要配
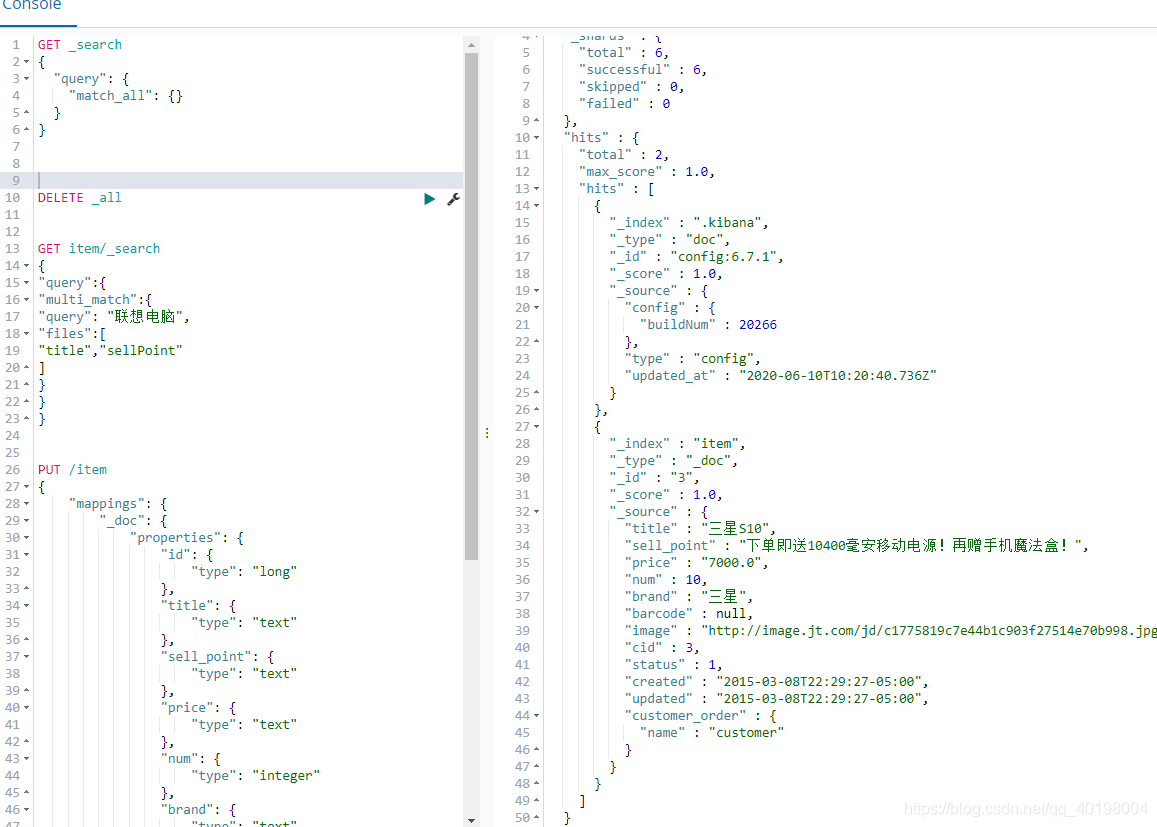
3.然后在kibana创建索引和映射
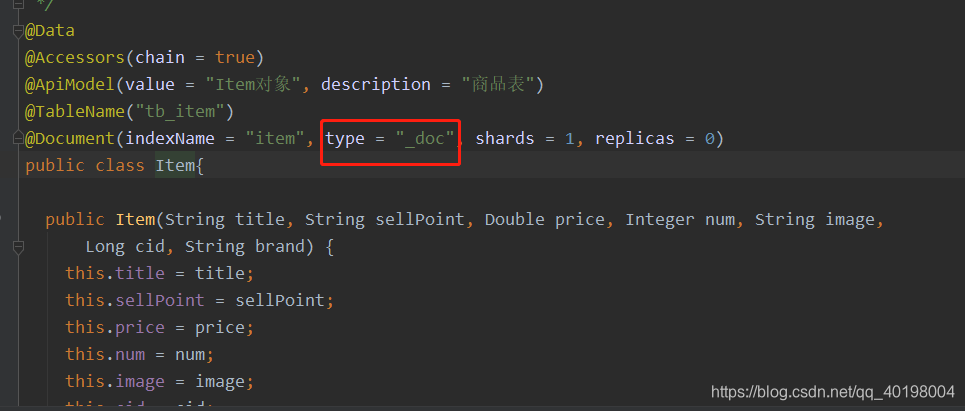
注意
6.x是有type的且必须都对应
PUT /item
{
    "mappings": {
        "_doc": {
            "properties": {
                "id": {
                    "type": "long"
                },
                "title": {
                    "type": "text"
                },
                "sell_point": {
                    "type": "text"
                },
                "price": {
                    "type": "text"
                },
                "num": {
                    "type": "integer"
                },
                "brand": {
                    "type": "text"
                },
                "barcode": {
                    "type": "text"
                },
				"image": {
                    "type": "text"
                },
				"cid": {
                    "type": "long"
                },
				"status": {
                    "type": "short"
                },
				"created": {
                    "type": "date"
                },
				"updated": {
                    "type": "date"
                }
            }
        }
    }
}
4.启动:./bin/startup.sh
查看日志:cat logs/adapter/adapter.log

adapter-1.1.4/conf/es的yml
4.插入es_db数据库的tb_item表
INSERT INTO `tb_item` VALUES ('3', '三星S10', '下单即送10400毫安移动电源!再赠手机魔法盒!', '7000.00', '10', '三星', null, 'http://image.jt.com/jd/c1775819c7e44b1c903f27514e70b998.jpg', '3', '1', '2015-03-08 21:29:27', '2015-03-08 21:29:27');
5.更新数据
UPDATE tb_item set title='华为P40',brand='华为' where id=3;
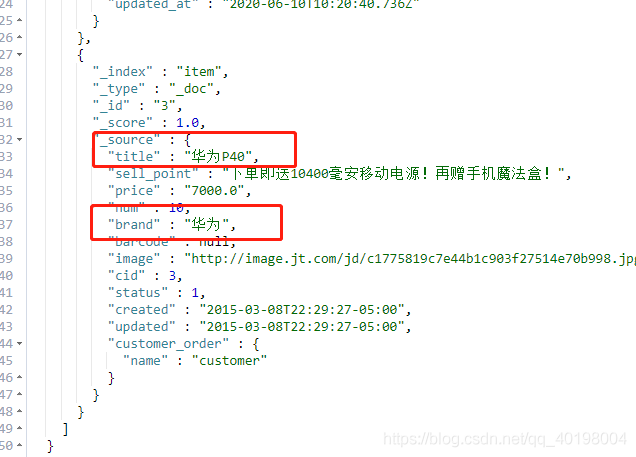
增删改是可以的,删除自己试试吧
参考:
https://blog.csdn.net/tuesdayma/article/details/103294448
https://segmentfault.com/a/1190000019066098?utm_source=tag-newest
https://www.cnblogs.com/dalaoyang/p/11069850.html
https://www.cnblogs.com/caoweixiong/p/11825303.html


 711
711


 被折叠的 条评论
为什么被折叠?
被折叠的 条评论
为什么被折叠?
 到【灌水乐园】发言


