


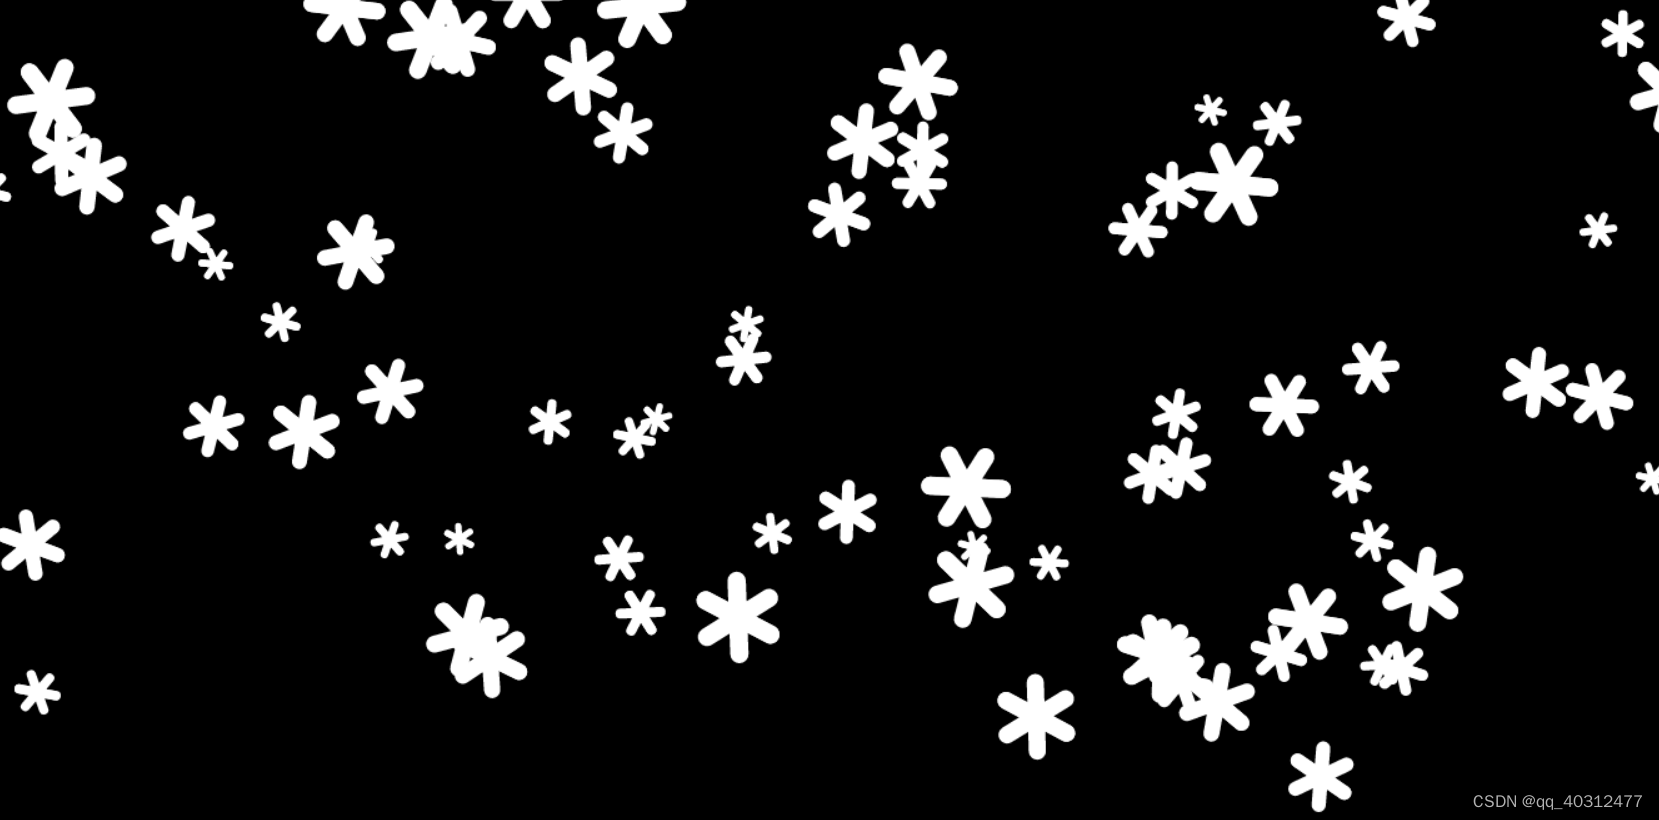
雪花飘落1
生成固定数量的雪花飘落背景图。可以采用两种方式生成雪花,其一用canvas路径画出来,其二用背景图片。
【基本思路】实现一个雪花的类,循环生成大量雪花并存入数组中维护。开启定时器,清除画布,计算雪花的位置,再重新渲染出数组中所有的雪花。
    <script>
        let img = new Image();
        img.src = './snow.png'
        var canvas = document.getElementById('snow');
        var context = canvas.getContext('2d');
        // 获得可视区的宽高
        canvas.width = window.innerWidth;
        canvas.height = window.innerHeight;
        //生成雪花的构造函数
        function Snow(x, y, scale, rotate, speedX, speedY, speedR) {
            this.x = x;
            this.y = y;
            this.scale = scale;
            this.rotate = rotate;
            this.speedX = speedX;
            this.speedY = speedY;
            this.speedR = speedR;
            // 渲染雪花
            this.render = function () {
                context.save();
                context.beginPath();
                context.translate(this.x, this.y);
                context.scale(this.scale, this.scale);
                //实现雪花的形态
                // context.rotate(this.rotate * Math.PI / 180);
                // context.moveTo(-20, 0);
                // context.lineTo(20, 0);
                // context.strokeStyle = '#fff';//白色雪花
                // context.lineWidth = 10;
                // context.lineCap = 'round';//线头圆
                // context.stroke();
                // 角度转弧度
                // var disX = Math.sin(30 * Math.PI / 180) * 20;
                // var disY = Math.sin(60 * Math.PI / 180) * 20;
                 // 画第三条线
                // context.moveTo(-disX, disY);
                // context.lineTo(disX, -disY);
                // context.moveTo(-disX, -disY);
                // context.lineTo(disX, disY);
                // context.stroke();

                context.drawImage(img,this.x,this.y,30,30);//用图片替换上面的雪花
                context.restore();

            }

        }
        // 存储所有生成的雪花
        var snowArray = [];
        // 生成雪花
        function init() {
            var len = 100;
            for (var i = 0; i < len; i++) {
                var x = Math.random() * canvas.width;
                var scale = Math.random() + 0.5;
                var rotate = Math.random() * 60;
                var speedX = Math.random() + 1
                var speedY = Math.random() + 5;
                var speedR = Math.random() * 4 + 2;
                (function (x, y, scale, rotate, speedX, speedY, speedR) {
                    setTimeout(function () {
                        var snow = new Snow(x, 0, scale, rotate, speedX, speedY, speedR);
                        snow.render();
                        snowArray.push(snow);
                    }, Math.random() * 8000);
                })(x, 0, scale, rotate, speedX, speedY, speedR);
            }
            snowing();
        }
        init();
        // 动起来
        function snowing() {
            setInterval(function () {
                //先清除
                context.clearRect(0, 0, canvas.width, canvas.height);
                for (var i = 0; i < snowArray.length; i++) {
                    snowArray[i].x = (snowArray[i].x + snowArray[i].speedX) % canvas.width;
                    snowArray[i].y = (snowArray[i].y + snowArray[i].speedY) % canvas.height;
                    snowArray[i].rotate = (snowArray[i].rotate + snowArray[i].speedR) % 60;
                    snowArray[i].render();
                }
            }, 60);
        }

        /**
         * sin60 = 对边/斜边 =>  对边 = sin60*斜边  =>  y=sin60*半径(r);
         */
    </script>
雪花飘落2
思路和上面大致相同。区别在于监听鼠标的移动位置,在鼠标位置飘落雪花。这里没有用定时器而是采用requestAnimationFrame()递归控制雪花的运动。
    <script>
        let img = new Image();
        img.src = './snow.png'
        let canvas = document.querySelector('.my-canvas');
        let width = document.body.clientWidth;
        let height = document.body.clientHeight;
        canvas.width = width;
        canvas.height = height;
        let ctx = canvas.getContext('2d');
        let SnowArr = [];
        class Snow {
            constructor(x, y, r) {
                this.x = x;
                this.y = y;
                this.r = r;
                //设置行进方向
                this.dx = 1 + parseInt(Math.random() * 5) - 2; // -5可以朝着四面八方运动
                //设置行进方向
                this.dy = 1 + parseInt(Math.random() * 10); // 如果不减5,就会朝着右、下运动
                //将这个雪花维护到数组中
                SnowArr.push(this);
            }
            update() {
                //雪花的运动
                this.x += this.dx;
                this.y += this.dy;
                // this.r -= 0.4;
                //如果雪花的半径小于0,就从数组中删除
                if (this.y > canvas.height) {
                    this.remove();
                }

            };
            render() {
                ctx.beginPath();
                ctx.drawImage(img, this.x, this.y, 30, 30);

            }
            remove() {
                for (var i = 0; i < SnowArr.length; i++) {
                    if (SnowArr[i] == this) {
                        SnowArr.splice(i, 1);
                    }
                }
            }
        }

        canvas.addEventListener('mousemove', (e) => {
            //跟随鼠标移动生成随机颜色的雪花
            new Snow(e.offsetX, e.offsetY, 30);
        })
        const snowing = () => {
            ctx.clearRect(0, 0, canvas.width, canvas.height);
            for (let i = 0; i < SnowArr.length; i++) {
                SnowArr[i].update();//每隔10ms更新雪花的位置,渲染
                if (SnowArr[i]) SnowArr[i].render();
            }
            requestAnimationFrame(snowing)
        }
        //利用requestAnimationFrame
        requestAnimationFrame(snowing)
        window.addEventListener('resize', () => {
            canvas.width = window.innerWidth;
            canvas.height = window.innerHeight;
        })
    </script>


 135
135


 被折叠的 条评论
为什么被折叠?
被折叠的 条评论
为什么被折叠?
 到【灌水乐园】发言


