


网站:实现"新手引导"效果
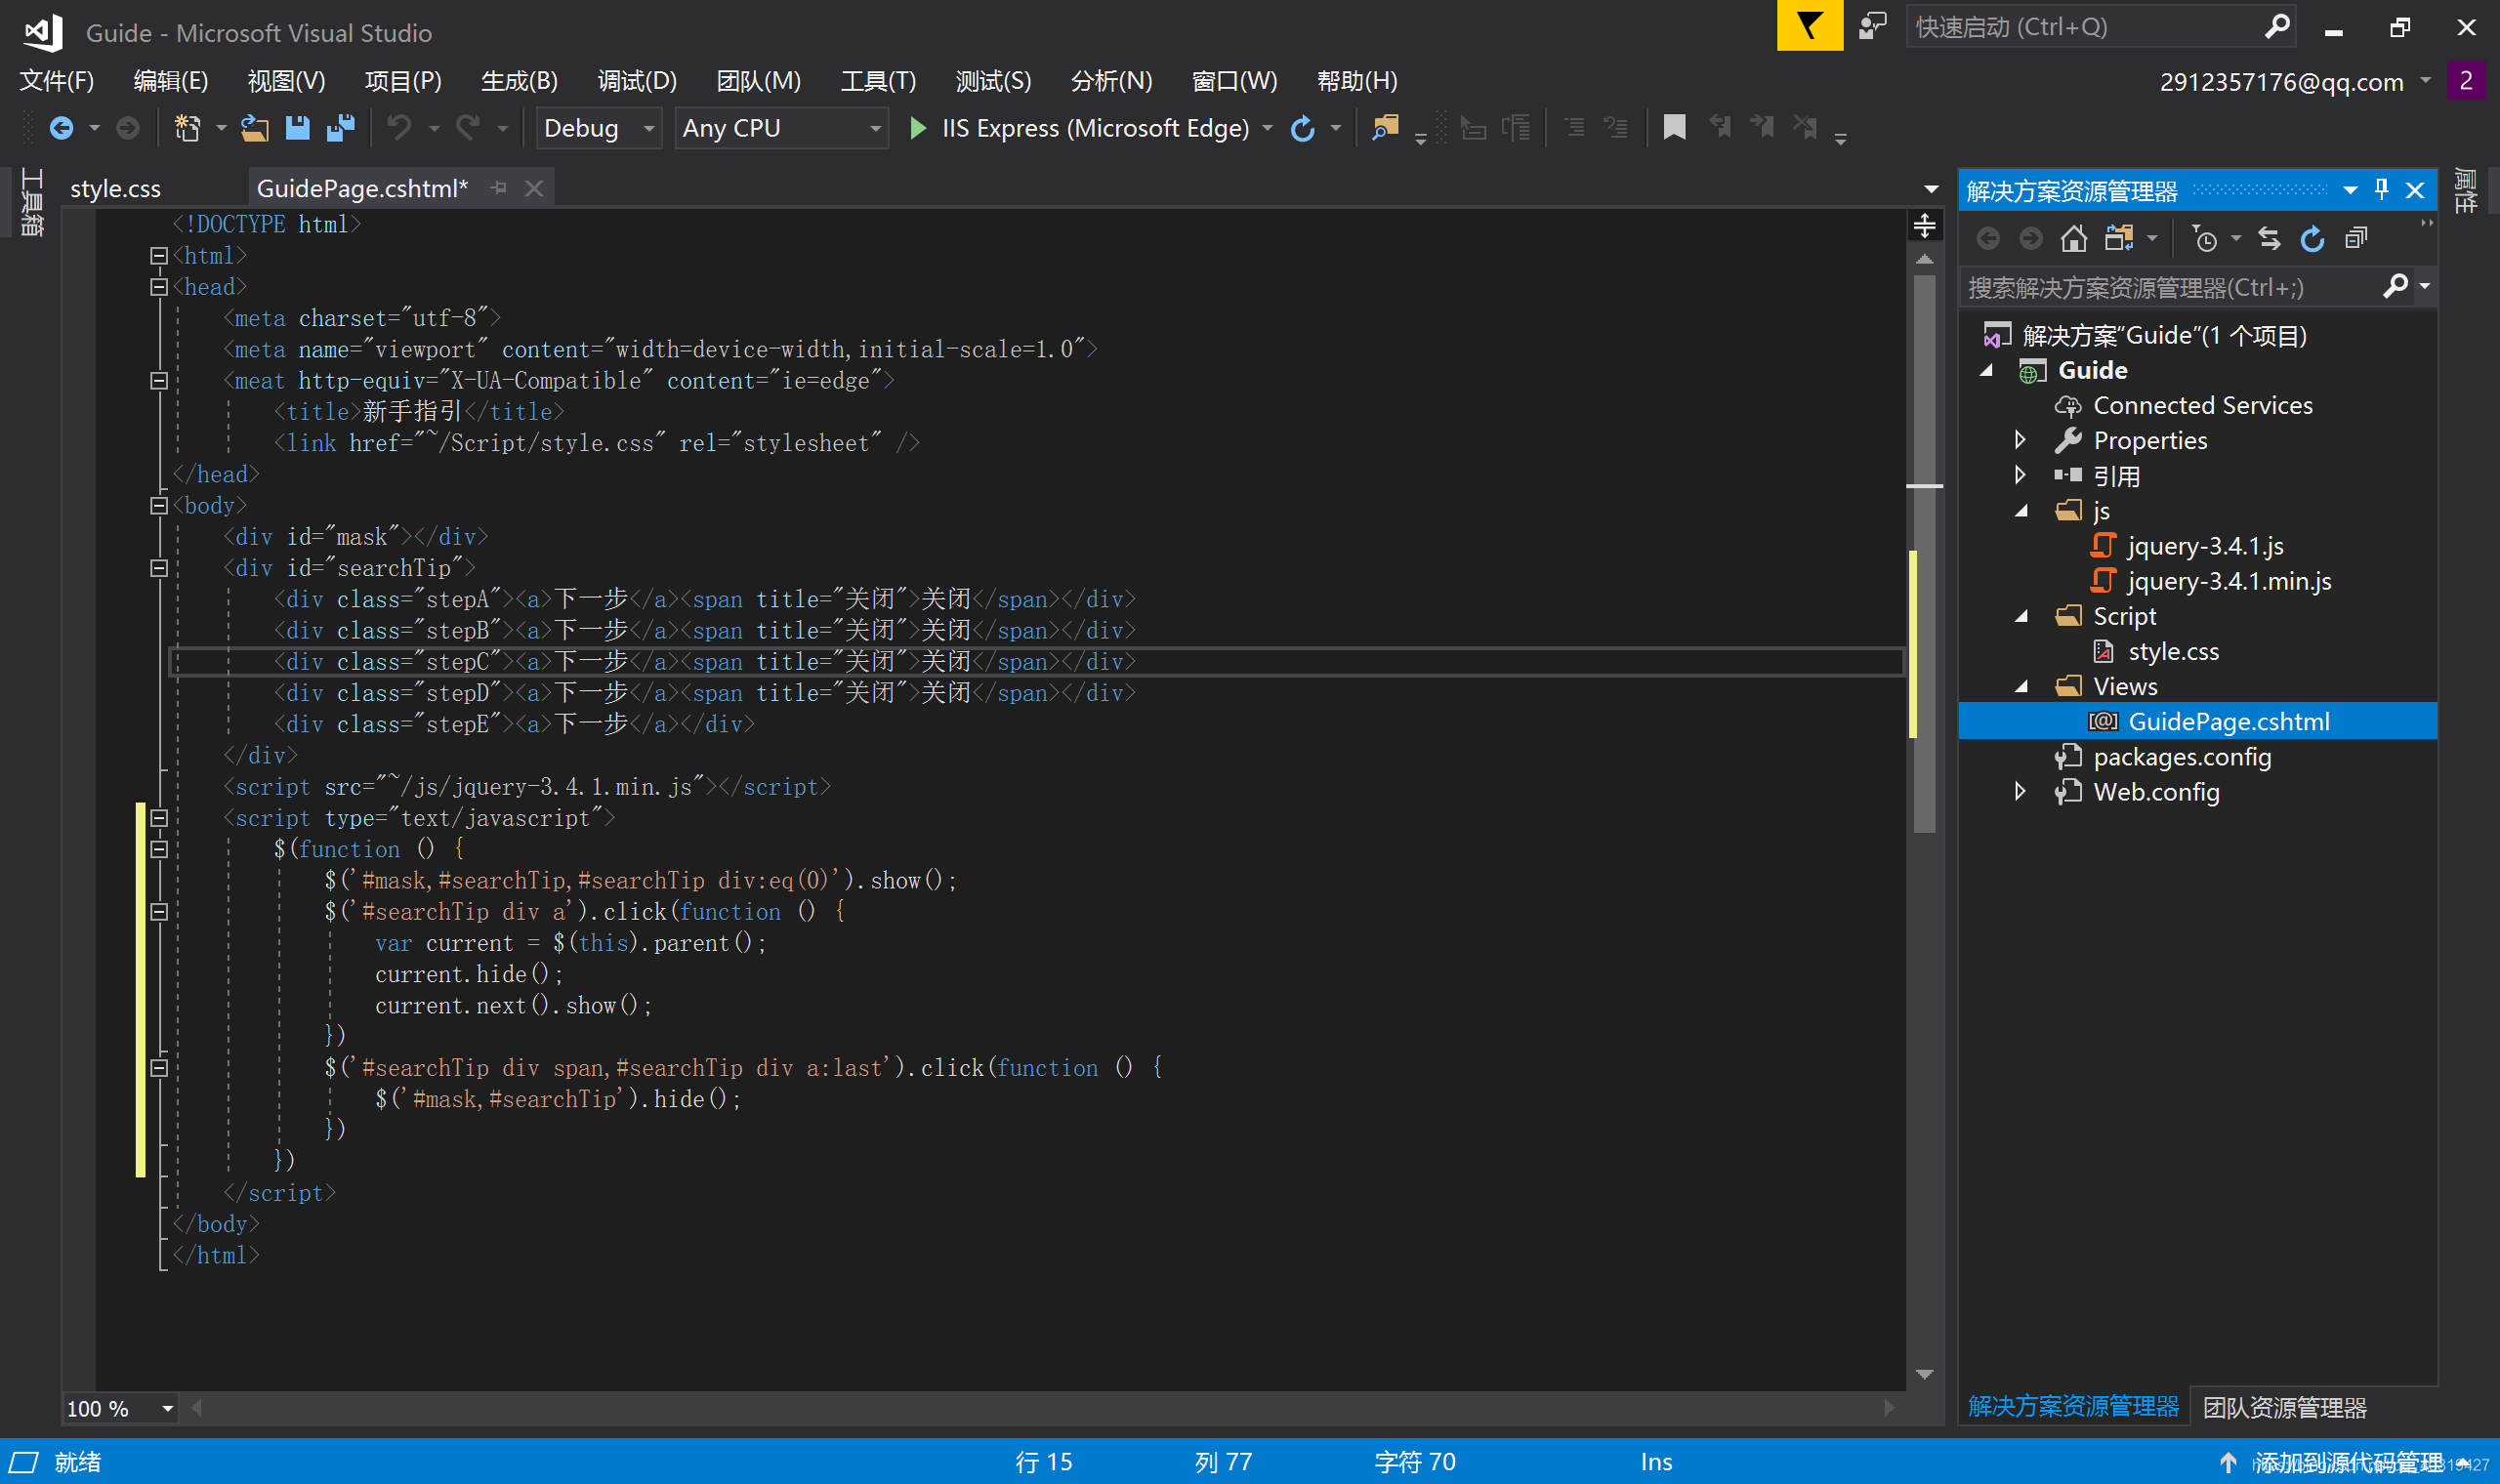
一、HTML结构布局
<!DOCTYPE html>
<html>
<head>
    <meta charset="utf-8">
    <meta name="viewport" content="width=device-width,initial-scale=1.0">
    <meat http-equiv="X-UA-Compatible" content="ie=edge">
        <title>新手指引</title>
        <link href="~/Script/style.css" rel="stylesheet" />
</head>
<body>
    <div id="mask"></div>
    <div id="searchTip">
        <div class="stepA"><a>下一步</a><span title="关闭">关闭</span></div>
        <div class="stepB"><a>下一步</a><span title="关闭">关闭</span></div>
        <div class="stepC"><a>下一步</a><span title="关闭">关闭</span></div>
        <div class="stepD"><a>下一步</a><span title="关闭">关闭</span></div>
        <div class="stepE"><a>下一步</a></div>
    </div>
    <script src="~/js/jquery-3.4.1.min.js"></script>
    <script type="text/javascript">
        $(function () {
            $('#mask,#searchTip,#searchTip div:eq(0)').show();
            $('#searchTip div a').click(function () {
                var current = $(this).parent();
                current.hide();
                current.next().show();
            })
            $('#searchTip div span,#searchTip div a:last').click(function () {
                $('#mask,#searchTip').hide();
            })
        })
    </script>
</body>
</html>
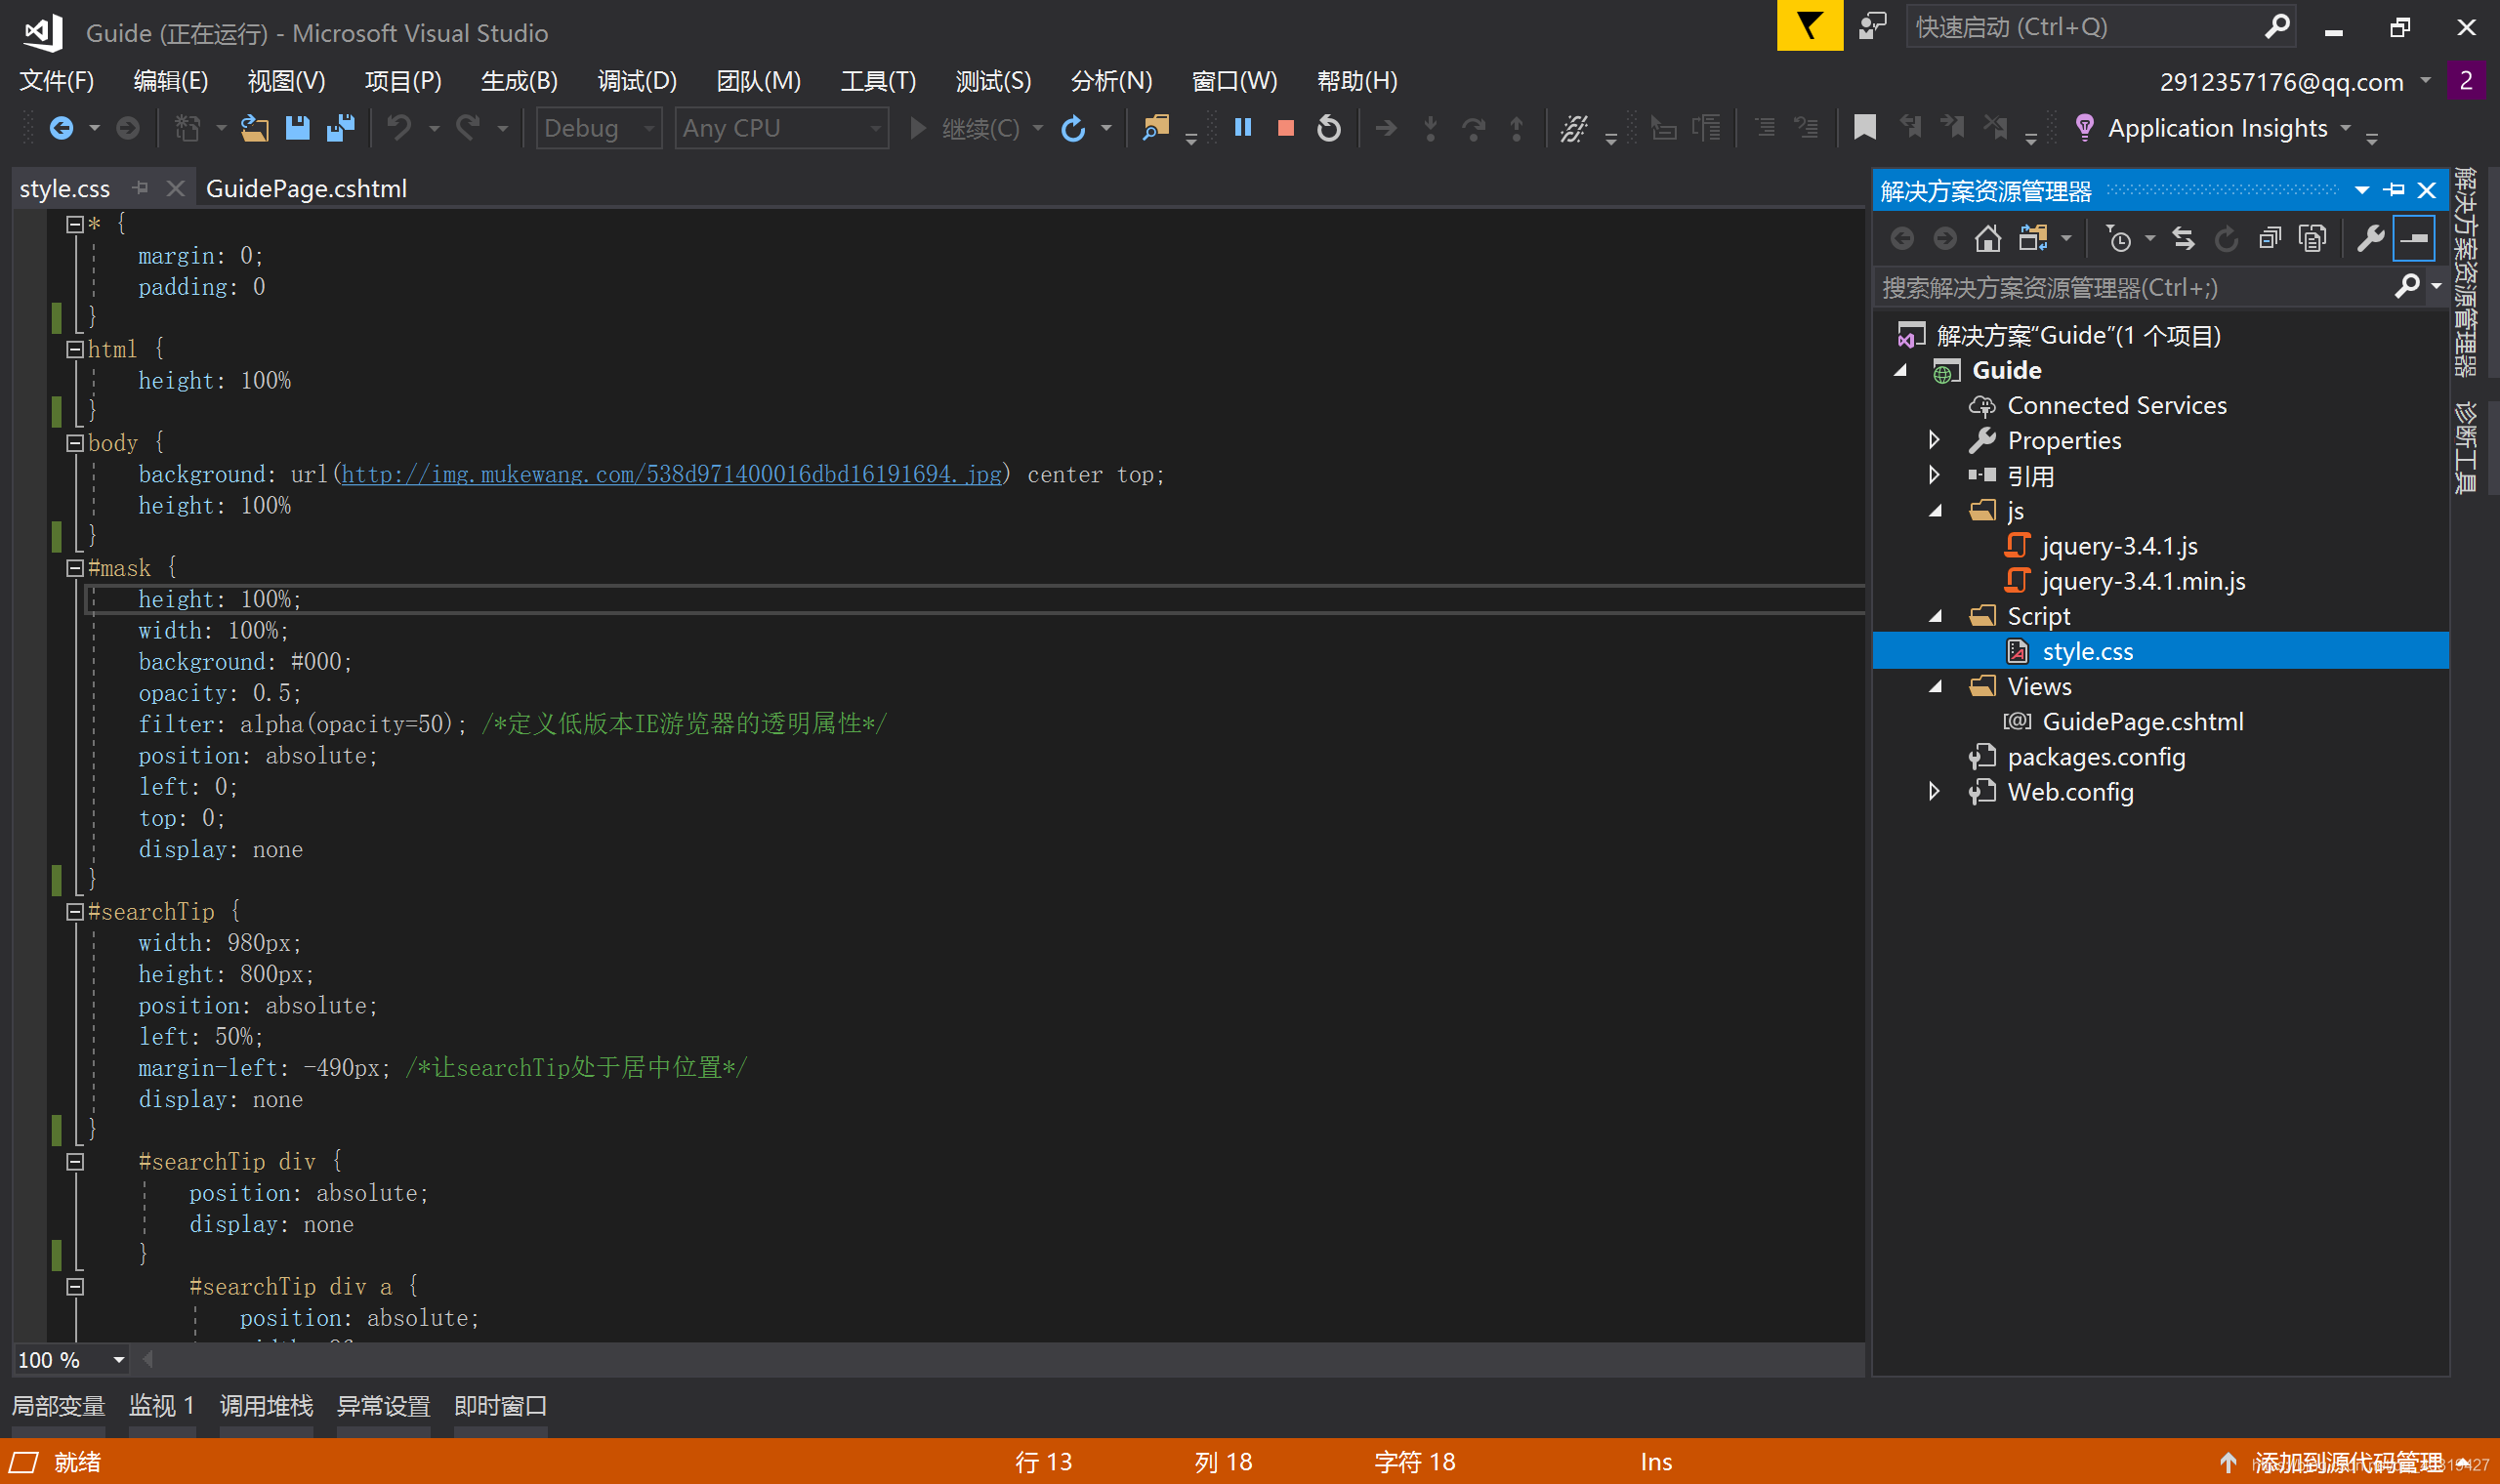
二、css样式及引导单元定位
* {
    margin: 0;
    padding: 0
}
html {
    height: 100%
}
body {
    background: url(http://img.mukewang.com/538d971400016dbd16191694.jpg) center top;
    height: 100%
}
#mask {
    height: 100%;
    width: 100%;
    background: #000;
    opacity: 0.5;
    filter: alpha(opacity=50); /*定义低版本IE游览器的透明属性*/
    position: absolute;
    left: 0;
    top: 0;
    display: none
}
#searchTip {
    width: 980px;
    height: 800px;
    position: absolute;
    left: 50%;
    margin-left: -490px; /*让searchTip处于居中位置*/
    display: none
}
    #searchTip div {
        position: absolute;
        display: none
    }
        #searchTip div a {
            position: absolute;
            width: 96px;
            height: 32px;
            cursor: pointer;
            text-indent: -999px; /*隐藏a标签中的文字*/
            overflow: hidden
        }
        #searchTip div span {
            cursor: pointer;
            position: absolute;
            width: 30px;
            height: 30px;
            text-indent: -999px;
            overflow: hidden;
        }
.stepA {
    background: url(http://img.mukewang.com/538d974000011bda07450329.jpg);
    height: 329px;
    width: 745px;
    top: 130px;
    left: -9px;
    display: block;
}
    .stepA a {
        top: 230px;
        left: 490px;
    }
    .stepA span {
        top: 143px;
        right: 32px;
    }
.stepB {
    background: url(http://img.mukewang.com/538d975f00017e8d06470405.jpg);
    width: 647px;
    height: 405px;
    top: 2px;
    left: 324px;
}
    .stepB a {
        top: 308px;
        left: 146px;
    }
    .stepB span {
        top: 196px;
        right: 285px;
    }
.stepC {
    background: url(http://img.mukewang.com/538d977c0001ef5f06540257.jpg);
    width: 654px;
    height: 257px;
    top: 294px;
    left: 318px;
}
    .stepC a {
        top: 155px;
        left: 400px;
    }
    .stepC span {
        top: 44px;
        right: 35px;
    }
.stepD {
    background: url(http://img.mukewang.com/538d97990001692305580348.jpg);
    width: 558px;
    height: 348px;
    top: 78px;
    left: 155px;
}
    .stepD a {
        top: 246px;
        left: 304px;
    }
    .stepD span {
        top: 135px;
        right: 35px;
    }
.stepE {
    background: url(http://img.mukewang.com/538d97b70001f47d03970342.jpg);
    width: 397px;
    height: 342px;
    top: 79px;
    left: 250px;
}
    .stepE a {
        top: 245px;
        left: 153px;
    }
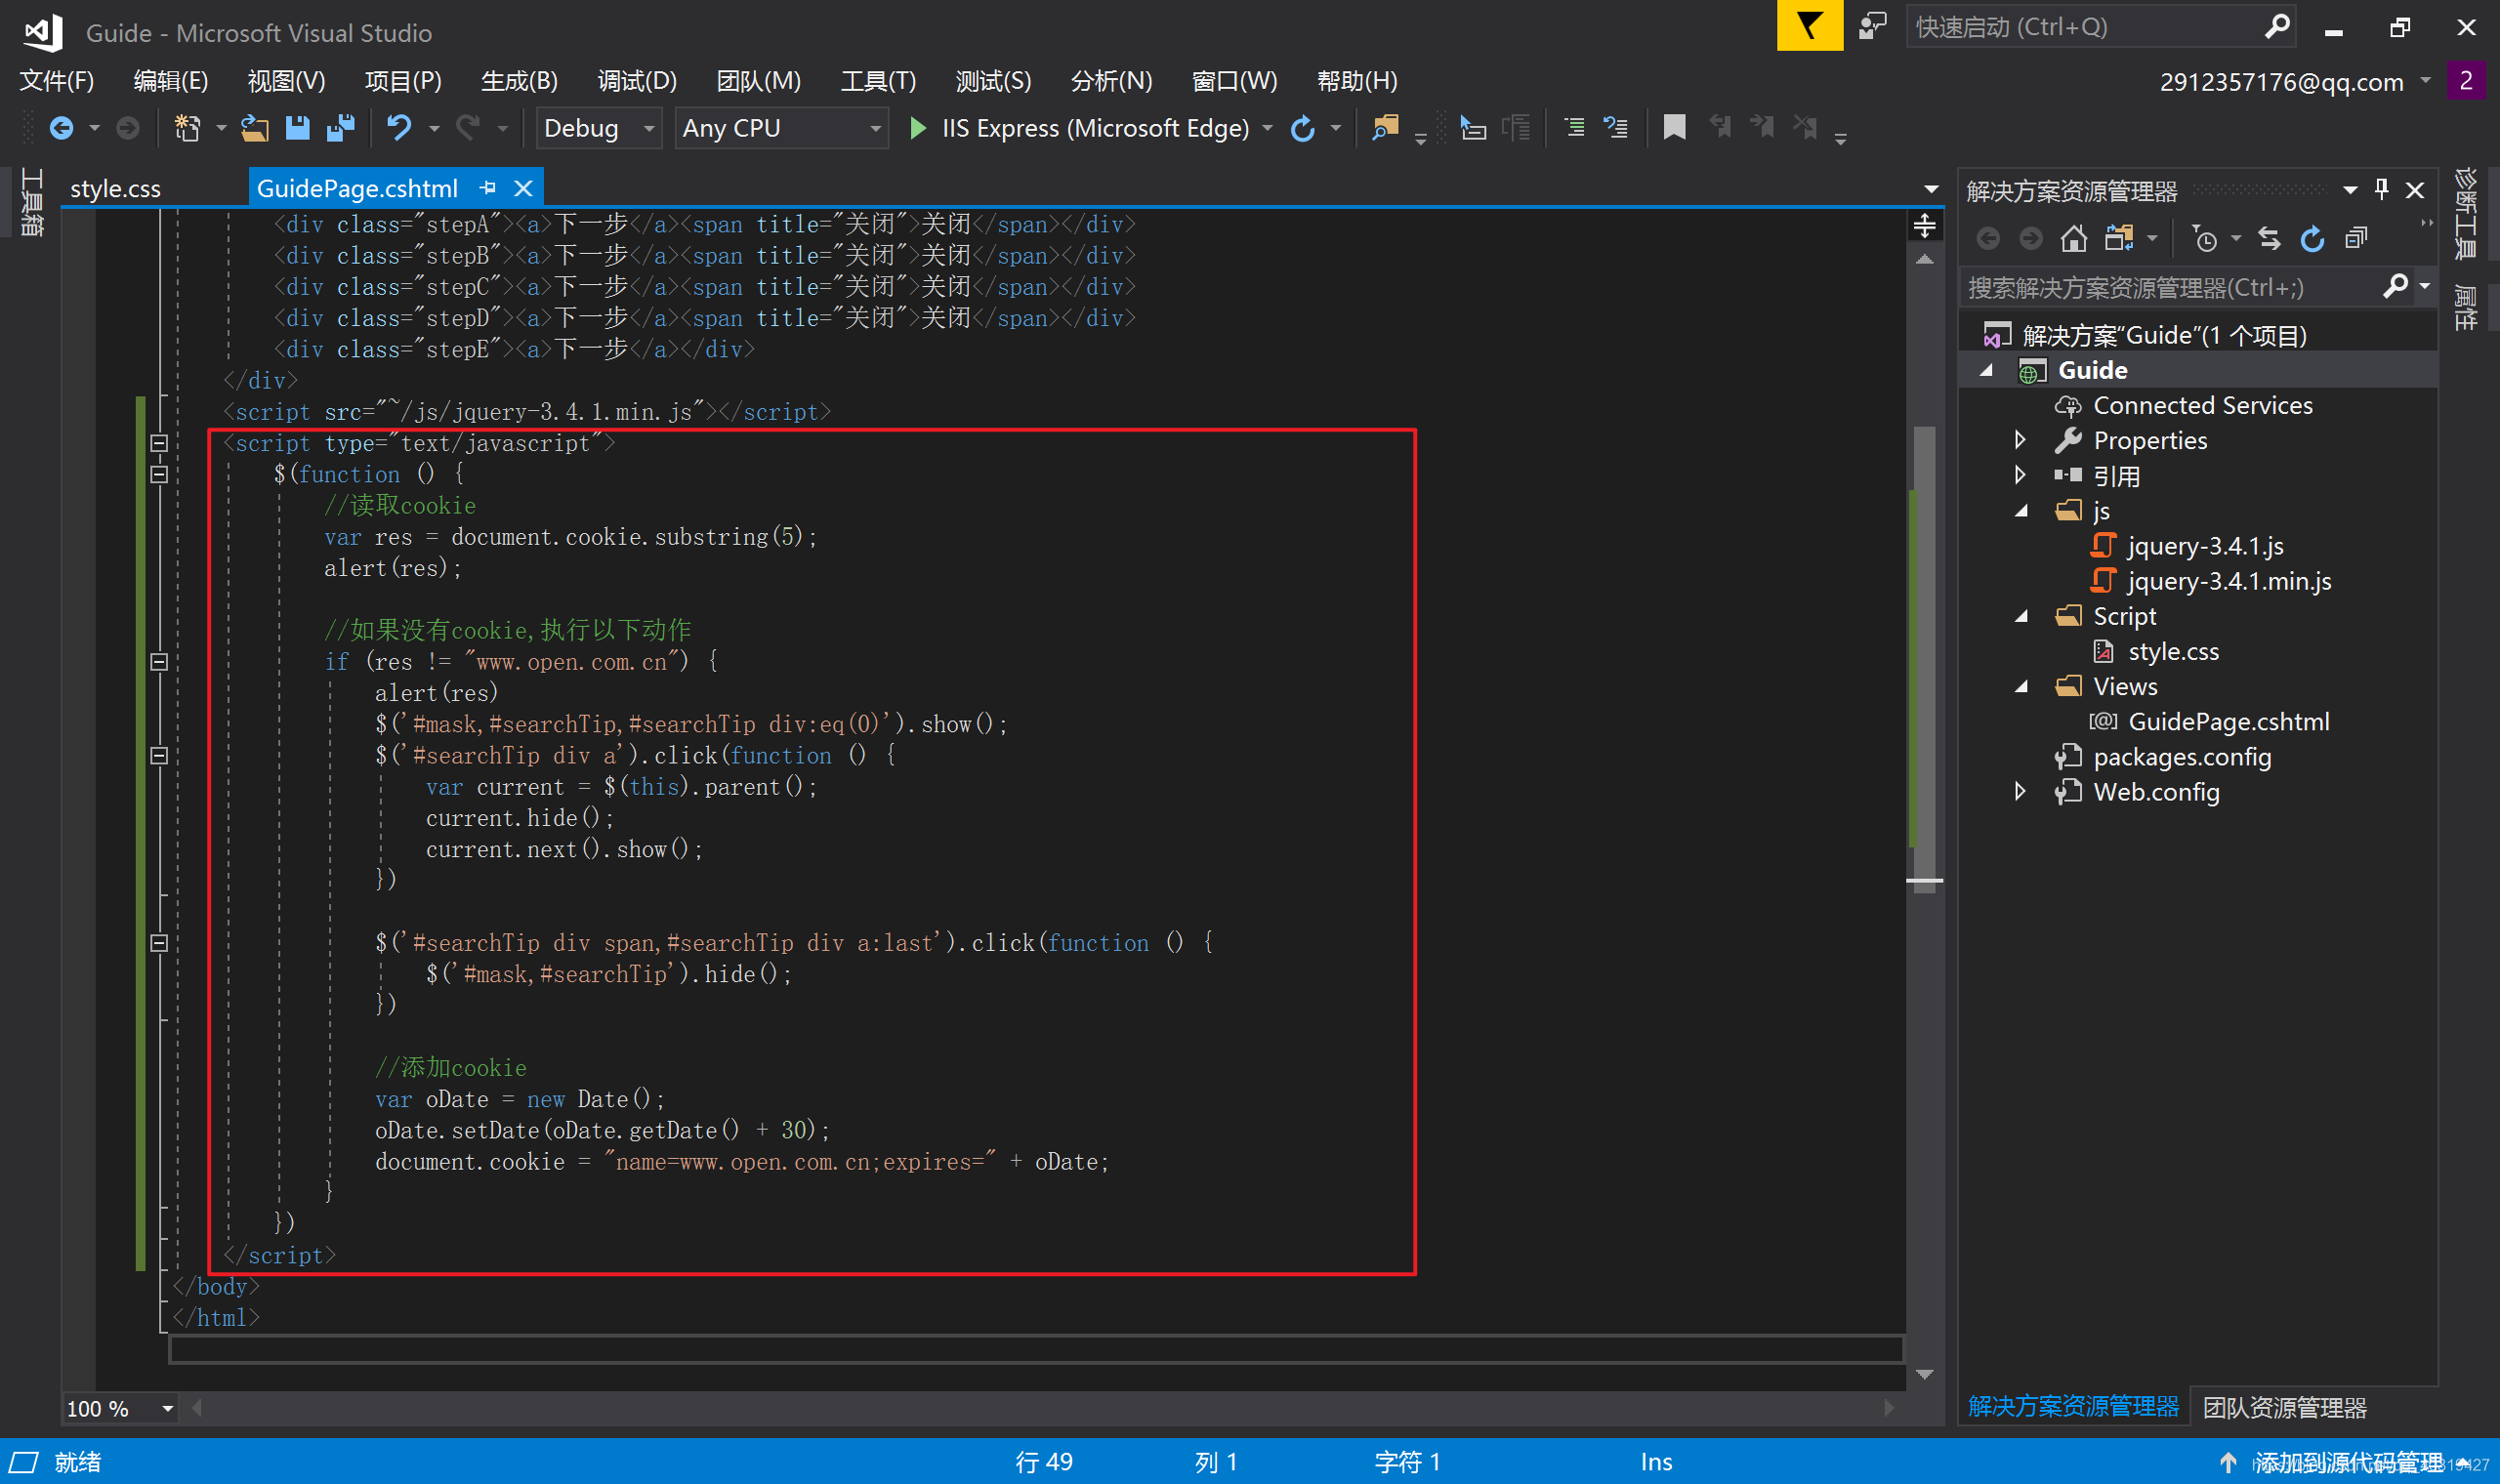
三、只为新手引导 - - cookie的设定
更改GuidePage.cshtml中的内容:
效果图如下:


 被折叠的 条评论
为什么被折叠?
被折叠的 条评论
为什么被折叠?
 到【灌水乐园】发言


