


理论请看博客3
头文件和公共函数
#include <iostream>
#include <string>
#include <vector>
#include <opencv2/opencv.hpp>
#include <opencv2/core/core.hpp>
#include <opencv2/highgui.hpp>
#include <opencv2/stitching.hpp>
#include <opencv2/features2d/features2d.hpp>
#include <opencv2/xfeatures2d/nonfree.hpp>
一、库实现
int main()
{
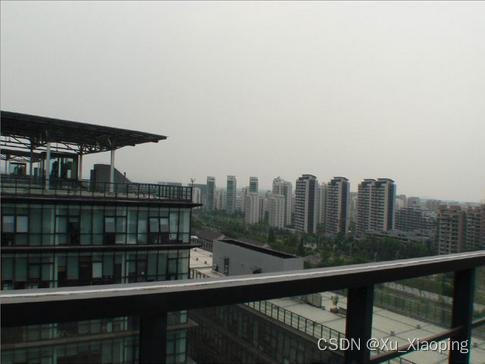
//step 1. load img
printff("load images");
std::vector<Mat> imgs;
Mat img1 = imread("img/img1.png", IMREAD_COLOR);
Mat img2 = imread("img/img2.png", IMREAD_COLOR);
imgs.emplace_back(img1);
imgs.emplace_back(img2);
//step 2. stitching
Mat result;
Stitcher stitcher = Stitcher::createDefault(false);
Stitcher::Status status = stitcher.stitch(imgs, result);
if (status != Stitcher::OK)
{
std::string error_msg = "Can't stitch images, error code = " + std::to_string(status);
printff(error_msg);
}
else
{
imshow("result", result);
//imwrite("result.png", result);
}
waitKey(0);
return 0;
}二、手动实现
1. 加载图像
    //step 1. load img
	printff("load images");
	std::vector<Mat> imgs;
	Mat img1 = imread("img/img1.png", IMREAD_COLOR);
	Mat img2 = imread("img/img2.png", IMREAD_COLOR);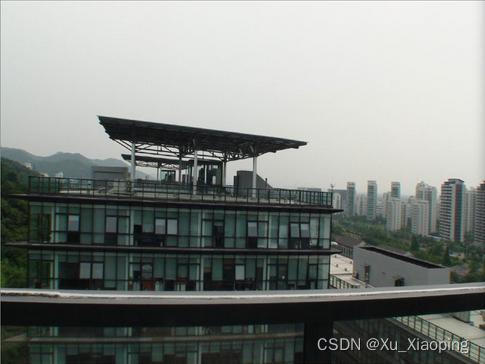
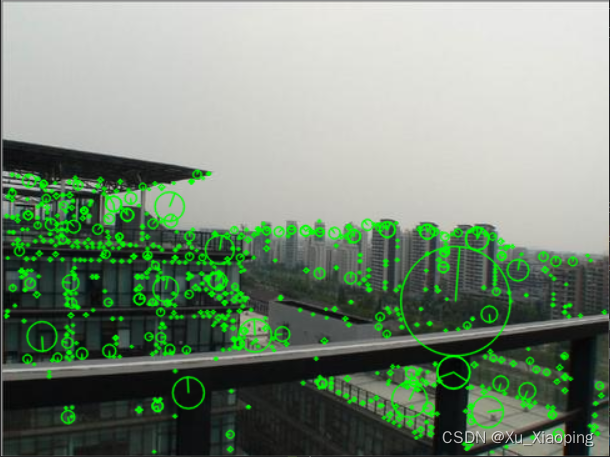
2. 提取SIFT特征
因为SIFT、SURF在美国已经申请了专利,所以并不是免费开源随便使用的,所以我们需要编译对应版本的opencv_contrib,并将OPENCV_ENABLE_NONFREE勾选上。
    //step 2. sift feature detect
	printff("extract sift features");
	std::vector<KeyPoint> keyPoint1, keyPoint2;
	Ptr<Feature2D> siftFeature = xfeatures2d::SIFT::create(2000); //The number of best features to retain

	siftFeature->detect(img1, keyPoint1);
	siftFeature->detect(img2, keyPoint2);

	Mat descor1, descor2;
	siftFeature->compute(img1, keyPoint1, descor1);
	siftFeature->compute(img2, keyPoint2, descor2);

    Mat feature_img1, feature_img2;
	drawKeypoints(img1, keyPoint1, feature_img1, Scalar(0, 255, 0), DrawMatchesFlags::DRAW_RICH_KEYPOINTS);
	drawKeypoints(img2, keyPoint2, feature_img2, Scalar(0, 255, 0), DrawMatchesFlags::DRAW_RICH_KEYPOINTS);

	imshow("img1", feature_img1);
	imshow("img2", feature_img2);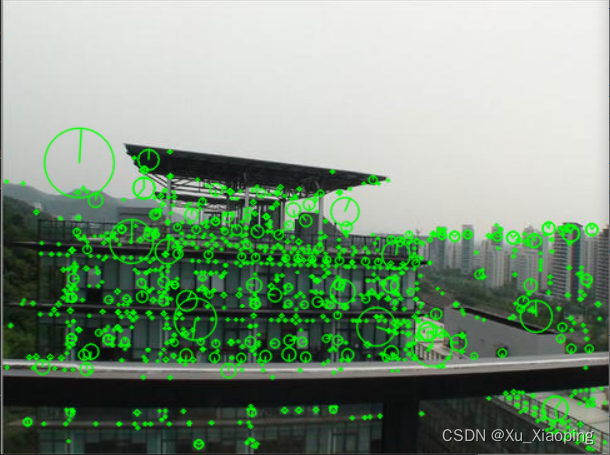
3.匹配
    //step 3. instantiate mathcher
	FlannBasedMatcher matcher;
	std::vector<DMatch> matches;
	matcher.match(descor1, descor2, matches);
	printff("original match numbers: " + std::to_string(matches.size()));

	Mat oriMatchRes;
	drawMatches(img1, keyPoint1, img2, keyPoint2, matches, oriMatchRes, Scalar(0, 255, 0), Scalar::all(-1));
	imshow("orign match img", oriMatchRes);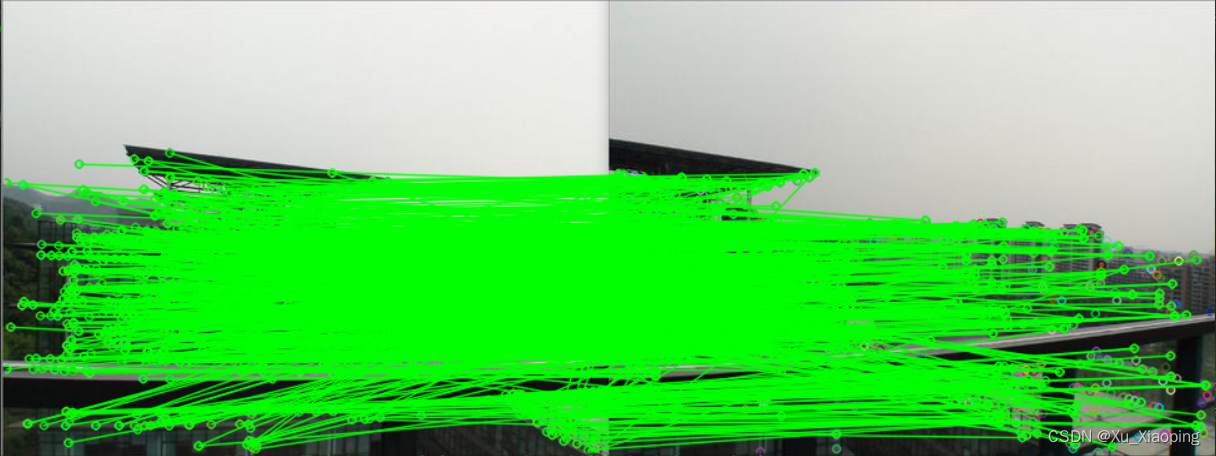
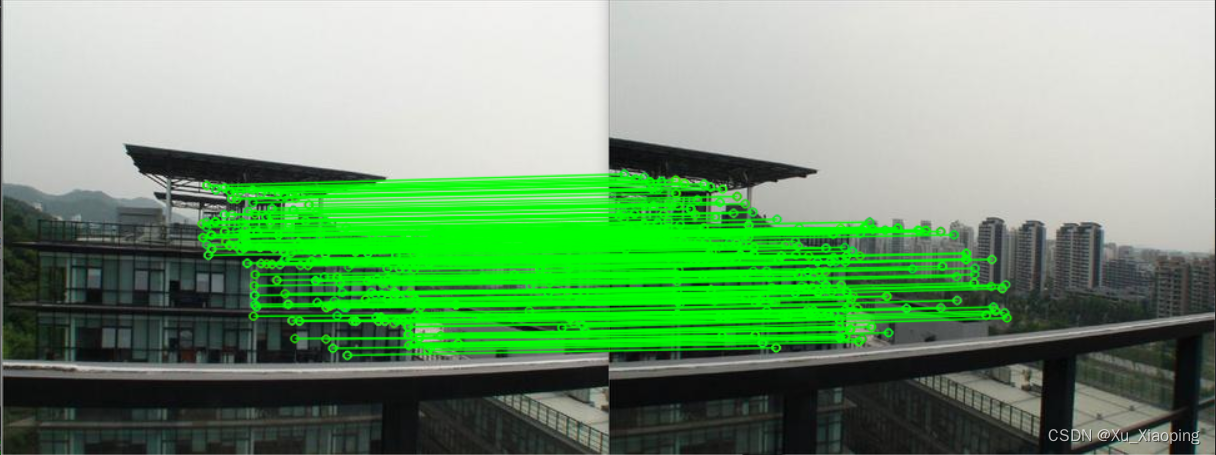
4.筛选较好的匹配点
    //step 4. select better match
	double sum = 0;
	double maxDist = 0;
	double minDist = 0;
	for (auto &match : matches)
	{
		double dist = match.distance;
		maxDist = max(maxDist, dist);
		minDist = min(minDist, dist);
	}
	printff("max distance: " + std::to_string(maxDist));
	printff("min distance: " + std::to_string(minDist));

	std::vector<DMatch> goodMatches;
	double threshold = 0.5;
	for (auto &match : matches)
	{
		if (match.distance < threshold * maxDist)
			goodMatches.emplace_back(match);
	}
5. 消除错误匹配特征点
    //step 5.1 align feature points and convet to float
	std::vector<KeyPoint> R_keypoint01, R_keypoint02;
	for (auto &match : goodMatches)
	{
		R_keypoint01.emplace_back(keyPoint1[match.queryIdx]);
		R_keypoint02.emplace_back(keyPoint2[match.trainIdx]);
	}
	std::vector<Point2f> p01, p02;
	for (int i = 0; i < goodMatches.size(); ++i)
	{
		p01.emplace_back(R_keypoint01[i].pt);
		p02.emplace_back(R_keypoint02[i].pt);
	}

	//step 5.2 compute homography
	std::vector<uchar> RansacStatus;
	Mat fundamental = findHomography(p01, p02, RansacStatus, CV_RANSAC);
	Mat dst;
	warpPerspective(img1, dst, fundamental, Size(img1.cols, img1.rows));
	imshow("epipolar image", dst);

	//step 5.3  delete mismatched points
	std::vector<KeyPoint> RR_keypoint01, RR_keypoint02;
	std::vector<DMatch> RR_matches;
	int idx = 0;
	for (int i = 0; i < goodMatches.size(); ++i)
	{
		if (RansacStatus[i] != 0)
		{
			RR_keypoint01.emplace_back(R_keypoint01[i]);
			RR_keypoint02.emplace_back(R_keypoint02[i]);
			goodMatches[i].queryIdx = idx;
			goodMatches[i].trainIdx = idx;
			RR_matches.emplace_back(goodMatches[i]);
			++idx;
		}
	}
	printff("refine match pairs : " + std::to_string(RR_matches.size()));
	Mat imgRRMatches;
	drawMatches(img1, RR_keypoint01, img2, RR_keypoint02, RR_matches, imgRRMatches, Scalar(0, 255, 0), Scalar::all(-1));
	imshow("final match", imgRRMatches);
6. 图像融合
    //step 6. stitch
	Mat finalImg = dst.clone();
	img2.copyTo(finalImg(Rect(0, 0, img2.cols, img2.rows)));
	imshow("stitching image", finalImg);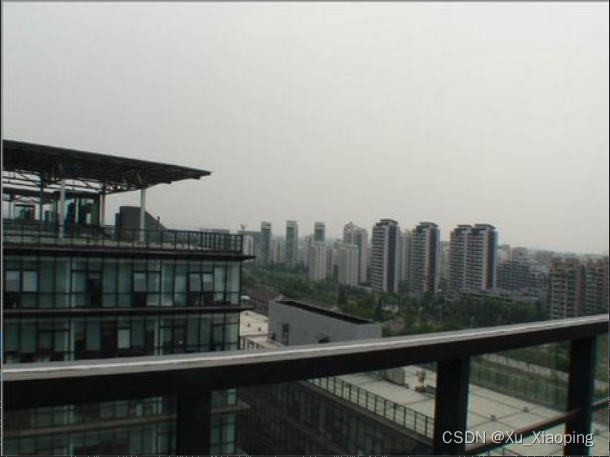
完整代码
vs2017+opencv343


 7672
7672

 被折叠的 条评论
为什么被折叠?
被折叠的 条评论
为什么被折叠?
 到【灌水乐园】发言


