


1、前置准备工作:
本地新建目录、python文件;
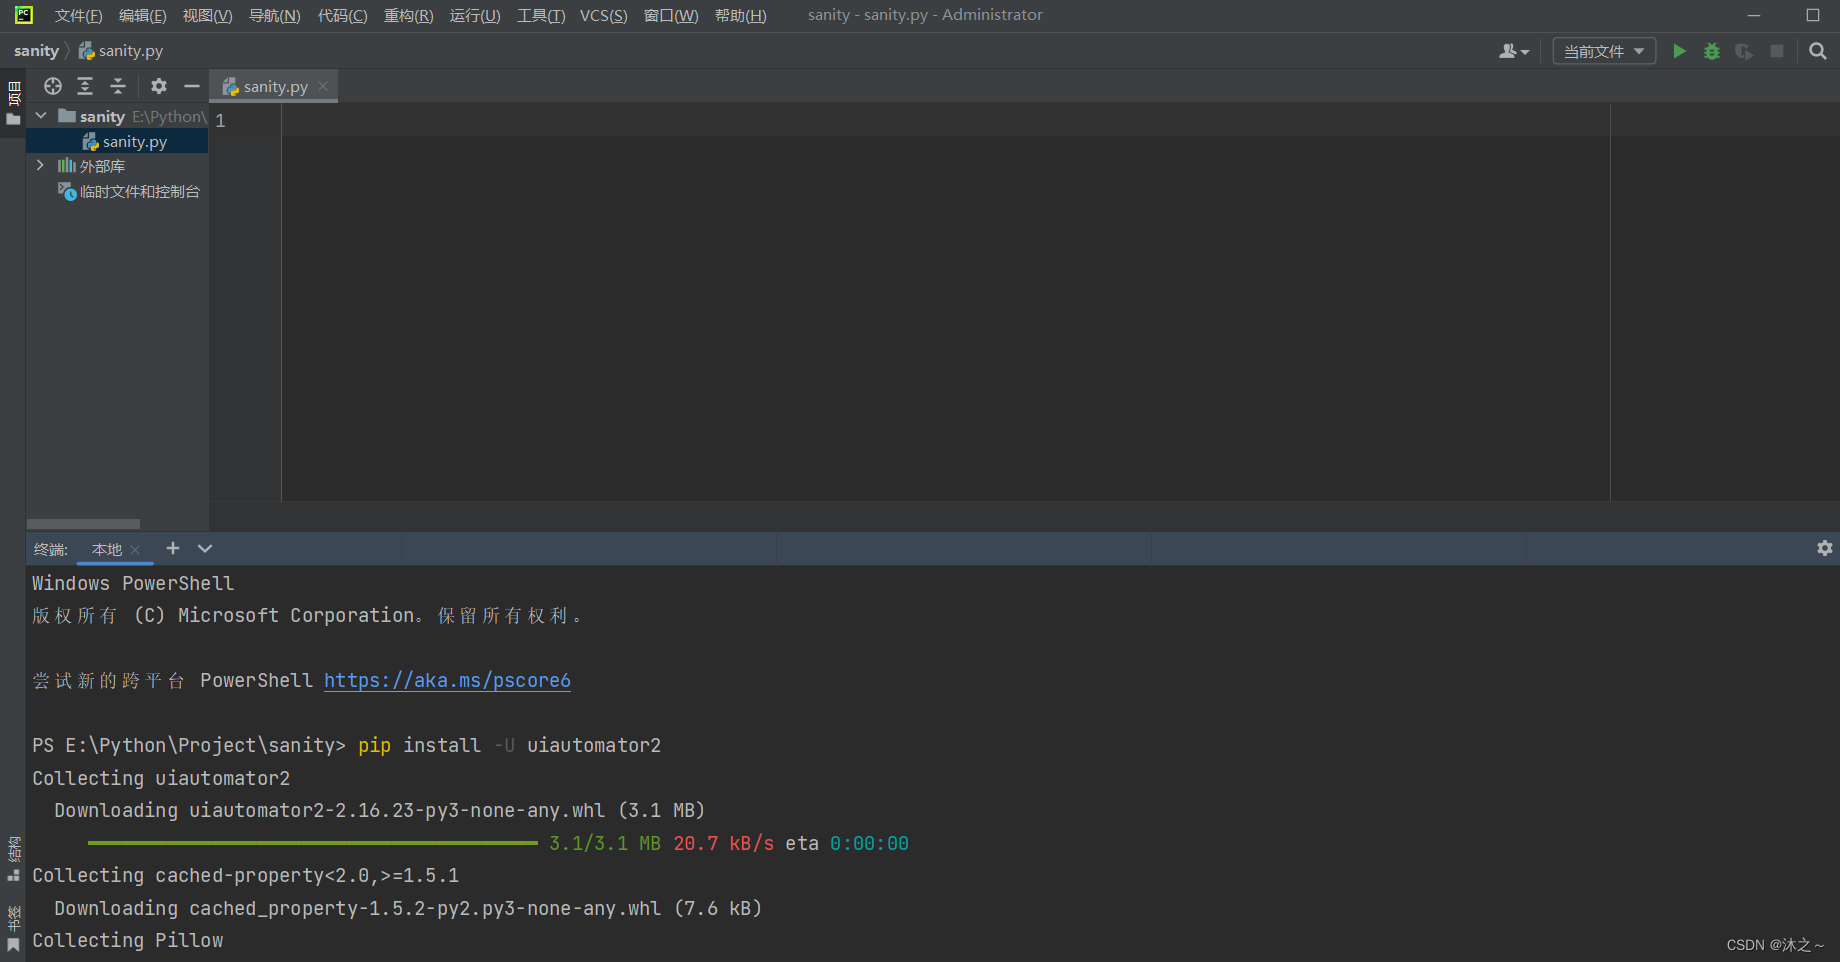
2、使用pycharm打开该python文件,打开终端:
安装python的uiautomator2库 ,命令:
pip install -U uiautomator2
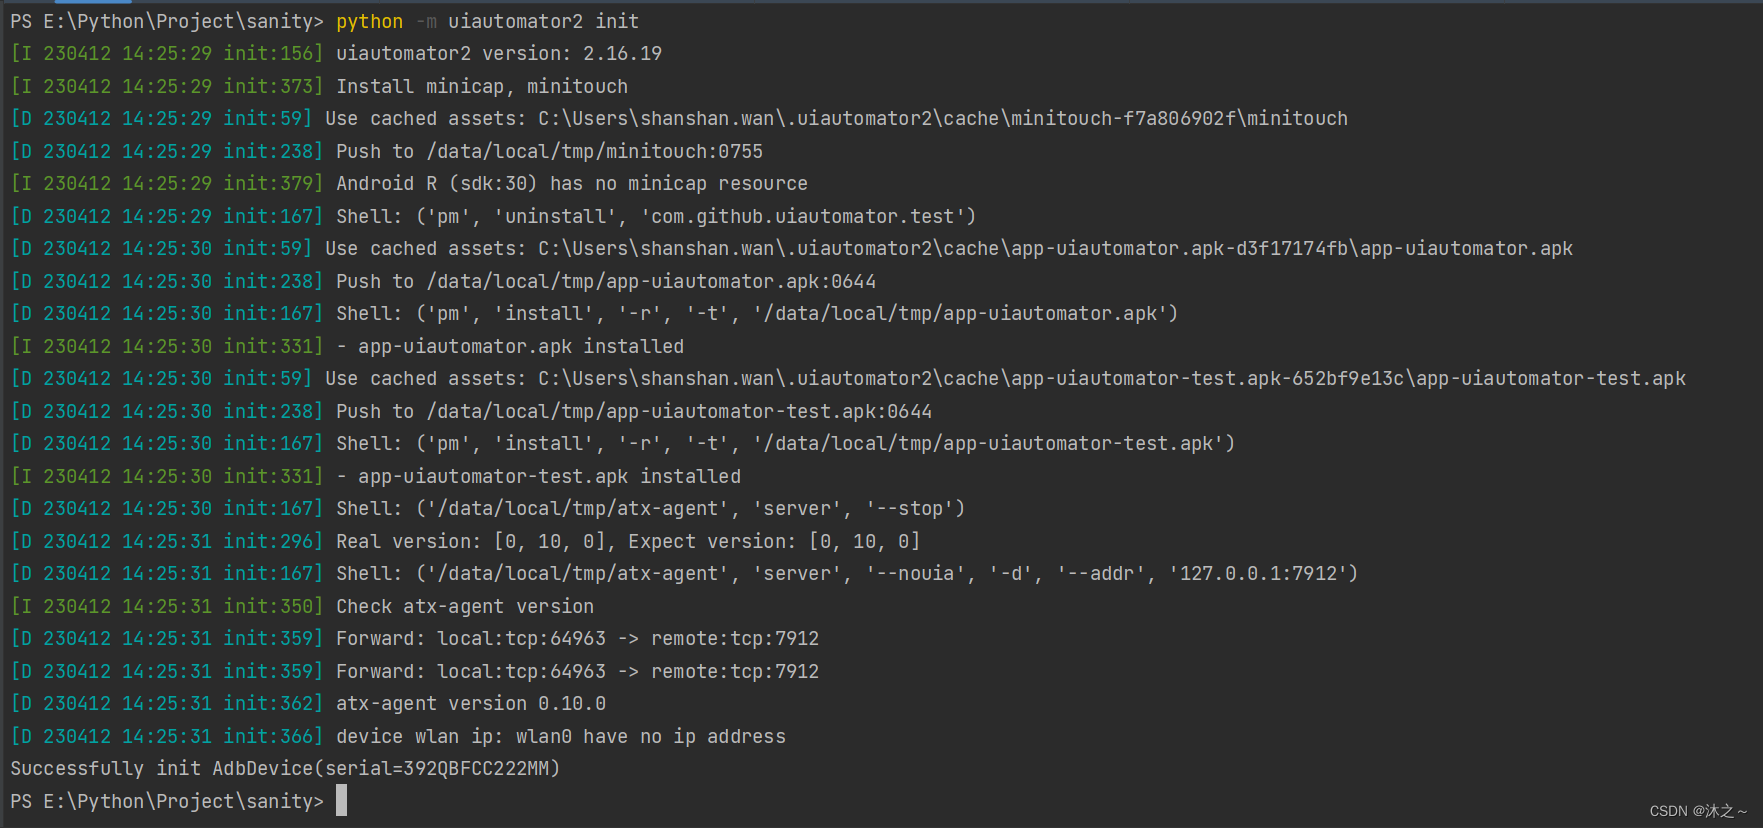
开始安装atx-agent,命令:
python-m uiautomator2 init
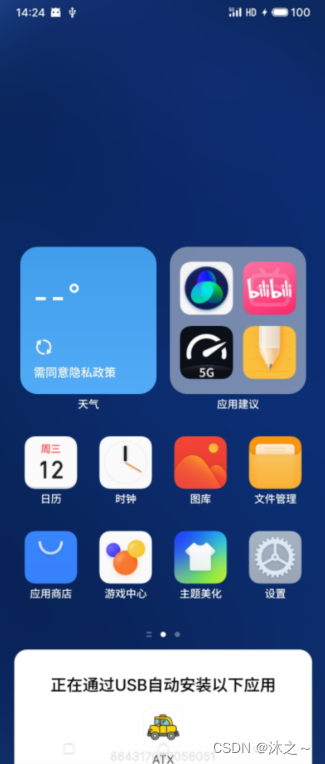
手机上允许安装ATX:
3、安装weditor:
命令: pip install -U weditor
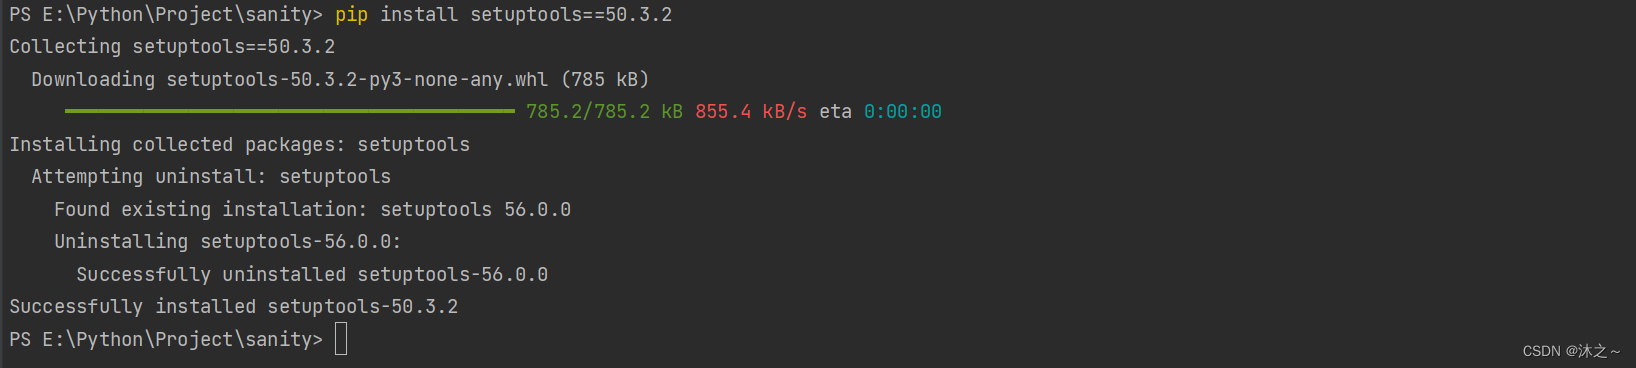
遇到报错:error: metadata-generation-failed
解决方案:pip install setuptools==50.3.2
报错: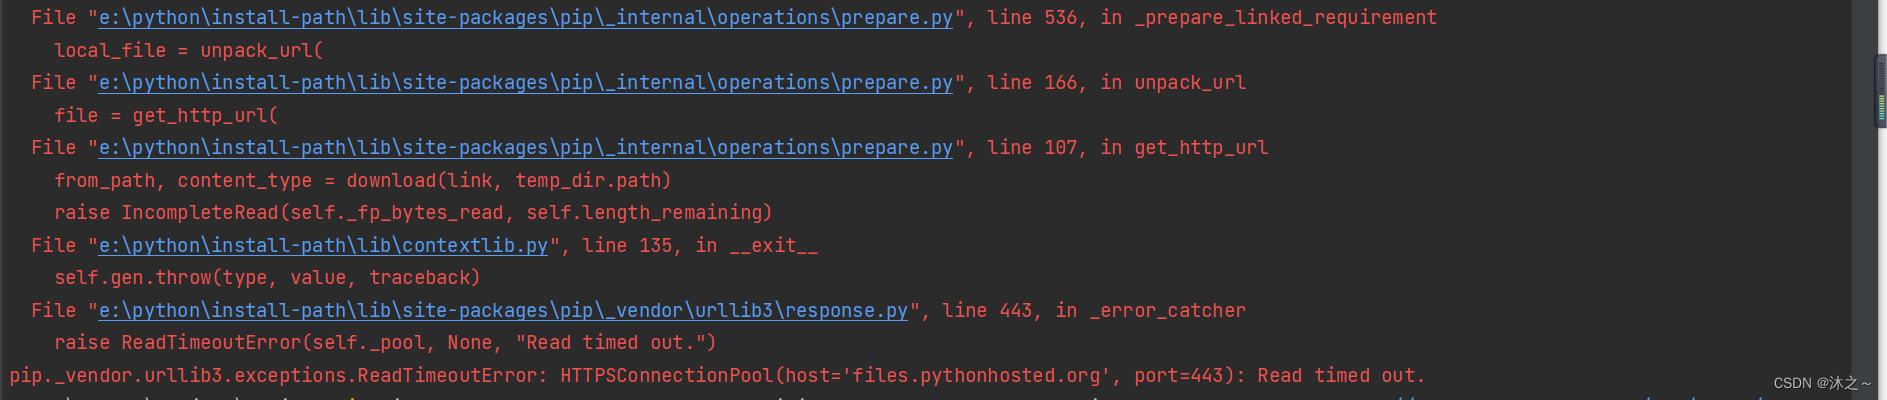
解决方案:
pip3 install torch==1.10.0+cu113 torchvision==0.11.1+cu113 torchaudio===0.10.0+cu113 -f https://download.pytorch.org/whl/cu113/torch_stable.html -i http://mirrors.aliyun.com/pypi/simple/ --trusted-host mirrors.aliyun.com
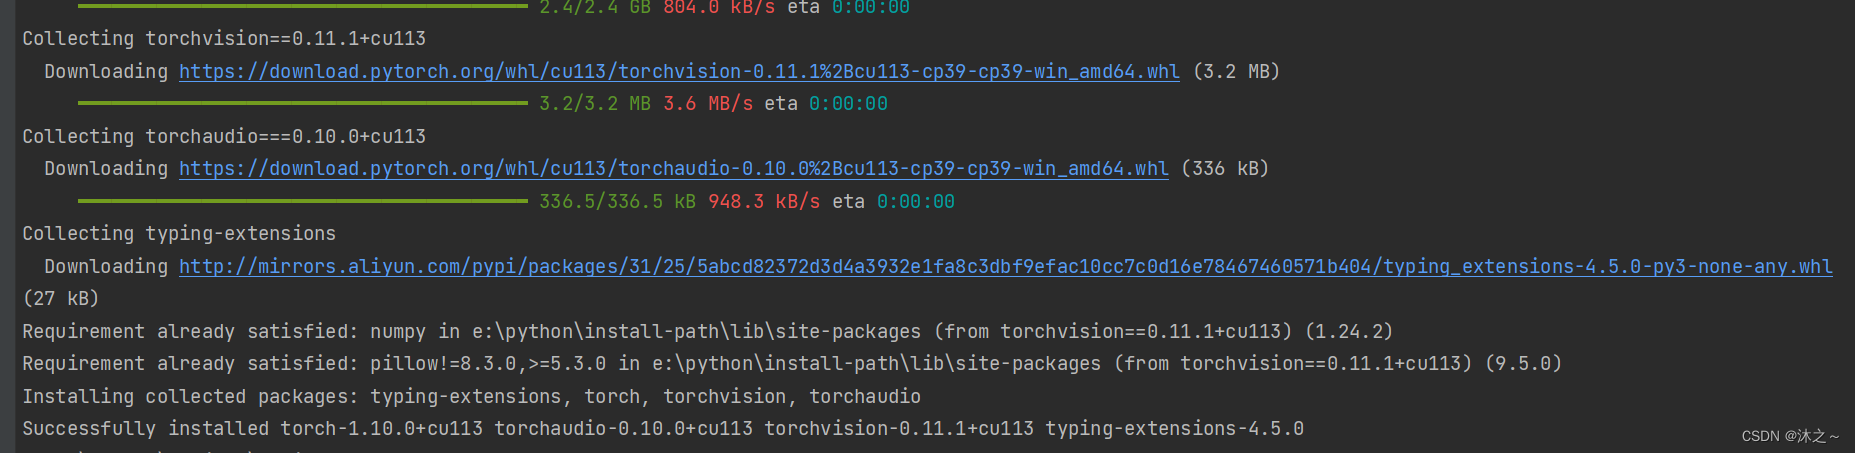
然后再执行:pip install setuptools==50.3.2
执行:pip install -U weditor 报错:
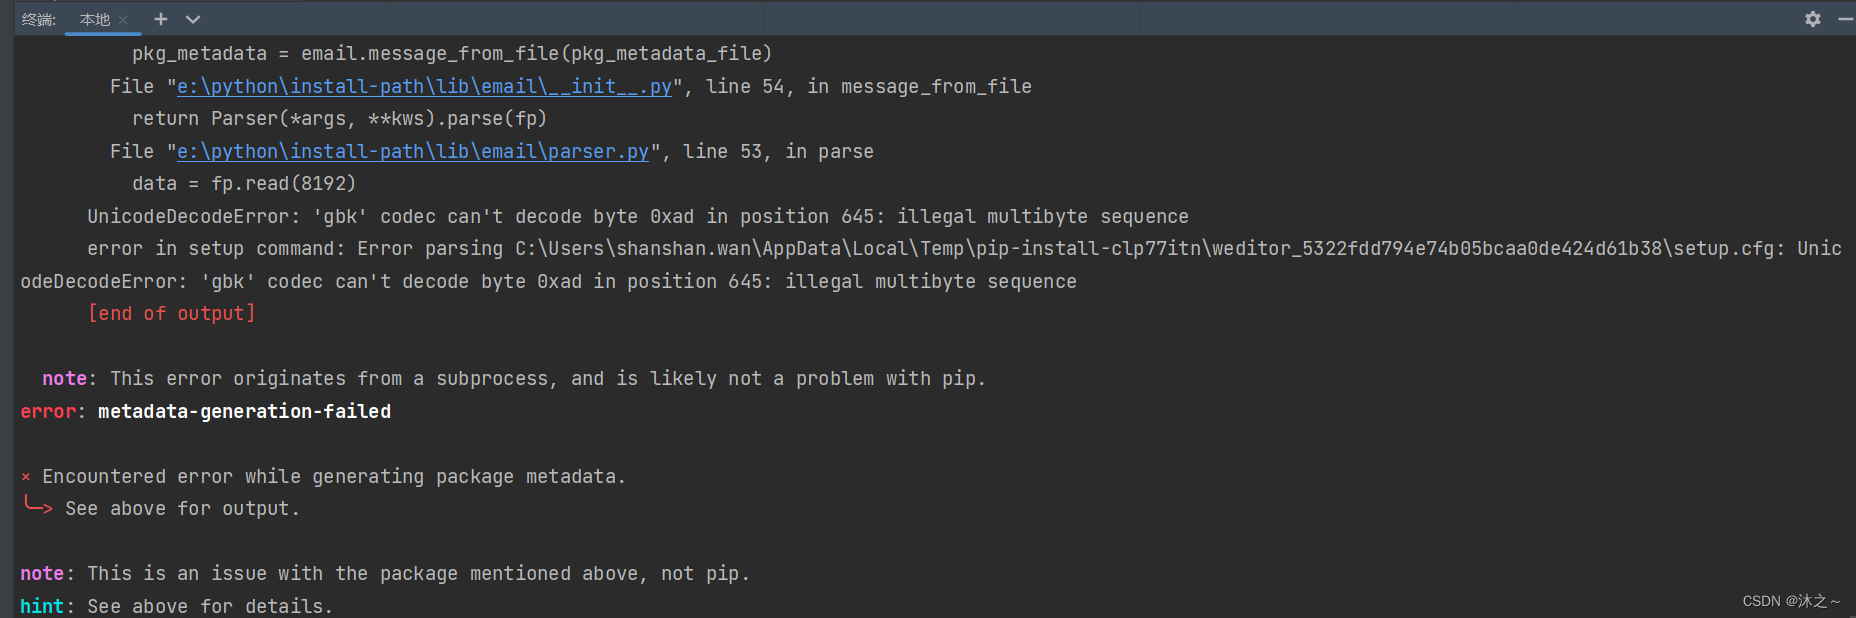
解决方案:
打开 git bash :
进入python安装的路径,初始化:
git init
下载 weditor:
git clone https://github.com/openatx/weditor
打开cmd窗口:
进入weditor下载的目录 :
安装weditor:
pip3 install -e weditor
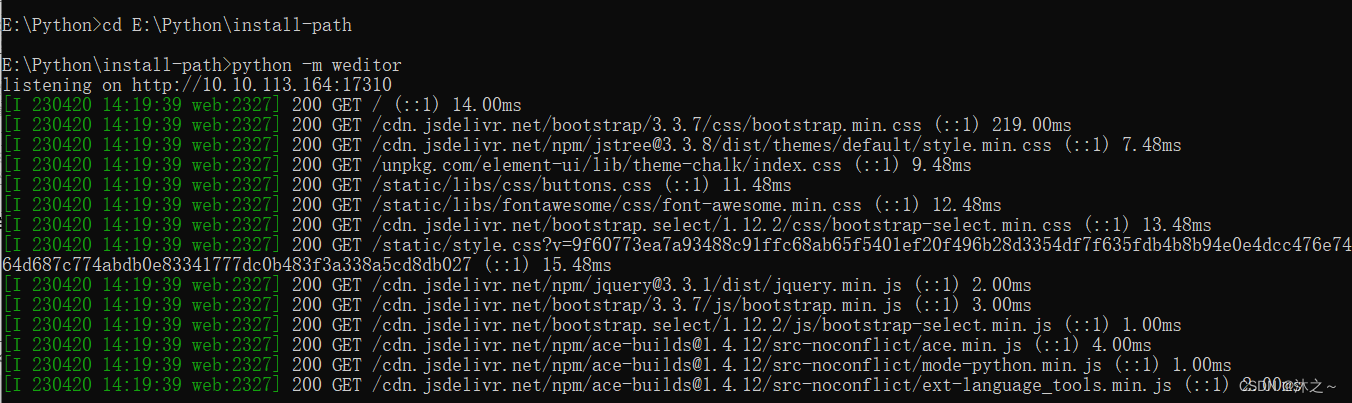
启动weditor:
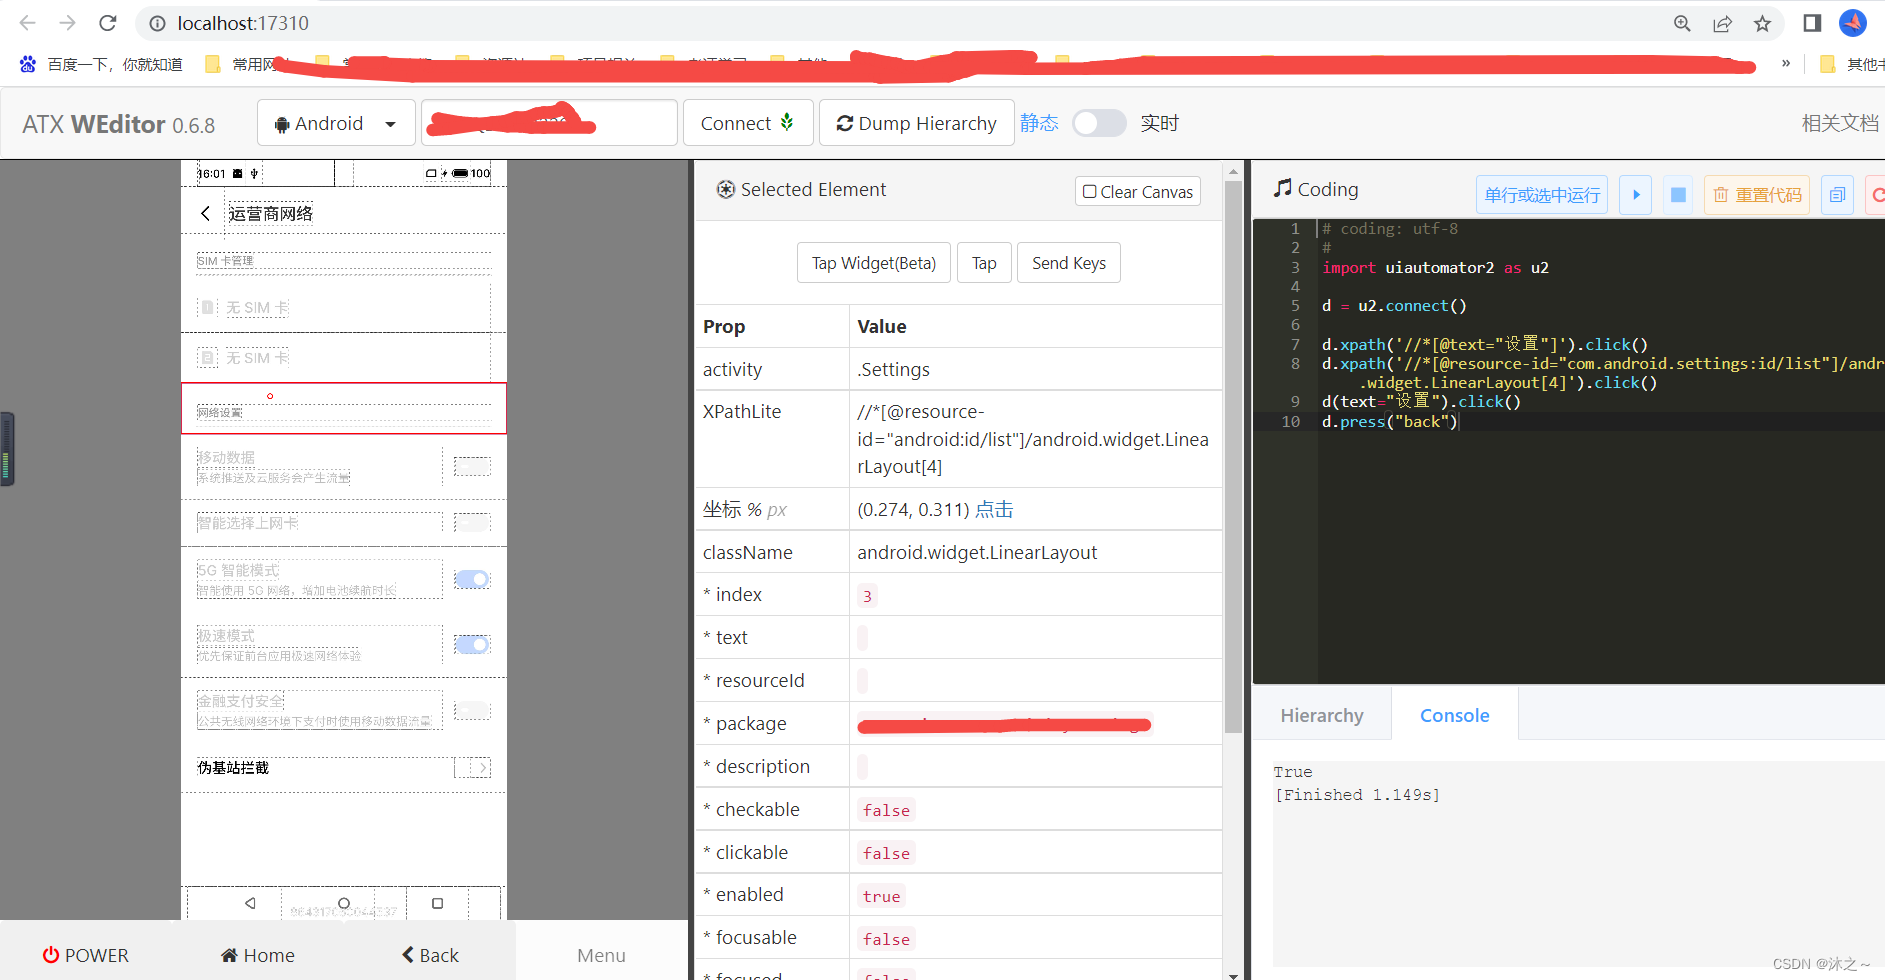
python -m weditor

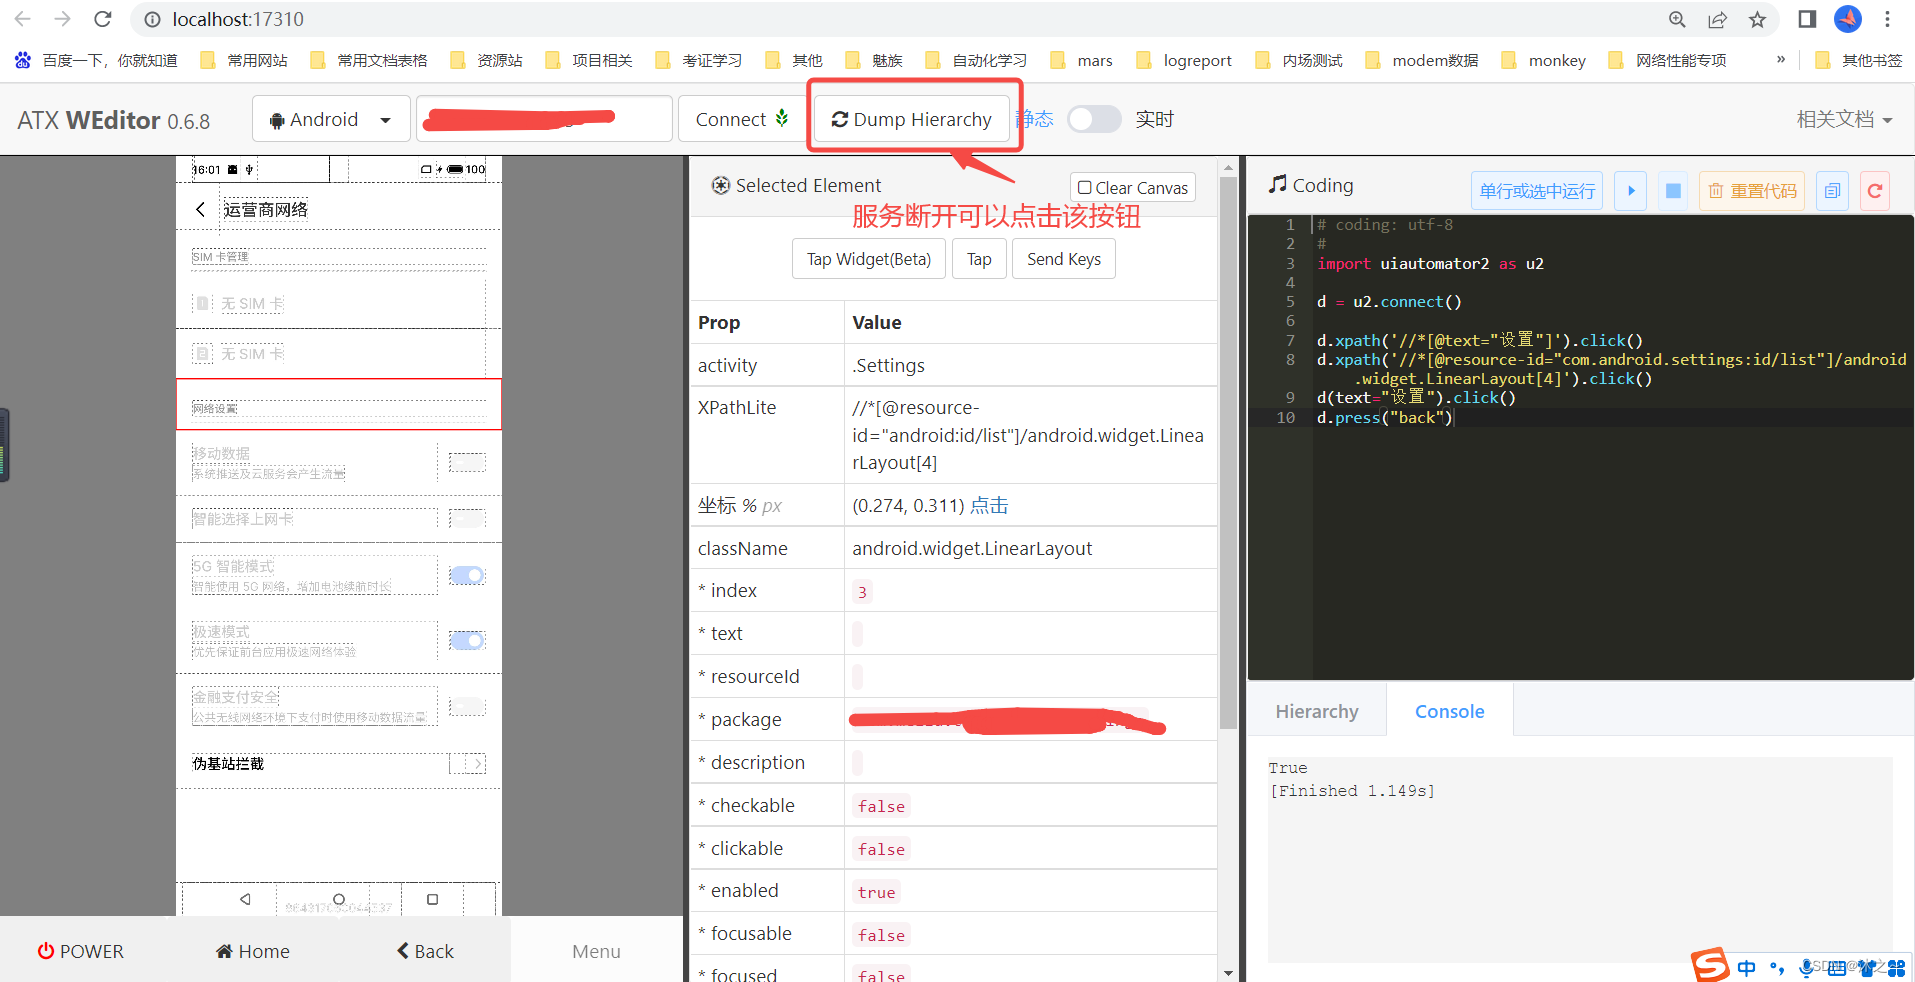
此时浏览器中会打开weditor界面:
偶尔会断开服务:可以点击:
weditor下载安装过的话,后续就只用在cmd窗口中启动weditor即可:
(需进入weditor的下载安目录)输入命令:python -m weditor


 1250
1250


 被折叠的 条评论
为什么被折叠?
被折叠的 条评论
为什么被折叠?
 到【灌水乐园】发言


