


 本文介绍了一个基于Vue的收货地址管理页面实现方案,包括地址的显示、默认地址设置及编辑功能。通过Vuex进行状态管理,并使用localStorage缓存地址信息。
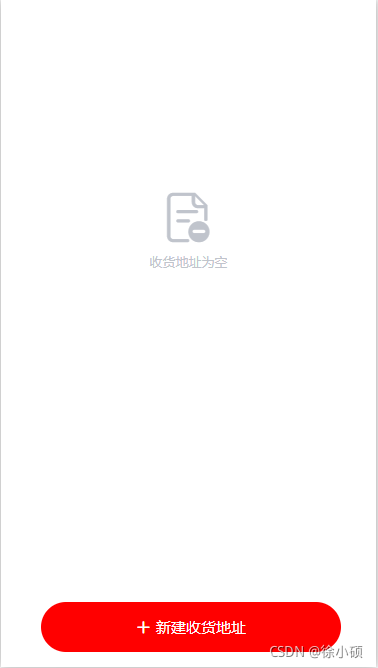
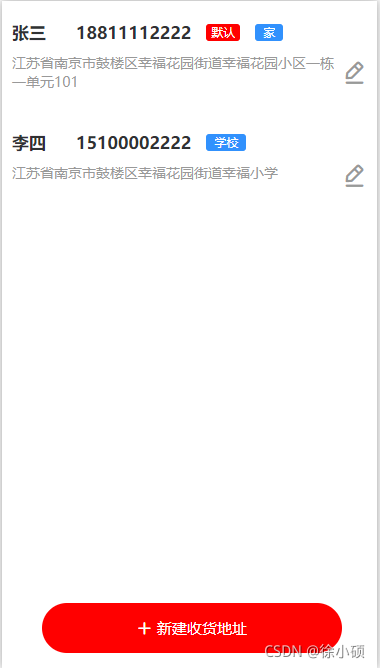
当然在一个类似商城的公众号中,自然也少不了用户地址的添加,下面我们就写一个收货地址的页面,页面中,可以简单的自动识别地址信息,设置默认地址,设置地址标签等功能,先来看看效果截图。
(1)地址管理页面
(1.1)页面代码
其实HTML页面代码就是一个简单循环遍历,先把填写的地址保存在vuex中,然后缓存到 localStorage中,然后获取localStorage中的缓存,v-for循环显示出来。其中需要注意的是,:class="{red:res.isDefault} 动态class样式的书写,关于这个大家可以参考这篇文章vue class 动态声明的几种方式 - 简书
代码如下:
<template>
	<view>
		<u-empty class="noData" :show="addressList.length == 0" text="收货地址为空"></u-empty>
		<view class="item" v-for="(res, index) in addressList" :key="res.id">
			<view class="top">
				<view class="name">{{ res.name }}</view>
				<view class="phone">{{ res.phone }}</view>
				<view class="tag">
					<text v-if="res.isDefault" :class="{red:res.isDefault}">默认</text>
					<text class="tags" v-if="res.tag">{{ res.tag }}</text>
				</view>
			</view>
			<view class="bottom">
				{{res.address}}
				<u-icon name="edit-pen" @click="updateAddress(res)" :size="50" color="#999999"></u-icon>
			</view>
		</view>
		<view class="addSite" @click="toAddSite">
			<view class="add">
				<u-icon name="plus" color="#ffffff" class="icon" :size="30"></u-icon>新建收货地址
			</view>
		</view>
	</view>
</template>
(1.2)vue代码
逻辑代码主要就是对vuex的操作,需要注意的是,在修改地址的时候,要带着现在需要修改的地址信息,返回到修改页(新增页)。
代码如下:
<script>
	import {
		mapState,
		mapMutations,
	} from 'vuex';
	export default {
		data() {
			return {
				// addressList:[]
			};
		},
		onLoad() {
			this.getLocalAddressList();
			console.log(this.addressList);
		},
		computed: {
			...mapState({
				addressList: state => state.address.addressList
			}),
		},
		methods: {
			...mapMutations(['getLocalAddressList']),
			//新建地址
			toAddSite() {
				this.$u.route({
					type: 'to',
					params: {},
					url: '/personalAddSite',
					animationType: 'slide-in-bottom'
				});
			},
			//修改地址
			updateAddress(info){
				console.log(info);
				this.$u.route({
					type: 'to',
					params: {
						addressInfo: JSON.stringify(info)
					},
					url: '/personalAddSite',
					animationType: 'slide-in-bottom'
				});
			}
		}
	};
</script>
(1.3)css样式代码
代码如下:
<style lang="scss" scoped>
	.noData {
		padding-top: 50%;
		text-align: center;
	}
	.item {
		padding: 40rpx 20rpx;

		.top {
			display: flex;
			font-weight: bold;
			font-size: 34rpx;

			.phone {
				margin-left: 60rpx;
			}

			.tag {
				display: flex;
				font-weight: normal;
				align-items: center;

				text {
					display: block;
					padding: 0 10rpx;
					height: 34rpx;
					line-height: 34rpx;
					color: #ffffff;
					font-size: 20rpx;
					border-radius: 6rpx;
					text-align: center;
					margin-left: 30rpx;
					background-color: rgb(49, 145, 253);
				}
				.red {
					background-color: red
				}
				.tags{
					padding: 0 16rpx;
				}
			}
		}

		.bottom {
			display: flex;
			margin-top: 20rpx;
			font-size: 28rpx;
			justify-content: space-between;
			color: #999999;
		}
	}

	.addSite {
		display: flex;
		justify-content: space-around;
		width: 600rpx;
		line-height: 100rpx;
		position: absolute;
		bottom: 30rpx;
		left: 80rpx;
		background-color: red;
		border-radius: 60rpx;
		font-size: 30rpx;

		.add {
			display: flex;
			align-items: center;
			color: #ffffff;

			.icon {
				margin-right: 10rpx;
			}
		}
	}
</style>
上面就是地址显示页的代码,对于vuex的代码,后续文章中会详细介绍,文章如有不正确的地方,还望斧正~
如果文章对您有些许帮助,还望一键三连,谢谢~


 408
408

 被折叠的 条评论
为什么被折叠?
被折叠的 条评论
为什么被折叠?
 到【灌水乐园】发言


