


从b站学习springcloud,现在进行总结,该总结除去了视频中出现的小错误,对有些易错的地方进行了提醒
b站链接:https://www.bilibili.com/video/av55993157
资料链接:
https://pan.baidu.com/s/1o0Aju3IydKA15Vo1pP4z5w
提取码: 21ru
上一节链接:https://blog.csdn.net/qq_40893824/article/details/106853726
下一节链接:https://blog.csdn.net/qq_40893824/article/details/106861955
JDBC 说明:
JDBC API 允许用户访问任何形式的表格数据,包括 存储在关系数据库中的数据
执行流程:
连接数据源
为数据库传递查询、更新指令。
处理数据库响应并返回的结果
JDBC 双层架构

作用:Java Applet 或 应用 直接访问数据源
条件: Driver 与访问的数据库交互
机制:用户命令传给数据库 或 其他数据源,返回结果
部署:数据源可在另一台机器上,用户通过网络连接,称为 C/S配置(可以是内联网、互联网)
JDBC 三层架构:
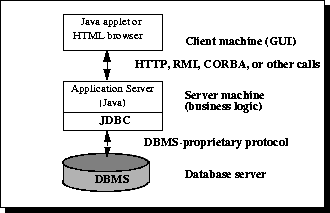
引入中间层服务
流程:命令、结构 会经过该层
吸引:增加企业数据的访问控制,以及多种类型更新,简化应用部署,有性能优势
历史趋势: 以往,因性能问题,中间层用 C 或 C++ 编写,随着优化编译器(将 Java 字节码 转为 高效的 特定机器码)和技术的发展,如EJB,Java 开始用于中间层的开发这让 Java 的优势突显出现出来,用 Java 作为服务器代码语言,JDBC随之被重视
下面的内容总结:
工程 springboot
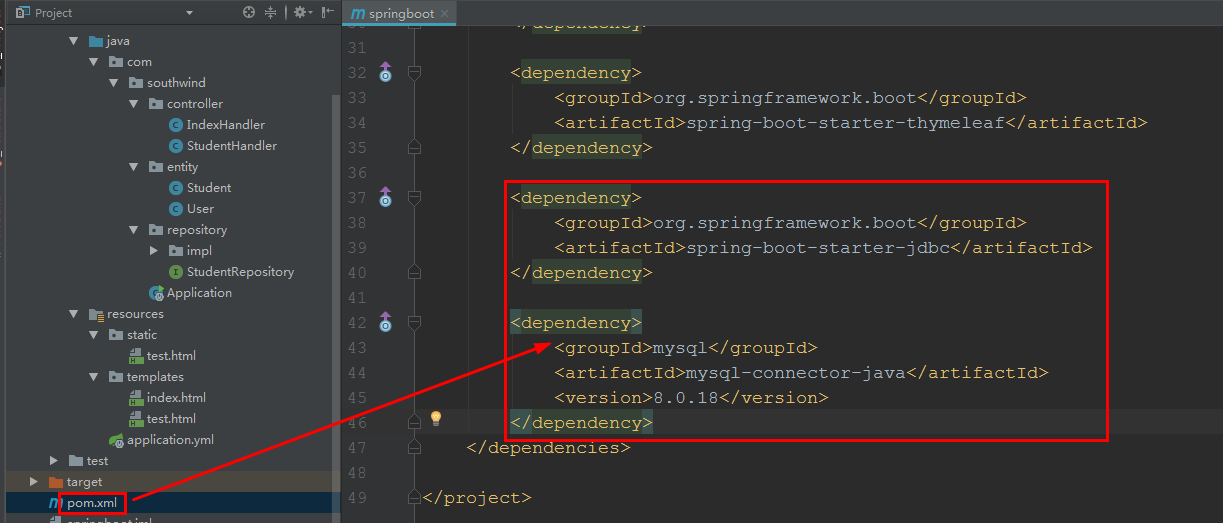
1 在 pom.xml 中加入代码:
        <dependency>
            <groupId>org.springframework.boot</groupId>
            <artifactId>spring-boot-starter-jdbc</artifactId>
        </dependency>

        <dependency>
            <groupId>mysql</groupId>
            <artifactId>mysql-connector-java</artifactId>
            <version>8.0.18</version>
        </dependency>
2 在 application.yml 中加入代码:
  datasource:
    url: jdbc:mysql://localhost:3306/test?useUnicode=true&characterEncoding=UTF-8&serverTimezone=UTC
    username: root
    password: 123456
    driver-class-name: com.mysql.cj.jdbc.Driver
&serverTimezone=UTC 对应时区

3 连接数据库

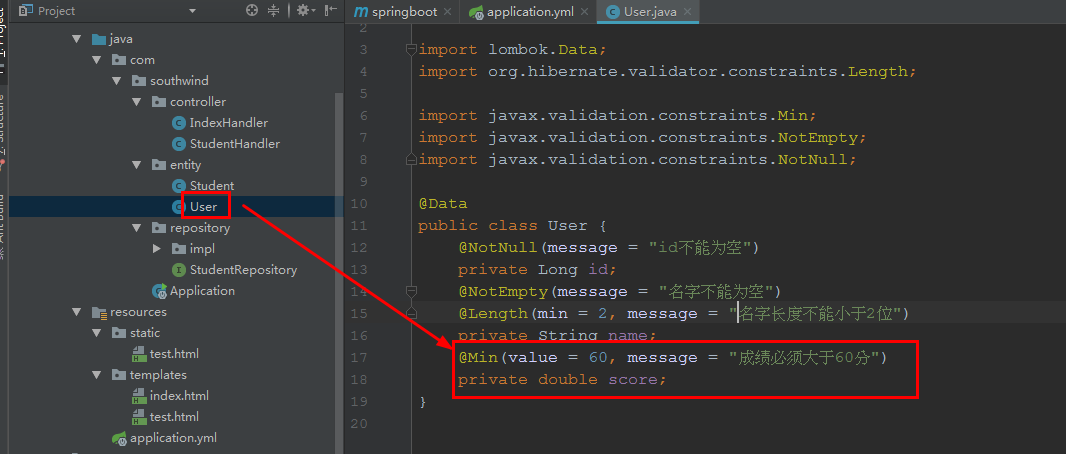
4 在 entity/ User 中年龄改为成绩:
package com.southwind.entity;

import lombok.Data;
import org.hibernate.validator.constraints.Length;

import javax.validation.constraints.Min;
import javax.validation.constraints.NotEmpty;
import javax.validation.constraints.NotNull;

@Data
public class User {
    @NotNull(message = "id不能为空")
    private Long id;
    @NotEmpty(message = "名字不能为空")
    @Length(min = 2, message = "名字长度不能小于2位")
    private String name;
    @Min(value = 60, message = "成绩必须大于60分")
    private double score;
}
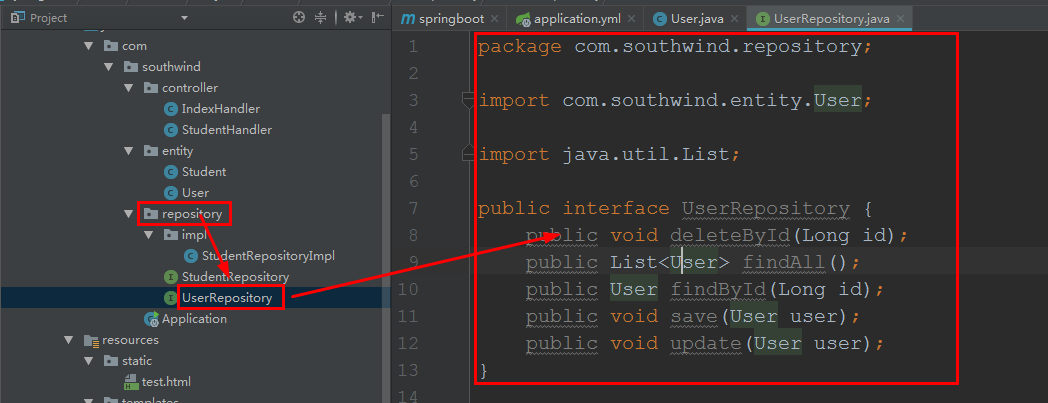
5 在 repository 中新建 接口 UserRepository,加入代码:
package com.southwind.repository;

import com.southwind.entity.User;

import java.util.List;

public interface UserRepository {
    public void deleteById(Long id);
    public List<User> findAll();
    public User findById(Long id);
    public void save(User user);
    public void update(User user);
}
6 在 repository\ impl 中 新建 接口实现类 UserRepositoryImpl,加入代码:
package com.southwind.repository.impl;

import com.southwind.entity.User;
import com.southwind.repository.UserRepository;
import org.springframework.beans.factory.annotation.Autowired;
import org.springframework.jdbc.core.BeanPropertyRowMapper;
import org.springframework.jdbc.core.JdbcTemplate;
import org.springframework.stereotype.Repository;

import java.util.List;

@Repository
public class UserRepositoryImpl implements UserRepository{

    @Autowired
    private JdbcTemplate jdbcTemplate;

    @Override
    public void deleteById(Long id) {
        jdbcTemplate.update("delete from user where id = ?",id);
    }

    @Override
    public List<User> findAll() {
        return jdbcTemplate.query("select * from user",new BeanPropertyRowMapper<>(User.class));
    }

    @Override
    public User findById(Long id) {
        return jdbcTemplate.queryForObject("select * from user where id = ?",new Object[]{id}, new BeanPropertyRowMapper<>(User.class));
    }

    @Override
    public void save(User user) {
        jdbcTemplate.update("insert into user(id,name,score) values(?,?,?)",user.getId(), user.getName(),user.getScore());
    }

    @Override
    public void update(User user) {
        jdbcTemplate.update("update user set name = ?,score = ? where id = ?",user.getName(),user.getScore(),user.getId());
    }
}
7 在 controller 中新建 UserHandler,加入代码:
package com.southwind.controller;

import com.southwind.entity.User;
import com.southwind.repository.UserRepository;
import org.springframework.beans.factory.annotation.Autowired;
import org.springframework.web.bind.annotation.*;

import java.util.List;

@RestController
@RequestMapping("/user")
public class UserHandler {
    @Autowired
    private UserRepository userRepository;

    @DeleteMapping("/deleteById/{id}")
    public void deleteById(@PathVariable("id") long id){
        userRepository.deleteById(id);
    }

    @GetMapping("/findAll")
    public List<User> findAll(){
        return userRepository.findAll();
    }

    @GetMapping("/findById/{id}")
    public User findById(@PathVariable("id") long id){
        return userRepository.findById(id);
    }

    @PostMapping("/save")
    public void save(@RequestBody User user){
        userRepository.save(user);
    }

    @PutMapping("/update")
    public void update(@RequestBody User user){
        userRepository.update(user);
    }
}
8 测试
本地 mysql 是否打开不重要,没有影响
8.1 进入 http://localhost:9090/user/findAll

打开postman:
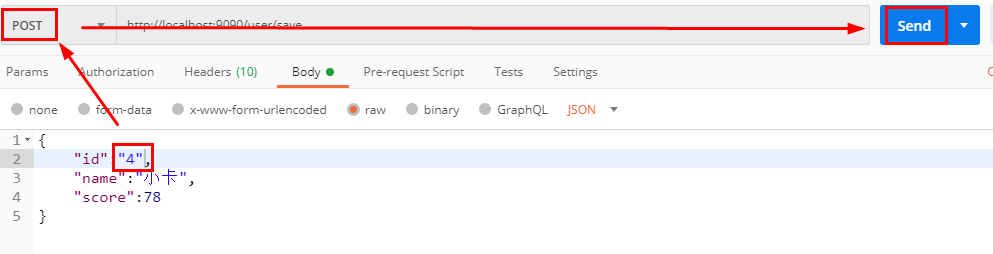
8.2 插入数据
http://localhost:9090/user/save
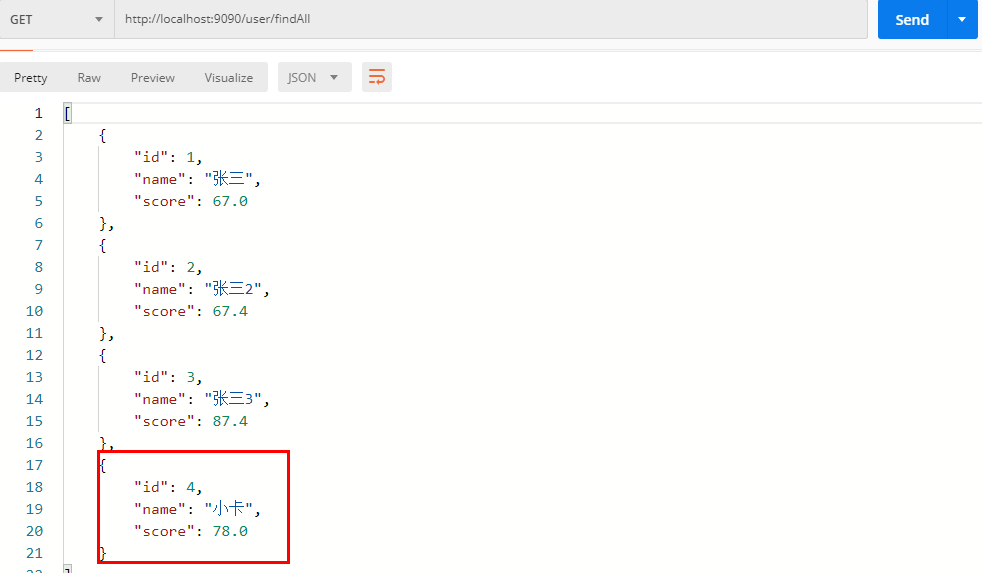
http://localhost:9090/user/findAll
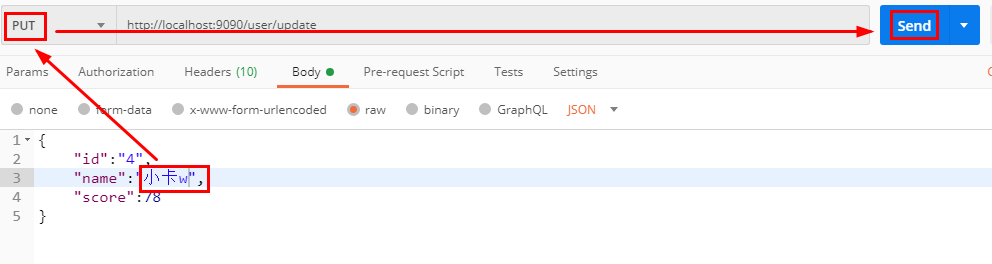
8.3 更新数据
http://localhost:9090/user/update
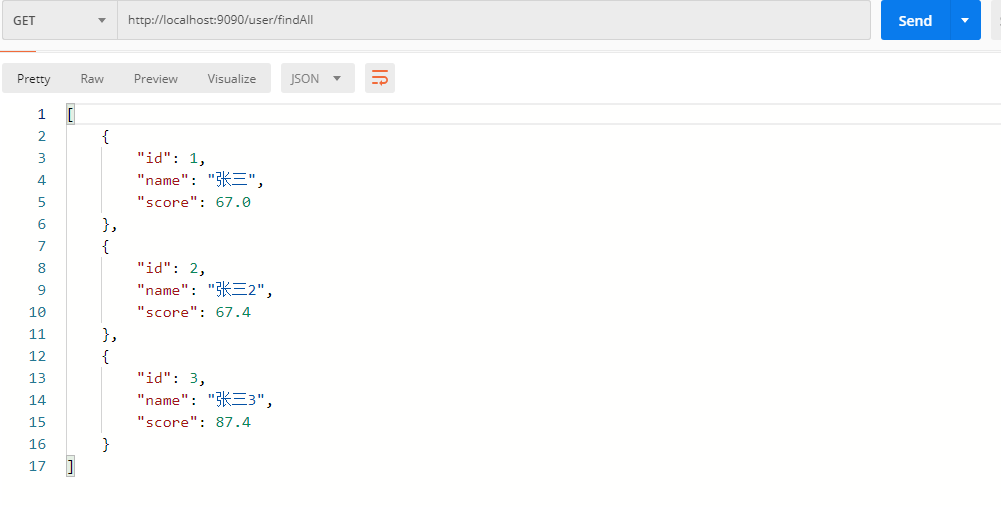
http://localhost:9090/user/findAll

8.4 删除数据
http://localhost:9090/user/deleteById/4
http://localhost:9090/user/findAll
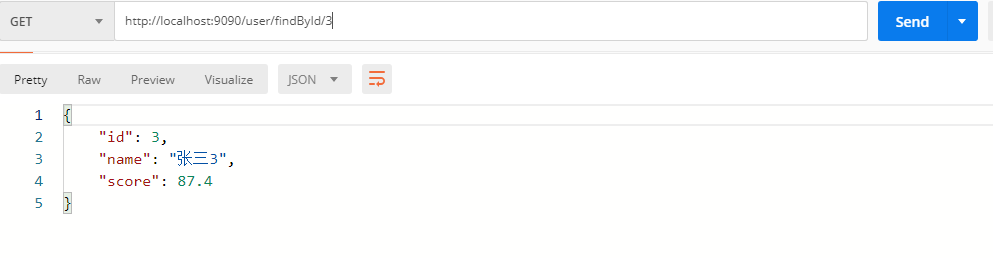
8.5 按序号查
http://localhost:9090/user/findById/3
上一节链接:https://blog.csdn.net/qq_40893824/article/details/106853726
下一节链接:https://blog.csdn.net/qq_40893824/article/details/106861955


 12万+
12万+


 被折叠的 条评论
为什么被折叠?
被折叠的 条评论
为什么被折叠?
 到【灌水乐园】发言


