


前言
先来说说为啥要写这篇文章,之前小编看了下 nginx 的访问日志,发现每天有好多国外的 IP 地址来访问我的网站,并且访问的内容基本上都是恶意的。因此我决定禁止国外 IP 来访问我的网站
想要实现这个功能有很多方法,下面我就来介绍基于 NGINX 的 ngx_http_geoip2 模块 来禁止国外 IP 访问网站。
安装 geoip2 扩展依赖
# yum install libmaxminddb-devel -y
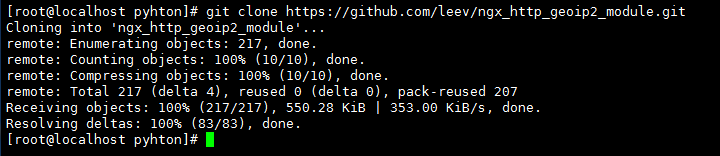
下载 ngx_http_geoip2_module 模块
# git clone https://github.com/leev/ngx_http_geoip2_module.git
解压模块到指定路径
我这里解压到/usr/local 目录下
[root@fxkj tmp]# mv ngx_http_geoip2_module/ /usr/local/
[root@fxkj local]# ll ngx_http_geoip2_module/

安装 nginx 模块
首先说明下环境,我的 nginx 版本是 1.16 , 在网上查了下安装 ngx_http_geoip2 模块至少需要 1.18 版本及以上,因此此次安装我是升级 nginx1.18,添加 ngx_http_geoip2 模块。
下载 nginx 1.18 版本
# yum install libmaxminddb-devel -y
解压 nginx1.18 软件包并升级为 nginx1.18 ,添加 ngx_http_geoip2 模块
需要注意
1、升级 nginx, 添加 nginx 模块只需要编译然后 make 不需要 make instll 不然线上的 nginx 会被新版本 nginx 完完整整的替换掉
2、编译前需要看下 nginx 当前安装了哪些模块
[root@fxkj tmp]# /usr/local/nginx/sbin/nginx -V

nginx version: nginx/1.16.0

built by gcc 4.8.5 20150623 (Red Hat 4.8.5-39) (GCC)

built with OpenSSL 1.0.2k-fips 26 Jan 2017

TLS SNI support enabled

configure arguments: –with-http_stub_status_module –prefix=/usr/local/nginx –user=nginx –group=nginx –with-http_ssl_module –with-stream
编译安装
[root@fxkj tmp]# tar -xf nginx-1.18.0.tar.gz
[root@fxkj tmp]# cd nginx-1.18.0/
[root@fxkj nginx-1.18.0]# ./configure --with-http_stub_status_module \
 --prefix=/usr/local/nginx \
 --user=nginx --group=nginx --with-http_ssl_module --with-stream \
 --add-module=/usr/local/ngx_http_geoip2_module
[root@fxkj nginx-1.18.0]# make
[root@fxkj nginx-1.18.0]# cp /usr/local/nginx/sbin/nginx /usr/local/nginx/sbin/nginx1.16    #备份
[root@fxkj nginx-1.18.0]# cp objs/nginx /usr/local/nginx/sbin/    #


用新的去覆盖旧的
[root@fxkj nginx-1.18.0]# pkill nginx     #杀死nginx
[root@fxkj nginx-1.18.0]# /usr/local/nginx/sbin/nginx    #再次启动Nginx
注意:不过生产环境不建议大家这样操作,平滑升级操作大家可以参考:1分钟搞定 Nginx 版本的平滑升级与回滚 这篇文章。
查看 nginx 版本以及安装的模块
ginx-1.18.0]# /usr/local/nginx/sbin/nginx -V

nginx version: nginx/1.18.0

built by gcc 4.8.5 20150623 (Red Hat 4.8.5-39) (GCC)

built with OpenSSL 1.0.2k-fips 26 Jan 2017

TLS SNI support enabled

configure arguments: –with-http_stub_status_module –prefix=/usr/local/nginx –user=nginx –group=nginx –with-http_ssl_module –with-stream –add-module=/usr/local/ngx_http_geoip2_module
下载最新的 IP 地址数据库文件
模块安装成功后,还要在 Nginx 里指定数据库,在安装运行库时默认安装了两个,位于 /usr/share/GeoIP/ 目录下,一个只有 IPv4,一个包含 IPv4 和 IPv6:
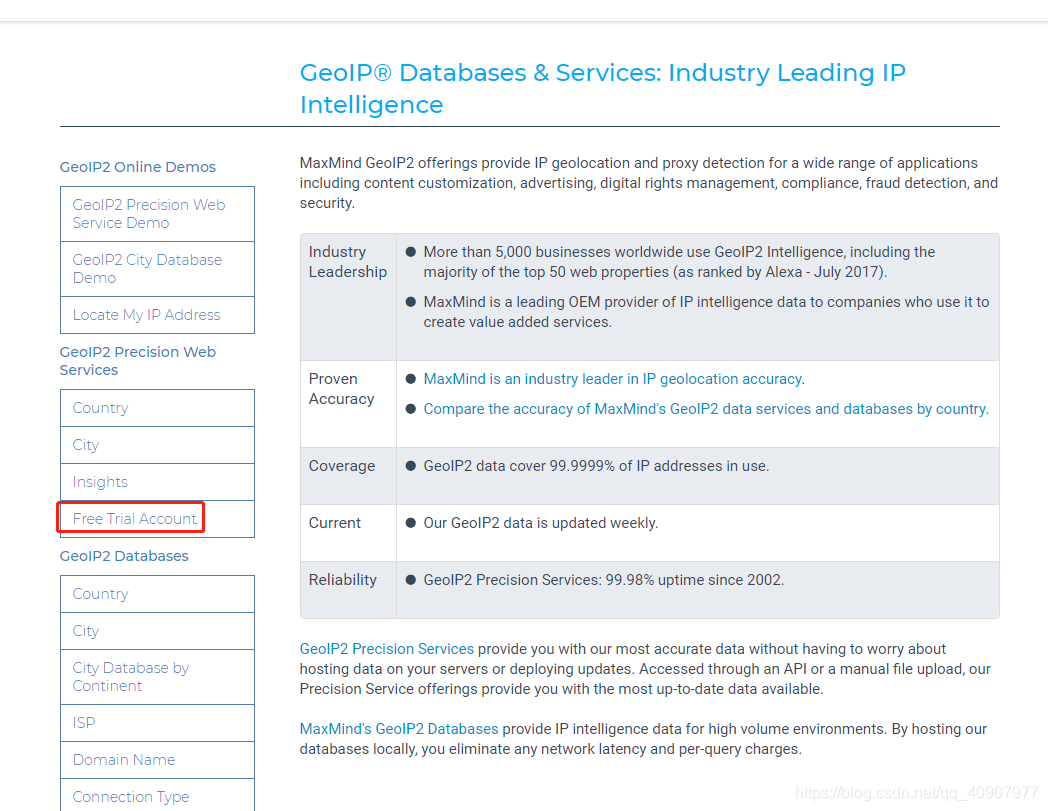
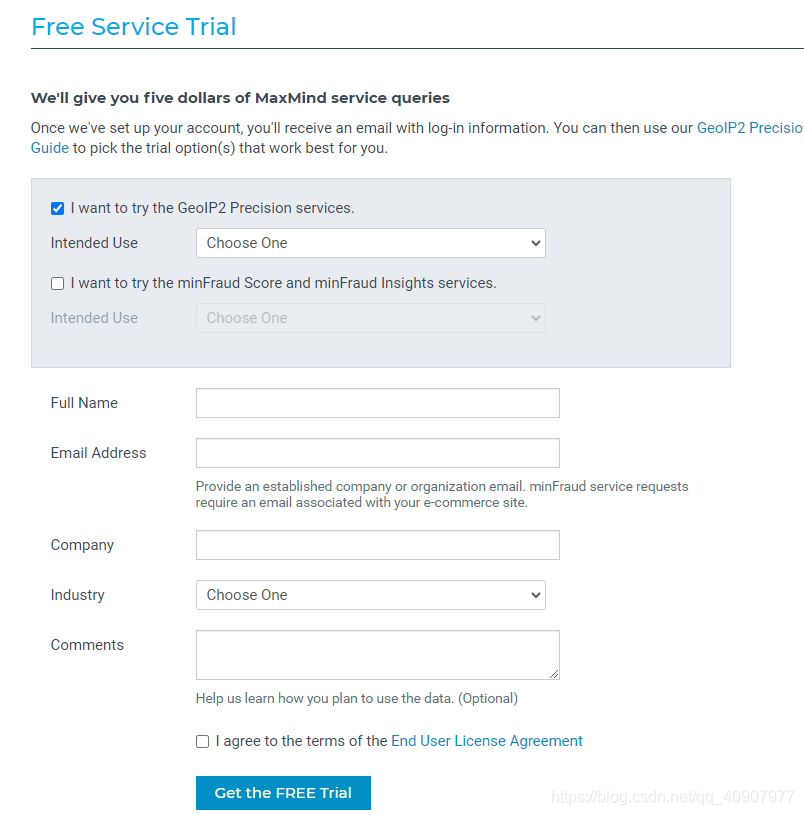
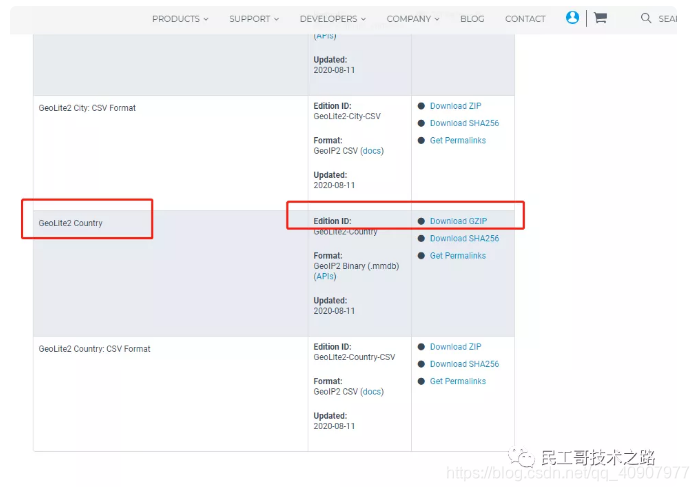
登录 www.maxmind.com 网址,创建账户下载最新的库文件(账户创建就不演示了)

点击左侧 ,Download Files
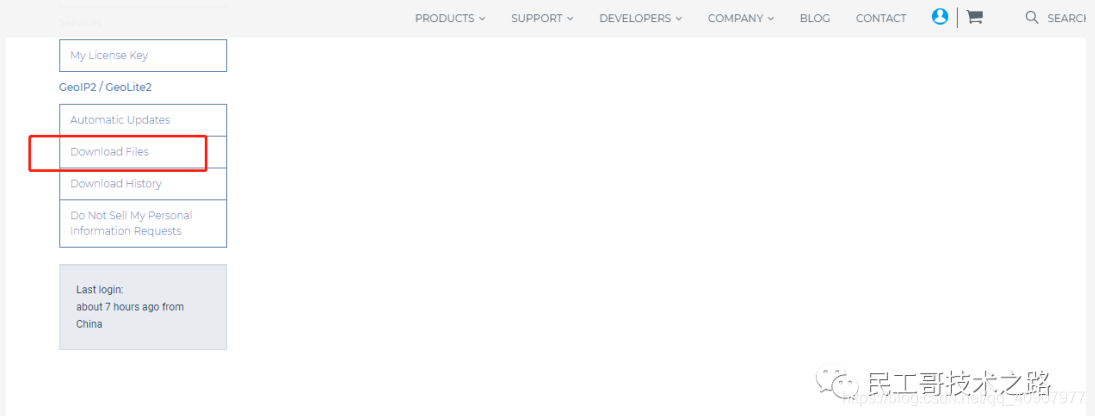
选择 GeoLite2 Country ,点击 Download GZIP 下载即可
上传到 /usr/share/GeoIP/ 下并解压
[root@fxkj local]# cd /usr/share/GeoIP/
[root@fxkj GeoIP]# ll
total 69612
lrwxrwxrwx. 1 root root       17 Mar  7  2019 GeoIP.dat -> GeoIP-initial.dat
-rw-r--r--. 1 root root  1242574 Oct 30  2018 GeoIP-initial.dat
lrwxrwxrwx. 1 root root       19 Mar  7  2019 GeoIPv6.dat -> GeoIPv6-initial.dat
-rw-r--r--. 1 root root  2322773 Oct 30  2018 GeoIPv6-initial.dat
-rw-r--r--  1 root root  3981623 Aug 12 02:37 GeoLite2-Country.mmdb
配置 nginx 配置文件
修改前先备份配置文件
[root@fxkj ~]# cp /usr/local/nginx/conf/nginx.conf /usr/local/nginx/conf/nginx.conf-bak
[root@fxkj ~]# vim /usr/local/nginx/conf/nginx.conf
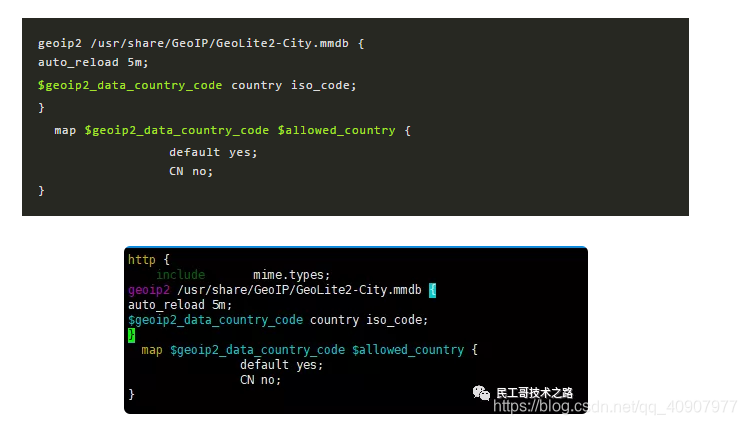
在 http 中添加 几行,定义数据库文件位置
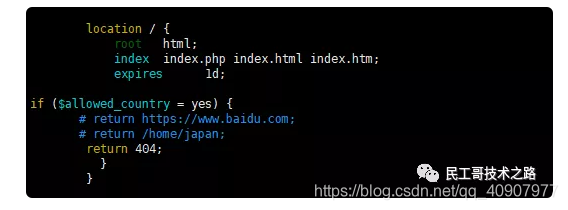
在 server 中的 location 下添加条件
如果满足 IP 是国外 IP 就执行下面的 return 动作,我这里定义了 3 种, 注释了其中两个。
当访问 IP 是国外 IP ,直接返回 404
if ($allowed_country = yes) {
       # return https://www.baidu.com;
       # return /home/japan;
        return 404;
 }
修改完毕后, 检测下配置文件,重新加载下 nginx
[root@fxkj ~]# /usr/local/nginx/sbin/nginx -t
nginx: the configuration file /usr/local/nginx/conf/nginx.conf syntax is ok
nginx: configuration file /usr/local/nginx/conf/nginx.conf test is successful
[roo@fxkj ~]# /usr/local/nginx/sbin/nginx -s reload
模拟测试验证
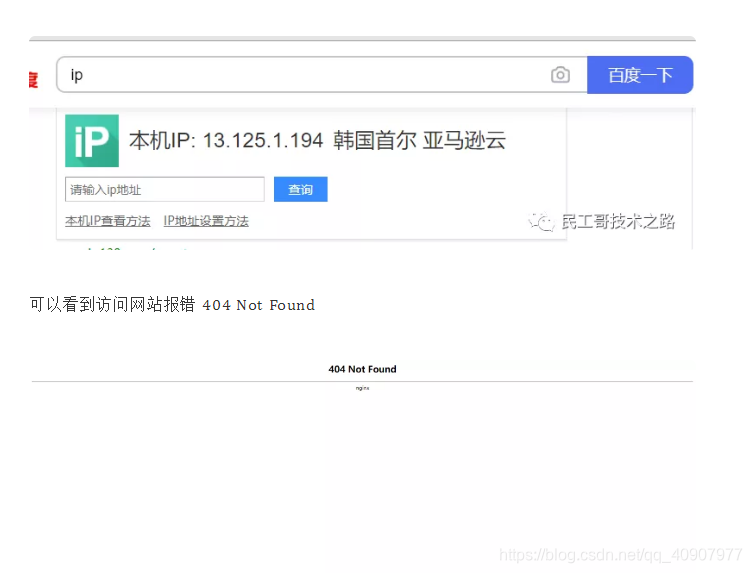
使用海外节点的服务器去访问网站
这里我的 IP 是 来自于韩国
我们再来看下 nginx 的访问日志
“13.125.1.194 – – [14/Aug/2020:16:15:51 +0800] “GET /favicon.ico HTTP/1.1” 404 548 “https://www.fxkjnj.com/” “Mozilla/5.0 (Windows NT 10.0; Win64; x64) AppleWebKit/537.36 (KHTML, like Gecko) Chrome/84.0.4147.125 Safari/537.36”
图片

常见报错
1、安装之后,版本没有改变

解决办法 :
备份nginx.old和nginx,然后清空nginx
 cd /usr/local/nginx/sbin/
[root@localhost sbin]# ls
nginx  nginx1.16  nginx.old
# mv nginx.old nginx.old1

#> nginx
nginx-1.8.1]# cp objs/nginx /usr/local/nginx/sbin/
#/usr/local/nginx/sbin/nginx

#  /usr/local/nginx/sbin/nginx -V
nginx version: nginx/1.8.1
built by gcc 4.8.5 20150623 (Red Hat 4.8.5-44) (GCC)
built with OpenSSL 1.0.2k-fips  26 Jan 2017
TLS SNI support enabled
configure arguments: --with-http_stub_status_module --prefix=/usr/local/nginx --user=nginx --group=nginx --with-http_ssl_module --add-module=/usr/local/ngx_http_geoip2_module

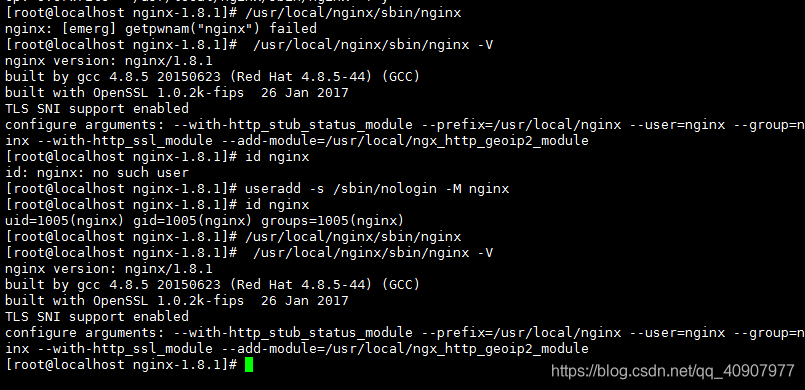
2、启动报错 :nginx: [emerg] getpwnam(“nginx”) failed
root@localhost nginx-1.8.1]# id nginx
id: nginx: no such user
[root@localhost nginx-1.8.1]# useradd -s /sbin/nologin -M nginx
[root@localhost nginx-1.8.1]# id nginx
uid=1005(nginx) gid=1005(nginx) groups=1005(nginx)
[root@localhost nginx-1.8.1]# /usr/local/nginx/sbin/nginx
[root@localhost nginx-1.8.1]#  /usr/local/nginx/sbin/nginx -V
nginx version: nginx/1.8.1
built by gcc 4.8.5 20150623 (Red Hat 4.8.5-44) (GCC)
built with OpenSSL 1.0.2k-fips  26 Jan 2017
TLS SNI support enabled
configure arguments: --with-http_stub_status_module --prefix=/usr/local/nginx --user=nginxinx --with-http_ssl_module --add-module=/usr/local/ngx_http_geoip2_module
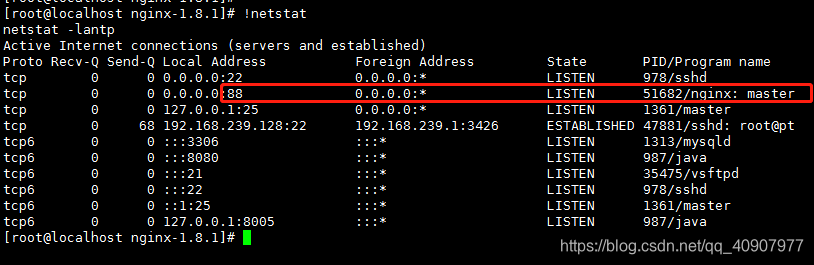
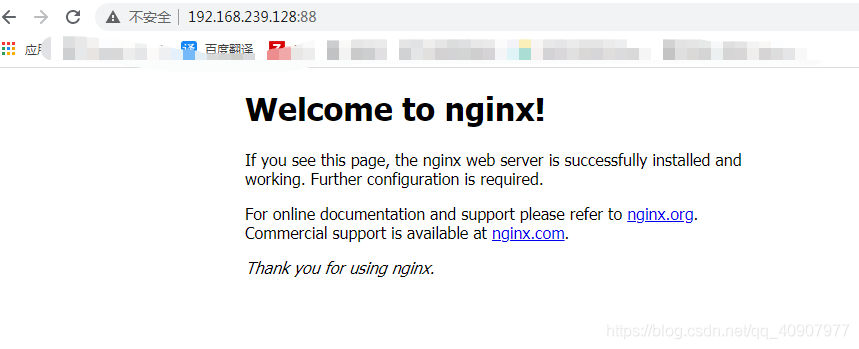
刷新网页,16配置的88端口,升级到18还可以使用
参考链接 :
https://www.toutiao.com/a6860736292339057156?wid=1623231008231
nginx: [emerg] getpwnam(“nginx”) failed :https://www.cnblogs.com/love3556/p/5962388.html
https://mp.weixin.qq.com/s/_xGWVdSA-H1Kjvka62OFnA


 1507
1507


 被折叠的 条评论
为什么被折叠?
被折叠的 条评论
为什么被折叠?
 到【灌水乐园】发言


