


WebDriverIO实现UI自动化
1.什么是webdriverIO
- Github地址: https://github.com/webdriverio/webdriverio
- 官网: https://webdriver.io/
2. 创建一个demo
-
本地必须安装了node(node版本需要在 v12.16.1以上)
使用 node -v 查看自己本地node版本
-
初始化自己的代码
$ mkdir webdriverio-demo && cd webdriverio-demo $ npm init -y -
安装 WebdriverIO CLI
npm i --save-dev @wdio/cli -
生成配置文件
wdio.conf.jsnpx wdio config -ywdio.conf.js配置文件用来安装所有必须的包文件 -
创建 Spec 文件
创建spec测试文件
# mac/liunx $ mkdir -p ./test/specs # Windows $ mkdir -p ./test/specs -
打开文件目录查看文件结构
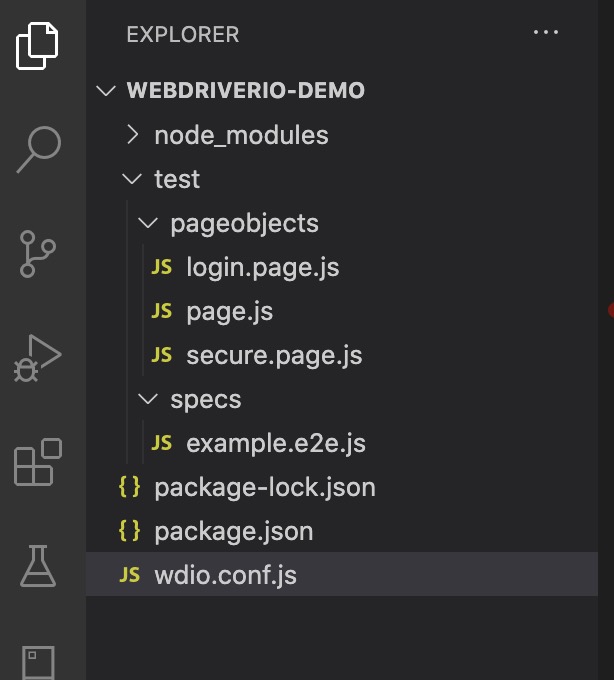
test下的js文件的官方的实例
-
定义login page
const Page = require('./page'); /** * sub page containing specific selectors and methods for a specific page */ class LoginPage extends Page { /** * define selectors using getter methods */ get inputUsername () { return $('#username') } get inputPassword () { return $('#password') } get btnSubmit () { return $('button[type="submit"]') } /** * a method to encapsule automation code to interact with the page * e.g. to login using username and password */ login (username, password) { this.inputUsername.setValue(username); this.inputPassword.setValue(password); this.btnSubmit.click(); } /** * overwrite specifc options to adapt it to page object */ open () { return super.open('login'); } } module.exports = new LoginPage(); -
第一个case,测试webdriver IO登录界面
const LoginPage = require('../pageobjects/login.page');
const SecurePage = require('../pageobjects/secure.page');

describe('My Login application', () => {
    it('should login with valid credentials', () => {
        LoginPage.open();

        LoginPage.login('tomsmith', 'SuperSecretPassword!');
        expect(SecurePage.flashAlert).toBeExisting();
        expect(SecurePage.flashAlert).toHaveTextContaining(
            'You logged into a secure area!');
    });
});
3. 运行case
使用下面命令来运行case
npx wdio wdio.conf.js
简化运行的命令,我们可以在package.json文件配置:
[外链图片转存失败,源站可能有防盗链机制,建议将图片保存下来直接上传(img-K2Jb5Bcd-1608512024723)(https://i.loli.net/2020/12/20/FXy2JDCYGuZKt5V.jpg)]
然后用 npm run test来运行case就可以了,到此demo就完成了
使用docker运行case
# 下载selenium和zalenium的镜像
docker pull elgalu/selenuim
docker pull dosel/zalenium
# 将 wdio.conf.js配置文件中的services改成 [selenium standalone]
# 创建docker文件 --- docker-compose.yml
# 然后启动Selenium
docker-compose up
# 运行case:
npm run test
# 本地访问该端口,查看case运行时生成的录像
http://localhost:4444/dashboard/#
# 最后关闭Selenium
docker-compose down
docker-compose.yml
# Usage:
    #   docker-compose up --force-recreate
    version: ‘2.1’
    services:
      #--------------#
      selenium:
        image: elgalu/selenium
      zalenium:
        image: dosel/zalenium
        container_name: zalenium
        hostname: zalenium
        tty: true
        volumes:
          - /tmp/videos:/home/seluser/videos
          - /var/run/docker.sock:/var/run/docker.sock
        ports:
          - 4444:4444
        command: >
          start --desiredContainers 2
                --maxDockerSeleniumContainers 2
                --videoRecordingEnabled true
        depends_on:
          - selenium
最后附上demo的代码:
https://github.com/chirshee/webdriverio-demo


 1888
1888


 被折叠的 条评论
为什么被折叠?
被折叠的 条评论
为什么被折叠?
 到【灌水乐园】发言


