


Spring Security5(3)实现多个登陆页面
在一个网页应用中,我们经常需要做到不同的用户有不同的登录页面,以及登陆之后展示不同的页面;不同的用户之间不能访问互相访问网址等等。这里就需要 Spring Security 来实现多个登陆页面。
这里首先使用 idea 创建一个新的 Spring Boot 应用,在功能选择菜单,我们选择:
- spring security
- thymeleaf
- spring mvc
- springboot devtools
- lombok
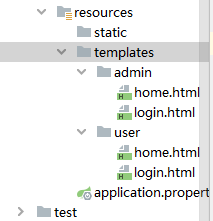
这些功能模块,进入项目,首先在 /resources/templates 下创建 admin 和 user 两个文件夹,用来存放不同的登陆页面和首页。
首先给出 admin 的登陆页面:
<!DOCTYPE html>
<html lang="en" xmlns:th="https://www.thymeleaf.org" xmlns="http://www.w3.org/1999/xhtml">
<head>
    <meta charset="UTF-8">
    <title>Admin login page</title>
</head>
<body>
<h2>Welcome to admin login page</h2>
<form th:action="@{/admin/login}" method="post">
    <div id="loginTable">
        <table>
            <tbody>
            <tr>
                <td>
                    <label for="username">UserName</label>
                </td>
                <td>
                    <input type="text" id="username" name="username" />
                </td>
            </tr>
            <tr>
                <td>
                    <label for="password">Password</label>
                </td>
                <td>
                    <input id="password" type="password" name="password" />
                </td>
            </tr>
            <tr>
                <td>
                    <input type="submit" value="sign in" />
                </td>
            </tr>
            <tr>
                <td colspan="2">
                    <div class="error" th:if="${param.error}">
                        Invalid username add/or password.
                    </div>
                    <div class="info" th:if="${param.logout}">
                        You have been logged out.
                    </div>
                </td>
            </tr>
            </tbody>
        </table>
    </div>
</form>
</body>
</html>
然后是 home 页面:
<!DOCTYPE html>
<html lang="en" xmlns:th="https://www.thymeleaf.org" xmlns="http://www.w3.org/1999/xhtml">
<head>
    <meta charset="UTF-8" >
    <title>Admin home page</title>
</head>
<body>
    <h2>Welcome to admin home page</h2>
    <form th:action="@{/admin/logout}" method="post">
        <input type="submit" value="sign out" />
    </form>
</body>
</html>
home 页面中只有一个退出登陆的按钮。
然后是 user 的登陆页面:
<!DOCTYPE html>
<html lang="en" xmlns:th="https://www.thymeleaf.org" xmlns="http://www.w3.org/1999/xhtml">
<head>
    <meta charset="UTF-8">
    <title>User login page</title>
</head>
<body>
<h2>Welcome to user login page</h2>
<form th:action="@{/user/login}" method="post">
    <div id="loginTable">
        <table>
            <tbody>
            <tr>
                <td>
                    <label for="username">UserName</label>
                </td>
                <td>
                    <input type="text" id="username" name="username" />
                </td>
            </tr>
            <tr>
                <td>
                    <label for="password">Password</label>
                </td>
                <td>
                    <input id="password" type="password" name="password" />
                </td>
            </tr>
            <tr>
                <td>
                    <input type="submit" value="sign in" />
                </td>
            </tr>
            <tr>
                <td colspan="2">
                    <div class="error" th:if="${param.error}">
                        Invalid username add/or password.
                    </div>
                    <div class="info" th:if="${param.logout}">
                        You have been logged out.
                    </div>
                </td>
            </tr>
            </tbody>
        </table>
    </div>
</form>
</body>
</html>
然后是 home 页面:
<!DOCTYPE html>
<html lang="en" xmlns:th="https://www.thymeleaf.org" xmlns="http://www.w3.org/1999/xhtml">
<head>
    <meta charset="UTF-8" >
    <title>User home page</title>
</head>
<body>
<h2>Welcome to user home page</h2>
<form th:action="@{/user/logout}" method="post">
    <input type="submit" value="sign out" />
</form>
</body>
</html>
写完了之后,需要创建配置文件,来注册这两组登陆页面和主页:
package com.spring.security.demo.demo;

import org.springframework.context.annotation.Configuration;
import org.springframework.web.servlet.config.annotation.ViewControllerRegistry;
import org.springframework.web.servlet.config.annotation.WebMvcConfigurer;

@Configuration
public class MvcConfig implements WebMvcConfigurer {
    @Override
    public void addViewControllers(ViewControllerRegistry registry) {
        registry.addViewController("/").setViewName("user/home");
        registry.addViewController("/admin/login").setViewName("admin/login");
        registry.addViewController("/admin/home").setViewName("admin/home");
        registry.addViewController("/user/login").setViewName("user/login");
        registry.addViewController("/user/home").setViewName("user/home");
    }
}
这里直接通过实现接口 WebMvcConfigurar 的 addViewControllers 方法来注册这几个页面。
注册完成之后,为了实现权限的管理,需要继承 WebSecurityConfigurerAdapter 重写 configure 方法:
package com.spring.security.demo.demo;

import org.springframework.beans.factory.annotation.Autowired;
import org.springframework.context.annotation.Bean;
import org.springframework.context.annotation.Configuration;
import org.springframework.core.annotation.Order;
import org.springframework.security.authentication.jaas.memory.InMemoryConfiguration;
import org.springframework.security.config.annotation.authentication.builders.AuthenticationManagerBuilder;
import org.springframework.security.config.annotation.web.builders.HttpSecurity;
import org.springframework.security.config.annotation.web.configuration.WebSecurityConfigurerAdapter;
import org.springframework.security.core.userdetails.User;
import org.springframework.security.core.userdetails.UserDetailsService;
import org.springframework.security.crypto.bcrypt.BCryptPasswordEncoder;
import org.springframework.security.crypto.password.PasswordEncoder;
import org.springframework.security.provisioning.InMemoryUserDetailsManager;

@Configuration
public class SecurityConfig {
    @Configuration
    @Order(1)
    public static class AdminSecurityConfig extends WebSecurityConfigurerAdapter {
        @Override
        protected void configure(HttpSecurity http) throws Exception {
            http.antMatcher("/admin/**")
                    .authorizeRequests()
                    .antMatchers("/css/**").permitAll()
                    .anyRequest()
                    .authenticated()

                    .and()
                    .formLogin()
                    .loginPage("/admin/login")
                    .defaultSuccessUrl("/admin/home")
                    .permitAll()

                    .and()
                    .logout()
                    .logoutUrl("/admin/logout")
                    .permitAll();
        }
    }

    @Configuration
    @Order(2)
    public static class UserSecurityConfig extends WebSecurityConfigurerAdapter {
        @Override
        protected void configure(HttpSecurity http) throws Exception {
            http.antMatcher("/user/**")
                    .authorizeRequests()
                    .antMatchers("/css/**").permitAll()
                    .anyRequest()
                    .authenticated()

                    .and()
                    .formLogin()
                    .loginPage("/user/login")
                    .defaultSuccessUrl("/user/home")
                    .permitAll()

                    .and()
                    .logout()
                    .logoutUrl("/user/logout")
                    .permitAll();
        }
    }
    // 配置两个用户的用户名和密码的第一种方法
    //    @Autowired
//    public void configureGlobal(AuthenticationManagerBuilder auth) throws Exception {
//        auth.inMemoryAuthentication().withUser("user")
//                .password(encoder().encode("123456")).roles("USER");
//        auth.inMemoryAuthentication().withUser("admin")
//                .password(encoder().encode("123456")).roles("ADMIN");
//    }

    // 配置两个用户的用户名和密码的第二种方法
    @Bean
    public UserDetailsService userDetailsService() {
        InMemoryUserDetailsManager manager = new InMemoryUserDetailsManager();
        manager.createUser(
                User
                .withUsername("user")
                .password(encoder().encode("123456"))
                .roles("USER").build()
        );

        manager.createUser(
                User
                .withUsername("admin")
                .password(encoder().encode("123456"))
                .roles("ADMIN")
                .build()
        );

        return manager;
    }

    // 实现密码加密的方式
    @Bean
    public static PasswordEncoder encoder() {
        return new BCryptPasswordEncoder();
    }
}
由于我们有两个用户,所有就需要重写两次方法。
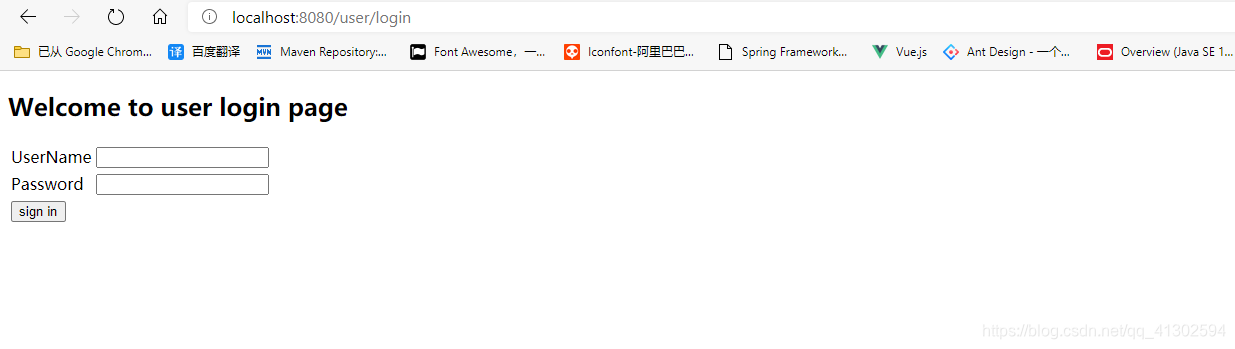
然后,启动 springboot 程序,输入 /user/login 即可看到 user 登陆界面:
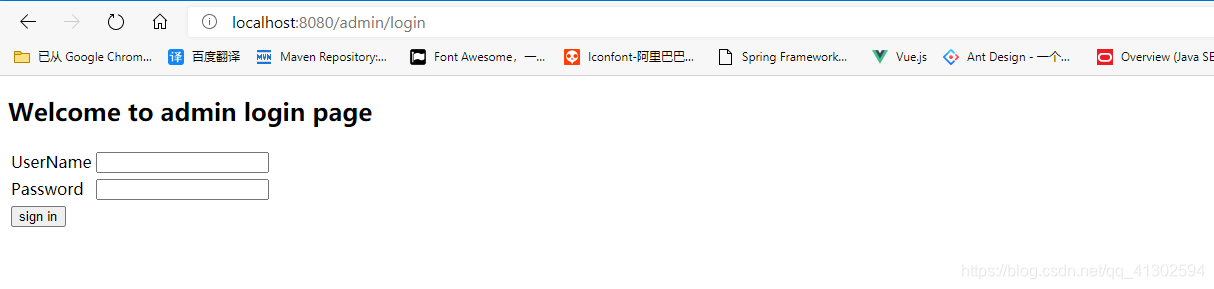
同理,输入 /admin/user 即可看到 admin 登陆页面:
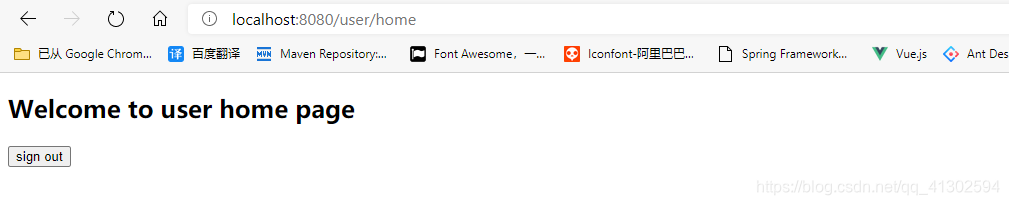
但是,我们发现,这两者可以互相登陆,比如输入 admin 的密码和用户名,可以登入 user 的 home 页:
这里,我们需要对两者的权限进行限制,在配置文件,进行如下修改:
    @Configuration
    @Order(1)
    public static class AdminSecurityConfig extends WebSecurityConfigurerAdapter {
        @Override
        protected void configure(HttpSecurity http) throws Exception {
            http.antMatcher("/admin/**")
                    .authorizeRequests()
                    .antMatchers("/css/**").permitAll()
                    .antMatchers("/admin/**").hasRole("ADMIN")
                    .anyRequest()
                    .authenticated()

                    .and()
                    .formLogin()
                    .loginPage("/admin/login")
                    .defaultSuccessUrl("/admin/home")
                    .permitAll()

                    .and()
                    .logout()
                    .logoutUrl("/admin/logout")
                    .permitAll();
        }
    }

    @Configuration
    @Order(2)
    public static class UserSecurityConfig extends WebSecurityConfigurerAdapter {
        @Override
        protected void configure(HttpSecurity http) throws Exception {
            http.antMatcher("/user/**")
                    .authorizeRequests()
                    .antMatchers("/css/**").permitAll()
                    .antMatchers("/user/**").hasRole("USER")
                    .anyRequest()
                    .authenticated()

                    .and()
                    .formLogin()
                    .loginPage("/user/login")
                    .defaultSuccessUrl("/user/home")
                    .permitAll()

                    .and()
                    .logout()
                    .logoutUrl("/user/logout")
                    .permitAll();
        }
    }
在 antMatchers("/css/**").permitAll() 之后,添加 antMatchers("...").hasRole("...") 进行权限管理。
然后,就发现,使用 user 登陆 admin,会出现 403 错误,Forbidden。

重写 configure 方法中,http对象后面方法的含义:
- antMatcher:用于匹配路径
- authorizeRequests:允许基于{@link HttpServletRequest}使用
- antMatchers:映射 antMatcher 中的所有请求方式。
- permitAll:该 URLs 可以被任何人访问
- hasRoles:用来设置该 URLs 可以特定的用户访问的快捷方式
- anyRequest:映射所有的请求
- authenticated:用以指出这些 URLs 可以被任何授权的用户访问
- loginPage:如果必须要认证,将会重定向到特定的登陆页面
- formLogin:指定支持基于表单的身份验证
- defaultSuccessUrl:如果用户在安全认证之前并未访问一个安全的网页,在认证成功之后,用户将会被重定向到指定的URL。
- and:允许自定义要使用的{@link SecurityExpressionHandler}。
- logout:提供登陆支持。
- logoutUrl:触发注销的URL(默认为“/log out”)。如果 CSRF 保护是开启的(默认的),那么请求也必须是 POST。


 4922
4922


 被折叠的 条评论
为什么被折叠?
被折叠的 条评论
为什么被折叠?
 到【灌水乐园】发言


