


一些资料
- [vue3中文文档][https://vue3js.cn/docs/zh/guide/installation.html]
- [vue-cli][https://cli.vuejs.org/zh/config/#全局-cli-配置]
- [vuex][https://vuex.vuejs.org/zh/guide/]
- [vue-router][https://router.vuejs.org/zh/]
- [ant Design Vue][https://2x.antdv.com/docs/vue/introduce-cn/]
- [typescript][https://www.tslang.cn/docs/handbook/tsconfig-json.html]
一、Vue3.0与Vue2.0的对比:
优点:
- 将Vue内部的绝大部分api对外暴露,使Vue具备开发大型项目的能力,例如compile编译api等
- 使用Proxy进行响应式变量定义,性能提高2-3倍,性能远超react
- 可在Vue2.0中单独使用composition-api插件,或者直接用它开发插件
- 对typescript支持更加友好
- 面向未来:对于尤雨溪最近创新的vite开发服务器(舍弃webpack、底层为Koa框架的高性能开发服务器),直接使用的Vue3.0语法
缺点:
- 只支持IE11及以上
- 对于习惯了Vue2.0开发模式的开发者来说,需要不少学习成本
二、Vue3.0正确的打开方式
1、使用@vue/cli创建项目

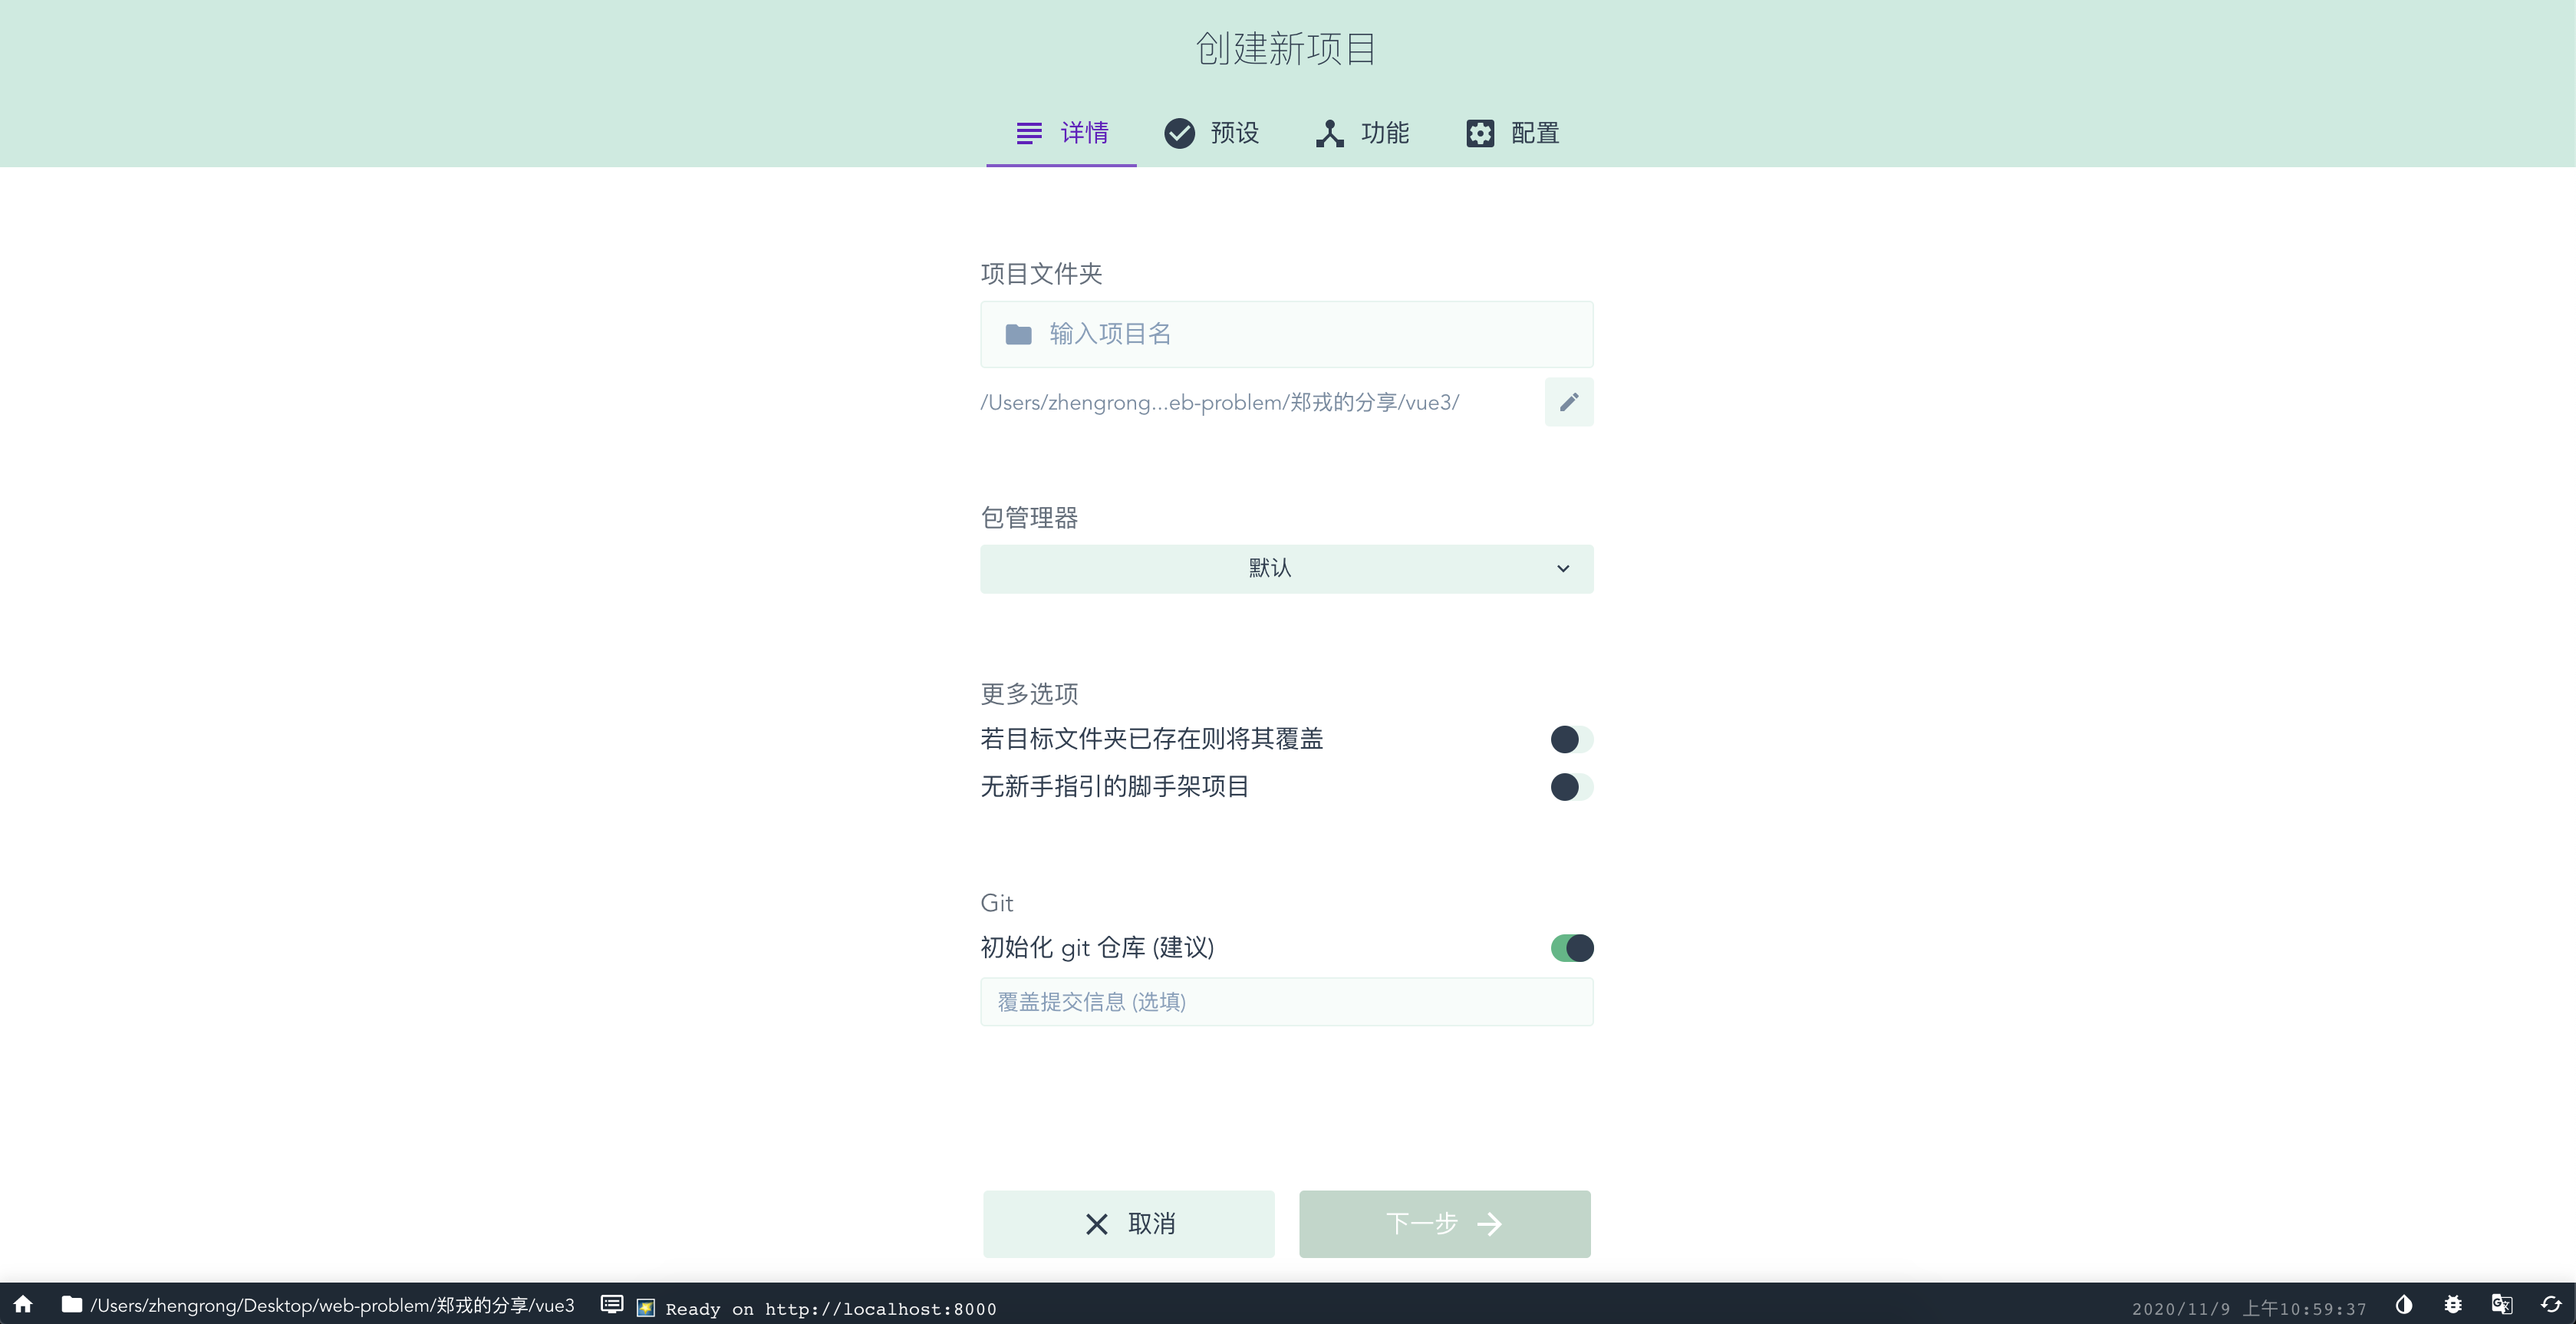
或者使用vue-ui来创建项目

亦或者使用vite,bug多,目前不建议使用
2、项目配置
如下例子为使用typescript + Vue3.0 + Less开发的项目依赖,也可以直接使用
{
  "name": "vue3",
  "version": "0.1.0",
  "private": true,
  "scripts": {
    "serve": "vue-cli-service serve",
    "build": "vue-cli-service build"
  },
  "dependencies": {
    "ant-design-vue": "^2.0.0-beta.10",
    "core-js": "^3.6.5",
    "less": "^3.12.2",
    "less-loader": "^7.0.2",
    "vue": "^3.0.0",
    "vue-class-component": "^8.0.0-0",
    "vue-codemirror": "^4.0.6",
    "vue-router": "^4.0.0-0",
    "vuex": "^4.0.0-0"
  },
  "devDependencies": {
    "@vue/cli-plugin-babel": "~4.5.0",
    "@vue/cli-plugin-router": "~4.5.0",
    "@vue/cli-plugin-typescript": "~4.5.0",
    "@vue/cli-plugin-vuex": "~4.5.0",
    "@vue/cli-service": "~4.5.0",
    "@vue/compiler-sfc": "^3.0.0",
    "typescript": "~3.9.3"
  },
  "browserslist": [
    "> 1%",
    "last 2 versions",
    "not dead"
  ]
}
3、使用文档
- 项目入口main.ts
import { createApp } from 'vue'
import App from './App.vue'
import '@/styles/global.less'
import router from './router'
import store from './store'
// antd
import antd from 'ant-design-vue'
import 'ant-design-vue/dist/antd.css'

createApp(App).use(store).use(router).use(antd).mount('#app')
4、入口文件
<template>
  <router-view/>
</template>

<script lang="ts">
export default {
  name: 'App'
}
</script>
当然也可以使用纯粹的tsx语法
tsx不支持2.0版本的很多语法
import { defineComponent } from 'vue';
import { RouterLink, RouterView } from 'vue-router';
import './style/app.less'

export default defineComponent({
  name: 'App',
  setup() {
    return () => (
      <>
        <RouterView/>
      </>
    );
  }
});
5、语法相关
1. 响应式变量声明
interface TableDataItem {
  name: string
}
import { ref, Ref, reactive, readonly } from 'vue'
// 方式一: 可传入任意类型的值,改变值的时候必须使用其value属性,例 refData.value = 2
const refData = ref(0)

// 方式二: 只能传入引用类型的值
const data = reactive<{tableData: Array<TableDataItem>}>({
  tableData: [
    {
      name: '姓名1'
    }
  ]
})

// readonly 和 reactive 一样,但是声明的是只读数据
let read = readonly({num: 99})
// 如果在ts里会报错,未使用ts会警告
read.value = 100

// 使用响应式变量前,必须在Vue文件的setup函数中 执行/return 出去
setup (props, context){
  return {
    refData,
    data
  }
}
在vue2中
data() {
    return {
    tableData: [
      {
        name: '姓名1'
      }
    ]
  }
}
2. vueHooks
export default {
  setup(props, context) {
    const { spokesman } = useVueHooks(18);
    const state: Ref = ref<string>('string');

    return { state, spokesman };
  },
};

const useVueHooks = (age: number) => {
    const spokesman = reactive({
        name: '渣渣辉',
        age
    })
  return { spokesman };
};
3. computed
import { watch, watchEffect, computed } from 'vue'

// 1、创建只读的计算属性
const computedCount = computed(() => count.value + 1)


// 2、创建可读可写的计算属性
const computedCount2 = computed({
      get: () => return writeCount.value + 2,
      set: (val) => {
        writeCount.value =  val + 2
      }
})

// 可以直接修改computed的值,在Vue2.x中无法修改
// computedCount2.value = 123
在vue2中
export default {
    computed() {
    // ...
  }
}
4. watch & watchEffect
import { ref, watch, watchEffect } from 'vue'
const count = ref(0)
// watchEffect会自动收集响应式依赖
watchEffect(() => console.log(count.value))

watchEffect(() => {
  console.log('watchEffect', count.value, count)
}, {
  onTrack() {
    console.log('onTrack调用')   // 当反应性属性或ref作为依赖项被跟踪时
  },
  onTrigger() {
    console.log('ontrigger调用') // 当观察程序回调由依赖项的变异触发时
  }
})

// 监听指定基础类型数据
watch(count, (now, prev) => {
    console.log(now, prev, 'count')
})

const data = reactive({
  tableData: [
    {
      name: '姓名1'
    }
  ]
})
// 监听reactive创建的响应式变量,可以直接监听对象,必须使用内联函数
watch(() => data.tableData, (now, prev) => {
   console.log(now, prev, 'tableData')
})

// 监听多个参数- composition-api中无法使用
let position = reactive({
  x: 1,
  y: 1
})
watch([
   () => position.x,
   () => position.y,
], ([x1, y1], [nx1, ny1]) => {
  console.log('x1,y1', x1, y1)
  console.log('nx1,ny1', nx1, ny1)
},{
  flush: 'post', // 默认, 在视图渲染后触发
  // flush: 'pre', // 在视图渲染之前触发
  // flush: 'sync' // 无阻塞,异步触发
})
watch: {
  demo(newval, oldval) {
    this.value = this.demo;
  }
}
5. provide & inject
import { reactive, provide, inject} from 'vue'

const data = reactive({
  tableData: [
    {
      name: '姓名1'
    }
  ]
})
// 根级/父级组件
// provide 这里如果提供的是响应式变量,inject也会触发响应
// provide('provideName', 'provideData')
provide('provideReactive', data.tableData)


// 子级/孙级组件
setup () {
  const provideData = inject('provideName')
  const provideReactive = inject('provideReactive')
  return {
    provideData,
    provideReactive
  }
}
在vue2中
// 父级组件提供 'foo'
var Provider = {
  provide: {
    foo: 'bar'
  },
  // ...
}

// 子组件注入 'foo'
var Child = {
  inject: ['foo'],
  created () {
    console.log(this.foo) // => "bar"
  }
  // ...
}
6. 生命周期
// 生命周期
import {
  onBeforeMount,
  onMounted,
  onBeforeUpdate,
  onUpdated,
  onBeforeUnmount,
  onUnmounted,
  onErrorCaptured,
  onActivated,
  onDeactivated,
  onRenderTracked,
  onRenderTriggered
} from "vue";
export default {
  setup() {
    onBeforeMount(() => {

    })
    onMounted(() => {

    })
    onBeforeUpdate(() => {

    })
    onUpdated(() => {

    })
    onErrorCaptured(() => {
      // 当捕获一个来自子孙组件的异常时激活钩子函数
    })
    onActivated(() => {

    })
    onDeactivated(() => {

    })
    onRenderTracked(() => {
      // onRenderTracked直译过来就是状态跟踪,它会跟踪页面上所有响应式变量和方法的状态
      // 也就是我们用return返回去的值,他都会跟踪。
      // 只要页面有update的情况,他就会跟踪,然后生成一个event对象,我们通过event对象来查找程序的问题所在。
      // 多用于debugger
    })
    onRenderTriggered(() => {

    })
  }
}
7. router
import {
  RouteRecordRaw,
  createRouter,
  createWebHashHistory,
  createWebHistory
} from 'vue-router';

// hash模式
const history = createWebHashHistory()
// history模式
// const history = createWebHistory()

const routes: RouteRecordRaw[] = [
  {
    path: '/',
    name: 'Home',
    // vue组件
    component: import('../views/Home.vue'),
  },
  {
    path: '/about',
    name: 'About',
    //tsx组件
    component: () => import('../views/About'),
  },
];

const router = createRouter({
  history,
  routes,
});

export default router;
// 组件内部路由拦截器的使用方式
import { useRouter, useRoute } from "vue-router"

setup() {
  // 组件内路由
  const router = useRouter()
  router.beforeEach((to, from, next) => {
    next()
  })
  // 组件内路由信息
  const route = useRoute()
}
8. vuex
创建Store
import { createStore } from 'vuex'

const store = createStore({
  state: {
    userInfo: {
      name: '渣渣辉'
    }
  },
  mutations: {
    getUserInfo (state, name) {
      state.userInfo.name = name
    }
  },
  actions: {
    asyncGetUserInfo ({ commit }) {
      setTimeout(() => {
        commit("getUserInfo", + new Date() + 'action')
      },2000)
    }
  },
  getters: {
    userInfoGetter (state) {
      return state.userInfo.name
    }
  }
})

export default store
组件内使用store
import {
  useStore,
  // mapState,
  // mapMutations,
  // mapActions,
  // mapGetters
} from 'vuex'

export default {
  name: 'self',
  setup() {
    const store = useStore()
    console.log(store, 'store')
    console.log(store.getters, 'getters')
    const state = store.state
    const getters = store.getters
    // console.log(mapState(store.state),'mapState')
    // console.log(mapMutations(store._mutations),'mapMutations')
    // console.log(mapActions(store._actions),'mapActions')
    // console.log(mapGetters(store.getters),'mapGetters')
    const methods = {
      // 处理commit
      handleMutation: () => {
        store.commit('getUserInfo', +new Date)
      },
      // 处理dispatch
      handleAction: () => {
        store.dispatch('asyncGetUserInfo')
      }
    }
    return {
      state,
      getters,
      ...methods
    }
  }
}
9. directive
vue3.x定义指令
import { ObjectDirective } from 'vue'
// 使用ObjectDirective声明指令类型即可,因为源码内部指定了默认类型说明
export const customDirective: ObjectDirective = {
  beforeMount(el, binding, vnode, prevVnode) {
    console.log(el, binding, vnode, prevVnode)
  },
  mounted() { console.log('mounted') },
  beforeUpdate() { console.log('beforeUpdate') },
  updated() { console.log('updated') },
  beforeUnmount() { console.log('beforeUnmount') },
  unmounted() { console.log('unmounted') }
}
全局注册指令
const app = createApp(App)
app.use(router)
app.use(store)
app.directive('custom', customDirective)
app.mount('#app')
组件内使用指令
import { customDirective } from '../../directive/directive'
export default {
  setup() {
    return {}
  },
  directives: {
    custom: customDirective
  }
}
10. nextTick
import { nextTick, onBeforeMount } from 'vue'
setup () {
  onBeforeMount(() => {
    nextTick(() => {
      var test = document.getElementById('test')
    })
  })
}
methods: {
  getText() {
    this.$nextTick(() => {
      var test = document.getElementById('test')
    });
  }
11. defineAsyncComponent & defineComponent
同步组件与异步组件的区别:
同步组件:在组件加载时自动加载;
异步组件:在渲染时加载;
// 一、定义同步组件
const syncComponent = defineComponent({
  setup () {
    return () => `我是同步组件`
  }
})


// 二、定义异步组件
// 方式1
const asyncComponent = defineAsyncComponent({
  loader: () => import("./asyncComponents.vue"),
  loadingComponent: loadingComponent,
  errorComponent: loadingComponent,
  delay: 2000,
  timeout: 3000
});
// 方式2
const asyncComponent = defineAsyncComponent(() => import('./syncComponents.vue'));
12. 解构toRef/toRefs
setup(props, context){
    console.log(props, context)
  // console结果

  // props: Proxy{}
  // context: {
  //    attrs: Proxy
  //    emit: (event, ...args) => instance.emit(event, ...args)
  //  slots: Proxy
    // }

  // props是proxy对象,context为普通对象,可以直接解构
}
export default {
  setup(props, {attrs, emit, slots}){
    const data = reactive({
      name: '',
      age: ''
    })
    //toRef 可以用来为一个 reactive 对象的属性创建一个 ref。这个 ref 可以被传递并且能够保持响应性。
    let _data = toRef(data, 'name')
    // 不能直接解构data,这样会导致data失去反应性
    return { ...toRefs(data) } // 使用torefs解构可将Proxy对象解构为普通对象,可以在模版直接使用,避免data.name这种方式
  }
}
13. emit
vue3.x $emit被弃用,可以使用context.emit代替原有功能
setup(props, { attrs, emit, slots }) {
  let handleClick = () => {
        emit('test', { emit: true })
    }
    return {
    handleClick
    }
}
14. getCurrentInstance
getCurrentInstance这是一个非常取巧的方法,可以直接通过 getCurrentInstance() 方法获取当前组件的实例,然后通过 ctx 属性获得当前上下文,这样我们就能在setup中使用router和vuex了 使用如下:
const current = getCurrentInstance()
console.log(current)
5、一些高玩
1. customRef
这个api是用来显式控制其依赖项跟踪和更新触发
简单点说,就是你可以控制你视图更新时间,以及动态控制你动态处理设置值(比如后面增加一段话)
<p> 自定义ref : {{ testCustom }} </p>
<button @click = "getRef">
  获取ref值
</button>
<button @click = "setRef">
  设置ref值
</button>
<script>
import { customRef } from 'vue'
setup () {
  // 显式控制其依赖项跟踪和更新触发
  function customRefTest(value) {
    return customRef((track, trigger) => {
      return {
        get() {
          track()
          return value
        },
        set (newValue) {
          value = newValue + '自定义ref'
          setTimeout(() => {
            trigger()
          }, 10000)
        }
      }
    })
  }
  const testCustom = customRefTest(0)
  const getRef = () => {
    console.log(testCustom.value)
  }
  const setRef = () => {
    testCustom.value = '设置ref值'
  }
}
</script>
官网的demo,一个节流的输入框双向数据绑定
<template>
  <div>
    <input v-model="text" />
    {{ text }}
  </div>
</template>
<script>
import { customRef } from 'vue'
function useDebouncedRef(value, delay = 200) {
  let timeout
  return customRef((track, trigger) => {
    return {
      get() {
        track()
        return value
      },
      set(newValue) {
        clearTimeout(timeout)
        timeout = setTimeout(() => {
          value = newValue
          trigger()
        }, delay)
      }
    }
  })
}

export default {
  setup() {
    return {
      text: useDebouncedRef('hello')
    }
  }
}
</script>
<style scoped>

</style>
2. markrow
标记对象,使其永远不会转换为代理。返回对象本身
点击这个button,视图是不会改变的,始终显示10。但是js中直接输出是最新的值
<template>
  {{ a }}
  <button @click = "setFoo">
    设置foo值
  </button>
</template>

import { markRaw, reactive, isReactive } from 'vue'
const foo = markRaw({
   a: 10
})
const state = reactive(foo)
console.log(isReactive(state)) // false
const setFoo = () => {
   state.a++
   console.log(foo)
}
3. render
与react的render没什么区别
import { h, ref } from 'vue'
export default {
  setup() {
    const msg = ref(1)

    return () =>h('h1', [msg.value])
  }
}
4. shallowRef
const foo = shallowRef({})

isReactive(foo.value) // false

// 更改对操作会触发响应
foo.value = {}

// 但上面新赋的这个对象并不会变为响应式对象
isReactive(foo.value) // false
5. teleport
<template>
  <teleport to="body">
    123
  </teleport>
</template>
可以脱离父子元素之间的关系,直接把teleport发送到body下,使之成为body的子元素
三、vue2迁移vue3
1、 支持多根节点
<template>
  <div></div>
  <div></div>
  <div></div>
</template>
2、 Vue对象
取消Vue对象,全部使用createApp()全局对象
例如Vue.component使用createApp().component
3、 按键修饰符
vue2 keycode
<input v-on:keyup.122="fullScreen" />
vue3 keycode
// vue3不再支持数字编码,全屏"F11"
<input v-on:keyup.F11="fullScreen" />
4、 移除this.$scopedSlots
移除this.$scopedSlots
scopedSlots在element-ui中有大量使用
四、使用类似于react的tsx
1、配置source.d.ts
declare const React: string;
declare module '*.json';
declare module '*.png';
declare module '*.jpg';
2、配置tsconfig.ts
"compilerOptions": {
  "jsx": "react",
}
3、抛弃vue的概念,全部使用组件来编写代码
import { defineComponent } from 'vue';
import { RouterLink, RouterView } from 'vue-router';
import './style/main.scss'

export default defineComponent({
  name: 'App',
  setup() {
    return () => (
      <>
        <div id="nav">
          <RouterLink to="/">Home</RouterLink> |
          <RouterLink to="/about">About</RouterLink>
        </div>
        <RouterView/>
      </>
    );
  }
});


 2766
2766


 被折叠的 条评论
为什么被折叠?
被折叠的 条评论
为什么被折叠?
 到【灌水乐园】发言


