


PostGIS的安装与建库(Windows)
安装PostgreSQL
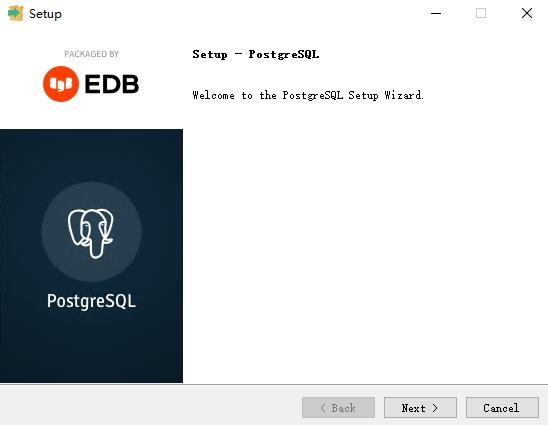
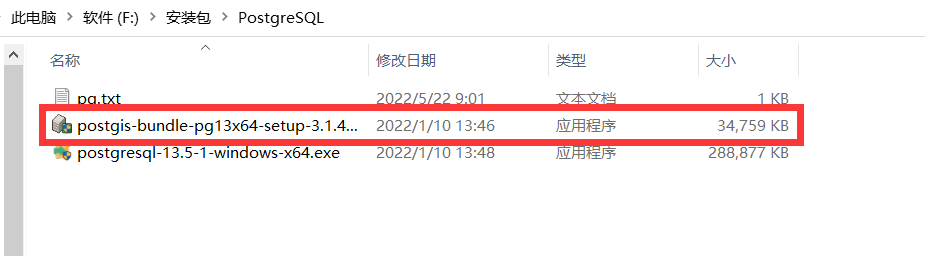
首先,以管理员身份运行 postgresql-13.5-1-windows-x64。(下面是安装包下载链接)
链接:https://pan.baidu.com/s/1vr6_zwOzW4UW6zwf6wnUWw?pwd=1234
提取码:1234

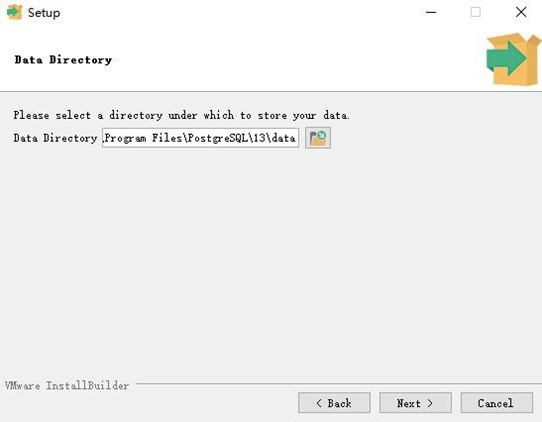
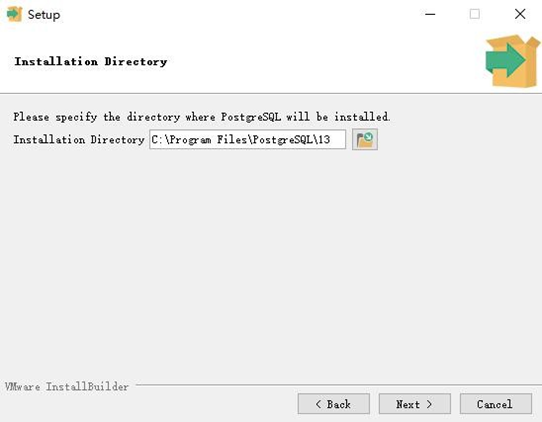
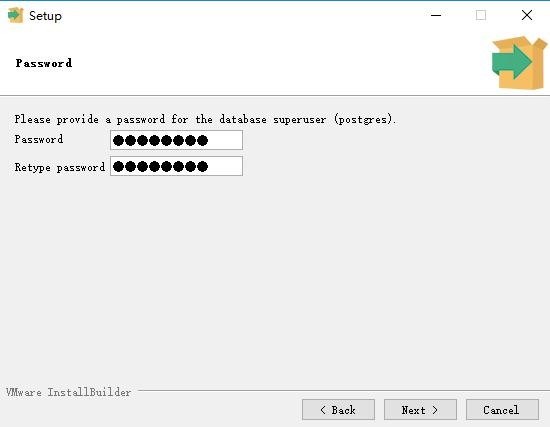
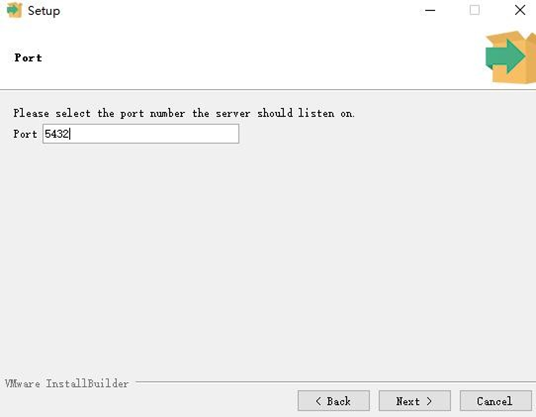
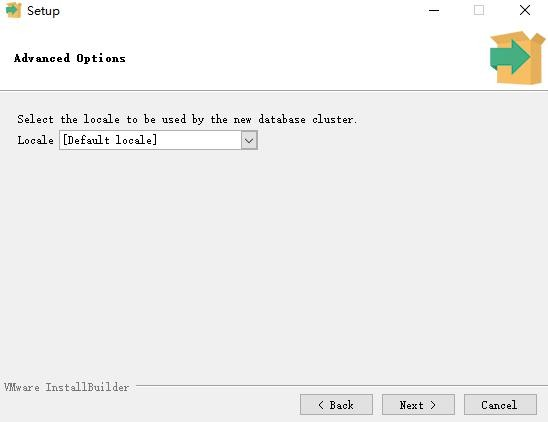
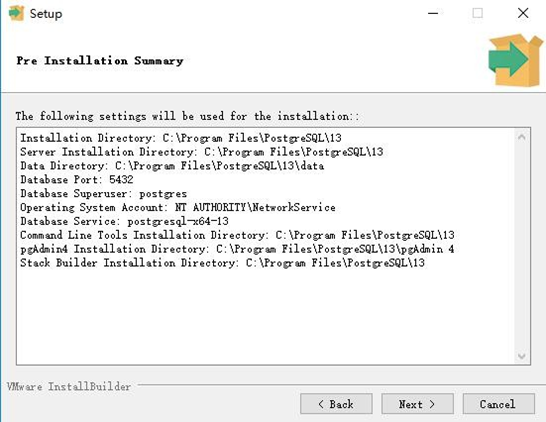
- 进入安装首页,按向导进行安装,用户密码都是“postgres” 。

安装PostGIS
PostGIS 在对象关系型数据库 PostgreSQL 上增加了存储管理空间数据的能力,相当于 Oracle 的 spatial 部分,下面介绍 PostGIS 安装步骤。
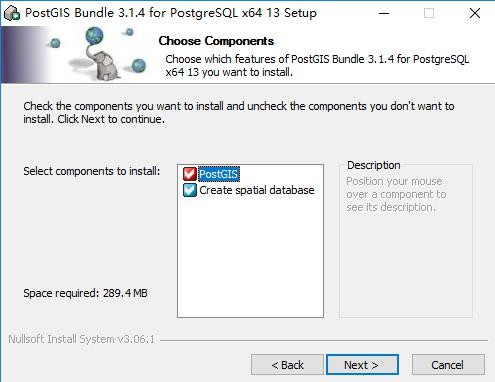
- 以管理员身份运行postgis-bundle-pg13x64-setup-3.1.4-1。
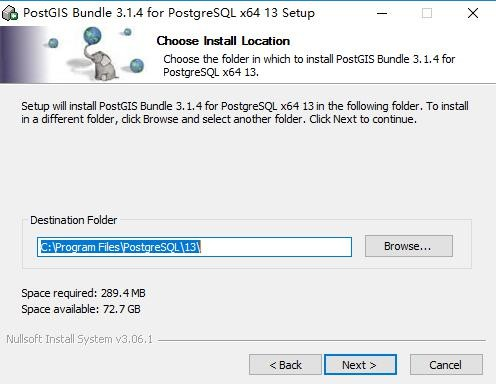
- 进入安装首页,按向导进行安装。

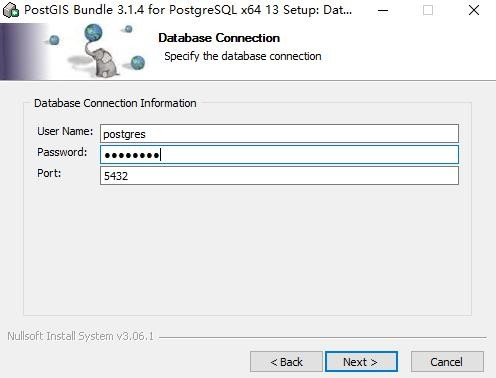
- 密码输入“postgres”。
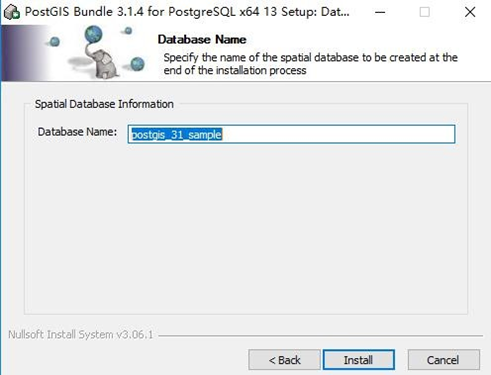
- 对安装弹出框点击“是(Y)”按钮。
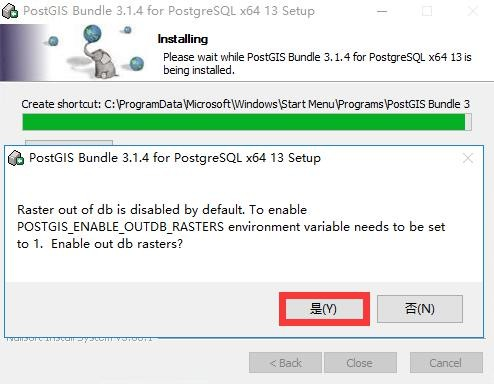
- 点击【colse】完成PostGIS安装 。

构建空间数据库
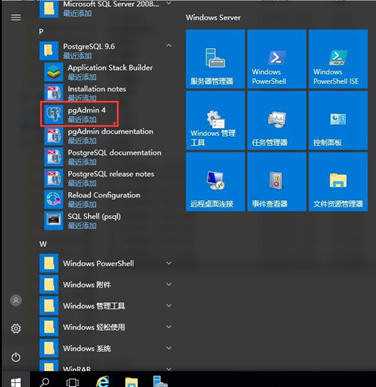
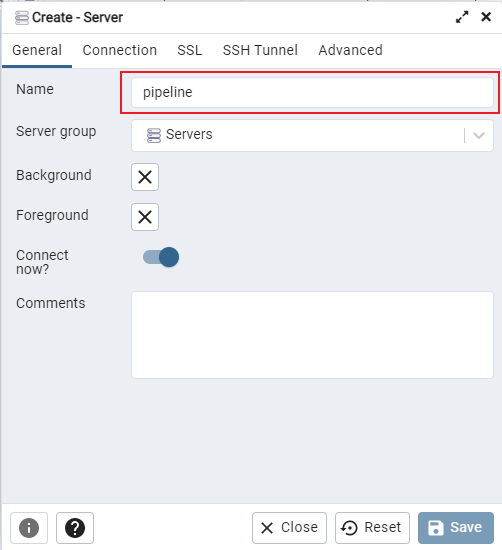
- 在客户端点击【开始】菜单,选择【pgAdmin 4】。
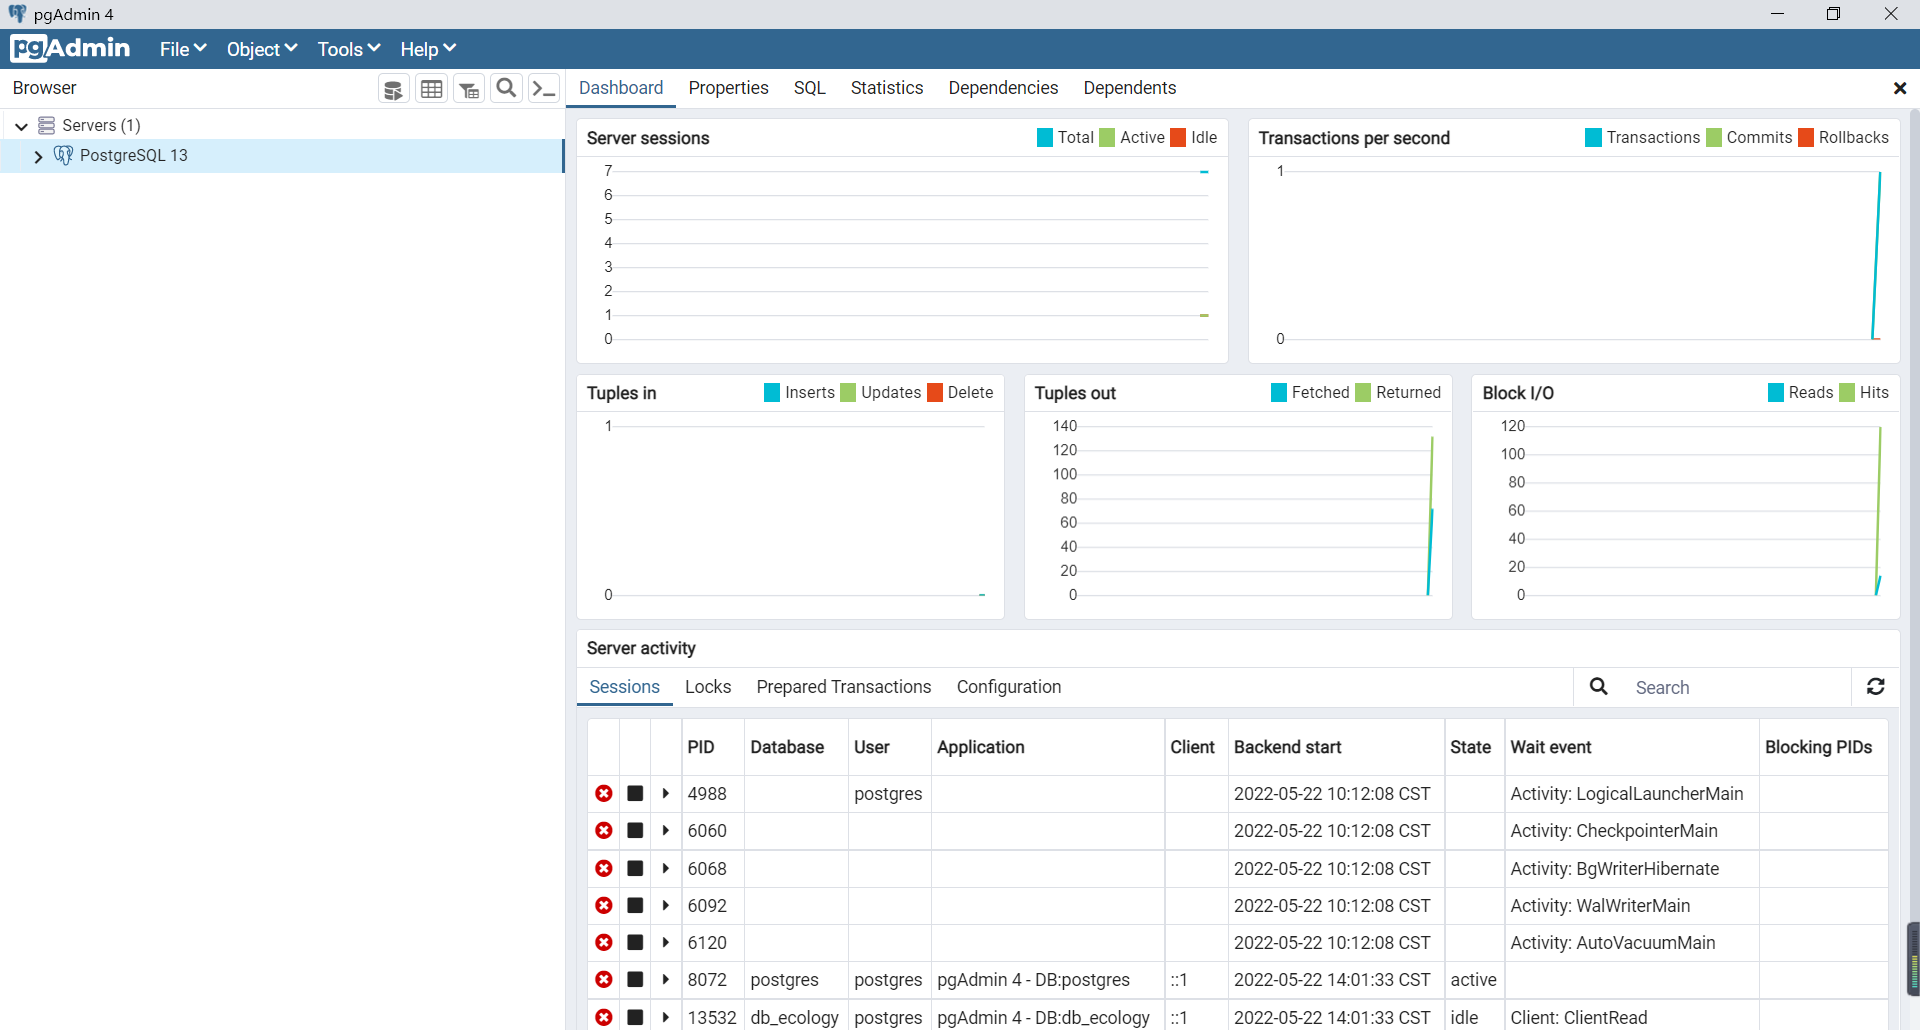
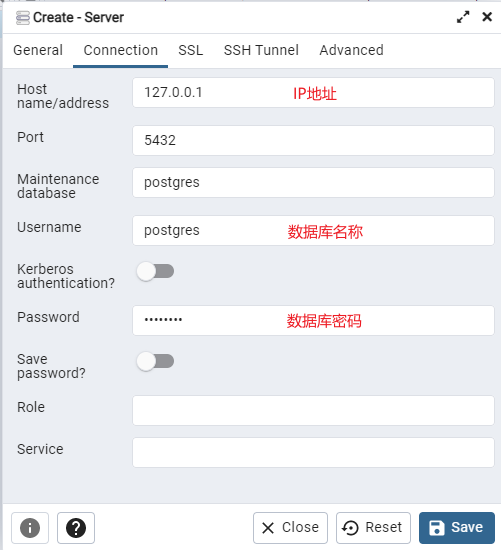
- 选择Connection选项,填写数据库的连接信息,数据库的实例名、用户、密码请统一为postgres,点击【Save】按钮,创建数据库连接成功,双击即可进入该连接。

- 展开服务,点击【Databases】右键选择【Create】,点击【Database】。 弹出【Create-Database】对话框,Database填写“db_xxxx”,Owner 选择“postgres”。
- 选择Definition选项卡,填写参数,点击【Save】保存新建数据库。
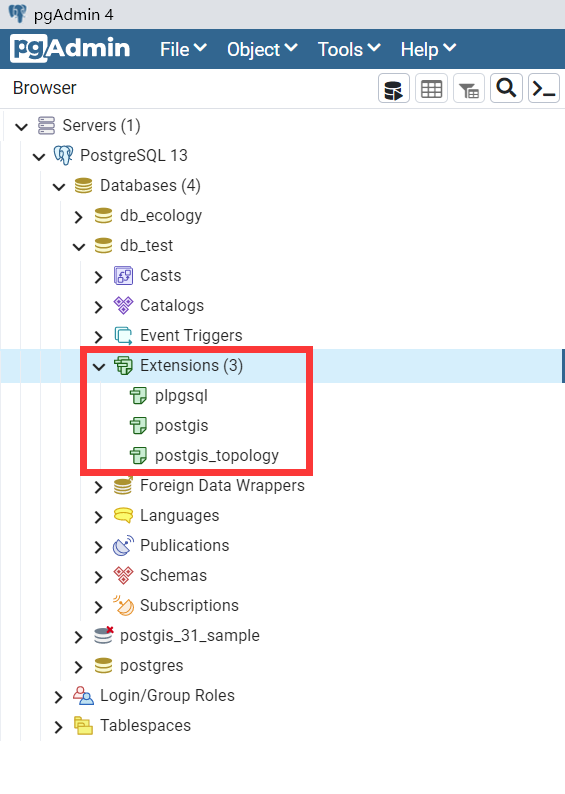
- 展开新建数据库的-“Extensions”,新增Extension, 点击【Extensions】-【Create】选择Extension。弹出Create-Extension对话框,选择Postgis相关组件,只有安装了PostGIS才会有相关组件进行选择,添加“postgis”与“postgis _topology”, 只能一个一个的添加,点击【Save】保存即可。

- 添加成功后可在db_xxxx数据库下的Extensions列表中进行查看。
这样一个流程就完成了PostGIS的安装与建库。


 2852
2852

 被折叠的 条评论
为什么被折叠?
被折叠的 条评论
为什么被折叠?
 到【灌水乐园】发言


