


前置条件
安装Gradle

1. 下载指定版本源码
地址:https://github.com/spring-projects/spring-framework.git
git clone -b v5.2.15.RELEASE https://github.com/spring-projects/spring-framework.git
2. 修改源码Gradle配置
2.1 在settings.gradle中添加阿里云仓库
maven { url 'https://maven.aliyun.com/repository/public' }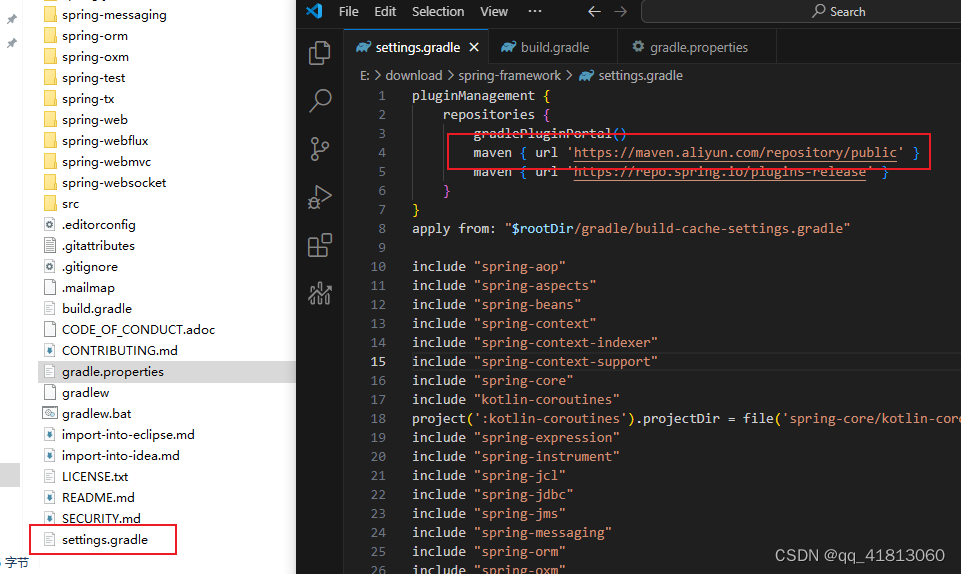
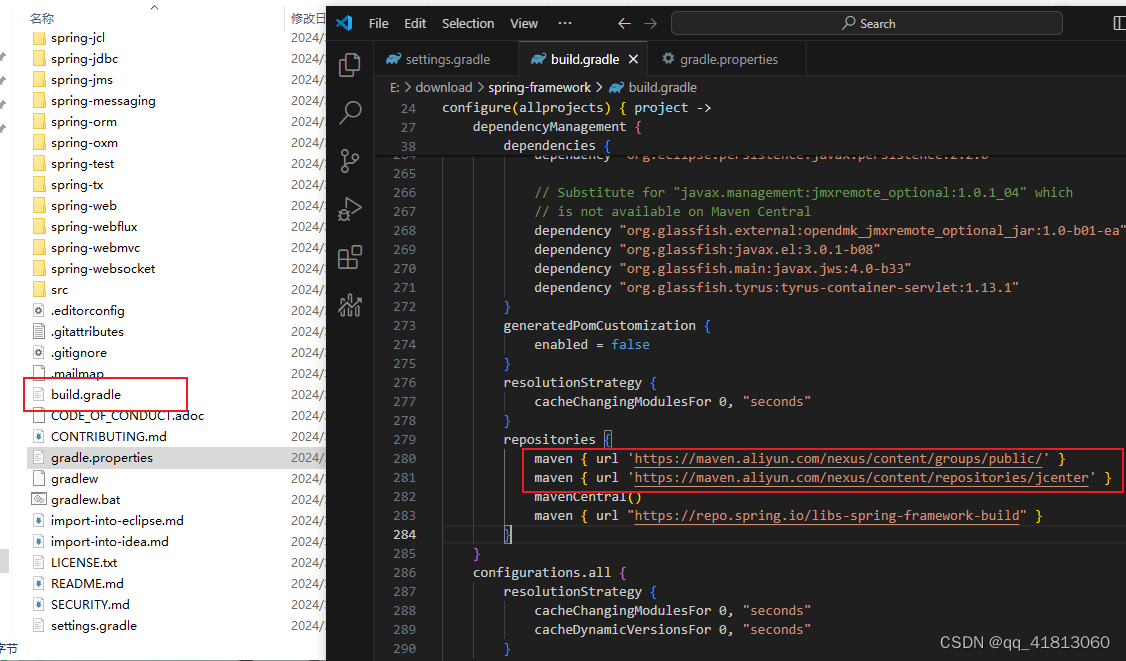
2.2 build.gradle 添加阿里云仓库
maven { url 'https://maven.aliyun.com/nexus/content/groups/public/' }
maven { url 'https://maven.aliyun.com/nexus/content/repositories/jcenter' }
2.2 gradle.properties 文件末尾添加配置
kotlin.stdlib.default.dependency=false
org.gradle.configureondemand=true
org.gradle.daemon=true
3. 编译源码
代码路径下执行如下cmd命令 ,正常会编译1h左右,之前编译过就会很快
gradlew :spring-oxm:compileTestJava
4. 源码启动
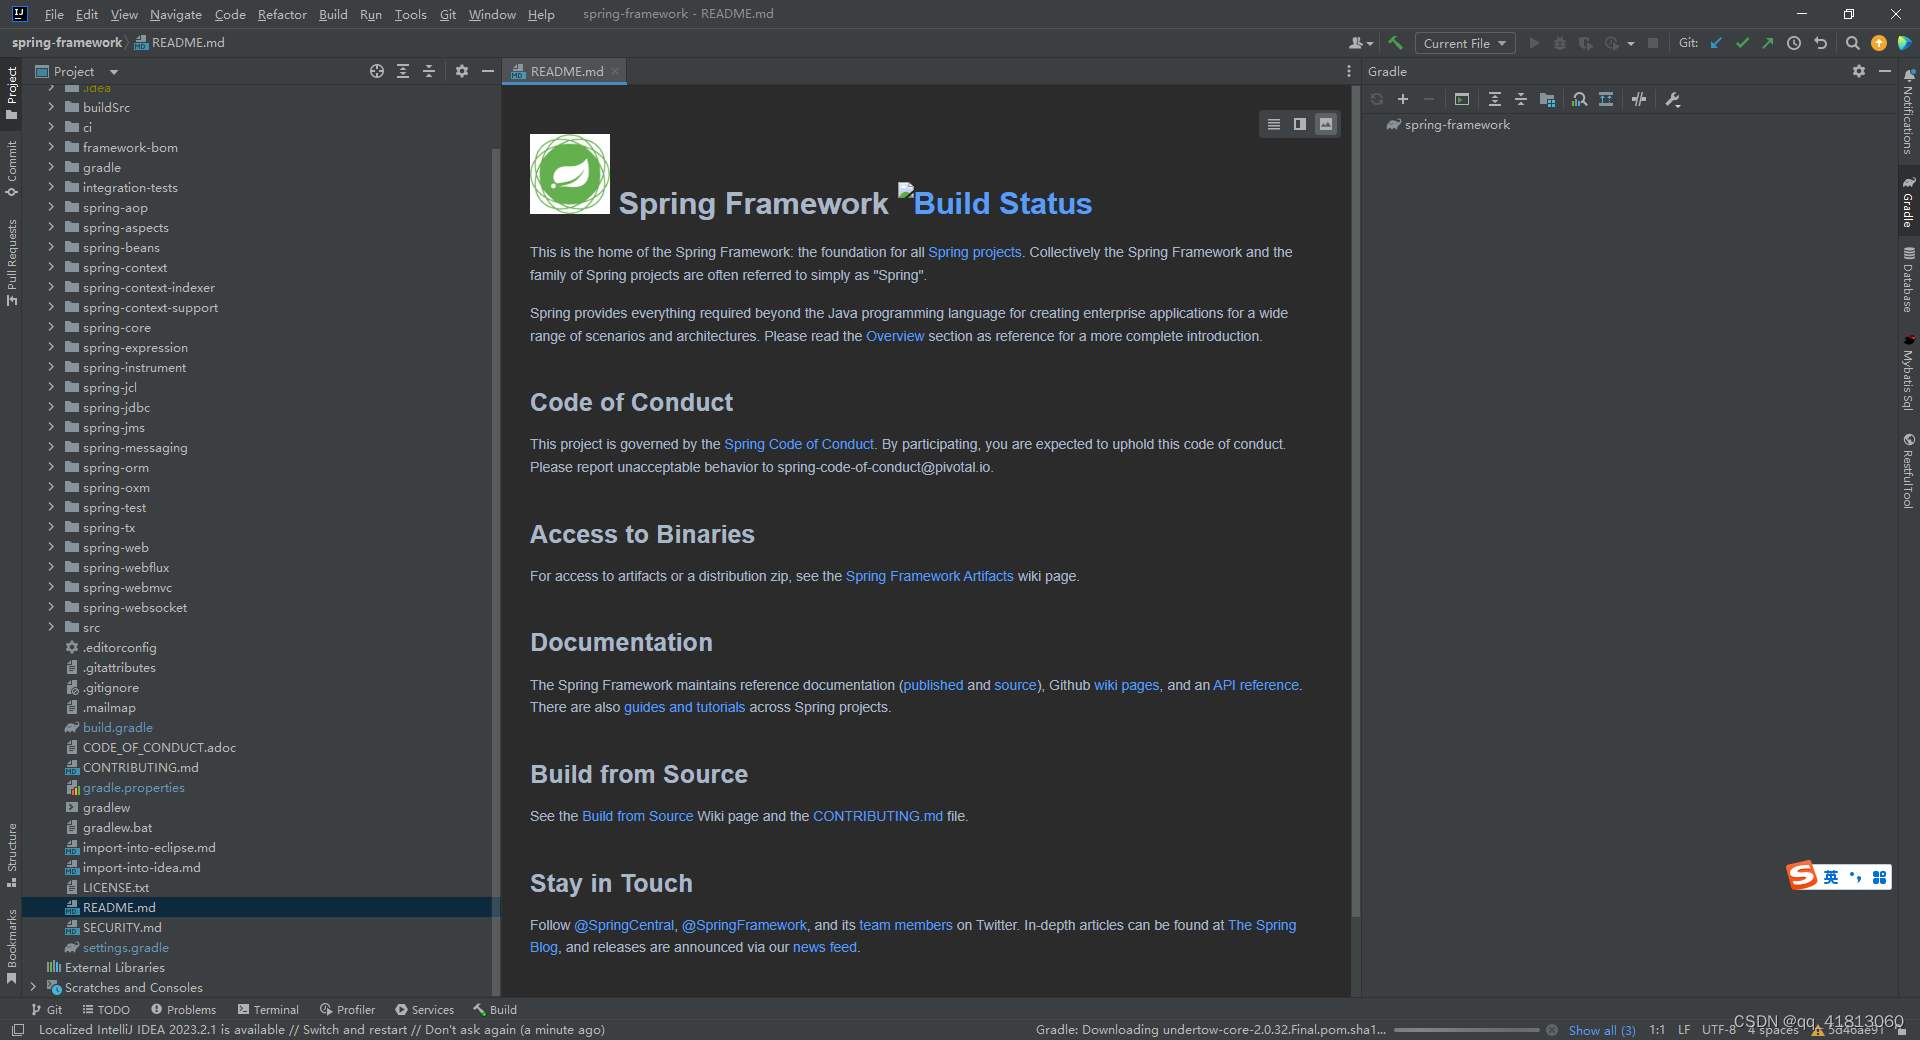
4.1 用IDEA打开源码
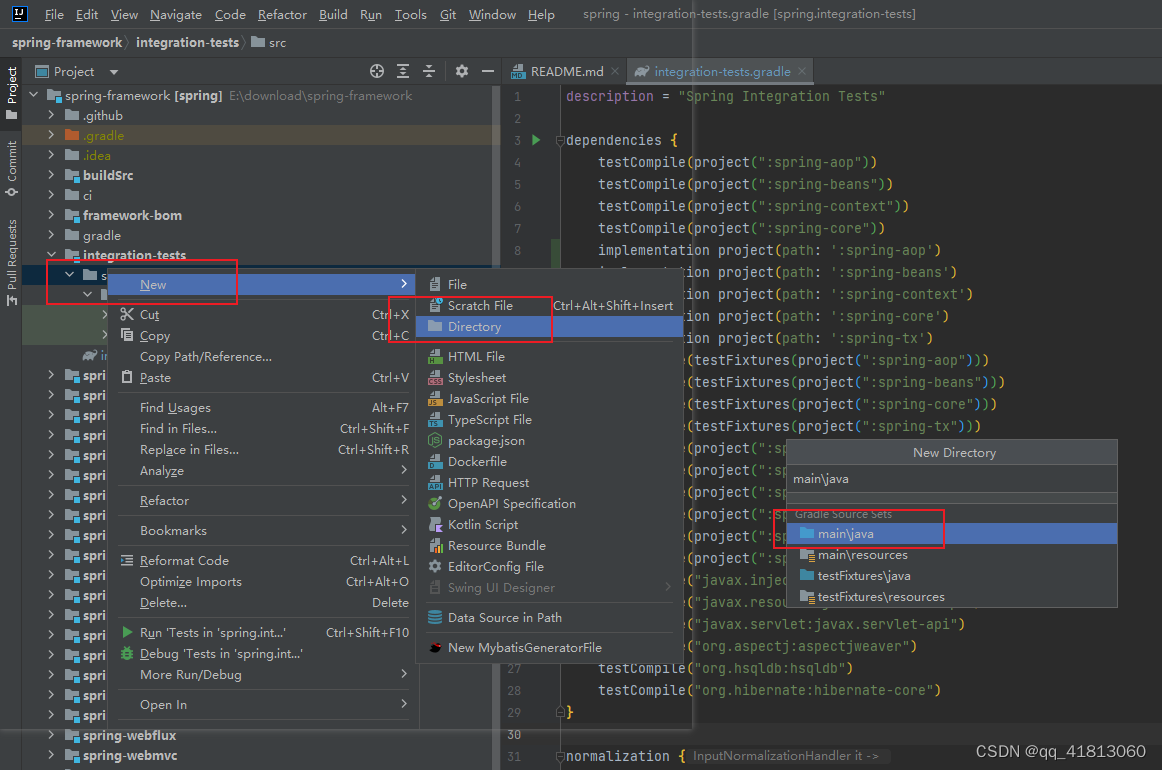
等待IDEA编译完源码后,在spring-framework\integration-tests模块下创建业务代码(也可以自己新建Module)
4.2 修改integration-tests\integration-tests.gradle。添加常用的模块项目依赖。
	implementation project(path: ':spring-aop')
	implementation project(path: ':spring-beans')
	implementation project(path: ':spring-context')
	implementation project(path: ':spring-core')
	implementation project(path: ':spring-tx')
执行dependencies任务

4.3 创建src\main\java 目录
创建 配置类Conig.java,启动类App.java,以及业务类ModelA.java
import org.springframework.context.annotation.ComponentScan;
import org.springframework.context.annotation.Configuration;

@Configuration
@ComponentScan("com.abc")
public class Config {
}
import org.springframework.context.annotation.AnnotationConfigApplicationContext;
public class App {
public static void main(String[] args) {
AnnotationConfigApplicationContext app = new AnnotationConfigApplicationContext(Config.class);
Object bean = app.getBean("modelA");
System.out.println("===end ");
}
}
import org.springframework.stereotype.Component;

@Component
public class ModelA {
}
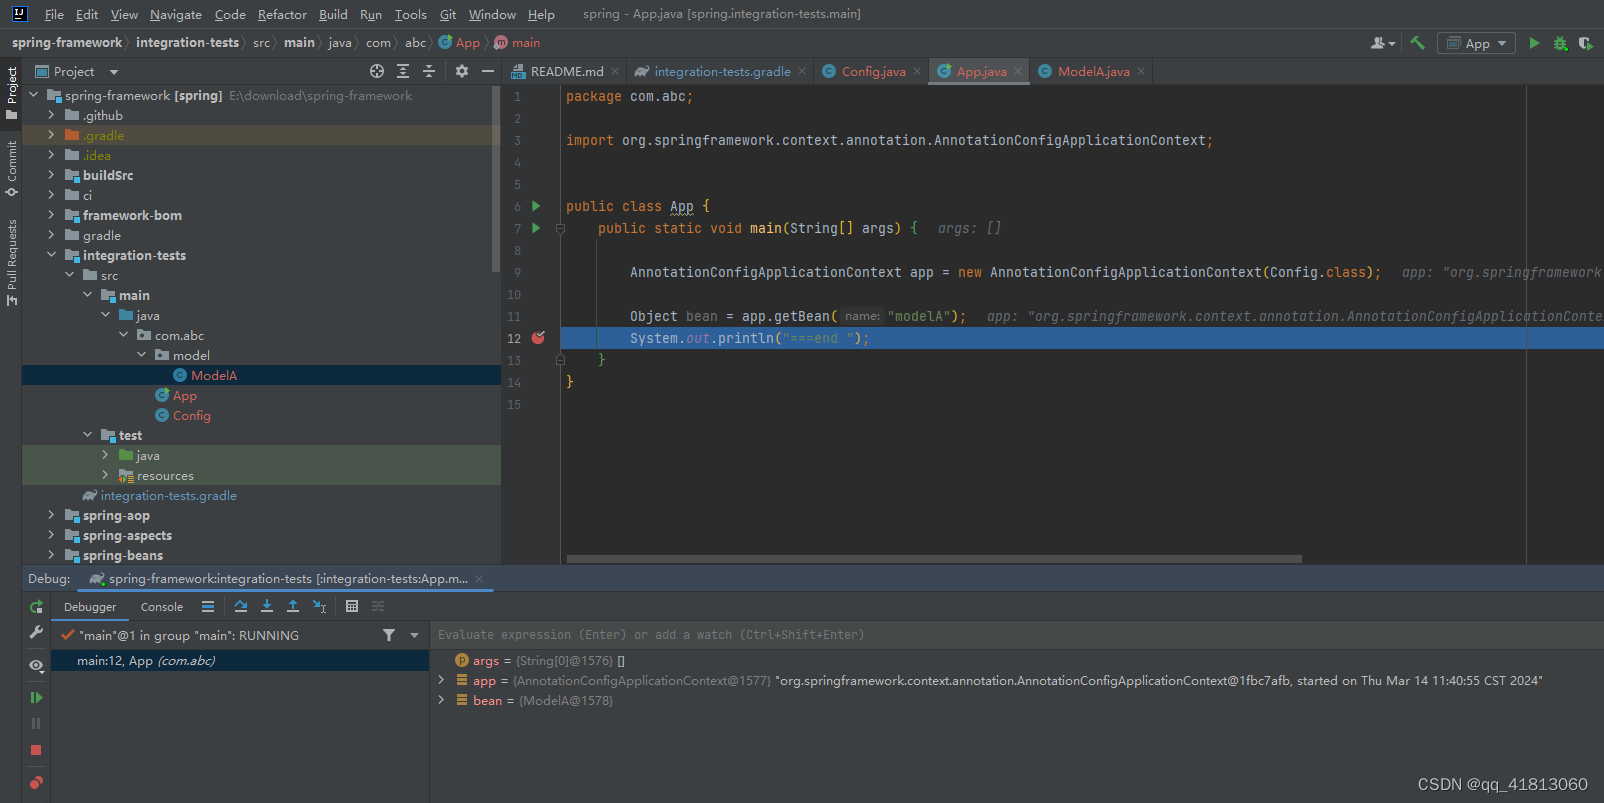
启动成功,然后就愉快的进行源码debug了,开启自己的spring源码之旅吧!


 635
635


 被折叠的 条评论
为什么被折叠?
被折叠的 条评论
为什么被折叠?
 到【灌水乐园】发言


