


Spring_Ioc
1、IOC简介
1.1、什么是IOC
IOC是Inversion of Control的缩写,多数书籍翻译成“控制反转”。
是Spring框架里面管理对象的一个容器。
2、容器
2.1、容器概述
ApplicationContext是Spring容器IOC实现的代表,它负责实例化、配置和组装Bean。容器通过读取配置元数据获取有关实例化、配置和组装哪些对象的说明。配置元数据可以使用xml、Java注解和Java代码来呈现,它允许你处理应用程序的对象与其它对象之间的互相依赖关系。
2.1.1、配置元数据
1、使用xml的配置:
2、使用注解的配置:Spring2.5支持基于注解的元数据配置,SSM框架中使用。
3、基于Java的配置:从Spring3.0开始,由Spring JavaConfig项目提供的功能已经成为Spring核心框架的一部分。因此,你可以使用Java配置来代替xml配置定义外部bean。从Spring4.0开始支持Springboot1.0后,Springboot完全采用JavaConfig的形式进行开发。
2.1.2、获取bean的方式
1、.class的方式:
ApplicationContext ioc = new ClassPathXmlApplicationContext("springIoc.xml");
User user = ioc.getBean(User.class);
2、通过类的名字或者id获取:
//<bean class="cn.ale.beans.User" id="user"></bean>
ApplicationContext ioc = new ClassPathXmlApplicationContext("springIoc.xml");
User user = (User) ioc.getBean("user");
3、通过类的名字加类型(.class)获取:
//<bean class="cn.ale.beans.User" id="user1"></bean>
//<bean class="cn.ale.beans.User" id="user2"></bean>
ApplicationContext ioc = new ClassPathXmlApplicationContext("springIoc.xml");
User user = ioc.getBean("user1",User.class);
3、xml配置
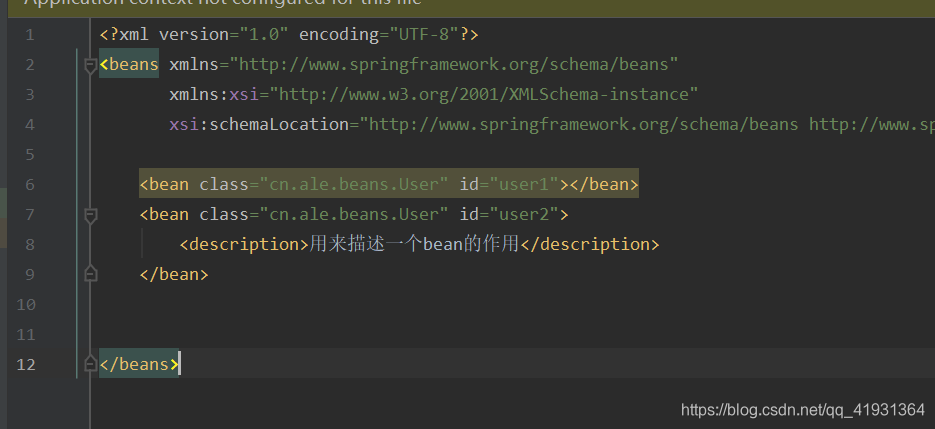
1、description
用来描述一个bean的作用
具体用法如下:
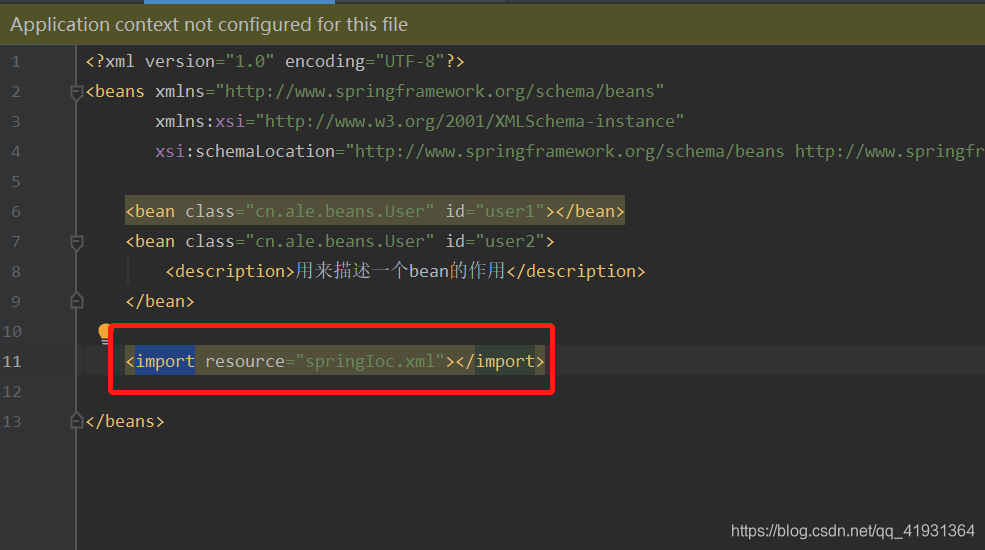
2、import
在一个xml文件中导入另外一个文件
具体用法如下:
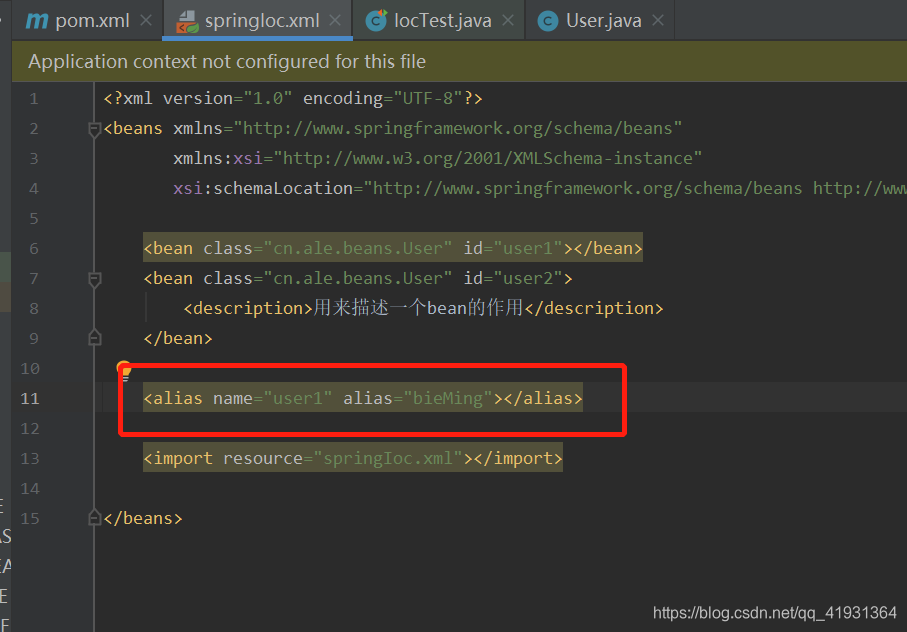
3、alias
设置别名,别名设置了之后原来的名字也是可以用的
具体用法如下:
设置别名也可以使用如下方式,在name属性中,使用“空格”、“逗号”、“分号”分离,用法如下:

4、依赖
4.1、依赖注入
1、基于setter方法的注入
<!-- spring.xml -->
<!-- 基础setter的依赖注入 -->
<!-- name属性对应的set方法的名字 -->
<bean class="cn.ale.beans.User" id="setterUser">
    <property name="age" value="12"></property>
    <property name="userName" value="阿乐"></property>
    <property name="realName" value="小乐乐"></property>
</bean>
ApplicationContext ioc = new ClassPathXmlApplicationContext("springIoc.xml");
User user = ioc.getBean("setterUser",User.class);
2、基于构造函数的注入
<!-- 基础构造函数的依赖注入 -->
<!-- 可以只有value属性 -->
<!-- 如果省略name属性,一定要注意赋值顺序 -->
<!-- 也可以使用index属性,下标从0开始 -->
<!-- type属性可以指定参数类型 -->
<bean class="cn.ale.beans.User" id="structUser">
    <constructor-arg name="age" value="12"></constructor-arg>
    <constructor-arg name="userName" value="阿乐"></constructor-arg>
    <constructor-arg name="realName" value="小s乐乐"></constructor-arg>
</bean>
ApplicationContext ioc = new ClassPathXmlApplicationContext("springIoc.xml");
User user = ioc.getBean("structUser",User.class);
4.2、注入方式
4.2.1、普通的注入方式
//Person
private Integer id;
private String name;
private String gender;
private Date birthday;
private List<String> hobbies;
private Map<Integer,String> course;
private Wife wife;
private List<Children> children;

// Wife
private Integer age;
private String name;

// Children
private Integer id;
private String name;
<!--Spring.xml-->
<bean class="cn.ale.beans.Wife" id="wife">
    <property name="age" value="18"></property>
    <property name="name" value="哈哈哈"></property>
</bean>

<bean class="cn.ale.beans.Children" id="children">
    <property name="id" value="123"></property>
    <property name="name" value="啦啦啦"></property>
</bean>

<bean id="dateFormat" class="java.text.SimpleDateFormat">
    <constructor-arg value="yyyy-MM-dd" />
</bean>
<bean class="cn.ale.beans.Person" id="person">
    <property name="id" value="11"></property>
    <property name="name">
        <null></null>
    </property>
    <property name="gender" value=""></property>
    <!-- 引入外部bean -->
    <!--<property name="wife" ref="wife"></property>-->
    <!-- 引入内部bean -->
    <property name="wife">
        <bean class="cn.ale.beans.Wife" id="wife">
            <property name="age" value="18"></property>
            <property name="name" value="哈哈哈"></property>
        </bean>
    </property>
	<!-- 日期格式的注入 -->
    <property name="birthday">
        <bean factory-bean="dateFormat" factory-method="parse">
            <constructor-arg value="2015-12-31" />
        </bean>
    </property>
    <!-- List赋值 -->
    <property name="hobbies">
        <list>
            <value>唱歌</value>
            <value>打乒乓球</value>
        </list>
    </property>
    <!-- map赋值 -->
    <property name="course">
        <map>
            <entry key="111" value="111"></entry>
            <entry key="222" value="222"></entry>
        </map>
    </property>
    <!-- List的模型赋值 -->
    <property name="children">
        <list>
            <ref bean="children"></ref>
            <bean class="cn.ale.beans.Children" name="children3"></bean>
        </list>
    </property>
</bean>
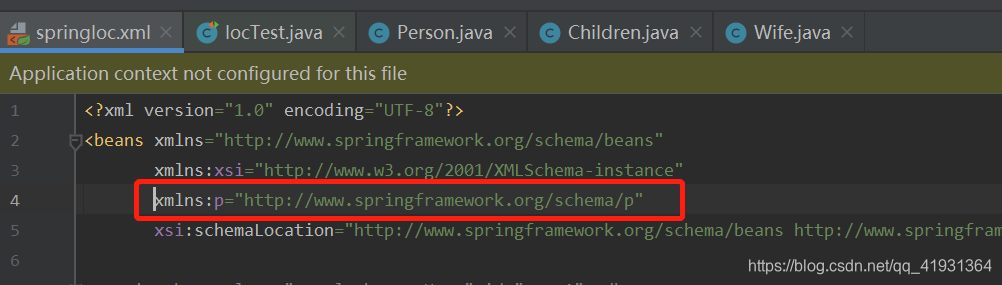
4.2.2、使用P命名空间简化基于setter属性注入XML配置
确认头部导入xmlns:p=“http://www.springframework.org/schema/p”
<!-- 使用P命名空间简化基于setter属性注入XML配置 -->
<bean class="cn.ale.beans.Wife" id="wife2" p:age="10" p:name="蛤蛤蛤"></bean>
<bean class="cn.ale.beans.Person" id="person2" p:name="姓名" p:wife-ref="wife2">
    <property name="hobbies">
        <list>
            <value>唱歌</value>
            <value>打乒乓球</value>
        </list>
    </property>
</bean>
ApplicationContext ioc = new ClassPathXmlApplicationContext("springIoc.xml");
Person person = ioc.getBean("person2",Person.class);
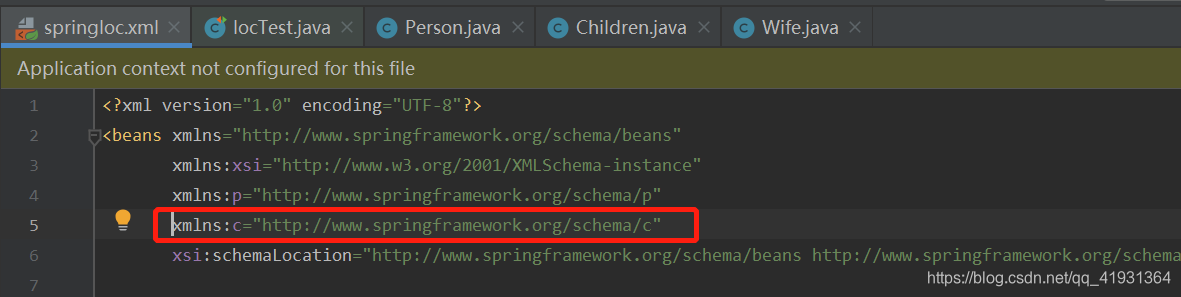
4.2.3、使用c命名空间简化基于构造函数的XML配置
确认头部导入xmlns:c=“http://www.springframework.org/schema/c”
<bean class="cn.ale.beans.Children" id="children2" c:id="10" c:name="kafka"></bean>
ApplicationContext ioc = new ClassPathXmlApplicationContext("springIoc.xml");
Children children = ioc.getBean("children2",Children.class);
4.3、属性介绍
4.3.1、depends-on 依赖
<!-- 控制bean的加载顺序,例如children在User之前加载 -->
<bean class="cn.ale.beans.User" id="user" depends-on="children"></bean>
<bean class="cn.ale.beans.Children" id="children"></bean>
4.3.2、lazy-init 懒加载
<!-- 懒加载,对象在使用的时候才会加载 -->
<bean class="cn.ale.beans.Children" id="children" lazy-init="true"></bean>
4.3.3、scope 作用域
singleton 单例
<!-- 单例,只会创建一个Bean -->
<bean class="cn.ale.beans.Children" id="children" scope="singleton"></bean>
prototype 多例
<!-- 多例,用几次创建几个Bean -->
<bean class="cn.ale.beans.Children" id="children" scope="prototype"></bean>
request
session
application
websocket
4.3.4、实例化bean
1、使用静态工厂方法实例化bean
<!-- 使用静态工厂方法实例化bean -->
<bean class="cn.ale.beans.Children" id="children" factory-method="creatChildren"></bean>
// Person
public static Children creatChildren(){
    Children children = new Children();
    children.setName("孩子");
    return children;
}

// Children
Children extends Person
2、使用实例化工厂初始化bean
<!-- 先将实例工厂初始化进来 -->
<bean class="cn.ale.beans.PersonFactory" id="personFactory"></bean>
<!-- 使用实例化工厂将bean装载进去 -->
<bean class="cn.ale.beans.Person" id="person" factory-bean="personFactory" factory-method="creatPersonFactoryMethod"></bean>
// PersonFactory
public class PersonFactory {
    public Person creatPersonFactoryMethod(){
        Children children = new Children();
        children.setName("孩子22");
        return children;
    }
}

// Test.class
ApplicationContext ioc = new ClassPathXmlApplicationContext("springHighIoc.xml");
Person person = ioc.getBean(Person.class);
4.3.5、自动注入
1、byType: 是要在IOC容器中找到,就会自动注入
<!-- byType  根据参数类型去自动匹配,
当出现多个匹配类型或者没有找到一个可以匹配的类型则会报错-->
<bean class="cn.ale.beans.Person" id="person" autowire="byType"></bean>
<bean class="cn.ale.beans.Wife" id="wife">
    <property name="age" value="18"></property>
    <property name="name" value="阿乐"></property>
</bean>
2、byName: 根据set方法的名字去匹配
<!-- 自动注入 -->
<!--
     byName  根据set方法的名字去匹配
 -->
<bean class="cn.ale.beans.Person" id="person" autowire="byName"></bean>
<bean class="cn.ale.beans.Wife" id="wife">
    <property name="age" value="18"></property>
    <property name="name" value="阿乐"></property>
</bean>
<bean class="cn.ale.beans.Wife" id="wife2">
    <property name="age" value="18"></property>
    <property name="name" value="阿乐2"></property>
</bean>
//Person.java
private Wife wife;
public Wife getWife() {
    return wife;
}
public void setWife(Wife wife) {
    this.wife = wife;
}

//Test.java
ApplicationContext ioc = new ClassPathXmlApplicationContext("springHighIoc.xml");
Person person = ioc.getBean(Person.class);
System.out.println(person.toString());
控制台如下显示:

3、constructor:首先会根据byName去自动匹配,如果没有找到,则会匹配byType
<!-- constructor
   1、首先会去找Person里面所有的构造函数
   2、找到之后会匹配此构造函数所有的参数,如果在IOC中可以匹配到构造函数中所有的参数,则自动注入
   特点:首先会根据byName去自动匹配,如果没有找到,则会匹配byType
   		当类型出现多个会注入失败,但是程序不会报错
        这个时候会有两个参数可以解决
        primary="true"   优先注入
        autowire-candidate="false" 不参与自动注入
-->
<bean class="cn.ale.beans.Person" id="person" autowire="constructor"></bean>
<bean class="cn.ale.beans.Wife" id="wife3" autowire-candidate="false">
    <property name="age" value="18"></property>
    <property name="name" value="阿乐"></property>
</bean>
<bean class="cn.ale.beans.Wife" id="wife2" primary="true">
    <property name="age" value="18"></property>
    <property name="name" value="阿乐22"></property>
</bean>
<bean class="cn.ale.beans.User" id="user"></bean>
// Person.java
public Person() {
}
public Person(Wife wife,User user) {
    this.wife = wife;
}
4.4、bean的生命周期
1、使用接口的方法实现:
实现InitializingBean接口并实现afterPropertiesSet方法,初始化bean
实现DisposableBean接口并实现destroy方法,销毁bean
//Spring.xml
<bean class="cn.ale.beans.Wife" id="wife"></bean>
//Test.java
ClassPathXmlApplicationContext ioc = new ClassPathXmlApplicationContext("springHighIoc.xml");
Wife wife = ioc.getBean(Wife.class);
ioc.close();
// Wife.java
public class Wife implements InitializingBean, DisposableBean {
public void afterPropertiesSet() throws Exception {
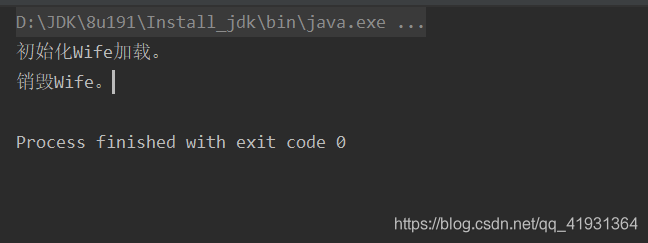
System.out.println("初始化Wife加载。");
}
public void destroy() throws Exception {
System.out.println("销毁Wife。");
}
}
控制台显示如下:
2、基于配置的方法实现:
init-method=“initBeanByConfig”
destroy-method=“destroyBeanByConfig”
设置以上两个属性对应的对象中的两个方法
//Spring.xml
<bean class="cn.ale.beans.Wife" id="wife" init-method="initBeanByConfig" destroy-method="destroyBeanByConfig"></bean>
//Test.java
ClassPathXmlApplicationContext ioc = new ClassPathXmlApplicationContext("springHighIoc.xml");
Wife wife = ioc.getBean(Wife.class);
ioc.close();
// Wife.java
public class Wife implements InitializingBean, DisposableBean {
public void afterPropertiesSet() throws Exception {
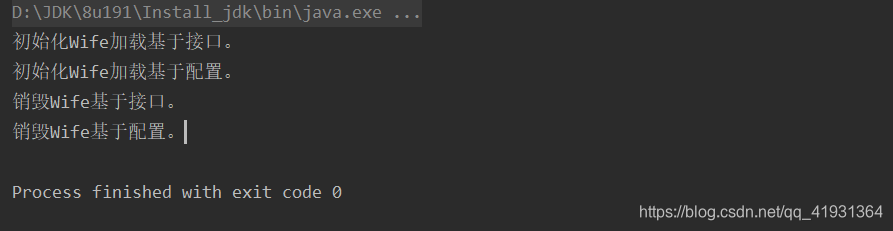
System.out.println("初始化Wife加载基于接口。");
}
public void destroy() throws Exception {
System.out.println("销毁Wife基于接口。");
}
public void initBeanByConfig() throws Exception {
System.out.println("初始化Wife加载基于配置。");
}
public void destroyBeanByConfig() throws Exception {
System.out.println("销毁Wife基于配置。");
}
}
控制台显示如下:
4.5、外部bean和资源文件引入
4.5.1、配置第三方的bean
这里我们以引入mysql数据库为例:
1、配置pom.xml文件,加入以下两个包
<dependency>
    <groupId>com.alibaba</groupId>
    <artifactId>druid</artifactId>
    <version>1.1.21</version>
</dependency>
<dependency>
    <groupId>mysql</groupId>
    <artifactId>mysql-connector-java</artifactId>
    <version>5.1.47</version>
</dependency>
2、spring注入bean
<!-- 配置第三方的bean -->
<bean class="com.alibaba.druid.pool.DruidDataSource" id="dataSource">
    <property name="username" value="root"></property>
    <property name="password" value="123456"></property>
    <property name="url" value="jdbc:mysql://localhost:3306/test"></property>
    <property name="driverClassName" value="com.mysql.jdbc.Driver"></property>
</bean>
3、测试代码
ClassPathXmlApplicationContext ioc = new ClassPathXmlApplicationContext("springHighIoc.xml");
DruidDataSource dataSource = ioc.getBean("dataSource",DruidDataSource.class);
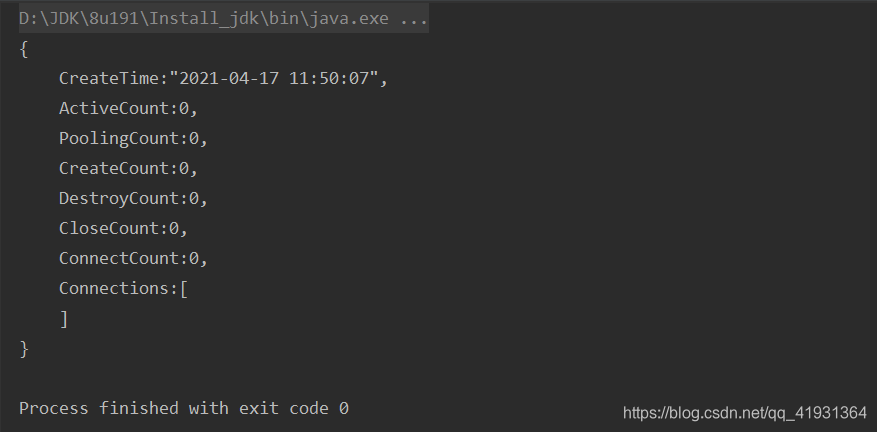
System.out.println(dataSource);
控制台如下显示:
4.5.2、引入外部属性资源文件
<!-- 引入外部属性资源文件 -->
<context:property-placeholder location="db.properties"></context:property-placeholder>
<!-- db.properties -->
driver=com.mysql.jdbc.Driver
url=jdbc:mysql://localhost:3306/sam
username=root
password=root
5、(SPEL)Spring表达式语言
Spring Expression Language
<bean class="cn.ale.beans.Person" id="person">
    <!-- 运算符表达式 -->
    <property name="id" value="#{1+9}"></property>
    <!-- 引入外部bean -->
    <property name="wife" value="#{wife}"></property>
    <!-- 引入bean的属性 -->
    <property name="name" value="#{wife.name}"></property>
    <!-- 引入bean的方法 -->
    <property name="gender" value="#{wife.getName()}"></property>
    <!-- 引入静态方法 -->
    <property name="birthday" value="#{T(cn.ale.beans.Person).getNowDate()}"></property>
</bean>


 153
153


 被折叠的 条评论
为什么被折叠?
被折叠的 条评论
为什么被折叠?
 到【灌水乐园】发言


