


1.获取mysql源码包

2.解压安装包
tar -zxf mysql-boost-5.7.17.tar.gz

解压后出现目录
3.安装依赖包,解决依赖性
yum install -y cmake-2.8.12.2-4.el6.x86_64.rpm
yum install -y ncurses*
yum install gcc gcc-c++ -y
yum install -y bison
这里要注意的是cmake的版本不能太低。
4.进入安装目录安装mysql
mkdir /usr/local/lnmp
创建mysql安装目录
进入解压后的目录
cmake -DCMAKE_INSTALL_PREFIX=/usr/local/lnmp/mysql \	 #安装目录
-DMYSQL_DATADIR=/usr/local/lnmp/mysql/data \			 #数据库存放目录
-DMYSQL_UNIX_ADDR=/usr/local/lnmp/mysql/data/mysql.sock \#Unix socket 文件路径
-DWITH_MYISAM_STORAGE_ENGINE=1 \						 #安装 myisam 存储引擎
-DWITH_INNOBASE_STORAGE_ENGINE=1 \						 #安装 innodb 存储引擎
-DDEFAULT_CHARSET=utf8 \								 #使用 utf8 字符
-DDEFAULT_COLLATION=utf8_general_ci \					 #校验字符
-DEXTRA_CHARSETS=all \									 #安装所有扩展字符集
-DWITH_BOOST=boost/boost_1_59_0/
make && make install
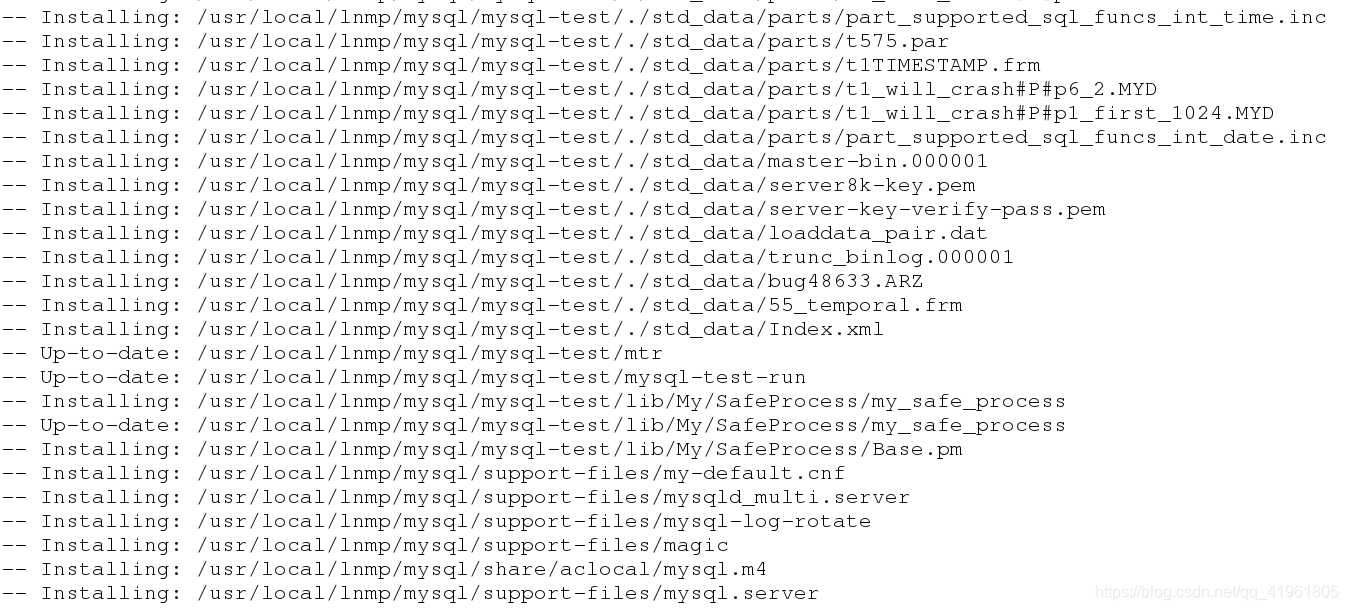
这样就完成安装了。
5.配置mysql
cd /usr/local/lnmp/mysql/support-files
cp my-default.cnf /etc/my.cnf
复制配置文件到/etc下,并重命名
cp mysql.server /etc/init.d/mysqld
添加启动脚本
vim /etc/my.cnf

修改配置文件
groupadd mysql -g 27
useradd -u 27 -g 27 mysql

创建mysql用户组以及用户
chown root.mysql /usr/local/lnmp/mysql -R
修改目录权限
vim ~/.bash_profile

source ~/.bash_profile
修改环境变量,并重新加载。
mysqld --user=mysql --initialize

初始化mysql,初始化root的密码就在最后一行。
chown mysql /usr/local/lnmp/mysql/data/ -R
修改生成data目录的权限。
如果需要重新初始化,则要删除生成的data目录中的文件。
/etc/init.d/mysqld start
开启mysql
mysql -p

查看是否能登陆,密码是前面的初始化密码。
mysql_secure_installation
Securing the MySQL server deployment.

Enter password for user root:
Error: Access denied for user 'root'@'localhost' (using password: YES)
[root@server4 support-files]# mysql_secure_installation

Securing the MySQL server deployment.

Enter password for user root:
Error: Access denied for user 'root'@'localhost' (using password: NO)
[root@server4 support-files]# mysql_secure_installation

Securing the MySQL server deployment.

Enter password for user root:

The existing password for the user account root has expired. Please set a new password.

New password:

Re-enter new password:

VALIDATE PASSWORD PLUGIN can be used to test passwords
and improve security. It checks the strength of password
and allows the users to set only those passwords which are
secure enough. Would you like to setup VALIDATE PASSWORD plugin?

Press y|Y for Yes, any other key for No: No
Using existing password for root.
Change the password for root ? ((Press y|Y for Yes, any other key for No) :

 ... skipping.
By default, a MySQL installation has an anonymous user,
allowing anyone to log into MySQL without having to have
a user account created for them. This is intended only for
testing, and to make the installation go a bit smoother.
You should remove them before moving into a production
environment.

Remove anonymous users? (Press y|Y for Yes, any other key for No) :

 ... skipping.


Normally, root should only be allowed to connect from
'localhost'. This ensures that someone cannot guess at
the root password from the network.

Disallow root login remotely? (Press y|Y for Yes, any other key for No) :

 ... skipping.
By default, MySQL comes with a database named 'test' that
anyone can access. This is also intended only for testing,
and should be removed before moving into a production
environment.


Remove test database and access to it? (Press y|Y for Yes, any other key for No) :

 ... skipping.
Reloading the privilege tables will ensure that all changes
made so far will take effect immediately.

Reload privilege tables now? (Press y|Y for Yes, any other key for No) :

 ... skipping.
All done!
进行认证,修改mysql的root密码。
 输入密码后重新登陆。


 1750
1750


 被折叠的 条评论
为什么被折叠?
被折叠的 条评论
为什么被折叠?
 到【灌水乐园】发言


