


java搭建spring mvc项目
1:下载jar包
下载spring jar包:点我下载 提取码: bh8r
2:配置web.xml
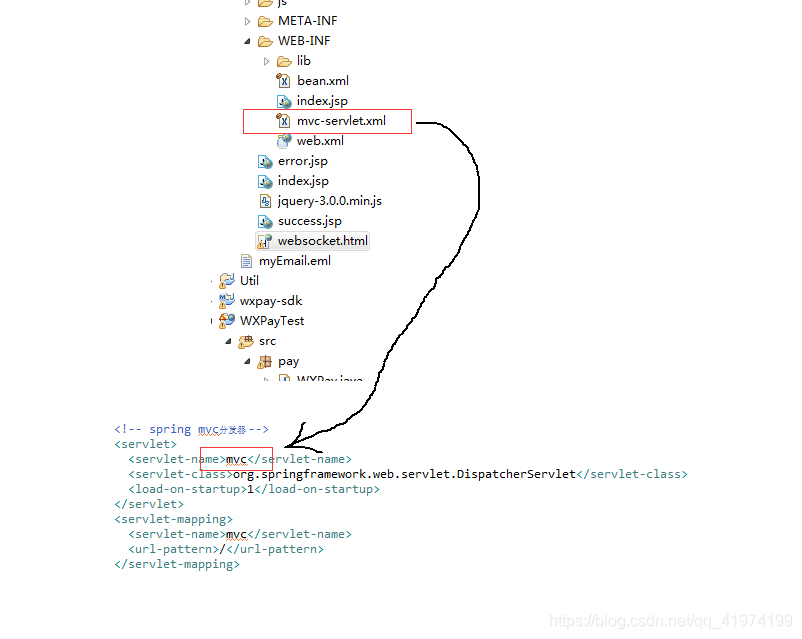
首先观察目录结构

配置web.xml文件
<?xml version="1.0" encoding="UTF-8"?>
<web-app id="WebApp_ID" version="3.0"
         xmlns="http://java.sun.com/xml/ns/javaee"
         xmlns:xsi="http://www.w3.org/2001/XMLSchema-instance"
         xsi:schemaLocation="http://java.sun.com/xml/ns/javaee
         http://java.sun.com/xml/ns/javaee/web-app_3_0.xsd">

	<servlet>
	  <servlet-name>mvc</servlet-name>
	  <servlet-class>org.springframework.web.servlet.DispatcherServlet</servlet-class>
	  <load-on-startup>1</load-on-startup>
	</servlet>
	<servlet-mapping>
	  <servlet-name>mvc</servlet-name>
	  <url-pattern>/</url-pattern>
	</servlet-mapping>
</web-app>
| 问题 | 答案 |
|---|---|
| DispatcherServlet | 请求驱动都围绕这个控制器开分派请求 |
| load-on-startup标签 | 等于0时,Web容器启动时就加载并初始化此Servlet,数字越小,被创建的越早。当值小于0或不指定时,Servlet在真正被使用时才被创建。值相同时,容器自己选择次序 |
| url-pattern | 对静态文件,css、js拦截 |
| servlet-name | 默认情况下,应用会去WEB-INF文件夹下查找对应的[name]-servlet.xml文件 |
| init-param | 指定配置文件路径 |
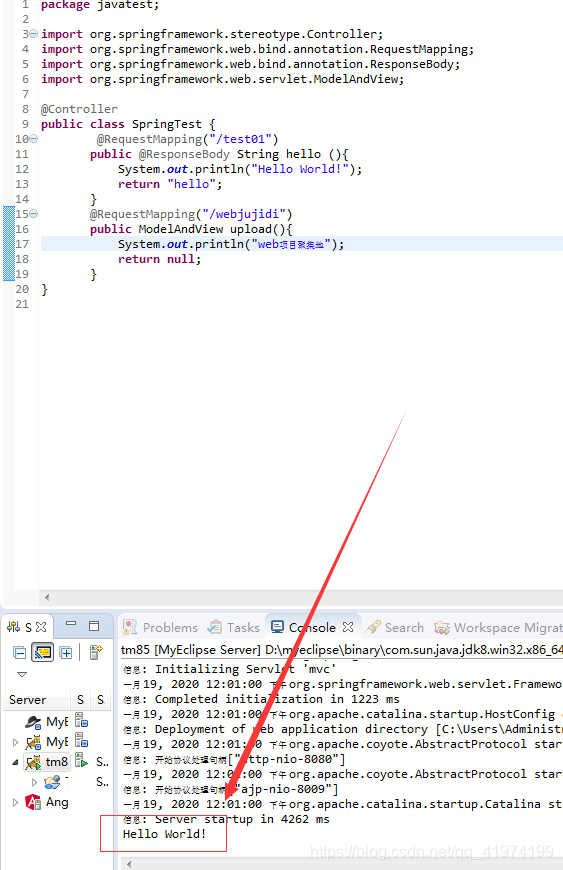
3:HelloWorldMVC.java
@Controller
public class HelloWorldMVC{
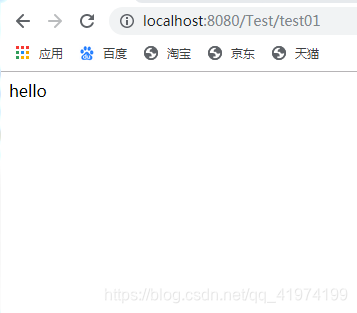
@RequestMapping("/test")
public @ResponseBody String hello (){
System.out.println("Hello World!");
return "hello";
}
@RequestMapping("/test2")
public ModelAndView upload(){
System.out.println("世界你好");
return null;
}
}
- @Controller:表明此类的实例是一个控制器,我们请求会在Controller中匹配方法进行处理.
- @RequestMapping:方法会被分发处理器扫描识别,将不同的请求分发到对应的接口上。将@Controller标记在某个类上,配合@RequestMapping注解,可以在一个类中定义多个接口,这样使用起来更加灵活。
4:mvc-servlet.xml
<?xml version="1.0" encoding="UTF-8" ?>
<beans xmlns="http://www.springframework.org/schema/beans"
    xmlns:xsi="http://www.w3.org/2001/XMLSchema-instance"
    xmlns:p="http://www.springframework.org/schema/p"
    xmlns:context="http://www.springframework.org/schema/context"
    xmlns:util="http://www.springframework.org/schema/util"
    xmlns:mvc="http://www.springframework.org/schema/mvc"
    xsi:schemaLocation="http://www.springframework.org/schema/beans
       http://www.springframework.org/schema/beans/spring-beans-3.0.xsd
       http://www.springframework.org/schema/context
       http://www.springframework.org/schema/context/spring-context-3.0.xsd
       http://www.springframework.org/schema/util
       http://www.springframework.org/schema/util/spring-util-3.0.xsd
       http://www.springframework.org/schema/mvc
       http://www.springframework.org/schema/mvc/spring-mvc.xsd
      ">

       <!-- 启动springMVC注解 -->
	   <mvc:annotation-driven/>
	   <!-- 扫描注解所在的包 -->
	   <context:component-scan base-package="javatest"></context:component-scan>

</beans>
- mvc:annotation-driven/:配置用来启动Spring MVC的注解。此配置会自动注册为RequestMappingHandlerMapping和RequestMappingHandlerAdapter两个Bean。
- <context:component-scan base-package="">:在xml配置了这个标签后,Spring可以自动去扫描base-pack下面或者子包下面的java文件,如果可以扫描到含有@Component @Controller@Service等这些注解的类,则把这些类注册为bean。
5:运行
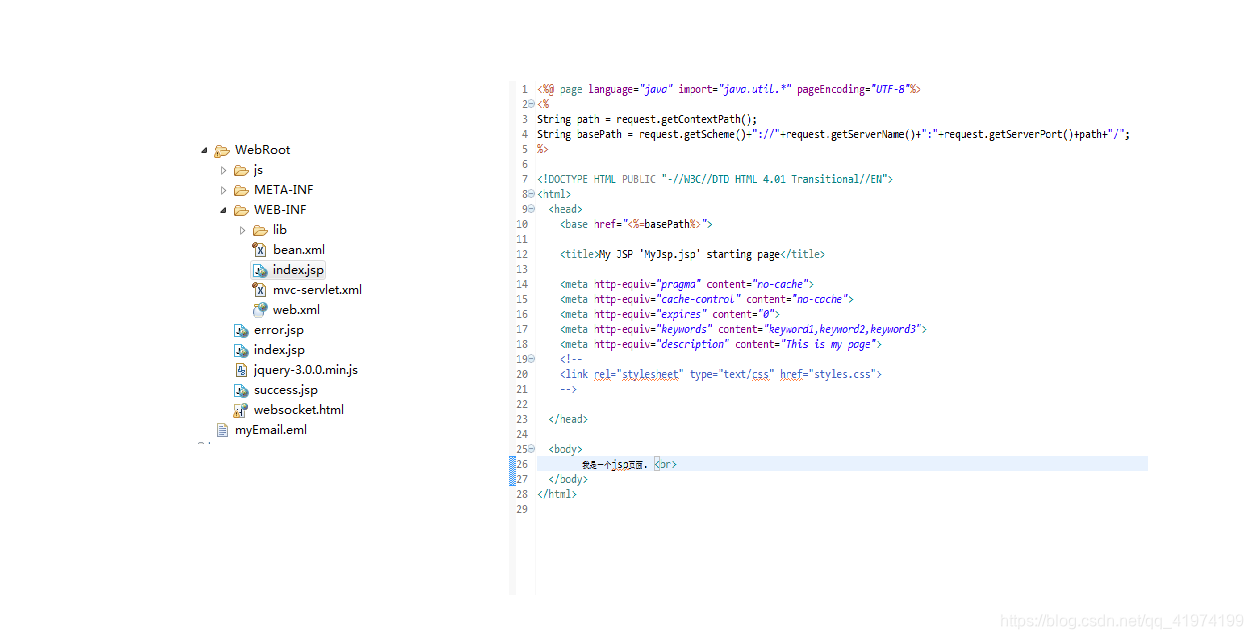
6:跳转到某个页面
这是返回一个字符串,如果想跳转到某个页面呢?
<?xml version="1.0" encoding="UTF-8" ?>
<beans xmlns="http://www.springframework.org/schema/beans"
    xmlns:xsi="http://www.w3.org/2001/XMLSchema-instance"
    xmlns:p="http://www.springframework.org/schema/p"
    xmlns:context="http://www.springframework.org/schema/context"
    xmlns:util="http://www.springframework.org/schema/util"
    xmlns:mvc="http://www.springframework.org/schema/mvc"
    xsi:schemaLocation="http://www.springframework.org/schema/beans
       http://www.springframework.org/schema/beans/spring-beans-3.0.xsd
       http://www.springframework.org/schema/context
       http://www.springframework.org/schema/context/spring-context-3.0.xsd
       http://www.springframework.org/schema/util
       http://www.springframework.org/schema/util/spring-util-3.0.xsd
       http://www.springframework.org/schema/mvc
       http://www.springframework.org/schema/mvc/spring-mvc.xsd
      ">

        <!-- 启动springMVC注解 -->
	    <mvc:annotation-driven/>
	    <!-- 扫描注解所在的包 -->
	    <context:component-scan base-package="javatest"></context:component-scan>

	      <!-- 配置视图解析器 -->
	      <bean class="org.springframework.web.servlet.view.InternalResourceViewResolver"
            id="internalResourceViewResolver">
		        <!-- 前缀 -->
		        <property name="prefix" value="/WEB-INF/" />
		        <!-- 后缀 -->
		        <property name="suffix" value=".jsp" />
		   </bean>

</beans>
- property name=“prefix” value="/WEB-INF/" /:在根目录/WEB-INF/下查找相关文件;
- WEB-INF:WEB-INF是Java的WEB应用的安全目录。所谓安全就是客户端无法访问,只有服务端可以访问的目录。
如果想在页面中直接访问其中的文件,必须通过web.xml文件对要访问的文件进行相应映射才能访问。 - property name=“suffix” value=".jsp" /:拼接返回的值


 2804
2804


 被折叠的 条评论
为什么被折叠?
被折叠的 条评论
为什么被折叠?
 到【灌水乐园】发言


