


实现逻辑
调用接口 =》接口调用小程序的生成二维码 =〉二维码对应一个tag,把tag存在redis中,设置一分钟到期,用户扫码跳到小程序登录授权页面,授权后将生成的token和tag绑定,同时,展示二维码的页面,每隔几秒调用一次查询,过期告知过期,如果查到token则登录成功,登录成功销毁tag和token的绑定,如果想要知道用于已经扫码状态,可以多设计tag的状态。
为什么要扫码登录呢,主要是短信收费哇,账户密码登录的话,又太多了,就想试试微信小程序扫码登录。
公用配置模块
有些时候我们会有很多配置项,比如小程序的id,secret,以及其它配置项目,如果每次都写一遍很麻烦,而且改起来也很费事,所以在下一步开发前,我们先来搞配置项。
nest g lib config
一路回车即可
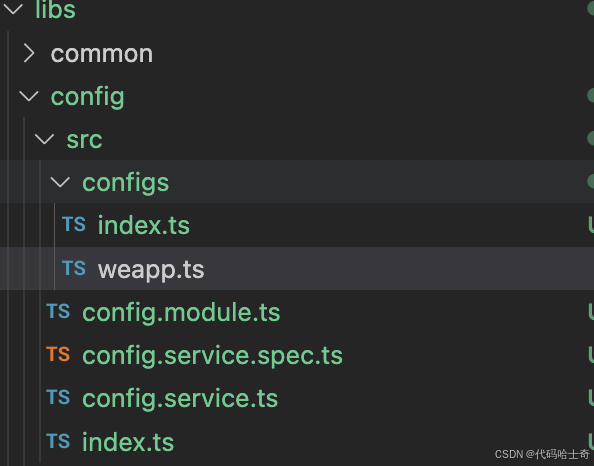
在config/src/下新建configs目录,分开存储不同的配置
目前目录
引入@nestjs/config
安装
npm install @nestjs/config --save-dev
在config.module.ts中
import { Global, Module } from '@nestjs/common';
import { ConfigService } from './config.service';
import { ConfigModule as ConfigMd } from '@nestjs/config';
import configuration from './configs/index';

@Global()
@Module({
  imports: [
    ConfigMd.forRoot({
      isGlobal: true,
      load: [configuration], // 加载配置文件
    }),
  ],
  providers: [ConfigService],
  exports: [ConfigService],
})
export class ConfigModule {}
在config.service.ts中
export { ConfigService } from '@nestjs/config';
在configs/index.ts中
import weapp from './weapp';

export default () => {
  const config = {
    weapp,
  };
  return config;
};
在weapp.ts中
export default {
  appid: 'xxxx',// 小程序后台可以拿到
  secret: 'xxx', // 小程序后台可以拿到
  login_path:"pages/login/index", // 登录页面路径
  env_version:"develop" // 生成的小程序二维码的版 体验/开发/正式
};
env_version: “develop” //开发版
env_version: “trial” //体验版
env_version: “release” //正式版
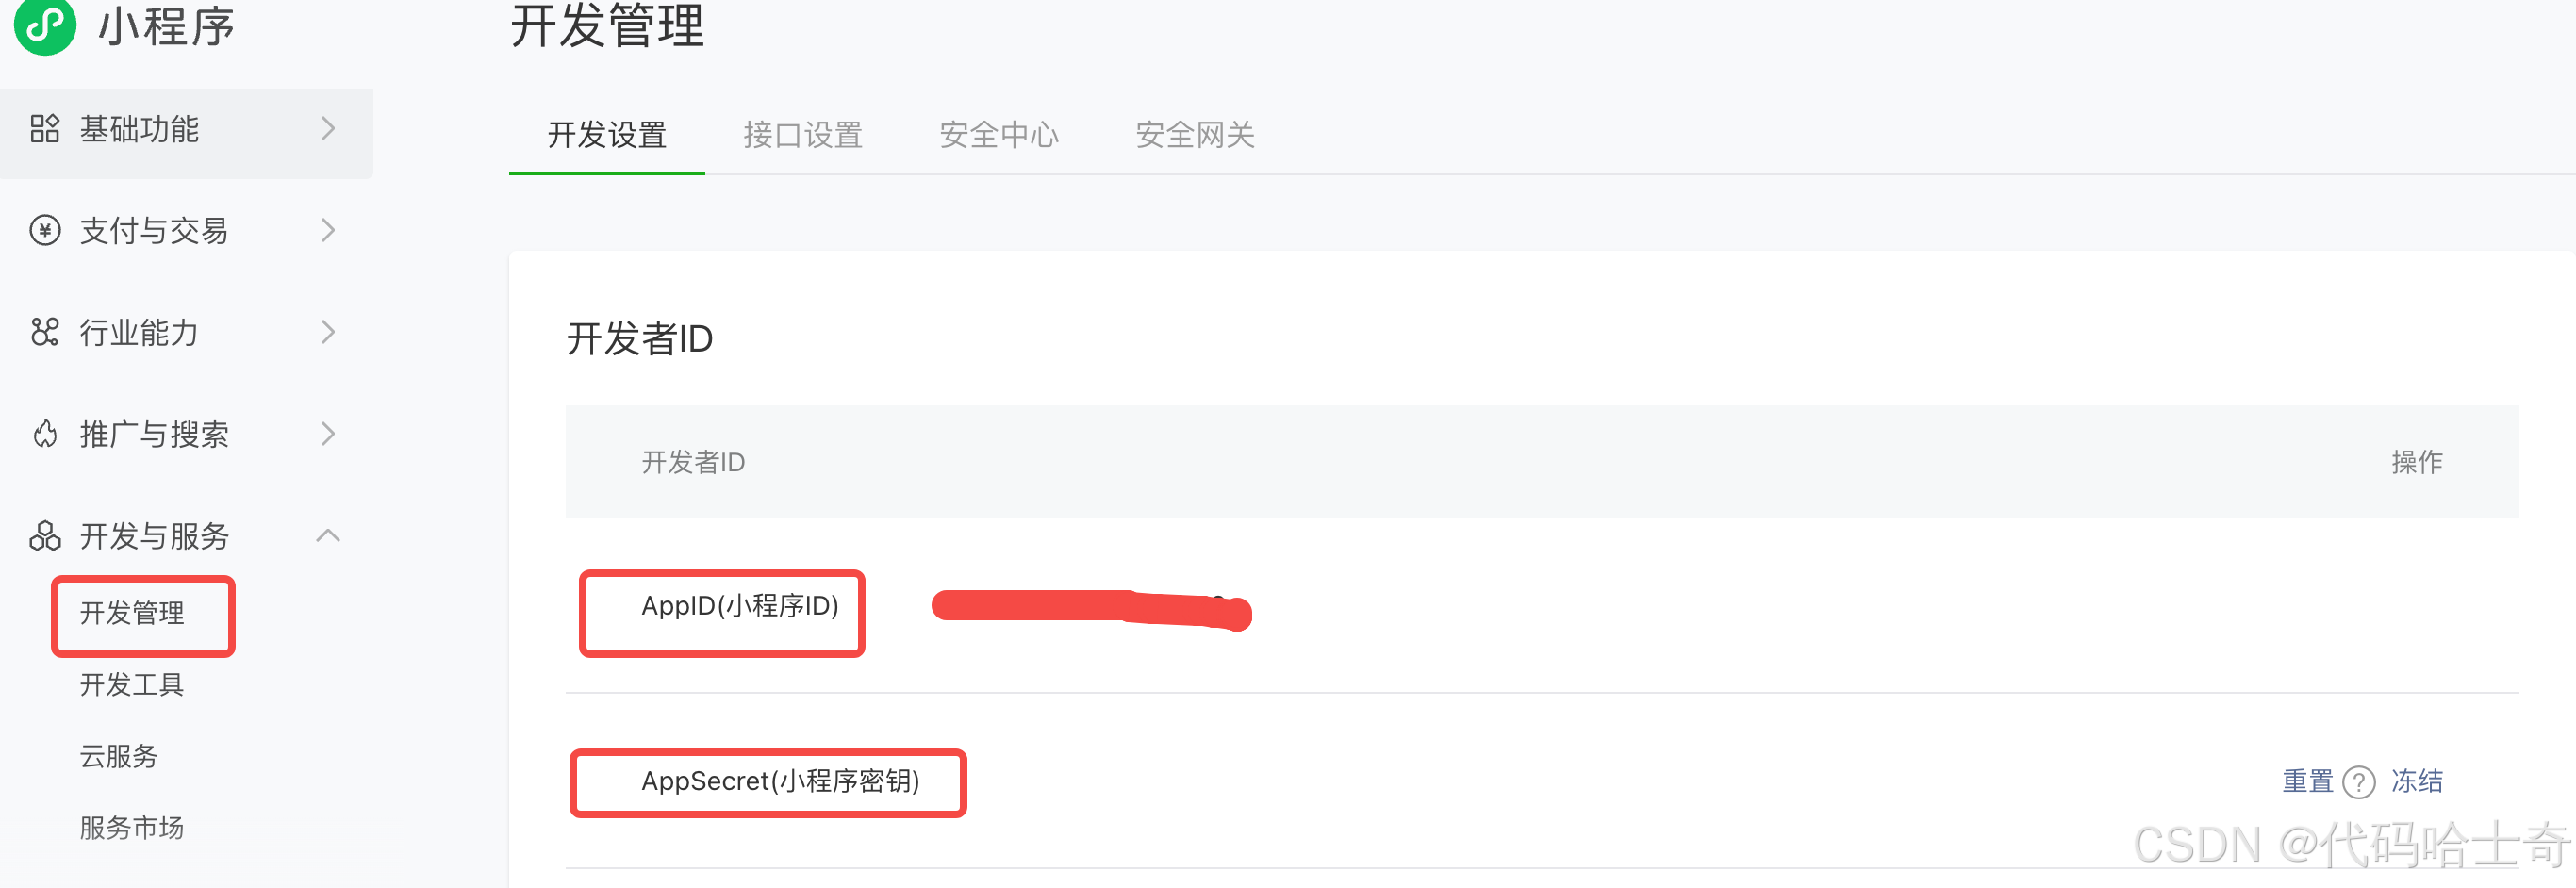
appid和secret在小程序后台可以拿到
这个时候config就可以在其它模块使用了
如果生成二维码失败 可能考虑要先发一版
使用配置模块
在apps/user/src/user.module.ts中我们引入配置模块
由于等候会用到prisma和redis模块我们一并引入
import { Module } from '@nestjs/common';
import { UserController } from './user.controller';
import { UserService } from './user.service';
import { ConfigModule } from '@app/config';
import { RedisModule } from '@app/redis';
import { PrismaModule } from '@app/prisma';

@Module({
  imports: [ConfigModule, RedisModule, PrismaModule],
  controllers: [UserController],
  providers: [UserService],
})
export class UserModule {}
生成小程序二维码
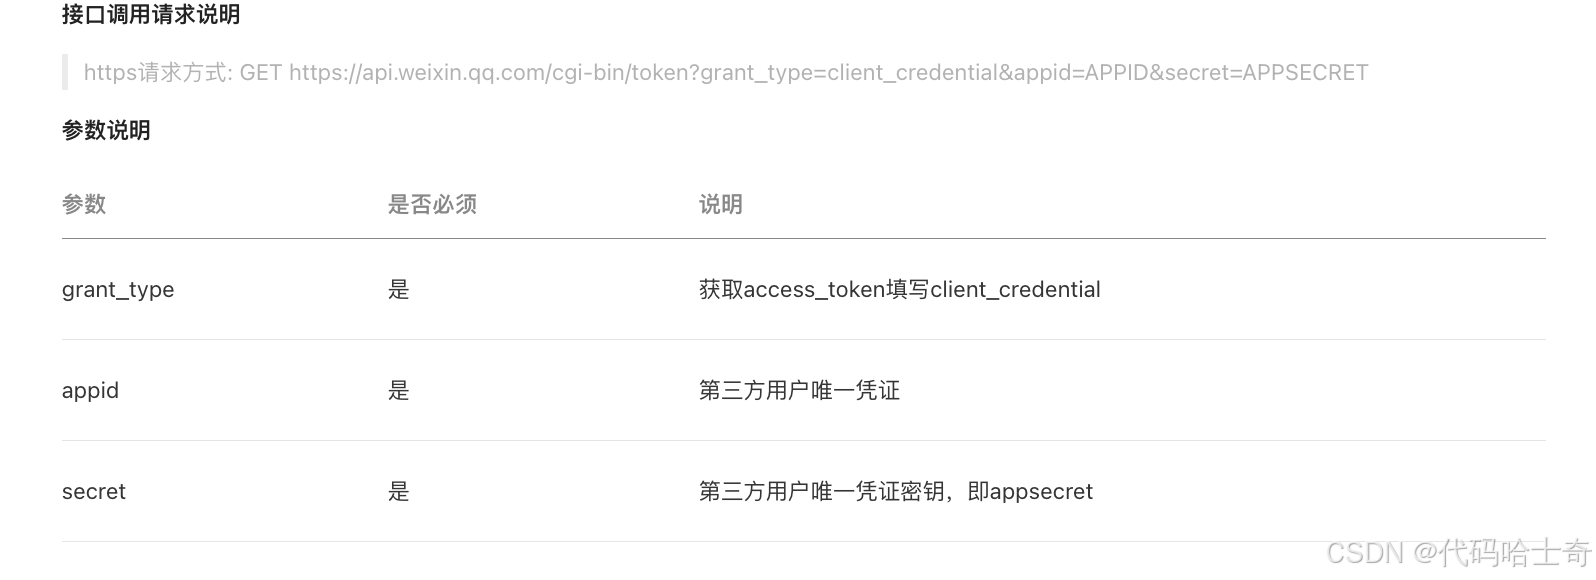
生产二维码需要调用微信的api,需要先获取授权。
可以在小程序后台拿到这后面两个参数
获取授权信息
我们在user.service.ts中引入redis和config
import { ConfigService } from '@app/config';
import { RedisService } from '@app/redis';
import { Inject, Injectable } from '@nestjs/common';

@Injectable()
export class UserService {
  @Inject(RedisService)
  private redisService: RedisService;
  @Inject(ConfigService)
  private configService: ConfigService;


}
获取授权的逻辑是 首先看看redis有没有token缓存,有的话取token否则重新授权。获取授权需要调用网络请求。为了方便我们直接用axios,如果axios用的地方多,统一化,可以再封装一个axios请求模块,这里我们简单使用,如果想搞个axios模块,参考redsi或者config的。
安装axios
npm install axios --save-dev
import { ConfigService } from '@app/config';
import { RedisService } from '@app/redis';
import { Inject, Injectable } from '@nestjs/common';
import axios from 'axios';

@Injectable()
export class UserService {
  @Inject(RedisService)
  private redisService: RedisService;
  @Inject(ConfigService)
  private configService: ConfigService;

  async getWxAuthToken() {
    let weapp_token = await this.redisService.get('weapp_token');
    if (!weapp_token) {
      const appid = this.configService.get('weapp.appid');
      const secret = this.configService.get('weapp.secret');

      const res = await axios.get(
        `https://api.weixin.qq.com/cgi-bin/token?grant_type=client_credential&appid=${appid}&secret=${secret}`,
      );

      const { access_token, expires_in } = res.data;
      await this.redisService.set('weapp_token', access_token, expires_in/2);
      weapp_token = access_token;
    }

    return weapp_token;
  }
}
在user.controller.ts中 我们做个尝试
 @Get()
  async getWxToken() {
    return await this.userService.getWxAuthToken();
  }
启动用户服务 浏览器访问 http://localhost:你的项目端口
npm run start:dev user
如果我们观察请求授权的接口 发现有token和时间 我们只要token,但过期时间也可以用到我们的redis中。但是有可能你掉的时候刚好过期(几率小),所以过期时间我们可以缩小点

查看我们的redis数据库也发现有数据了

获取二维码
我们安装uuid 用来获取唯一tag
npm install uuid --save-dev
在user.service.ts中
我们编写代码 获取token 通过token去生成二维码
page 和 env_version就是刚刚我们设置的,如果小程序未上线,可能需要把check_path改为false,然后版本改为开发/体验。
scene呢 我们带着我们自己的tag 这个tag在redis中存一份,然后等着扫码可以用。
import { ConfigService } from '@app/config';
import { RedisService } from '@app/redis';
import { Inject, Injectable } from '@nestjs/common';
import axios from 'axios';
import { v4 as getUuid } from 'uuid';

@Injectable()
export class UserService {
  @Inject(RedisService)
  private redisService: RedisService;
  @Inject(ConfigService)
  private configService: ConfigService;

  async getWxAuthToken() {
    let weapp_token = await this.redisService.get('xxx_weapp_token');
    if (!weapp_token) {
      const appid = this.configService.get('weapp.appid');
      const secret = this.configService.get('weapp.secret');

      const res = await axios.get(
        `https://api.weixin.qq.com/cgi-bin/token?grant_type=client_credential&appid=${appid}&secret=${secret}`,
      );

      const { access_token, expires_in } = res.data;
      await this.redisService.set(
        'xxx_weapp_token',
        access_token,
        expires_in / 2,
      );
      weapp_token = access_token;
    }

    return weapp_token;
  }

  async getWxQrCode() {
    let weapp_token = await this.getWxAuthToken();
    const env_version = this.configService.get('weapp.env_version');
    const page = this.configService.get('weapp.login_path');
    const uuid = getUuid();
    const key = uuid.split('-').join('');
    const res = await axios.post(
      `https://api.weixin.qq.com/wxa/getwxacodeunlimit?access_token=${weapp_token}`,
      {
        page,
        scene: key,
        check_path: true,
        env_version,
      },
      {
        responseType: 'arraybuffer',
      },
    );

     await this.redisService.set(
      `timeout_loginTag_xxx_${key}`,
      JSON.stringify({ status: 1 }),
      60,
    );
    return { file: res.data, key };
  }
}
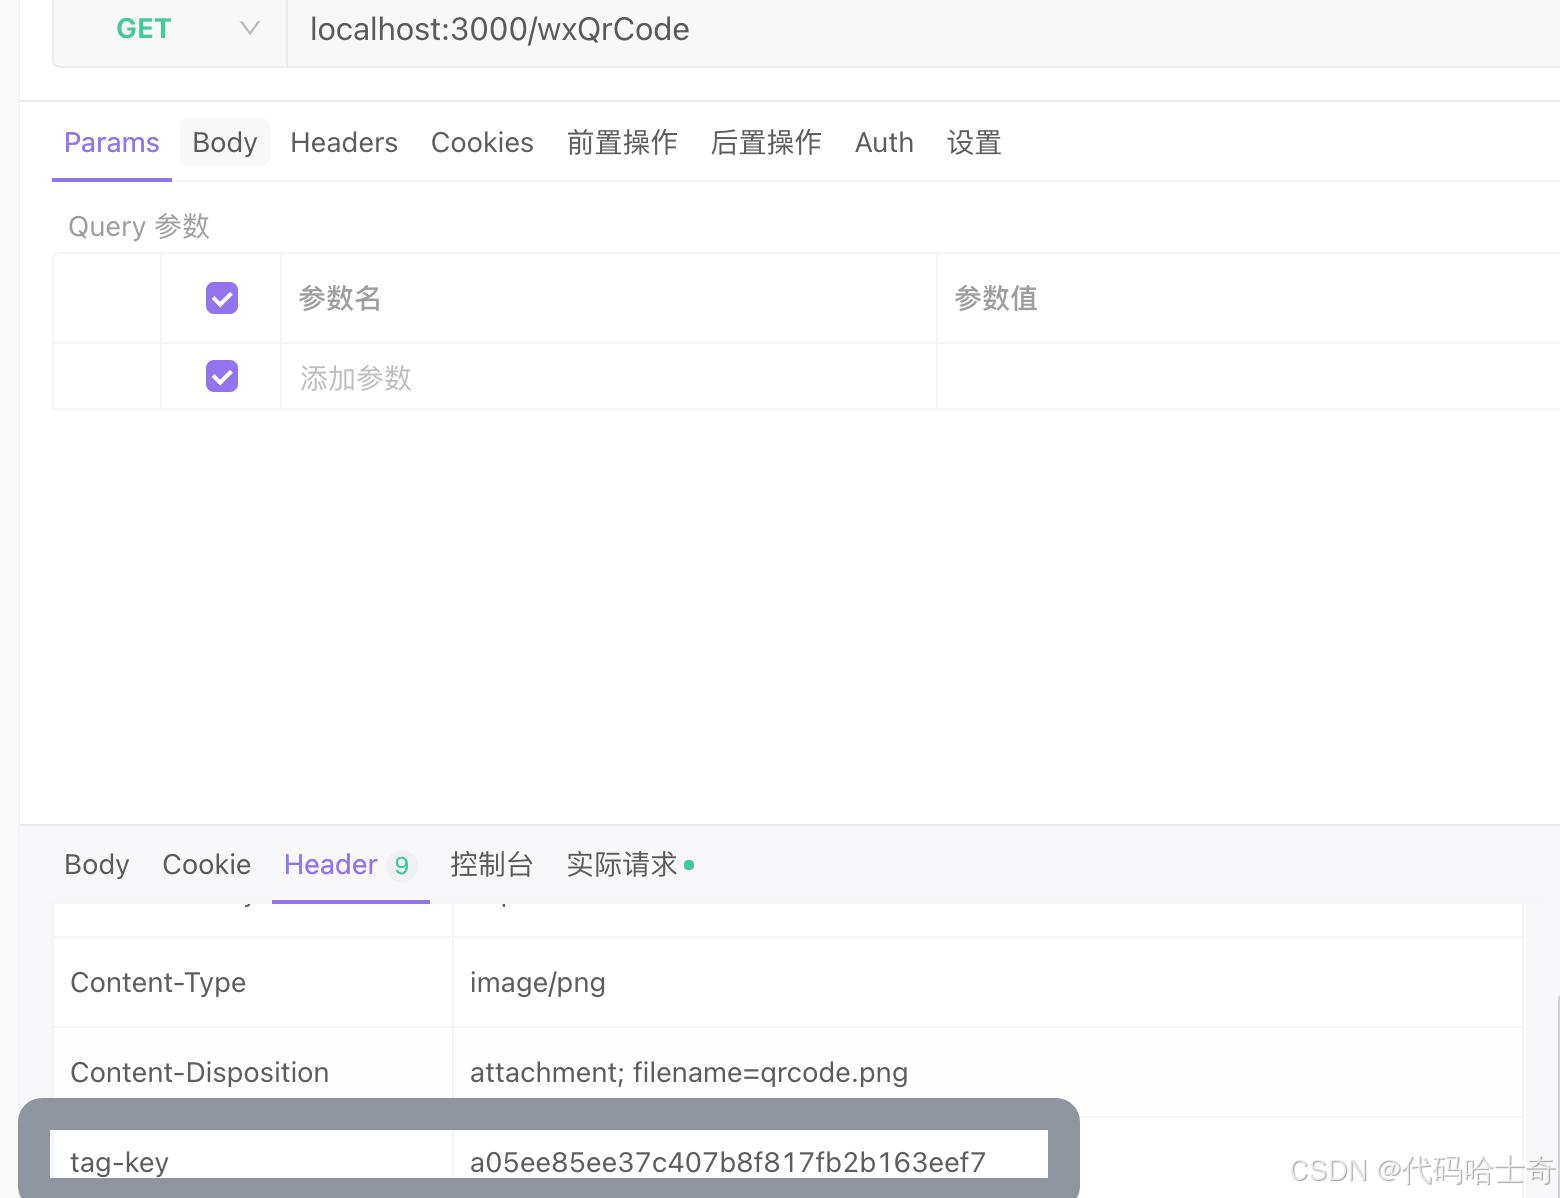
我们修改user.controller.ts 返回一个文件 在响应头中带了一个tag-key方便我们轮询查扫码结果。
import { Controller, Get, Res } from '@nestjs/common';
import { UserService } from './user.service';

@Controller()
export class UserController {
  constructor(private readonly userService: UserService) {}

  @Get('/wxQrCode')
  async getWxQrCode(@Res() response) {
    const { file, key } = await this.userService.getWxQrCode();
    response.setHeader('Content-Type', 'image/png');
    response.setHeader(
      'Content-Disposition',
      'attachment; filename=qrcode.png',
    );
    response.setHeader('tag-key', key);

    response.send(file);
  }
}
在apifox中查看效果 可以看到返回了二维码

扫码登录处理
在微信开发者工具是可以调试二维码的
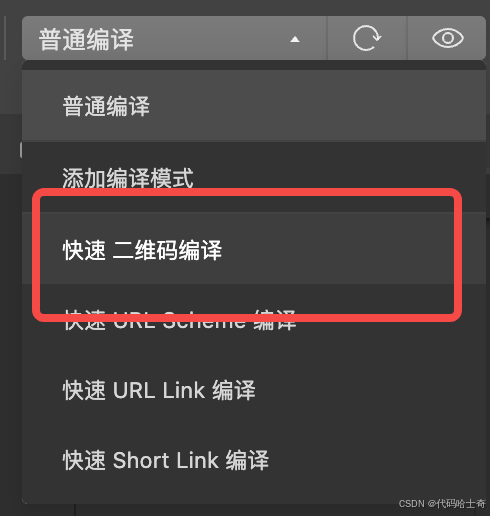
选择二维码后
再次点击添加编译模式 可以看到参数
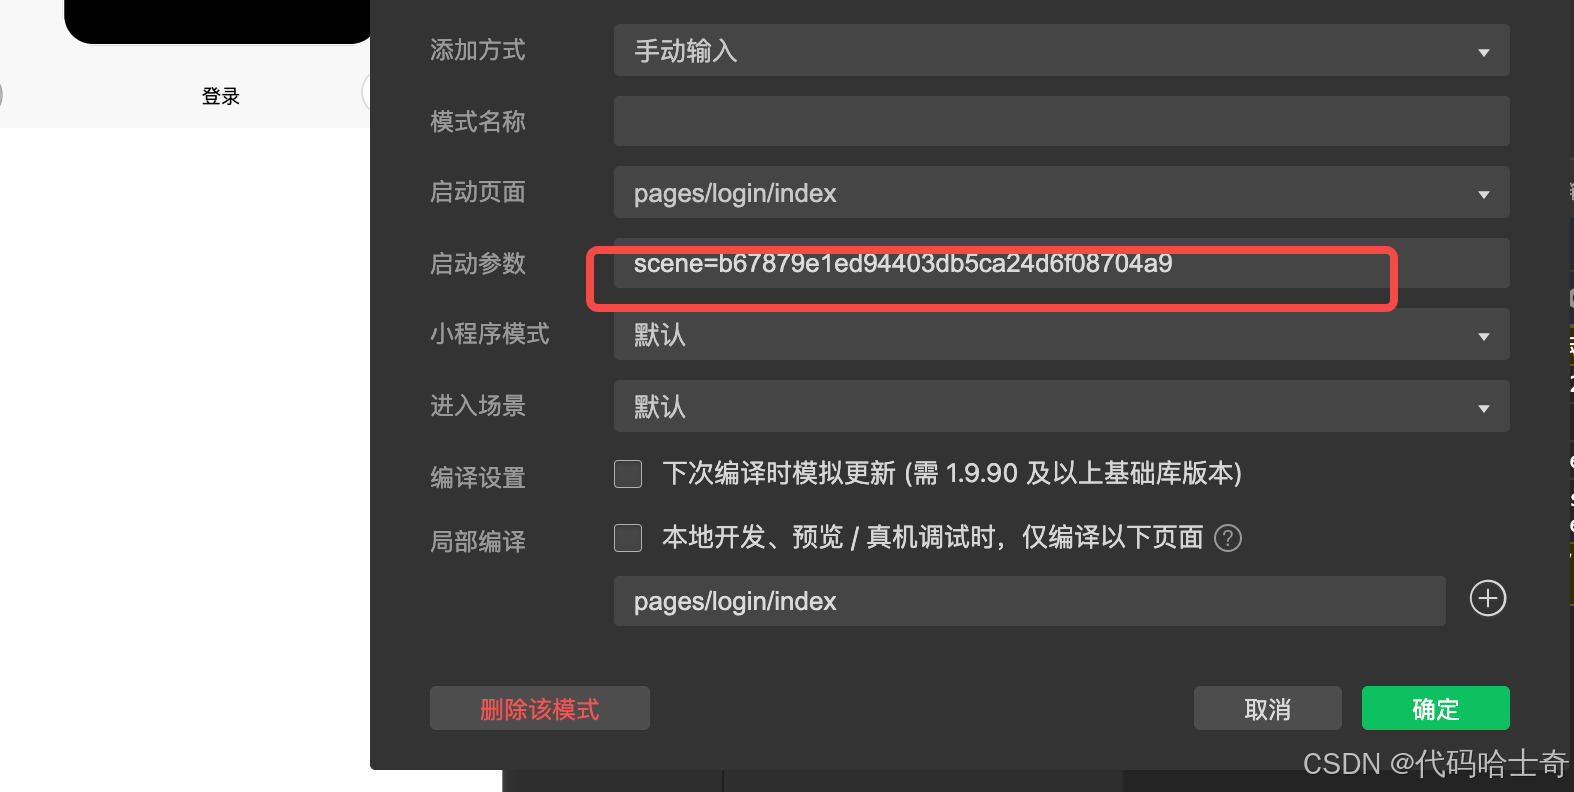
拿到这个参数
这里用的uni-app如果用别的如taro都行的,下载hbuilder-x新建一个vue3项目,修改manifest.json的微信小程序id,然后新建一个login页面。
搞好后 你pages.json会有一个

文件目录
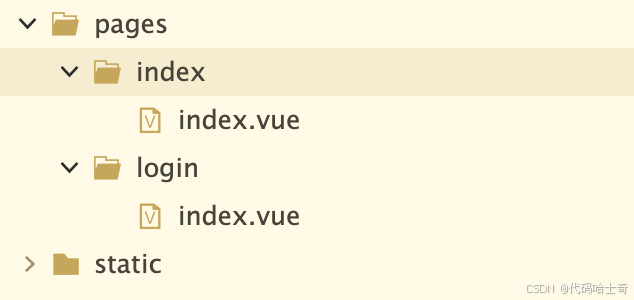
在login页面编写代码 编译到小程序
<template>
	<view>

	</view>
</template>

<script setup lang="ts">
const props = defineProps({
    scene: String,
  });
console.log("scene=" + props.scene);

</script>

<style>

</style>
可以看到控制台打印

这个时候我们可以来做登录了。
登录
首先我们要调用小程序登录,拿到一些信息。
小程序登录流程
封装请求我们用之前的一个包装方法
记录封装一个请求包装函数
除了包装以外,我们还要做个拦截器
小程序项目 根目录新建api文件夹
uni.addInterceptor做拦截处理,处理请求和响应还有其它
具体使用看 拦截器
api/getRequest.ts
const getRequest = <O, T>(options : any) => {
	let abort : () => void;
	const sendFetch = (data : O) : Promise<T> => {
		if (abort) {
			abort()
		}
		return new Promise((resolve, reject) => {
			const req = uni.request({
				...options,
				data: data,
				success: (res : { data : T ,statusCode:number,message?:string}) => {
					// 简单处理 实际要根据业务来处理 拆离异常处理逻辑
					if(res.statusCode>300){
						// @ts-ignore
						reject(res.data.message)
					}
					resolve(res.data as T)
				},
				fail: (error : any) => {

					reject(error)
				}
			}) as UniApp.RequestTask;
			abort = () => {
				console.warn('abort request' + options.url)
				req?.abort()
			};
		})
	}
	return {
		sendFetch,
		abort
	}
}

const debug = false;

uni.addInterceptor('request', {
	invoke(args) {
		// request 触发前拼接 url
		args.url = 'http://localhost:3000/' + args.url;
		if (debug) {
			console.log('send req' + args.url, args.data)
		}
	},
	success(args) {
		if (debug) {
			console.log('send res' , args.data)
		}
	},
	fail(err) {
		console.warn(err)
	},
	complete(res) {
		// console.log('interceptor-complete', res)
	}
})

export default getRequest
login.vue
<template>
	<view class="flex">
		<button type="primary" @click="login">登录</button>
	</view>
</template>

<script setup lang="ts">
import { watch } from 'vue';
import { loginByWx } from '../../api/interface/user';
import { useRequest } from '../../uni_modules/d-hooks/js_sdk/d-hooks';

const props = defineProps({
    scene: String,
  });
console.log("scene=" + props.scene);

const { data, fetch, loading, message } = useRequest(loginByWx())
watch(loading,v=>{
	// console.log(data.value)
	if(!success.value){
		uni.showToast({
			icon:'error',
			title:message.value
		})
	}
	if(v){
		uni.showLoading({
			title:'登录中'
		})
	}else{
		uni.hideLoading()
	}
})


const login = () => {
	uni.login({
		provider:'weixin',
		success(res) {
			const code = res.code;
			fetch({code,scene:props.scene})

		}
	})
}


</script>

<style lang="scss">
.flex{
	display: flex;
	justify-content: center;
	align-items: center;
	width: 100%;
	height: 100vh;
	button{
		width: 60%;
	}
}
</style>
api/user.ts
import getRequest from "../getRequest";

interface LoginWxParams {
	code:string,
	scene:string
}

export const loginByWx = () =>getRequest<LoginWxParams,any>({
	url:'loginWx',
	method:'post'
})
这个时候我们发起登录 会把微信授权code给到后端接口
后端处理
处理微信登录流程如下,通过code获取openId这个openId对应我们之前设计的数据表中的wxId,我们通过wxId去查用户,查不到就创建并返回非敏感用户数据,如userId,查到了同上返回。然后我们拿用户的一些数据生成JWT。同时我们也要知道tag,毕竟要知道是哪个二维码登录。
这里的判空 我们做个简单处理
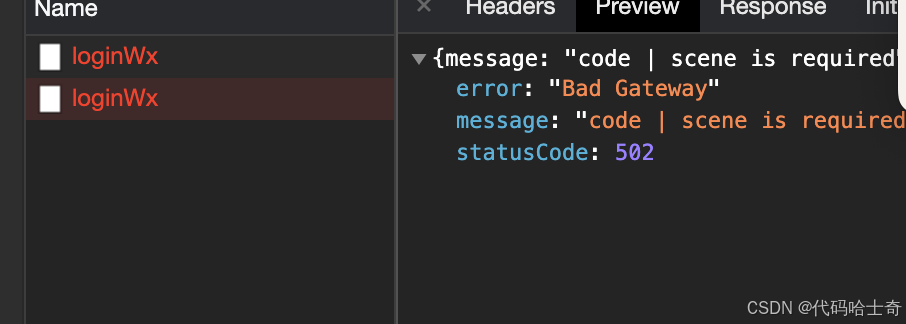
@Post('loginWx')
  async loginWx(@Body() data: { code: string }) {
    if (!data.code || !data.scene) {
      throw new BadGatewayException('code | scene is required');
    }
    await this.userService.checkTagKey(data.scene);
	const openId = await this.userService.getWxOpenId(data.code);
}
在user.service.ts中 新增获取微信openId逻辑
和之前的获取微信授权token类似,这里我们也是先获取配置,然后调用微信的接口来获取openId。
  async getWxOpenId(code: string) {
    try {
      const appid = this.configService.get('weapp.appid');
      const secret = this.configService.get('weapp.secret');
      const url = `https://api.weixin.qq.com/sns/jscode2session?appid=${appid}&secret=${secret}&js_code=${code}&grant_type=authorization_code`;
      const res = await axios.get(url);
      const data = res.data;
      return data.openid;
    } catch (error) {
      throw new BadGatewayException(error);
    }
  }
我们需要校验二维码是否过期
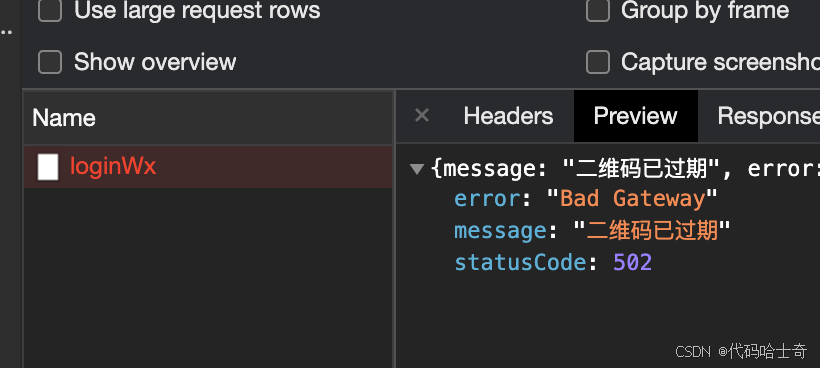
user.service.ts中新增
async checkTagKey(key: string) {
    const checkKey = await this.redisService.get(`timeout_loginTag_xxx_${key}`);
    const canUse = !!checkKey;
    if (!canUse) {
      throw new BadGatewayException('二维码已过期');
    }
    return checkKey;
  }
 async createUserByWxId(wxId: string) {
    try {
      const username = 'wx' + getUuid();
      const user = await this.prismaService.user.create({
        data: {
          wxId,
          username,
        },
      });
      return user;
    } catch (error) {
      throw new BadGatewayException(error);
    }
  }
  async getUserByWxId(wxId: string) {
    return await this.prismaService.user.findFirst({
      where: {
        wxId,
      },
    });
  }
如果tag没有过期,我们会继续走拿到openId,使用openId来查数据库的用户,如果没有就创建一个。
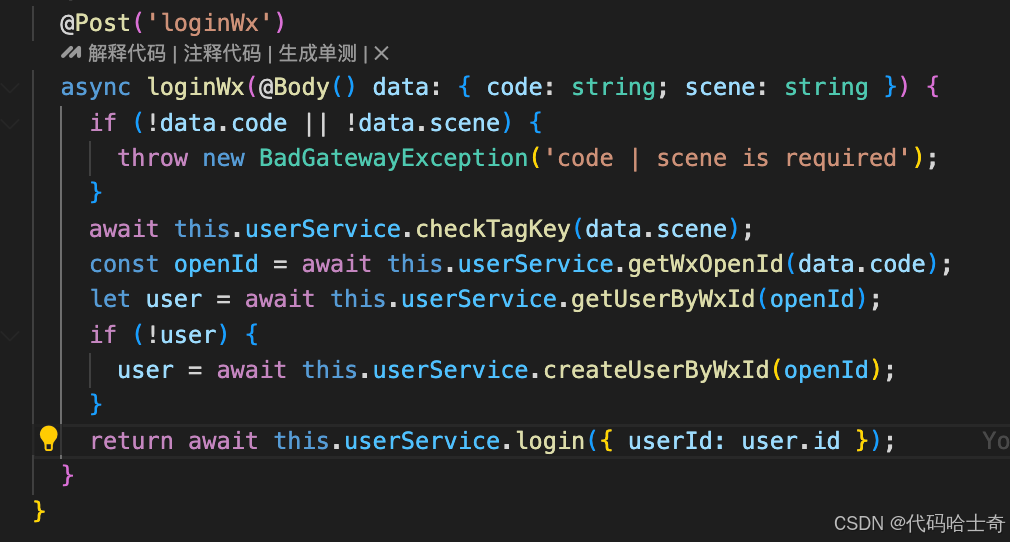
此时的user.controller.ts的登录接口
 @Post('loginWx')
  async loginWx(@Body() data: { code: string; scene: string }) {
    if (!data.code || !data.scene) {
      throw new BadGatewayException('code | scene is required');
    }
    await this.userService.checkTagKey(data.scene);
    const openId = await this.userService.getWxOpenId(data.code);
    let user = await this.userService.getUserByWxId(openId);
    if (!user) {
      user = await this.userService.createUserByWxId(openId);
    }
  }
接下来我们来集成JWT还有校验。
集成JWT
首先在config中新建一个配置模块auth并且在configs/index中引入。
auth.ts 来配置jwt token和过期时间
export default {
  jwt: {
    token: 'xxxx',
    time: 7 * 24 * 60 * 60,
  },
};
在index.ts中引入
import auth from './auth';
import weapp from './weapp';

export default () => {
  const config = {
    weapp,
    auth,
  };
  return config;
};
我们来安装几个依赖包
npm install @nestjs/jwt passport-jwt @nestjs/passport --save-dev
新建一个库
nest g lib auth
在auth中做所有的授权处理,这次集成微信登录走jwt,下次比如谷歌登录,github登录等等都可以在这个库中完善。
在auth.module.ts中引入ConfigModule,JwtModule,PrismaModule,RedisModule,JwtStrategy
JwtStrategy在下方可见
  import { Global, Module } from '@nestjs/common';
import { AuthService } from './auth.service';
import { ConfigModule } from '@app/config';
import { JwtModule } from '@nestjs/jwt';
import { PassportModule } from '@nestjs/passport';
import { JwtStrategy } from './jwt.strategy';
import { PrismaModule } from '@app/prisma';
import { RedisModule } from '@app/redis';

@Global()
@Module({
  imports: [ConfigModule, JwtModule, PrismaModule, RedisModule],
  providers: [AuthService, JwtStrategy],
  exports: [AuthService],
})
export class AuthModule {}
在auth.service.ts中
import { Inject, Injectable } from '@nestjs/common';
import { ConfigService } from '@nestjs/config';
import { JwtService } from '@nestjs/jwt';
@Injectable()
export class AuthService {
@Inject(JwtService)
private jwtService: JwtService;
@Inject(ConfigService)
private configService: ConfigService;
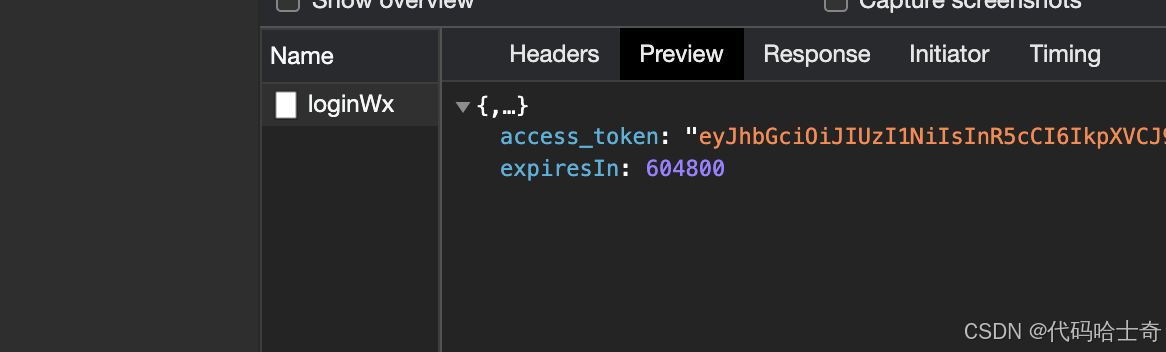
async loginByJwt(loginMsg: Object) {
const payload = loginMsg;
const expiresIn = this.configService.get('auth.jwt.time');
return {
access_token: this.jwtService.sign(payload, {
expiresIn,
secret: this.configService.get('auth.jwt.token'),
}),
expiresIn
};
}
}
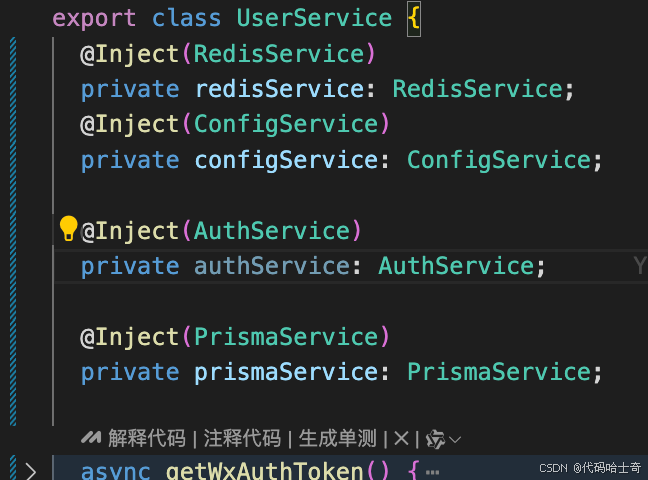
在user.module.ts中引入auth模块
imports: [ConfigModule, RedisModule, PrismaModule,AuthModule],
在user.service.ts中使用
  async login(loginMsg: { userId: string }) {
    return await this.authService.loginByJwt(loginMsg);
  }
user.controller.ts中使用
上述完成后,在小程序中测试下
但这里其实小程序是不需要返回token的,登录成功即可,把token塞到redis中,然后让提供扫码的页面进行轮询。
所以要登录的时候改变扫码状态 修改user.service.ts中的login
这里redis set下access_token 后面会用到,这里每次都set xxx_token_userId 每次都会把上次的token给覆盖。确保单点登录。
async login(loginMsg: { userId: string }, key: string) {
    const data = await this.authService.loginByJwt(loginMsg);
    await this.redisService.set(
      `xxx_token_${loginMsg.userId}`,
      data.access_token,
      data.expiresIn,
    );
    await this.redisService.set(
      `timeout_loginTag_xxx_${key}`,
      JSON.stringify({ status: 3, ...data }),
      20,
    );
    return data;
  }
新增一个查询扫码状态接口。
  @Post('codeStatus')
  async codeStatus(@Body() data: { scene: string }) {
    if (!data.scene) {
      throw new BadGatewayException('scene is required');
    }
    return await this.userService.checkTagKey(data.scene);
  }
做好这些后,前端通过轮询调用codeStatus就能拿到token了,当status为3的时候说明扫码登录成功,为2的没做,当然可以尝试做下,比如已经扫码但是未登录。
校验JWT
在libs/auth/src/目录下新建jwt.strategy.ts
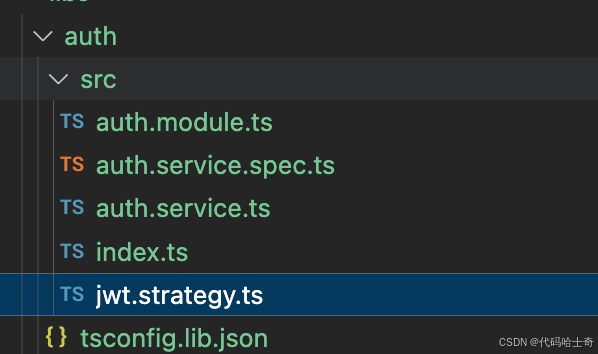
这里做token的检测和解析,我们需要引入之前redis服务,引入config服务,PrismaService服务。
完善 jwt.strategy.ts 这里在headers中可以获取前端传过来的一些自定义header,如果有一些登录后携带的header需要获取在这里可以获取。比如token,这里的passport-jwt只校验之前jwt生产的token是否合理(是否过你配置项目中的时间,是否是jwt服务生成的),额外的比如我们提前销毁token,黑名单等等,可以在这里处理。
这里的payload呢一般是我们生成jwt的时候携带的信息。生成的时候带了userId,这一步可以从userId获取user。
有了jwt的策略,下一步怎么用呢。我们可以搞几个装饰器来用。
// src/auth/jwt.strategy.ts
import { PrismaService } from '@app/prisma';
import { RedisService } from '@app/redis';
import { Inject, Injectable, UnauthorizedException } from '@nestjs/common';
import { ConfigService } from '@nestjs/config';
import { PassportStrategy } from '@nestjs/passport';
import { Strategy, ExtractJwt } from 'passport-jwt';

@Injectable()
export class JwtStrategy extends PassportStrategy(Strategy) {
  constructor(
    private readonly redisService: RedisService,
    private readonly prismaService: PrismaService,
    configService: ConfigService,
  ) {
    super({
      jwtFromRequest: ExtractJwt.fromAuthHeaderAsBearerToken(),
      secretOrKey: configService.get('auth.jwt.token'), // 替换为你的 JWT 密钥
      ignoreExpiration: false, // 确保过期时间被检查
      passReqToCallback: true, // 传递 request 对象到 validate 方法
    });
  }

  async validate(request: Request, payload: { userId: string }) {
    const headers = request.headers;
    const authorization = headers['authorization'];
    const token = authorization?.split(' ')[1];
    // 从redis中获取token 拿到的话说明 token还是生效的
    const redisToken = await this.redisService.get(`xxx_token_${payload.userId}`);
    if (redisToken) {
      const user = await this.prismaService.user.findUnique({
        where: {
          id: payload.userId,
        },
      });
      return user;
    }
    throw new UnauthorizedException();
  }
}
使用JWT(装饰器)
我们如何使用jwt策略呢。
在控制器上方直接用。
 @UseGuards(AuthGuard('jwt'))
  @Post('test')
  async test() {
    return 'test';
  }
当然我们还可以简写。
在auth/src/目录下新建 auth.decorator.ts 来写一些自定义装饰器 装饰器本身也算是一个函数,我们来写一个RequireLogin。而jwt策略返回的user。会被注入到request中,我们获取下,createParamDecorator第一个参数是装饰器的参数,比如传’id’ 我们就返回user.id 不传就是user。
import {
  createParamDecorator,
  ExecutionContext,
  UseGuards,
} from '@nestjs/common';
import { AuthGuard } from '@nestjs/passport';

export interface AuthUser {
  id: string;
  username: string;
  email: string | null;
  wxId: string | null;
  createdAt: Date;
  updatedAt: Date;
}
interface Request {
  user: AuthUser;
}
type AuthUserKeys = keyof AuthUser;

export const RequireLogin = () => UseGuards(AuthGuard('jwt'));

export const UserInfo = createParamDecorator(
  (data: AuthUserKeys, ctx: ExecutionContext) => {
    const request = ctx.switchToHttp().getRequest<Request>();

    if (!request.user) {
      return null;
    }
    return data ? request.user[data] : request.user;
  },
);
在auth/src/index.ts中 批量导出auth.decorator
export * from './auth.module';
export * from './auth.service';
export * from './auth.decorator';
使用
  @RequireLogin()
  @Post('test')
  async test(@UserInfo() user: AuthUser) {
    return user;
  }
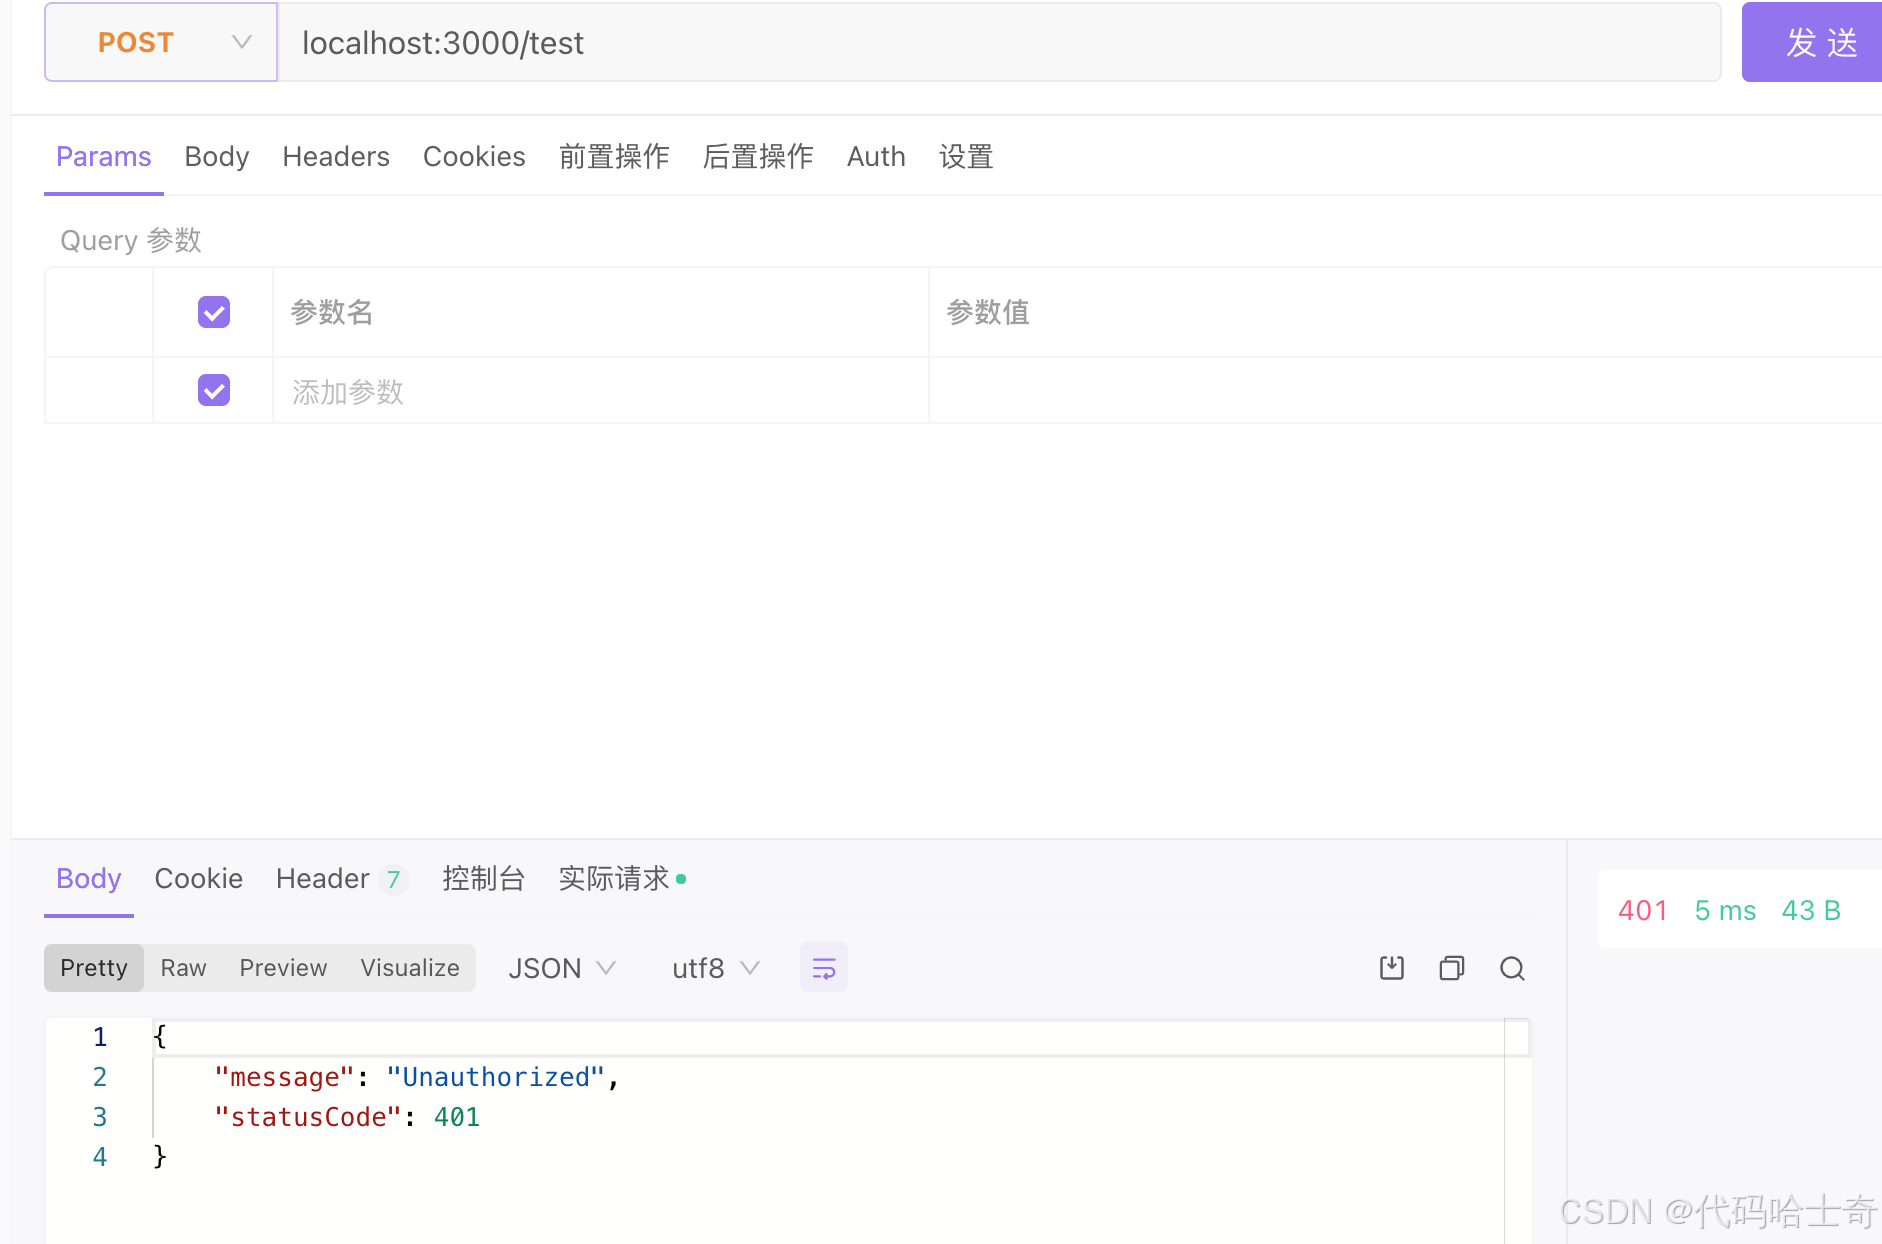
我们在apifox中做个尝试。
不携带token 告诉你没权限。
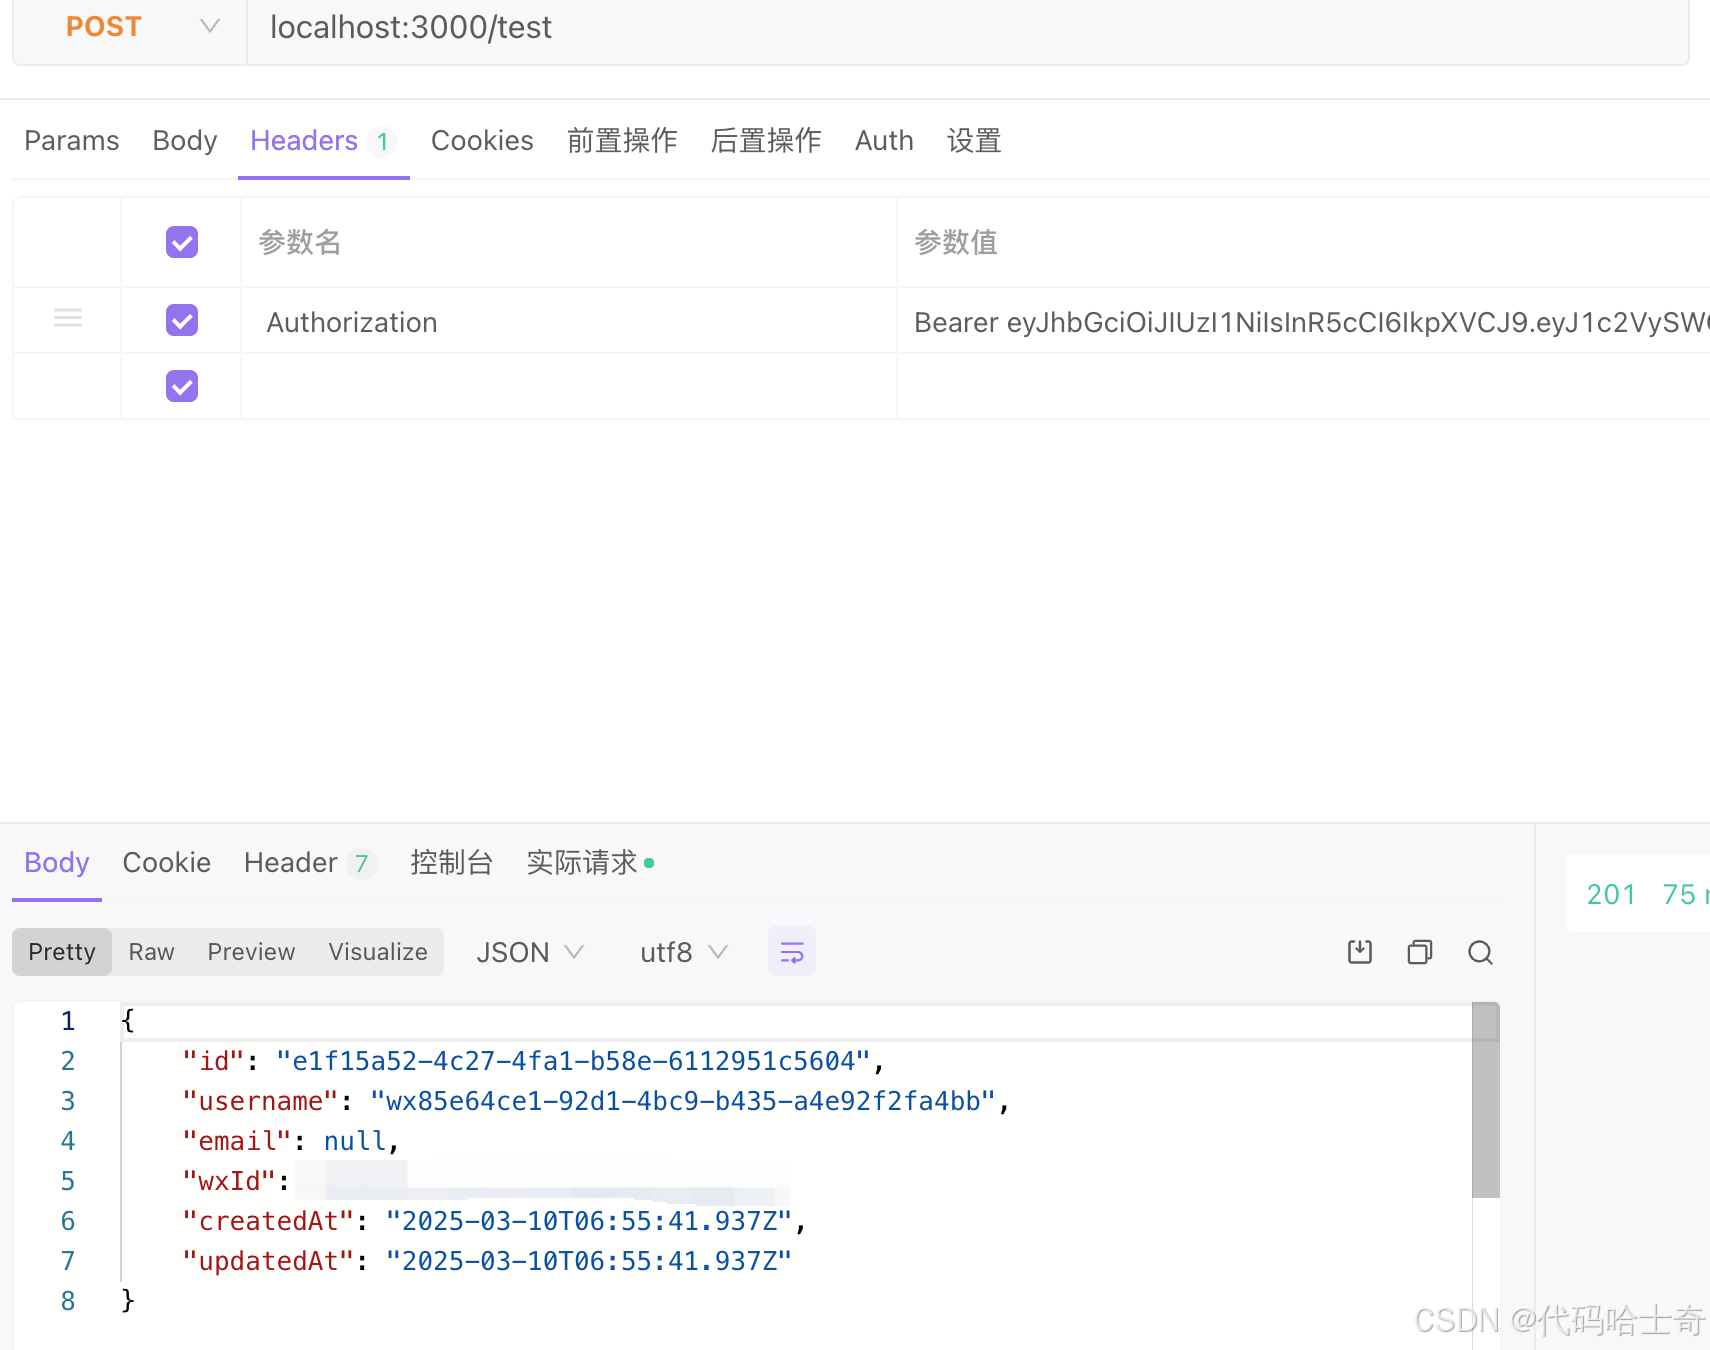
带了token正常了。
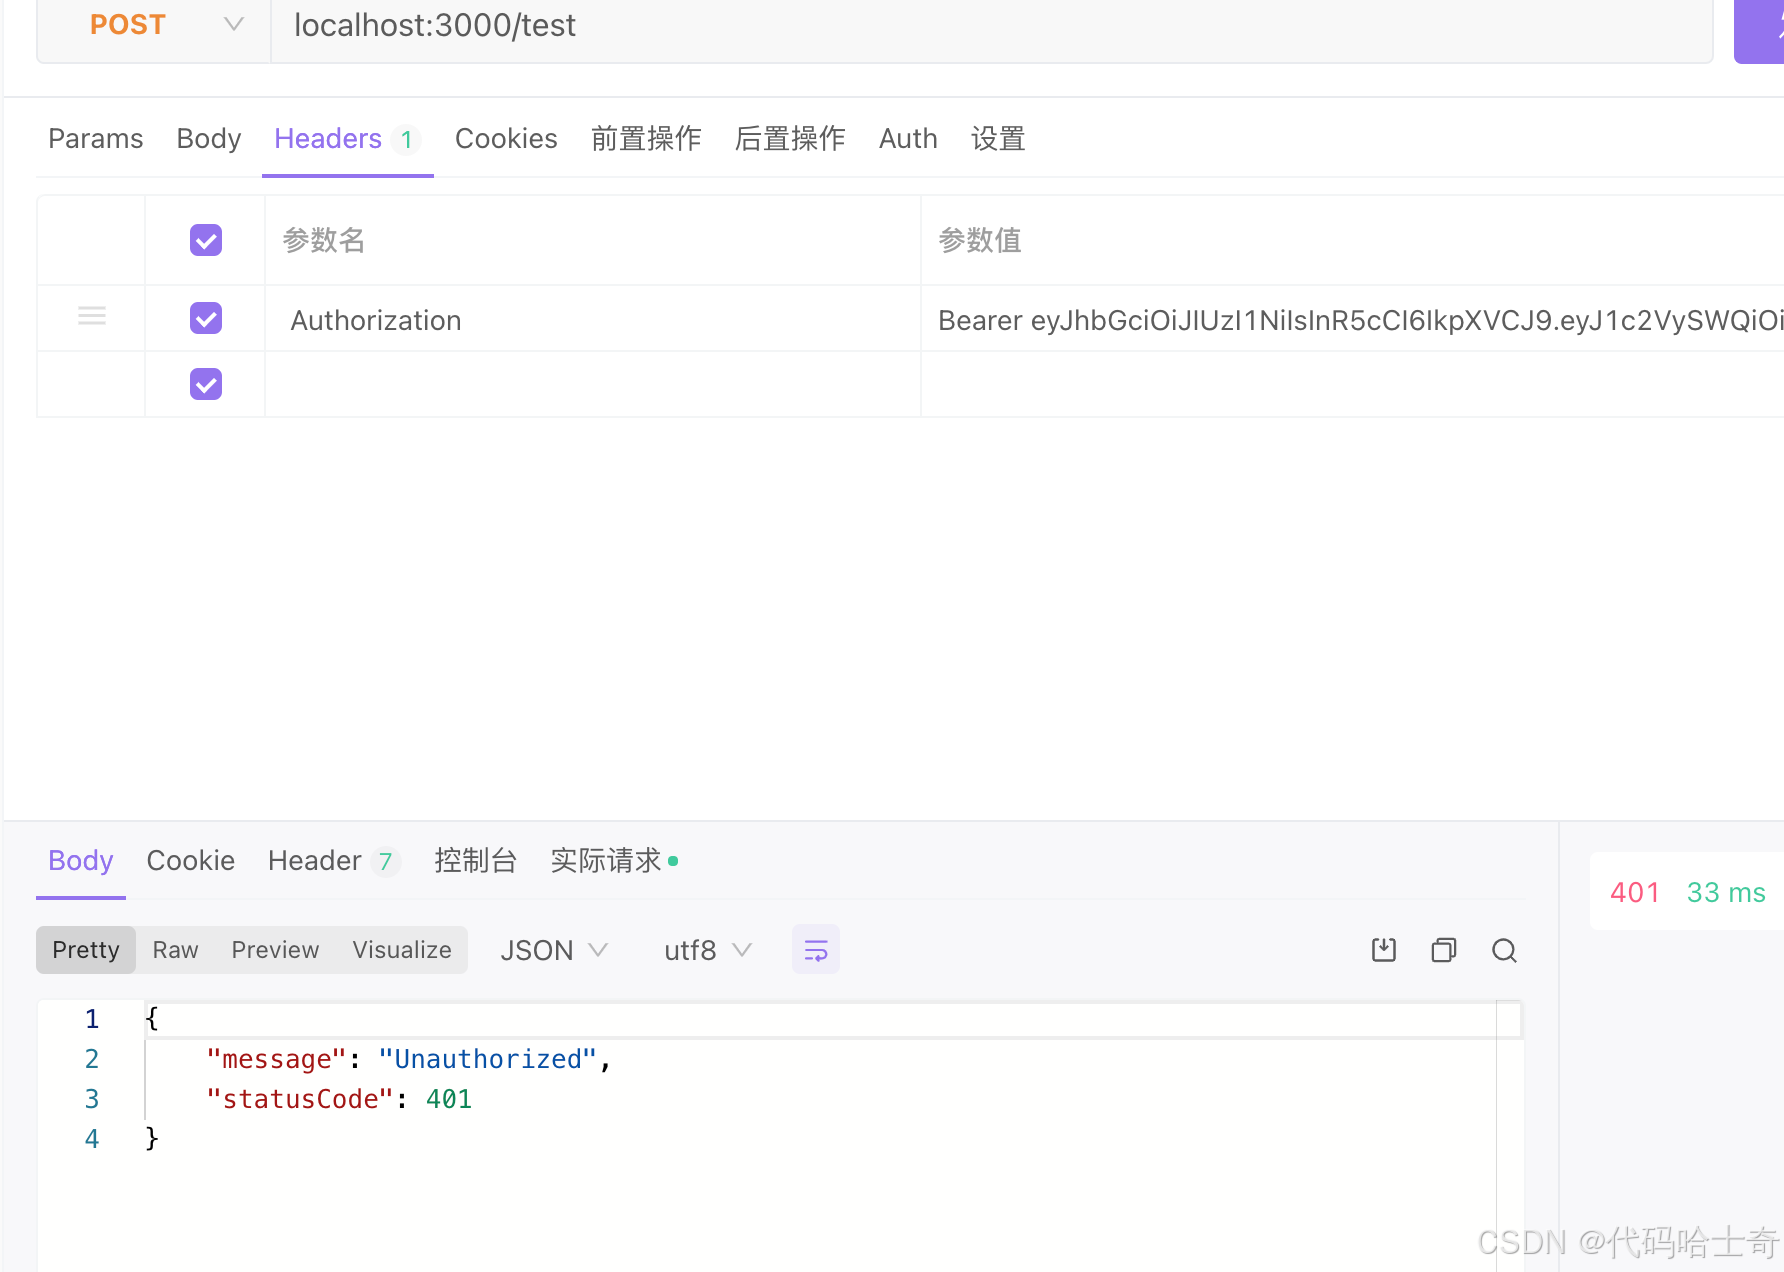
在redis中删除刚刚的token 或者再进行一次登录 覆盖之前的token 注销功能只要把redis中的token去掉即可。xxx 这种是为了区分token的类型或者你有多个应用,公用一套扫码。


 2万+
2万+

 被折叠的 条评论
为什么被折叠?
被折叠的 条评论
为什么被折叠?
 到【灌水乐园】发言


