用python做一个10分钟倒计时QT界面

14 篇文章 0 订阅

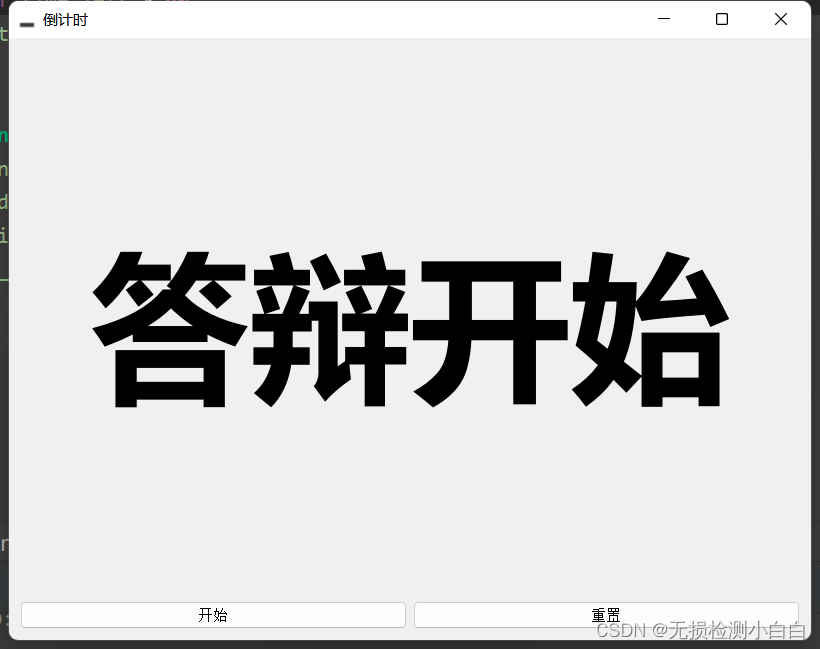
    用python做一个10分钟倒计时QT界面,倒计时开始要显示2秒钟‘答辩开始’,剩余俩分钟的时候屏幕变成黄色,最后十秒钟变成红色,计时结束后要显示‘答辩结束’,QT窗口要能自适应屏幕大小。

import sys
from PyQt5.QtWidgets import QApplication, QWidget, QVBoxLayout, QHBoxLayout, QLabel, QPushButton, QDesktopWidget
from PyQt5.QtGui import QFont
from PyQt5.QtCore import QTimer, Qt


class Countdown(QWidget):

    def __init__(self):
        super().__init__()

        self.setWindowTitle('倒计时')
        self.setWindowIcon(self.style().standardIcon(1))
        self.resize(self.width(), self.height())  # 默认大小
        # 窗口居中显示
        screen = QDesktopWidget().screenGeometry()
        size = self.geometry()
        self.move((screen.width() - size.width()) / 2, (screen.height() - size.height()) / 2)

        # 垂直布局
        layout = QVBoxLayout()

        # 显示文字标签
        self.label = QLabel('答辩开始', self)
        font_size = screen.width() // 20  # 字体大小设置为相对于屏幕宽度的比例
        font = QFont('Microsoft YaHei', font_size, QFont.Bold)
        self.label.setFont(font)
        self.label.setAlignment(Qt.AlignCenter)  # 居中对齐
        layout.addWidget(self.label)

        # 水平布局
        h_layout = QHBoxLayout()

        # 开始按钮
        self.start_button = QPushButton('开始', self)
        self.start_button.clicked.connect(self.start_timer)
        h_layout.addWidget(self.start_button)

        # 重置按钮
        self.reset_button = QPushButton('重置', self)
        self.reset_button.clicked.connect(self.reset_timer)
        h_layout.addWidget(self.reset_button)

        layout.addLayout(h_layout)

        self.setLayout(layout)

        # 倒计时时间(秒)
        self.time_total = 10 * 60
        self.time_left = self.time_total

        # 倒计时器
        self.timer = QTimer()
        self.timer.setInterval(1000)
        self.timer.timeout.connect(self.update_timer)

    def start_timer(self):
        self.start_button.setEnabled(False)
        self.label.setText('答辩开始')
        self.time_left = self.time_total + 5  # 显示5秒钟“答辩开始”
        self.timer.start()

    def reset_timer(self):
        self.start_button.setEnabled(True)
        self.label.setText('答辩开始')
        self.time_left = self.time_total
        self.timer.stop()

    def update_timer(self):
        self.time_left -= 1

        if self.time_left == 2 * 60 :  # 剩余2分钟时,标签背景变为黄色
            self.label.setStyleSheet('background-color: yellow')
       

        if self.time_left == 10:  # 剩余10秒钟时,标签背景变为红色
            self.label.setStyleSheet('background-color: red')

        if self.time_left <= 0:  # 倒计时结束,显示“答辩结束”
            self.label.setStyleSheet('')
            self.label.setText('答辩结束')
            self.timer.stop()
            self.start_button.setEnabled(True)

        # 获取屏幕的宽度
        screen_width = QDesktopWidget().screenGeometry().width()

        # 动态调整字体大小
        font_size = screen_width // 10
        font = QFont('Microsoft YaHei', font_size, QFont.Bold)
        self.label.setFont(font)

        # 更新时间标签
        minutes = self.time_left // 60
        seconds = self.time_left % 60
        self.label.setText(f'{minutes:02d}:{seconds:02d}')


if __name__ == '__main__':
    app = QApplication(sys.argv)
    countdown = Countdown()
    countdown.showMaximized()  # 全屏显示
    sys.exit(app.exec_())

  • 0
    点赞
  • 5
    收藏
    觉得还不错? 一键收藏
  • 0
    评论
好的,您需要安装以下库: - OpenCV:用于图像处理和人脸识别 - PyQt5:用于创建GUI界面 以下是一份基于 PyQt5 和 OpenCV 的实时人脸识别代码,您可以根据您的需要进行修改: ```python import cv2 from PyQt5.QtGui import QImage, QPixmap from PyQt5.QtWidgets import QApplication, QMainWindow, QLabel from PyQt5.QtCore import Qt, QTimer class MainWindow(QMainWindow): def __init__(self): super().__init__() self.setWindowTitle("实时人脸识别") self.setGeometry(100, 100, 640, 480) # 创建一个标签用于显示摄像头捕捉到的图像 self.image_label = QLabel(self) self.image_label.setAlignment(Qt.AlignCenter) self.setCentralWidget(self.image_label) # 创建一个计时器,每隔一定时间更新一次图像 self.timer = QTimer() self.timer.timeout.connect(self.update_frame) self.timer.start(30) # 创建一个 OpenCV 的人脸识别器 self.face_cascade = cv2.CascadeClassifier(cv2.data.haarcascades + "haarcascade_frontalface_default.xml") # 创建一个摄像头捕捉器 self.capture = cv2.VideoCapture(0) def update_frame(self): ret, frame = self.capture.read() if not ret: return # 将 OpenCV 的图像转换为 PyQt5 的图像 rgb_image = cv2.cvtColor(frame, cv2.COLOR_BGR2RGB) h, w, ch = rgb_image.shape bytes_per_line = ch * w qt_image = QImage(rgb_image.data, w, h, bytes_per_line, QImage.Format_RGB888) # 在图像上进行人脸识别 gray_image = cv2.cvtColor(frame, cv2.COLOR_BGR2GRAY) faces = self.face_cascade.detectMultiScale(gray_image, scaleFactor=1.2, minNeighbors=5) # 在图像上标记人脸 for (x, y, w, h) in faces: cv2.rectangle(frame, (x, y), (x+w, y+h), (0, 0, 255), 2) # 将带有人脸标记的图像转换为 PyQt5 的图像 rgb_image_with_faces = cv2.cvtColor(frame, cv2.COLOR_BGR2RGB) h, w, ch = rgb_image_with_faces.shape bytes_per_line = ch * w qt_image_with_faces = QImage(rgb_image_with_faces.data, w, h, bytes_per_line, QImage.Format_RGB888) # 在 GUI 界面上显示图像 self.image_label.setPixmap(QPixmap.fromImage(qt_image_with_faces)) if __name__ == "__main__": app = QApplication([]) window = MainWindow() window.show() app.exec_() ``` 运行代码后,将会打开一个 GUI 窗口,其中包含一个摄像头捕捉到的图像和一个人脸识别后带有标记的图像。

“相关推荐”对你有帮助么?

  • 非常没帮助
  • 没帮助
  • 一般
  • 有帮助
  • 非常有帮助
提交
评论
添加红包

请填写红包祝福语或标题

红包个数最小为10个

红包金额最低5元

当前余额3.43前往充值 >
需支付:10.00
成就一亿技术人!
领取后你会自动成为博主和红包主的粉丝 规则
hope_wisdom
发出的红包
实付
使用余额支付
点击重新获取
扫码支付
钱包余额 0

抵扣说明:

1.余额是钱包充值的虚拟货币,按照1:1的比例进行支付金额的抵扣。
2.余额无法直接购买下载,可以购买VIP、付费专栏及课程。

余额充值