


在浏览各大网购网站时(淘宝、京东等),图片放大效果是常见的一个功能。

实现思路
- 鼠标移入小图片时,放大的图片区域会显示出来,同时小图片上有一个提示被放大的区域;
- 当移出小图片时,放大的图片隐藏,提示区域也被隐藏;
- 在移动过程中提示框也会跟着鼠标进行移动。
相关技术
- 鼠标事件;
- 背景图片样式;
- 元素的尺寸属性和数学计算;
HTML 骨架
<div id="main">
<div class="wrapper">
<!-- 小图和提示被放大的区域 -->
<div class="area"></div>
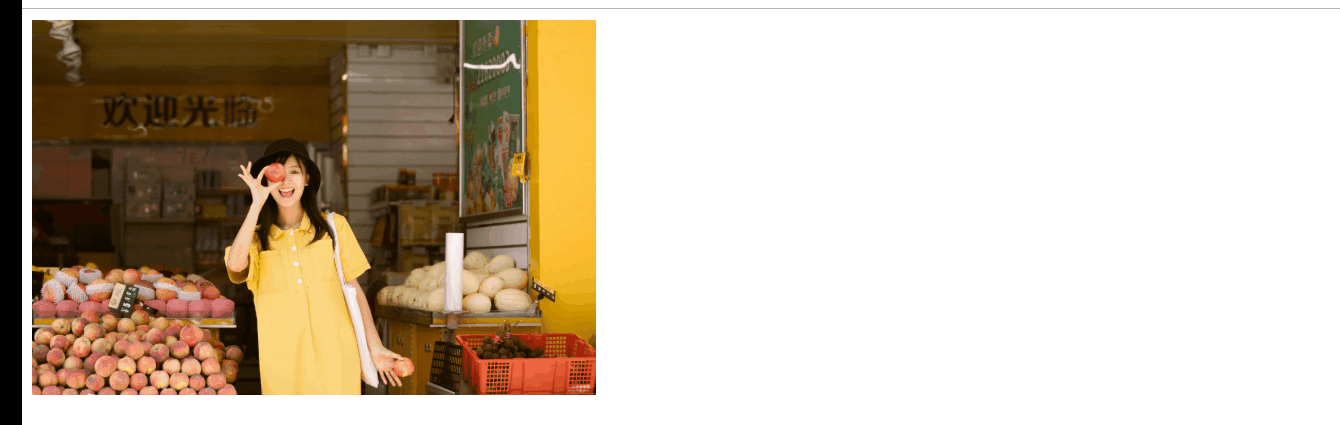
<img src='./01.jpg' />
</div>
<!-- 大图展示区域 -->
<!-- 使用背景图片来展示,而不是 img 标签 -->
<div class="showBox"></div>
</div>
CSS 样式
#main{
    display: flex;
    flex-direction: row;
    height: 300px;
    align-items: center;
}
#main .wrapper img{
    height: 300px;
    /* 不设置宽度了,让宽度自适应 */
}
div.wrapper{
    position: relative;
    height: 300px;
    cursor: move;
}
div.area{
    /* 这里使用定位,让滑块能运动 */
    position: absolute;
    display: none;
    background-color: rgba(255, 255, 255, 0.3);
}
div.showBox{
    /* 让放大图片的元素宽高与小图片宽高一样 */
    height: 300px;
    margin-left: 20px;
    display: none;
    background-repeat: no-repeat;
}
上面代码中,图片没有设置高度,我们在JavaScript中用 img.offsetWidth 来获取。获取之后设置 wrapper 的宽度与 img 的宽度相同。
JavaScript 的编写
首先先捋一下思路。
因为要动态获取图片宽度,然后初始化一些样式。
window.onload = function(){
    const img = document.querySelector('img');
    const wrapper = document.querySelector('.wrapper');

    const slide = document.querySelector('.area');
    const bigView = document.querySelector('.showBox');

    const img_src = img.getAttribute('src');
    const img_W = img.offsetWidth;
    const img_H = img.offsetHeight;

    wrapper.style.width = img_W + 'px';
    bigView.style.width = img_W + 'px';
    // 设置 bigView 的图片路径
    bigView.style.backgroundImage = `url(${img_src})`;
}
关于图片放大几倍,写一个 init 方法,这个方法传入一个参数,这个参数是个数字类型的参数,表示图片的放大倍数。
function init(n){
    // ....
}
这样就可以动态设置滑块的大小,以及放到图片的大小。
function init(n){
    // 缩小几倍,slide 的宽高相应的也要缩小几倍
    slide.style.width = img_W / n + 'px';
    slide.style.height = img_H / n + 'px';
    // 放大 n 倍,图的宽高要乘以 n
    bigView.style.backgroundSize = `${img_W * n}px ${img_H * n}px`;
}
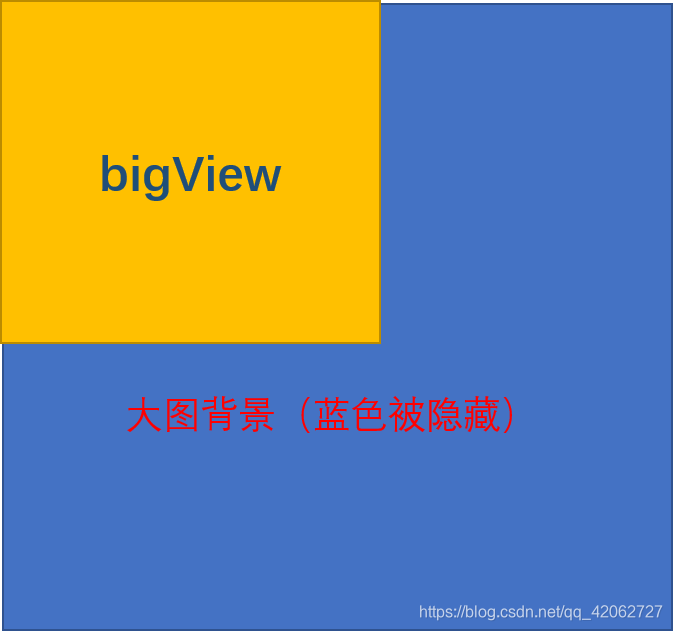
bigView 的样式相当于这样的:
下面就是鼠标在 wrapper 上移动时,滑块跟着移动,然后大图的背景区域也做变化。
wrapper.onmousemove = function (e) {
    // 移入后,滑块和大图都展示出来
    bigView.style.display = 'block';
    slide.style.display = 'block';

    // 注意这里,这里是让鼠标坐标减去滑块大小的一半
    // 这样做可以让鼠标的位置在滑块的中心处
    var leftX = e.clientX - slide.offsetWidth / 2,
        topY = e.clientY - slide.offsetHeight / 2;

    // 下面的判断是为了让鼠标移动时滑块更够在指定的区域显示
    if (leftX < 0) {
        leftX = 0;
    } else if (leftX > (img_W - slide.offsetWidth)) {
        // 这里是不让滑块宽度超过展示区域
        leftX = img_W - slide.offsetWidth;
    }

    if (topY < 0) {
        topY = 0;
    } else if (topY > (img_H - slide.offsetHeight)) {
        // 这里是不让滑块高度超过展示区域
        topY = img_H - slide.offsetHeight;
    }

    // 然后让优化后的值赋给滑块的 left 和 top
    slide.style.left = leftX + 'px';
    slide.style.top = topY + 'px';

    // 这里变换图片的位置,展示应该被展示的区域
    bigView.style.backgroundPosition = `${leftX * (-n)}px ${topY * (-n)}px`;
}
通过判断,可以让滑块滑动的区域限制在 wrapper 区域中,而且鼠标基本都在滑块的中心位置。
最后移出鼠标,滑块和大图消失。
wrapper.onmouseout = function () {
    bigView.style.display = 'none';
    slide.style.display = 'none';
}
最终效果图


 被折叠的 条评论
为什么被折叠?
被折叠的 条评论
为什么被折叠?
 到【灌水乐园】发言


