


Xml方式声明Bean的铺垫工作
首先创建负责管控的Bean
这里创建Cat和Pig的java类
package com.springbean.bean;

public class Pig {
}
创建BookService的接口
package com.springbean.bean.service;
public interface BookSerivce {
    void check();
}
为接口创建相对应的实现类,在业务层内容Service 写4个接口的实现类
public class BookServicelmpl1 implements BookSerivce {
    @Override
    public void check(){
        System.out.println("book service 1..");
    }
}
创建一个Main方法运行
创建要给上下文对象来加载xml对象
通过getBean获得这个对象
public class App1 {
    public static void main(String[] args) {
//        初始化上下文对象
        ApplicationContext ctx= new ClassPathXmlApplicationContext("applicationContext1.xml");
        String[] names=ctx.getBeanDefinitionNames();
        for (String name:names){
            System.out.println(name);
        }
声明自定义bean
构造xml的spring配置文件。
在xml中定义自己开发的Bean。
通过标签定义Bean的属性。
<?xml version="1.0" encoding="UTF-8"?>
<beans xmlns="http://www.springframework.org/schema/beans"
       xmlns:xsi="http://www.w3.org/2001/XMLSchema-instance"
       xsi:schemaLocation="http://www.springframework.org/schema/beans http://www.springframework.org/schema/beans/spring-beans.xsd">
<!--    xml方式声明自己开发的bean-->
    <bean id="cat" class="com.springbean.bean.Cat"></bean>
    <bean class="com.springbean.bean.Dog"></bean>
    <bean class="com.springbean.bean.Dog"></bean>
</beans>
声明第三方开发bean
<?xml version="1.0" encoding="UTF-8"?>
<beans xmlns="http://www.springframework.org/schema/beans"
       xmlns:xsi="http://www.w3.org/2001/XMLSchema-instance"
       xsi:schemaLocation="http://www.springframework.org/schema/beans http://www.springframework.org/schema/beans/spring-beans.xsd">
<!--    xml方式声明第三方开发的bean-->
    <bean id="dataSource" class="com.alibaba.druid.pool.DruidDataSource"></bean>
</beans>
XML+注解的方式声明Bean
首先在XML中配置component,service的扫描路径,在XML中定义扫描自定义类的路径“com.springbean.bean”以及第三方路径 “com.springbean.bean.config”。
<?xml version="1.0" encoding="UTF-8"?>
<beans xmlns="http://www.springframework.org/schema/beans"
       xmlns:context="http://www.springframework.org/schema/context"
       xmlns:xsi="http://www.w3.org/2001/XMLSchema-instance"
       xsi:schemaLocation="
       http://www.springframework.org/schema/beans
       http://www.springframework.org/schema/beans/spring-beans.xsd
       http://www.springframework.org/schema/context
       http://www.springframework.org/schema/context/spring-context.xsd
">
<!--指定加载bean的位置,component-->
    <context:component-scan base-package="com.springbean.bean,com.springbean.bean.config"></context:component-scan>
</beans>
然后在管控类上加上@component和@service实现对自定义的类文件的Bean申明。
package com.springbean.bean;
import org.springframework.stereotype.Service;
@Service("jerry")
public class Mouse {
}
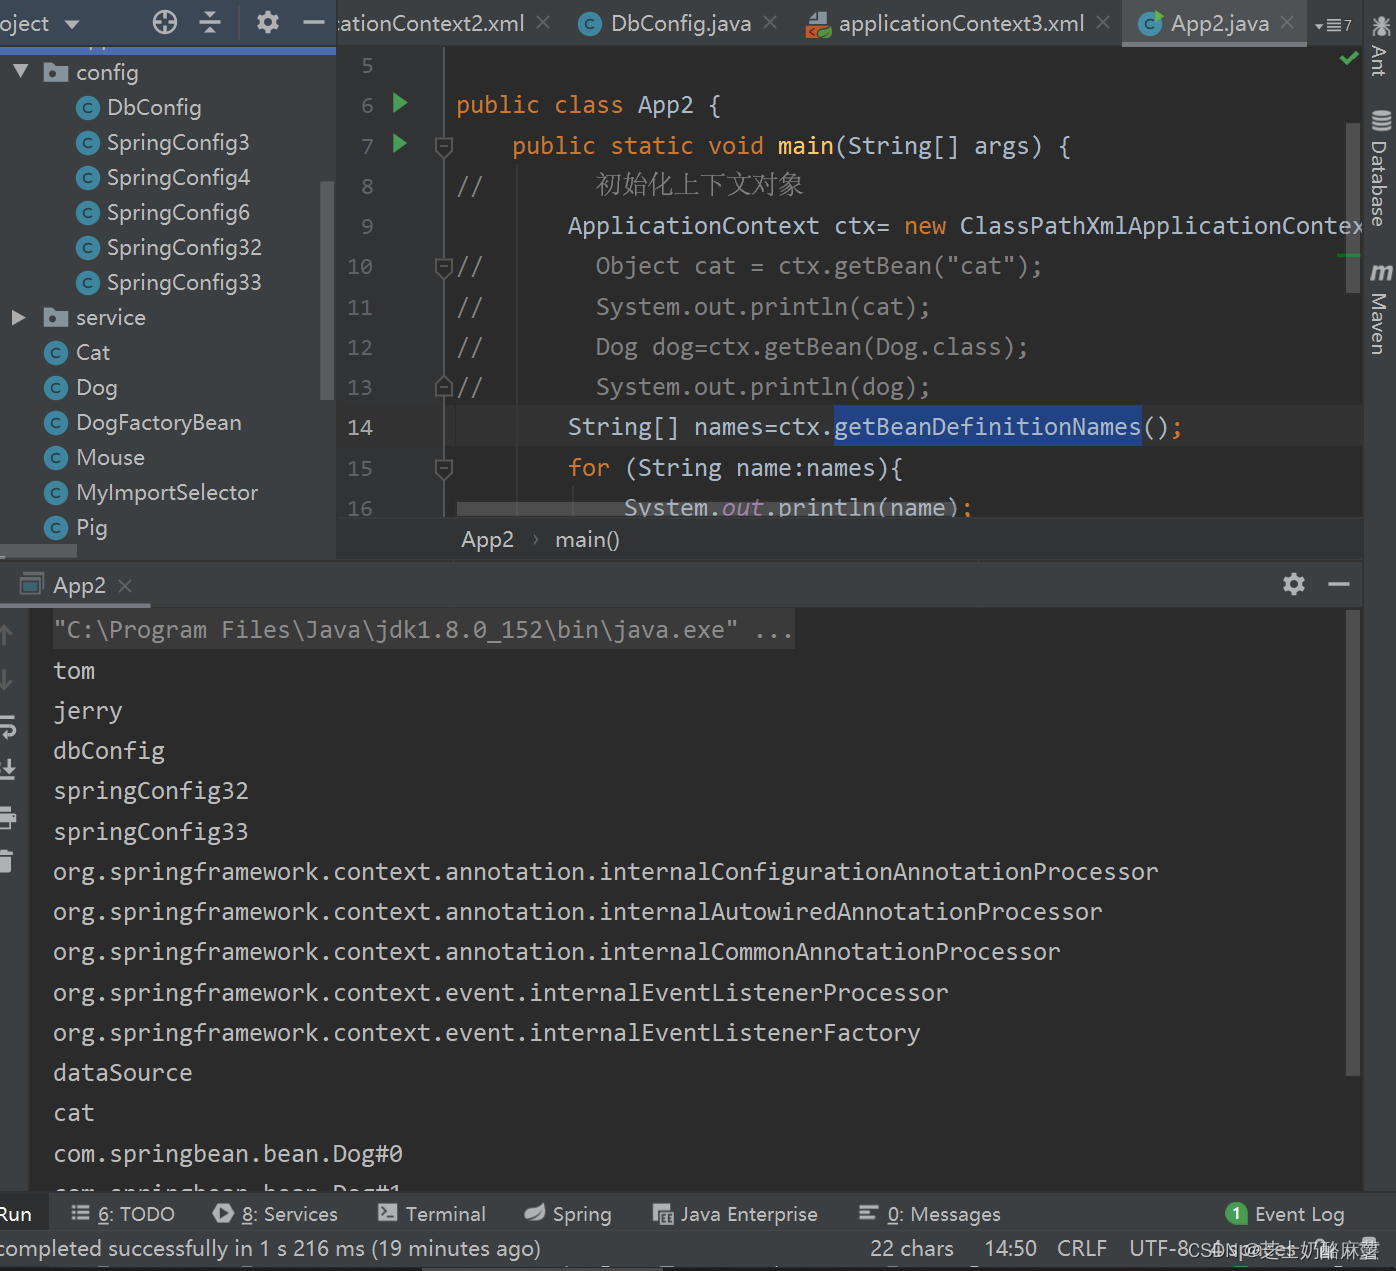
对于加载第三方的类方法,采用新建一个Dbconfig的java类,通过加载@Configuration使得成为Spring的组件,并在App的主程序中getBeanDefinitionNames打印出来。
package com.springbean.bean.config;
import com.alibaba.druid.pool.DruidDataSource;
import org.springframework.context.annotation.Bean;
import org.springframework.context.annotation.Configuration;
import org.springframework.stereotype.Component;
//@Component
@Configuration
public class DbConfig {
    @Bean
    public DruidDataSource dataSource(){
        DruidDataSource ds = new DruidDataSource();
        return ds;
    }
}
打印结果如图所示


 790
790


 被折叠的 条评论
为什么被折叠?
被折叠的 条评论
为什么被折叠?
 到【灌水乐园】发言


