


难点在于上传后回显图片:
1、使用commons-fileupload组件来完成文件上传,依赖如下:
<dependency>
  <groupId>commons-fileupload</groupId>
  <artifactId>commons-fileupload</artifactId>
  <version>1.3.1</version>
</dependency>
<dependency>
  <groupId>commons-io</groupId>
  <artifactId>commons-io</artifactId>
  <version>2.4</version>
</dependency>
2、在springMVC配置文件里配置一个multipartResolver,注意id只能是multipartResolver,里面可配置参数
<bean id="multipartResolver" class="org.springframework.web.multipart.commons.CommonsMultipartResolver">
    <property name="maxUploadSize" value="10485760"/>
</bean>
3、完成controller的层的代码编写,这里提供几个方法,可根据所需自己选择
@Controller
@RequestMapping("/file")
public class FileuploadController {
@Autowired
private ImageService imageService;
@RequestMapping("upload1")
public String fileUpload(HttpServletRequest request, MultipartFile upload) throws Exception {
System.out.println("mvc 文件上传。。。。");
//确定上传的路径
String path = request.getSession().getServletContext().getRealPath("/uploads/");
System.out.println(path + " 文件存储位置 ");
File file = new File(path);
//判断文件是否存在
if(!file.exists()){
file.mkdirs();
}
String filename = upload.getOriginalFilename();
String uuid = UUID.randomUUID().toString().replace("-", "");
filename = uuid+ "_" + filename;
upload.transferTo(new File(path,filename));
return "success";
}
/** @param webPath 要上传的文件路径,webapp下
* @param file 要上传的文件
* @param session
* @return
*/
private String uploadFile(String webPath, MultipartFile file, HttpSession session){
ServletContext servletContext = session.getServletContext();
String realPath = servletContext.getRealPath(webPath);
System.out.println("文件存放的位置: " + realPath);
String fileName = UUID.randomUUID().toString().replace("-","")+"_"+file.getOriginalFilename();
try{
File file1 = new File(realPath);
if(!file1.exists()){
// 目录不存在则创建目录
file1.mkdirs();
}
file.transferTo(new File(realPath+"/"+fileName));
//返回图片在服务器下的路径
return webPath + "/" + fileName;
}catch (Exception e){
e.printStackTrace();
return null;
}
}
/**
* 多个input标签,上传多个文件
* @param file
* @param session
* @return
*/
@RequestMapping("/uploadMultipalOneByOne")
public ModelAndView uploadMultipal(@RequestParam("file") MultipartFile[] file, HttpSession session){
for (int i = 0; i < file.length; i++){
MultipartFile multipartFile = file[i];
String uploadFilePath = uploadFile("/upload",multipartFile,session);
}
ModelAndView mv = new ModelAndView();
mv.setViewName("success");
return mv;
}
/**
* 一个输入框上传多个文件
* @param files
* @param request
* @return
* @throws Exception
*/
@RequestMapping("/uploadMultipal")
public ModelAndView uploadMultipal(@RequestParam("file") MultipartFile[] files, HttpServletRequest request) throws Exception {
ModelAndView mv = new ModelAndView();
ServletContext servletContext = request.getSession().getServletContext();
String realPath = servletContext.getRealPath("/uploadMultipal/");
System.out.println("文件存放的位置: " + realPath);
File file1 = new File(realPath);
if (!file1.exists()){
file1.mkdirs();
}
for(MultipartFile file : files){
System.out.println("现在存储 " + file.getOriginalFilename());
String filename = UUID.randomUUID().toString().replace("-","").toUpperCase() + "_" + file.getOriginalFilename();
file.transferTo(new File(realPath + filename));
imageService.saveImage(filename);
}
mv.setViewName("success");
return mv;
}
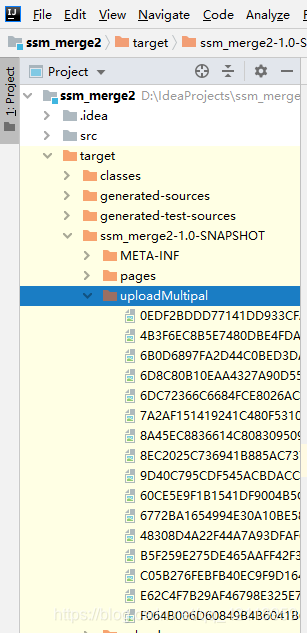
}在上传文件的同时,将文件名存储到了mysql数据库中,在后续的可以动态的调出图片
4、接下来就是如何调用出来已经存储到项目路径里的图片
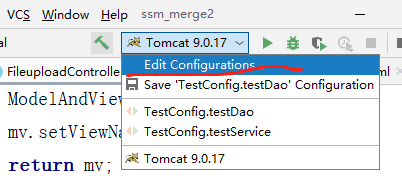
要配置虚拟目录才可以访问到上传的资源
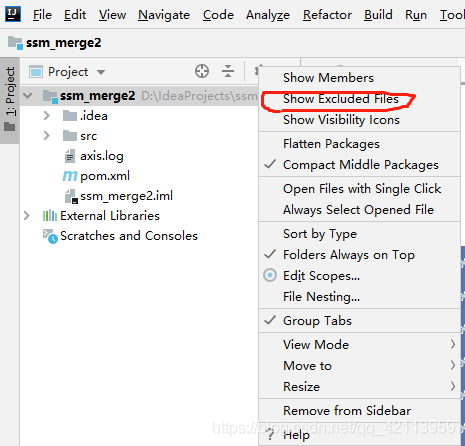
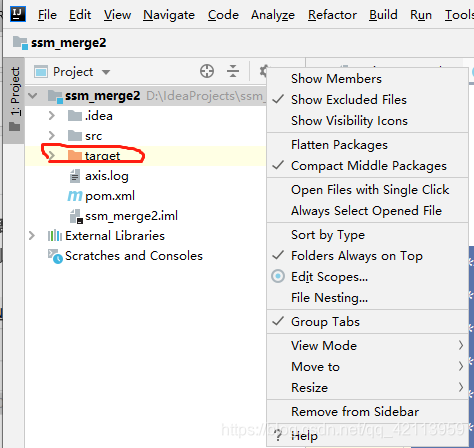
这样就可以看到自己上传的文件
接下来配置虚拟目录,用于访问这些图片
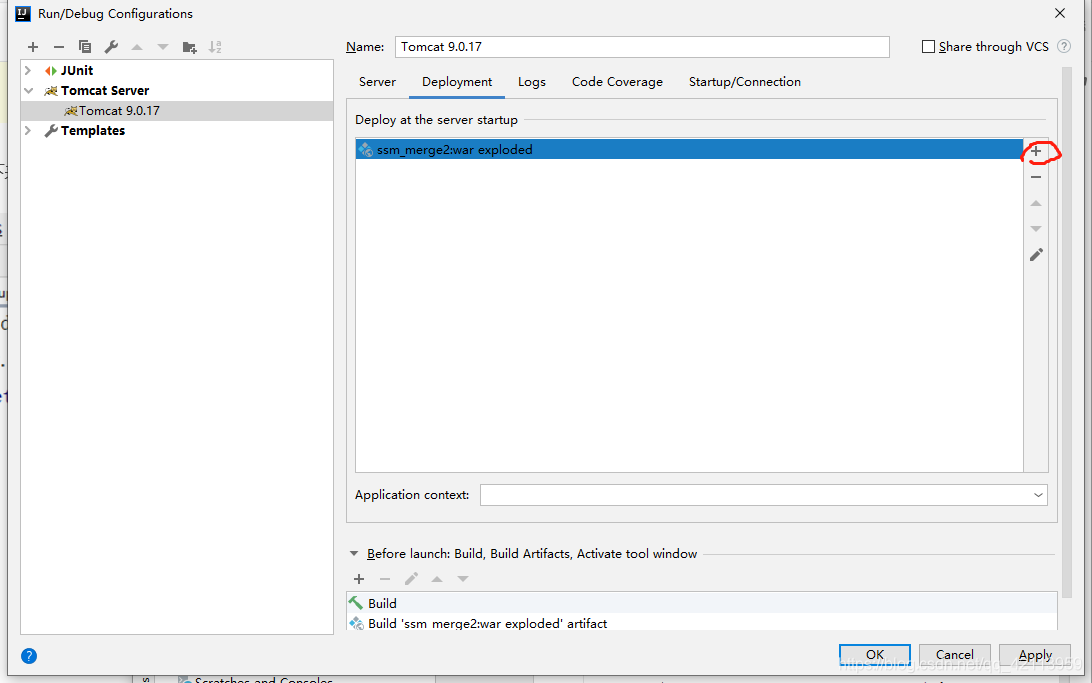
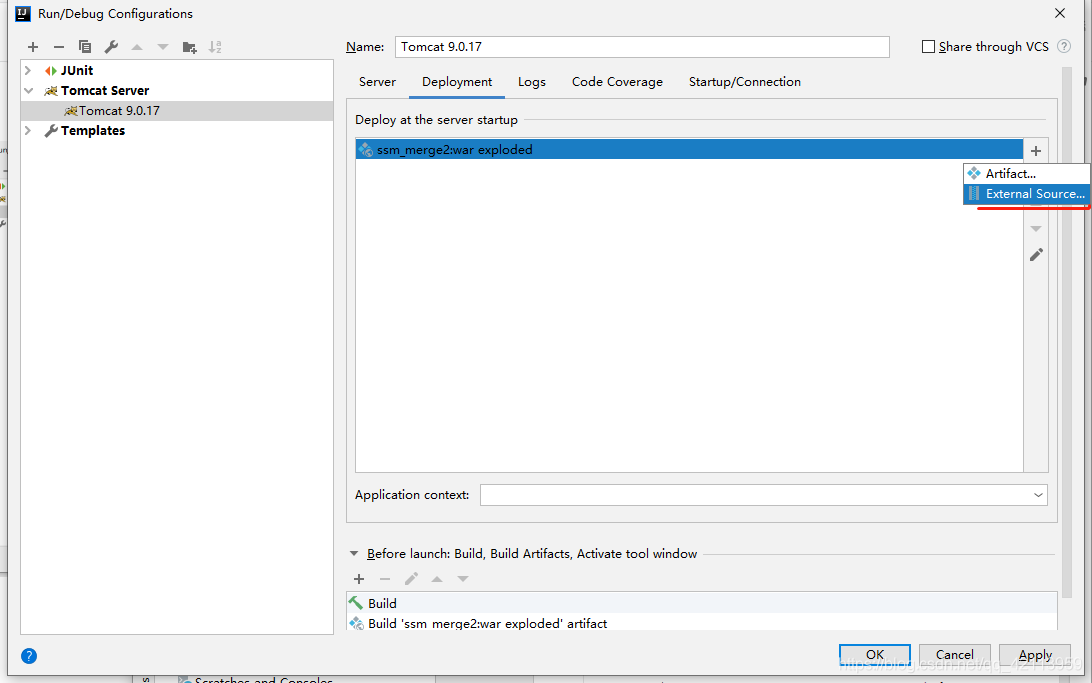
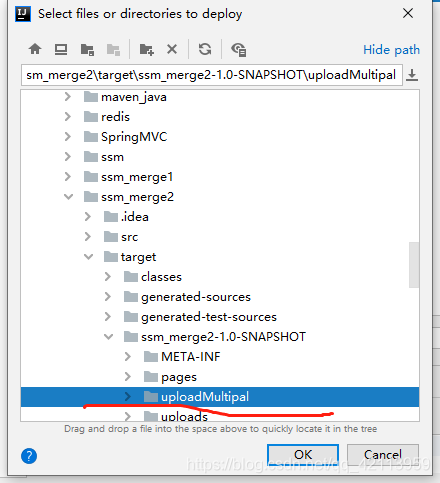
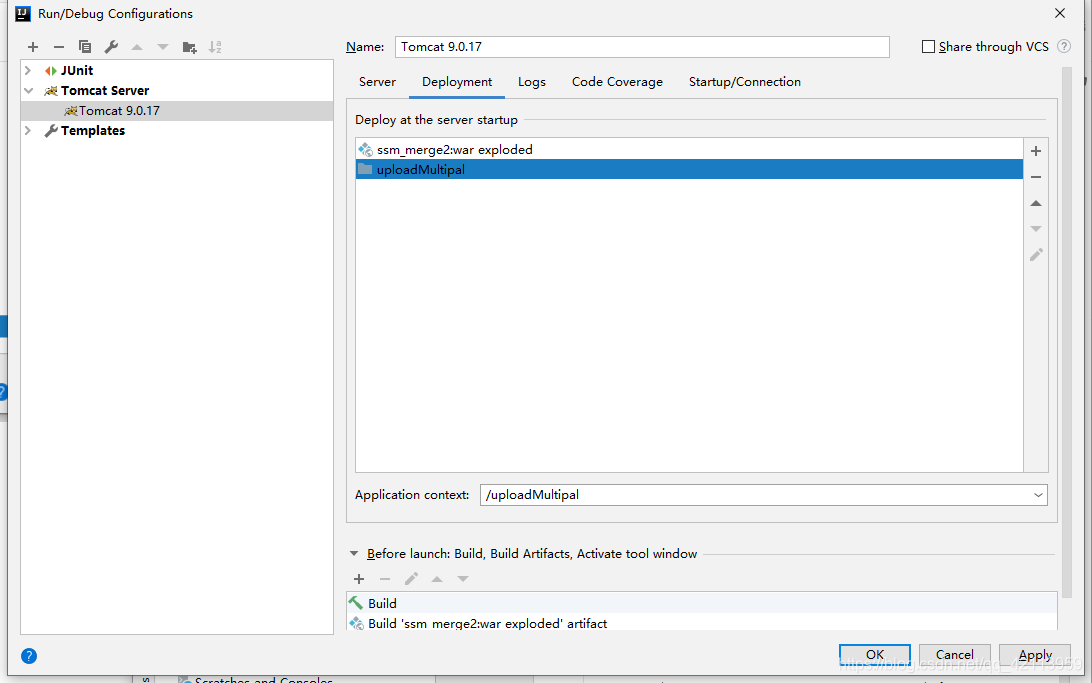
至此就可以访问uploadMultipal文件夹下的图片了,在html页面里<img src="http://localhost:8080/uploadMultipal/文件名">就可以访问图片资源了。例:
<img src="http://localhost:8080/uploadMultipal/60CE5E9F1B1541DF9004B5C399E779A4_20200504210028.jpg" >这样就可以访问上传的图片了


 3150
3150


 被折叠的 条评论
为什么被折叠?
被折叠的 条评论
为什么被折叠?
 到【灌水乐园】发言


