


springboot中俩种占位符:
在 SpringBoot 项目中,我们经常会使用两种占位符(有时候还会混用):
@*@
${*}
首先要说明两种场景:
1.使用 @Value 注解注入属性时,只能使用 ${*} 占位符解析。
2.处理资源文件中的属性时,这两种占位符就有点意思了:它们既有可能都有效,还有可能都不生效,甚至你可以扩展自己的占位符!当然这一切都要看你是怎么配置的。
第一种场景,@Value 注解的处理属于 Spring 核心框架逻辑,可以参见 PropertySourcesPlaceholderConfigurer 这个类,最终会执行 ${*} 占位符的解析。其中的冒号后面可以写默认值。
对于 SpringBoot 使用的 maven-resources-plugin 3.2.0 来说:
1.默认占位符有两种,分别是 ${*} 和 @*@
2.配置项 <useDefaultDelimiters>,可以控制是否使用默认占位符。如果为 true,则 ${*} 和 @*@ 这两种占位符始终有效,可以同时使用
3.配置项 <delimiter>,既可以写默认占位符,也可以自定义占位符。如果项目直接或间接引入 spring-boot-starter-parent 作为 <parent>,且没有手动配置 maven-resources-plugin 插件。则只能使用 @*@ 这一种占位符,这是在 spring-boot-starter-parent 指定的,如下pom.xml所示:
             <plugin>
                <groupId>org.apache.maven.plugins</groupId>
                <artifactId>maven-resources-plugin</artifactId>
                <configuration>
                    <delimiters>
                        <delimiter>@</delimiter>
                    </delimiters>
                    <useDefaultDelimiters>false</useDefaultDelimiters>
                </configuration>
            </plugin>
<resources>
    <resource>
        <directory>src/main/resources</directory>
        <!--开启过滤,用指定的properties参数替换directory下的文件中的参数-->
        <filtering>true</filtering>
    </resource>
</resources>
配置动态调整active参数:
1.bootstrap.yml中:
spring:
  profiles:
    active: @spring.profiles.active@ #占位符 替换
2.pom.xml中配置:
    <build>
            <resources>
                <resource>
                    <directory>src/main/resources</directory>
                    <!--开启过滤,用指定的参数替换directory下的文件中的参数-->
                    <filtering>true</filtering>
                </resource>
            </resources>
    </build>

    <profiles>
        <profile>
            <id>dev</id>
            <properties>
                <spring.profiles.active>dev</spring.profiles.active>
            </properties>
            <activation>
                <activeByDefault>true</activeByDefault>
            </activation>
        </profile>
        <profile>
            <id>prod</id>
            <properties>
                <spring.profiles.active>prod</spring.profiles.active>
            </properties>
        </profile>
    </profiles>
3.打包时选择profile(运行时也一样):
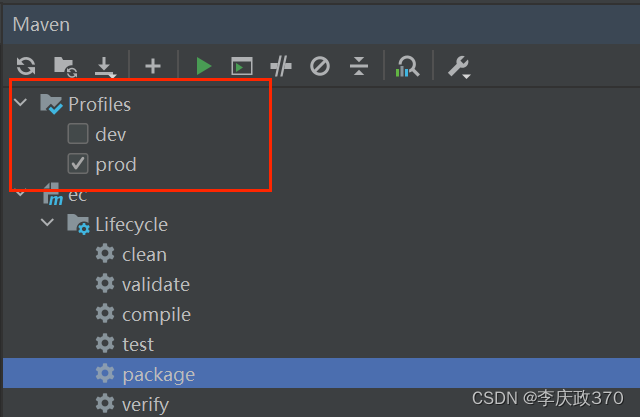
等价于:mvn package -Pprod
-P代表(Profiles配置文件) 触发在<profiles>中<id>为prod的配置文件
mvn help:active-profiles //查看现在激活的环境
maven 的 properties参数加载替换顺序:
比如bootstrap.yml中占位符替换(基于maven-resources-plugin)
spring:
  profiles:
    active: @spring.profiles.active@ #占位符 替换
首先pom.xml中要配置resources 开启filtering进行参数替换。
    <build>
            <resources>
                <resource>
                    <directory>src/main/resources</directory>
                    <!--开启过滤,用指定的参数替换directory下的文件中的参数-->
                    <filtering>true</filtering>
                </resource>
            </resources>
    </build>
maven 的 properties参数加载替换顺序:
1.pom.xml中<build><filters> 中指定的配置文件中的参数,如下所示:
filters就会去寻找dev.peroperties中的对应的属性值给resources中的资源文件进行使用
 <build>
        <filters> <!-- 指定使用的filter  dev.properties(spring.profiles.active=dev) -->
            <filter>src/main/filters/dev.properties</filter>
        </filters>
</build>
2.pom.xml 中的<profile> <properties>中配置的参数,如下所示:
    <profiles>
        <profile>
            <id>dev</id>
            <properties>
                <spring.profiles.active>dev</spring.profiles.active>
            </properties>
            <activation>
                <activeByDefault>true</activeByDefault>
            </activation>
        </profile>
    </profiles>
3.mvn -Dproperty=value 命令行中定义的 property参数,如下所示:
-D代表(Properties属性)若propertyName不存在pom.xml中,则设置到 <properties>上,否则进行覆盖。
mvn package -Dspring.profiles.active=dev
相同 key 的 property,以最后一个文件中的配置为最终配置。
额外:调试 Maven 源码和插件源码步骤
1.使用 mvnDebug 命令辅助调试 mvnDebug clean //package compile等(把mvn替换为mvnDebug)
执行命令之后,你会发现开始了监听模式(如下图所示)。因此我们需要以调试方式启动 Maven 源码,以便让流程继续走下去。
2.用IDEA打开 apache-maven-3.6.3 项目,Run-Edit Configuration里点+号新建一个Remote(远程调试配置),端口选择 8000。如下图所示。

3.以debug调试方式启动 Maven 源码(你可以在入口处打个断点),就会发现流程走进来了。


 1276
1276

 被折叠的 条评论
为什么被折叠?
被折叠的 条评论
为什么被折叠?
 到【灌水乐园】发言


