


目录结构:

pom中加入依赖:
<dependency>
			<groupId>org.springframework.boot</groupId>
			<artifactId>spring-boot-starter-web</artifactId>
		</dependency>
	    <dependency>
			<groupId>org.springframework.cloud</groupId>
			<artifactId>spring-cloud-starter-config</artifactId>
		</dependency>
		<dependency>
	    	 <groupId>org.springframework.boot</groupId>
	   		 <artifactId>spring-boot-starter-actuator</artifactId>
</dependency>
配置文件中的代码:
spring.application.name=config-client
server.port=9031
eureka.client.serviceUrl.defaultZone=http://user:test@eureka2:8762/eureka/,http://user:test@eureka1:8761/eureka/
eureka.instance.perferIpAddress=true
#默认false,这里设置true,表示开启读取配置中心的配置
spring.cloud.config.discovery.enabled=true
#对应eureka中的配置中心serviceId,默认是configserver
spring.cloud.config.discovery.serviceId=config-server
#指定环境
spring.cloud.config.profile=dev
#git标签
spring.cloud.config.label=master
#springboot 默认开启了权限拦截 会导致 /refresh出现401,拒绝访问
management.security.enabled=false
ConfigClientApplication代码:
@SpringBootApplication
@EnableEurekaClient
public class ConfigClientApplication {
	public static void main(String[] args) {
		SpringApplication.run(ConfigClientApplication.class, args);
	}
}
TestController代码:
@RestController
@RefreshScope   	//刷新bean的作用域
public class TestController {
	@Value("${book.config}")
	private String msg;
	@RequestMapping("/test")
	public String test() {
		return this.msg;
	}
}
然后启动服务端和刚刚的项目客户端。服务端就是我的上一篇博客的项目分布式配置中心
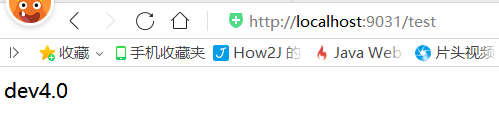
查看:
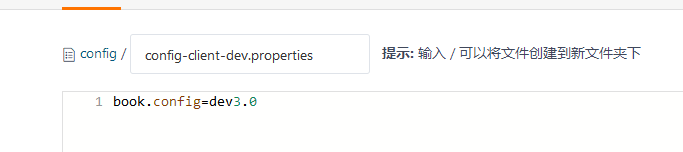
然后我们在码云上面修改test中的值:
再利用post对该地址请求一次:

然后再查看:
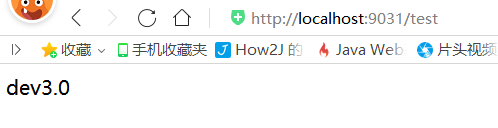
这样在git端修改配置文件后,就可以让客户端同时生效。
如果大家有什么需要交流或者需要demo的可以加我的qq997355706.


 244
244


 被折叠的 条评论
为什么被折叠?
被折叠的 条评论
为什么被折叠?
 到【灌水乐园】发言


