


 本文介绍了如何在Springboot3.0项目中集成SpringDoc2.2,包括创建项目、添加依赖、配置SpringDoc并自定义响应码说明。通过配置文件,展示了如何设置API文档、安全要求和SwaggerUI配置。
Springboot集成SpringDoc接口文档
前言
基于springboot3.0+jdk17+springdoc2.2实现。
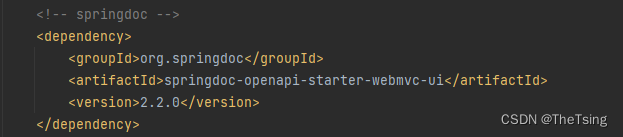
一、创建springboot项目,引入springdoc依赖
二、编写springdoc配置文件SpringDocConfig.java
import io.swagger.v3.oas.models.OpenAPI;
import io.swagger.v3.oas.models.info.Info;
import io.swagger.v3.oas.models.media.Content;
import io.swagger.v3.oas.models.responses.ApiResponse;
import io.swagger.v3.oas.models.security.SecurityRequirement;
import io.swagger.v3.oas.models.security.SecurityScheme;
import org.springdoc.core.customizers.GlobalOpenApiCustomizer;
import org.springdoc.core.properties.SwaggerUiConfigProperties;
import org.springdoc.core.utils.Constants;
import org.springframework.boot.autoconfigure.condition.ConditionalOnProperty;
import org.springframework.context.annotation.Bean;
import org.springframework.context.annotation.Configuration;
import org.springframework.context.annotation.Primary;
import org.springframework.http.HttpHeaders;
import org.springframework.http.HttpStatus;
import org.springframework.http.MediaType;

/**
 * SpringDoc配置类
 *
 * @author TheTsing
 */
@Configuration
@ConditionalOnProperty(name = Constants.SPRINGDOC_ENABLED, matchIfMissing = true)
public class SpringDocConfig {

    @Bean
    public OpenAPI openAPI() {
        return new OpenAPI()
                .info(new Info().title("API Documentation").version("snapshot"))
                .schemaRequirement(HttpHeaders.AUTHORIZATION,
                        new SecurityScheme()
                                // 普通 Token
                                //.name(HttpHeaders.AUTHORIZATION)
                                //.type(SecurityScheme.Type.APIKEY)
                                //.in(SecurityScheme.In.HEADER)
                                // Bearer Token
                                .name(HttpHeaders.AUTHORIZATION)
                                .type(SecurityScheme.Type.HTTP)
                                .scheme("bearer"))
                .addSecurityItem(new SecurityRequirement().addList(HttpHeaders.AUTHORIZATION));
    }

    @Bean
    public GlobalOpenApiCustomizer globalOpenApiCustomizer() {
        return openApi -> openApi.getPaths().values().stream().flatMap(pathItem -> pathItem.readOperations().stream()).forEach(operation -> {
            operation.getResponses().addApiResponse(String.valueOf(HttpStatus.BAD_REQUEST.value()),
                    new ApiResponse().description("客户端请求存在语法错误或业务异常").content(new Content().addMediaType(MediaType.TEXT_PLAIN_VALUE, new io.swagger.v3.oas.models.media.MediaType().example(HttpStatus.BAD_REQUEST.getReasonPhrase()))));
            operation.getResponses().addApiResponse(String.valueOf(HttpStatus.UNAUTHORIZED.value()),
                    new ApiResponse().description("认证失败").content(new Content().addMediaType(MediaType.TEXT_PLAIN_VALUE, new io.swagger.v3.oas.models.media.MediaType().example(HttpStatus.UNAUTHORIZED.getReasonPhrase()))));
            operation.getResponses().addApiResponse(String.valueOf(HttpStatus.FORBIDDEN.value()),
                    new ApiResponse().description("没有权限").content(new Content().addMediaType(MediaType.TEXT_PLAIN_VALUE, new io.swagger.v3.oas.models.media.MediaType().example(HttpStatus.FORBIDDEN.getReasonPhrase()))));
            operation.getResponses().addApiResponse(String.valueOf(HttpStatus.INTERNAL_SERVER_ERROR.value()),
                    new ApiResponse().description("服务器内部错误").content(new Content().addMediaType(MediaType.TEXT_PLAIN_VALUE, new io.swagger.v3.oas.models.media.MediaType().example(HttpStatus.INTERNAL_SERVER_ERROR.getReasonPhrase()))));
        });
    }

    @Bean
    @Primary
    public SwaggerUiConfigProperties swaggerUiConfig() {
        SwaggerUiConfigProperties config = new SwaggerUiConfigProperties();
        config.setPersistAuthorization(true);
        config.setFilter("true");
        config.setDefaultModelsExpandDepth(-1);
        config.setDefaultModelExpandDepth(10);
        config.setDisplayRequestDuration(true);
        config.setDocExpansion("none");
        config.setShowCommonExtensions(true);
        return config;
    }

}
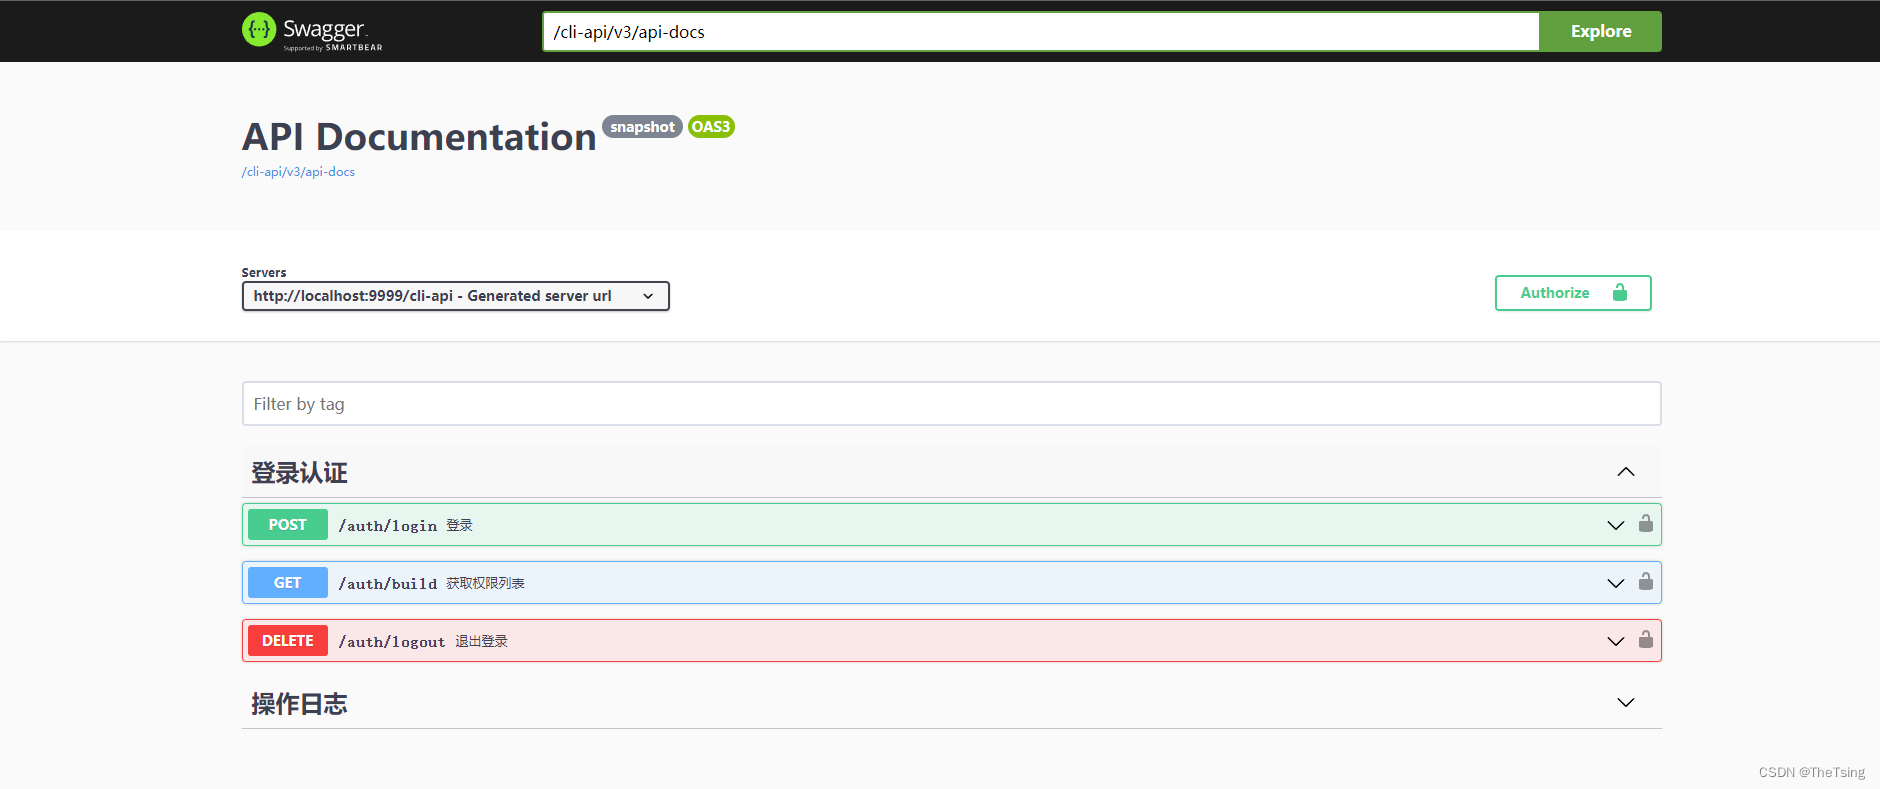
三、启动项目访问文档:http://localhost:8080/swagger-ui/index.html
总结
如果这篇博客对你有帮助的话,记得给我点个赞,你的鼓励是对我最大的支持!谢谢。◕‿◕。


 258
258

 被折叠的 条评论
为什么被折叠?
被折叠的 条评论
为什么被折叠?
 到【灌水乐园】发言


