


接着lerna入门篇继续
本篇说明:react+ts项目搭建是通过webpack来搭建一个react+ts项目,尚在上一篇lerna项目packages中的其中一个项目文件夹(这里使用package1文件夹)里搭建的。
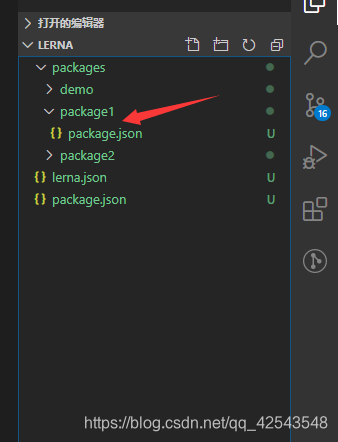
一、项目准备(先贴上上一篇项目图片)

- 删除package1项目文件夹内容,只留下package.json文件
- 重新配置package1中package.json
源代码:
{
  "name": "package1",
  "version": "0.0.0",
  "description": "> TODO: description",
  "author": "LAW <2528628097@qq.com>",
  "homepage": "",
  "license": "ISC",
  "main": "lib/package1.js",
  "directories": {
    "lib": "lib",
    "test": "__tests__"
  },
  "files": [
    "lib"
  ],
  "publishConfig": {
    "registry": "https://registry.yarnpkg.com/"
  },
  "scripts": {
    "test": "echo \"Error: run tests from root\" && exit 1"
  }
}
配置后代码:说明(主要是main、types属性,main是项目被引入的入口文件。types是ts的声明文件,其路径可改动)
{
  "name": "package1",
  "version": "0.0.0",
  "description": "> TODO: description",
  "author": "LAW <2528628097@qq.com>",
  "homepage": "",
  "license": "ISC",
  "main": "dist/bundle.js",
  "types": "dist/facade/index.d.ts",
  "publishConfig": {
    "registry": "https://registry.yarnpkg.com/"
  },
  "scripts": {
    "test": "echo \"Error: run tests from root\" && exit 1"
  }
}
二、 项目搭建
- package1依赖项目的文件目录
│  package-lock.json
│  package.json
│  tree
│  tsconfig.json
│  tslint.json
│  webpack.config.js
└─src
    ├─components         //页面组件
    │  ├─bottom
    │  │      index.less
    │  │      index.tsx
    │  │
    │  ├─main
    │  │      index.less
    │  │      index.tsx
    │  │
    │  └─top
    │          index.less
    │          index.tsx
    │
    └─facade
            Facade.less     // 样式
            Facade.tsx      // 入口组件
            index.ts       // package1依赖项目的入口文件

- 配置webpack.config.js文件,本项目不考虑开发和生成环境,就不分不同模式下的配置了。
webpack.config.js代码:
// 导入处理路径的模块
const path = require('path');
const webpack = require("webpack");
// 导出一个配置对象,将来webpack在启动的时候,会默认来查找webpack.config.js,并读取这个文件中导出的配置对象,来进行打包处理
module.exports = {
    // 项目入口文件
    entry: path.resolve(__dirname, 'src/facade/index.ts'),
    // 项目输出文件
    output: {
        filename: 'bundle.js',
        libraryTarget: "umd",   // 不用省略
        path: path.resolve(__dirname, 'dist'),
    },
    resolve: {
        extensions: ['.tsx', '.ts', '.js', '.json'],
    },
    // 文件处理规则
    module: {
        rules: [{
            test: /\.(ts|js)x?$/, loader: 'babel-loader', exclude: /node_modules/
        },
        {
            test: /\.(ts|tsx)$/,
            loader: "ts-loader",
        }, {
            test: /\.css$/,
            use: ['style-loader', 'css-loader'],
        }, {
            test: /\.(png|jp(e*)g|svg)$/,
            use: [{
                loader: 'url-loader',
                // 降低loader版本,启用CommonJS模块语法
                options: {
                    esModule: false
                }
            }]
        }, {
            test: /\.less$/,
            use: [
                {
                    loader: 'style-loader', // creates style nodes from JS strings
                },
                {
                    loader: 'css-loader', // translates CSS into CommonJS
                },
                {
                    loader: 'less-loader', // compiles Less to CSS

                },
            ],
        }
        ]

    },

    optimization: {
    },
    // 插件
    plugins: [
    ]
}
- 下载必要的包,推荐下载(有些包需要版本关联,这里附上json的配置代码)
- 在json里配置好依赖后下载(推荐依赖代码在下方)
- 注意:在使用lerna管理项目后就不建议到各个项目中去依次安装依赖,可以使用
lerna bootstrap为所有项目安装各个json里的的依赖。本项目在lerna文件夹打开终端运行lerna bootstrap。

{
  "name": "package1",
  "version": "0.0.0",
  "description": "> TODO: description",
  "author": "LAW <2528628097@qq.com>",
  "homepage": "",
  "license": "ISC",
  "main": "dist/bundle.js",
  "types": "dist/facade/index.d.ts",
  "devDependencies": {
    "@types/react": "^16.9.25",
    "@types/react-dom": "^16.9.5",
    "babel-core": "6.26.3",
    "css-loader": "^3.4.2",
    "less": "^3.11.1",
    "less-loader": "^5.0.0",
    "react": "^16.13.1",
    "react-dom": "^16.13.1",
    "style-loader": "^1.1.3",
    "ts-loader": "^6.2.2",
    "typescript": "^3.8.3",
    "url-loader": "^4.0.0",
    "babel-loader": "7.1.5",
    "webpack": "^4.42.1",
    "webpack-cli": "^3.3.11",
    "webpack-dev-server": "^3.10.3"
  },
  "publishConfig": {
    "registry": "https://registry.yarnpkg.com/"
  },
  "scripts": {
    "test": "echo \"Error: run tests from root\" && exit 1"
  }
}
- ts项目需要配置tsconfig.json. (其各项详解可参见链接)
{
  "compilerOptions": {
      "baseUrl": "src",
      "outDir": "dist",
      "skipLibCheck": true,
    "allowSyntheticDefaultImports": true,
    "jsx": "react",
    "lib": ["es6", "dom"],
    "module": "esnext",
    "moduleResolution": "node",
    "noImplicitAny": true,
    "rootDir": "src",
    "sourceMap": true,
    "strict": false,
    "target": "es5",
  "declaration": true,
  "experimentalDecorators": true,
  "forceConsistentCasingInFileNames": false,
  "noImplicitReturns": true,
  "noImplicitThis": true,
  "strictNullChecks": true,
  "suppressImplicitAnyIndexErrors": true,
  "noUnusedLocals": false,
  },
  "exclude": [
    "node_modules",
    "build",
    "build",
    "scripts"
  ],
  "include": [
      "./src/**/*"
    ]
}
- 配置tslint.json来规范语法
{
    "compilerOptions": {
      "baseUrl": "src",
      "outDir": "dist",
      "module": "ESNext",
      "target": "es5",
      "skipLibCheck": true,
      "lib": [
        "es6",
        "dom"
      ],
      "allowSyntheticDefaultImports": true,
      "sourceMap": true,
      "declaration": true,
      "experimentalDecorators": true,
      "jsx": "react",
      "moduleResolution": "node",
      "forceConsistentCasingInFileNames": false,
      "noImplicitReturns": true,
      "noImplicitThis": true,
      "noImplicitAny": true,
      "strictNullChecks": true,
      "suppressImplicitAnyIndexErrors": true,
      "noUnusedLocals": false,
      "paths": {
        "*" : ["../../node_modules/white-web-sdk/types/*"]
      }
    },
    "exclude": [
      "node_modules",
      "dist",
      "build",
      "scripts"
    ],
    "include": [
      "./src/**/*"
    ]
  }
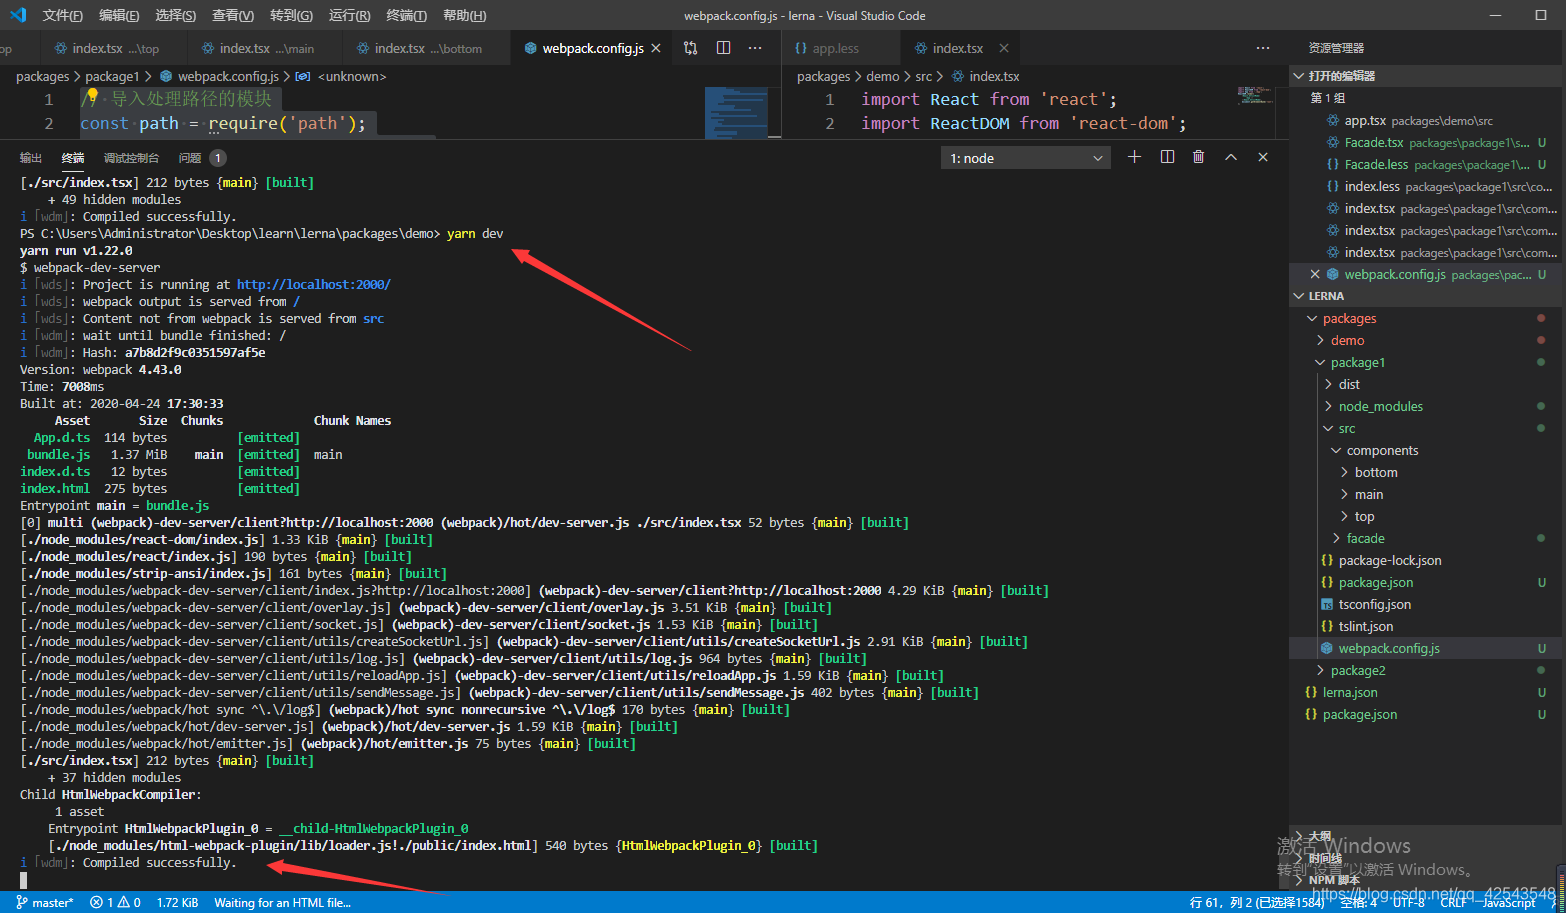
- 运行package1依赖项目
yarn dev

如此就已经完成依赖项目的配置。
重点来了,前提条件
-
上面的package1依赖项目搭建完成,并且能够运行
三、通过lerna工具实现在demo项目中使用package1里的组件
- 向demo项目里添加package1依赖
lerna add package1 --scope=demo


2. 在demo项目的App.tsx文件中使用package1依赖
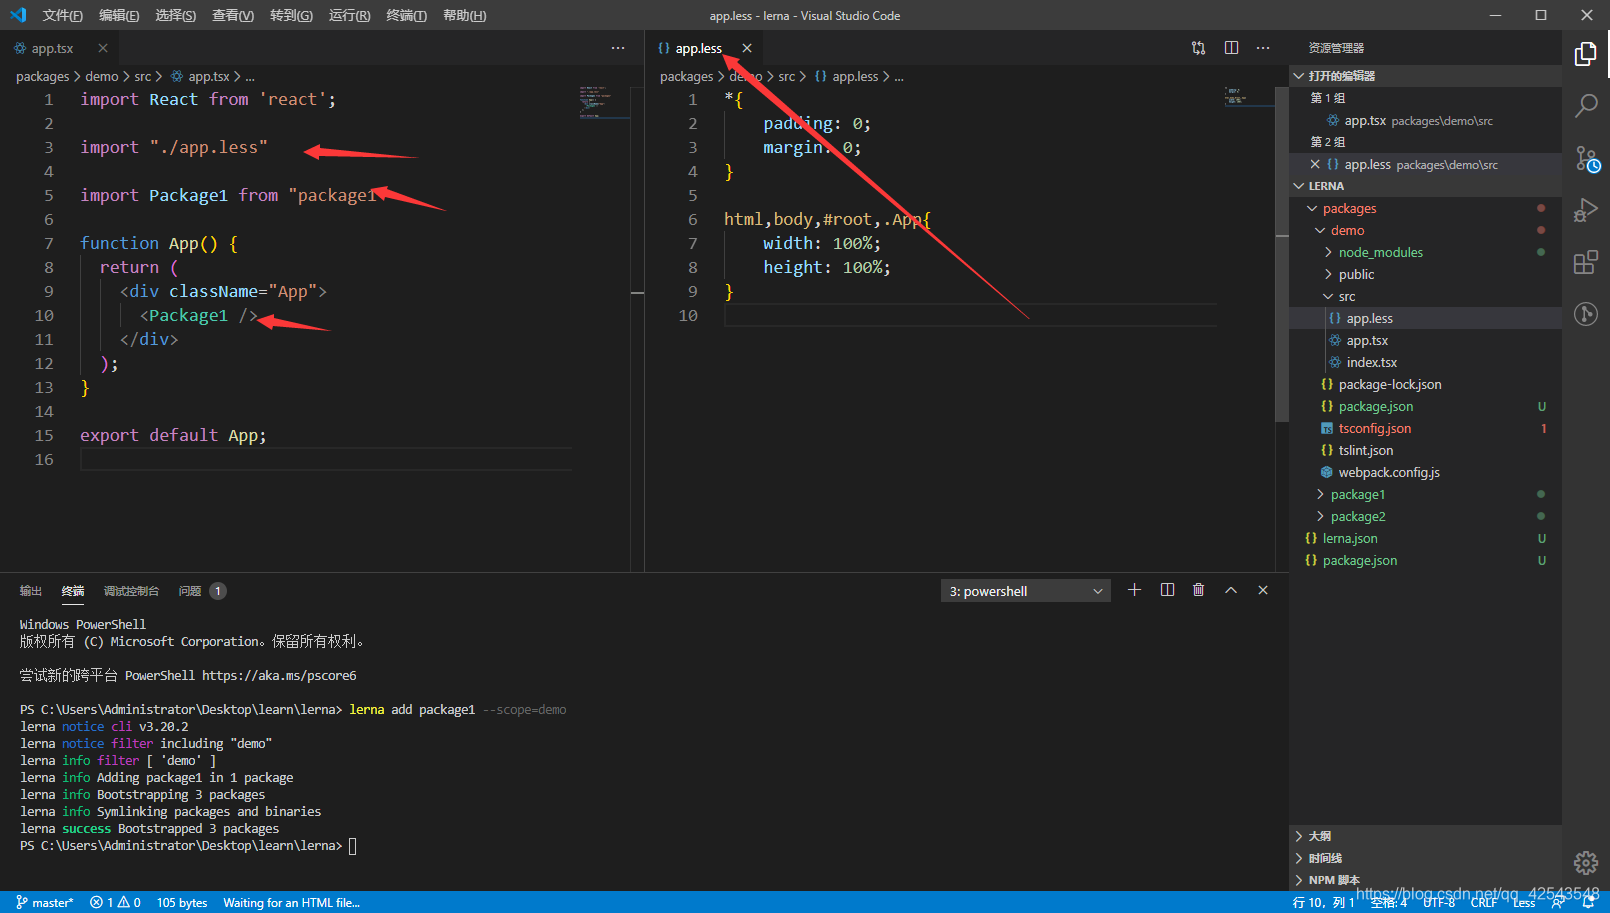
3. 运行demo和package1 yarn dev 或者 npm run dev


 2479
2479


 被折叠的 条评论
为什么被折叠?
被折叠的 条评论
为什么被折叠?
 到【灌水乐园】发言


