


 本文介绍了如何使用SpringBoot集成WebSocket来创建一个在线聊天室。首先添加前端依赖,包括SockJS和Stomp库,然后配置WebSocket消息代理和连接点。接着,定义消息对象和控制器,实现了消息的发送和接收。最后展示了聊天界面的HTML和JavaScript代码,用户可以进行多用户聊天。这是一个简单的WebSocket应用实例,适合初学者理解WebSocket在实际项目中的应用。
一、创建项目
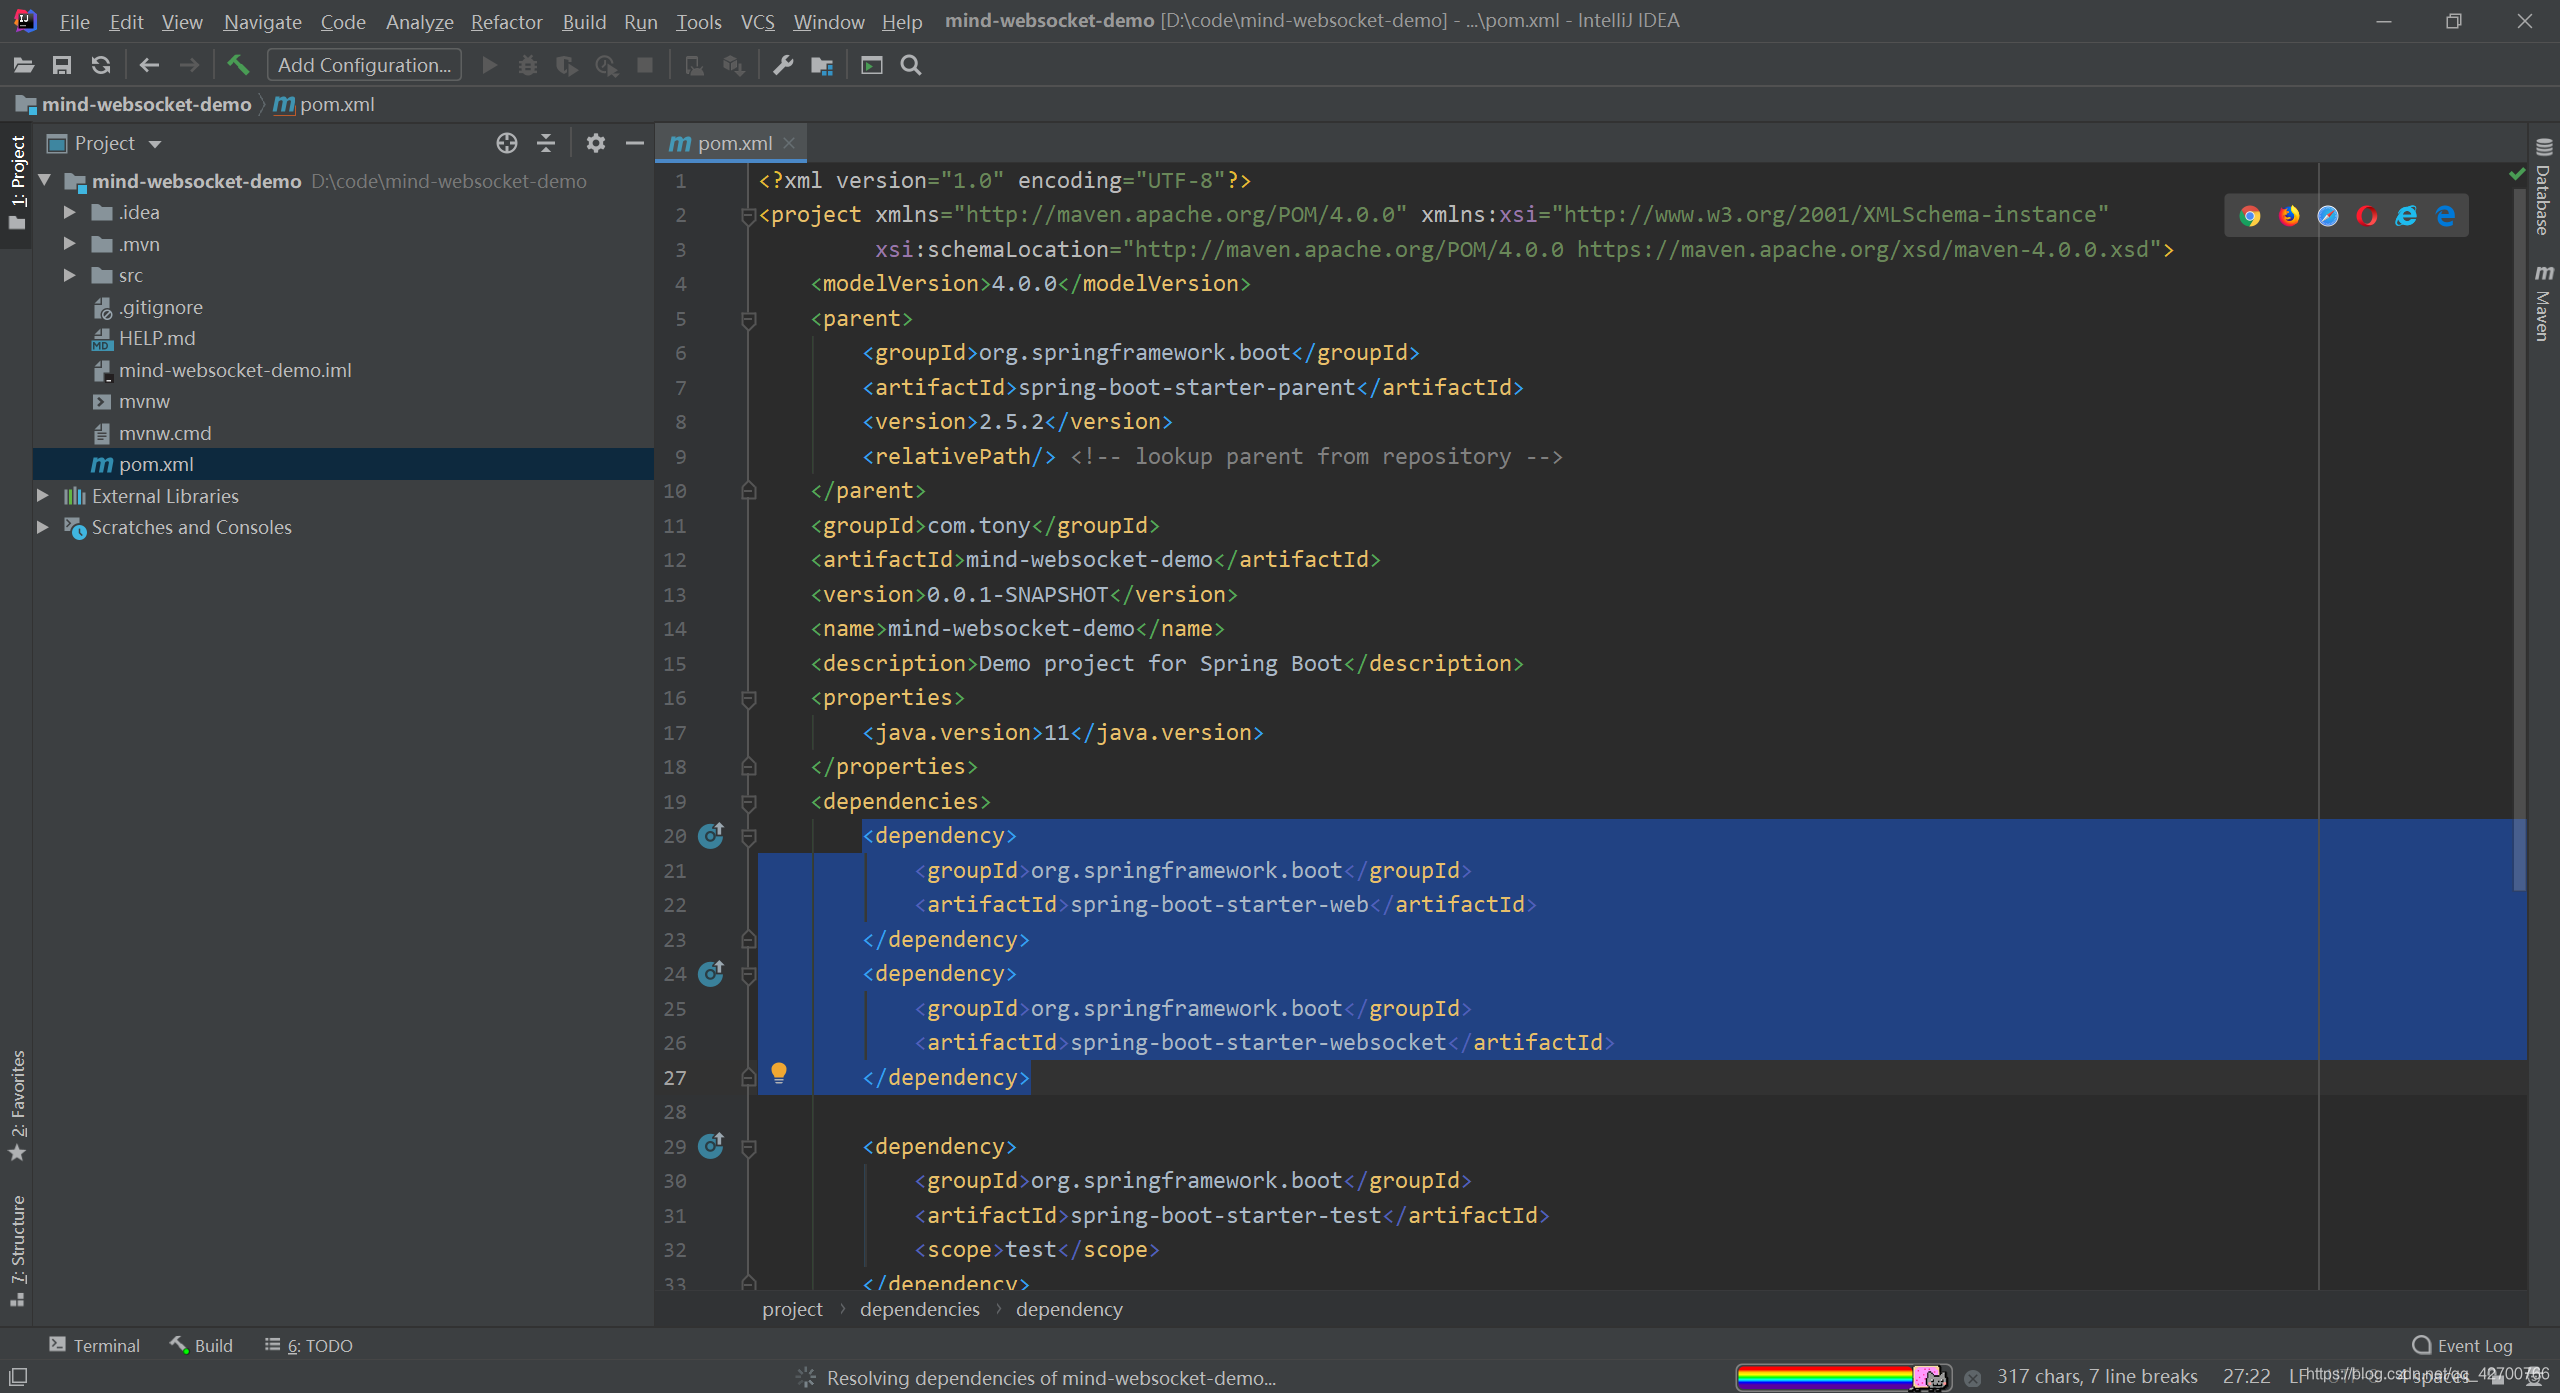
二、添加依赖
此处添加的是前端的依赖,为得是方便管理文件,不用在引用大量的js文件。
Maven搜索网址
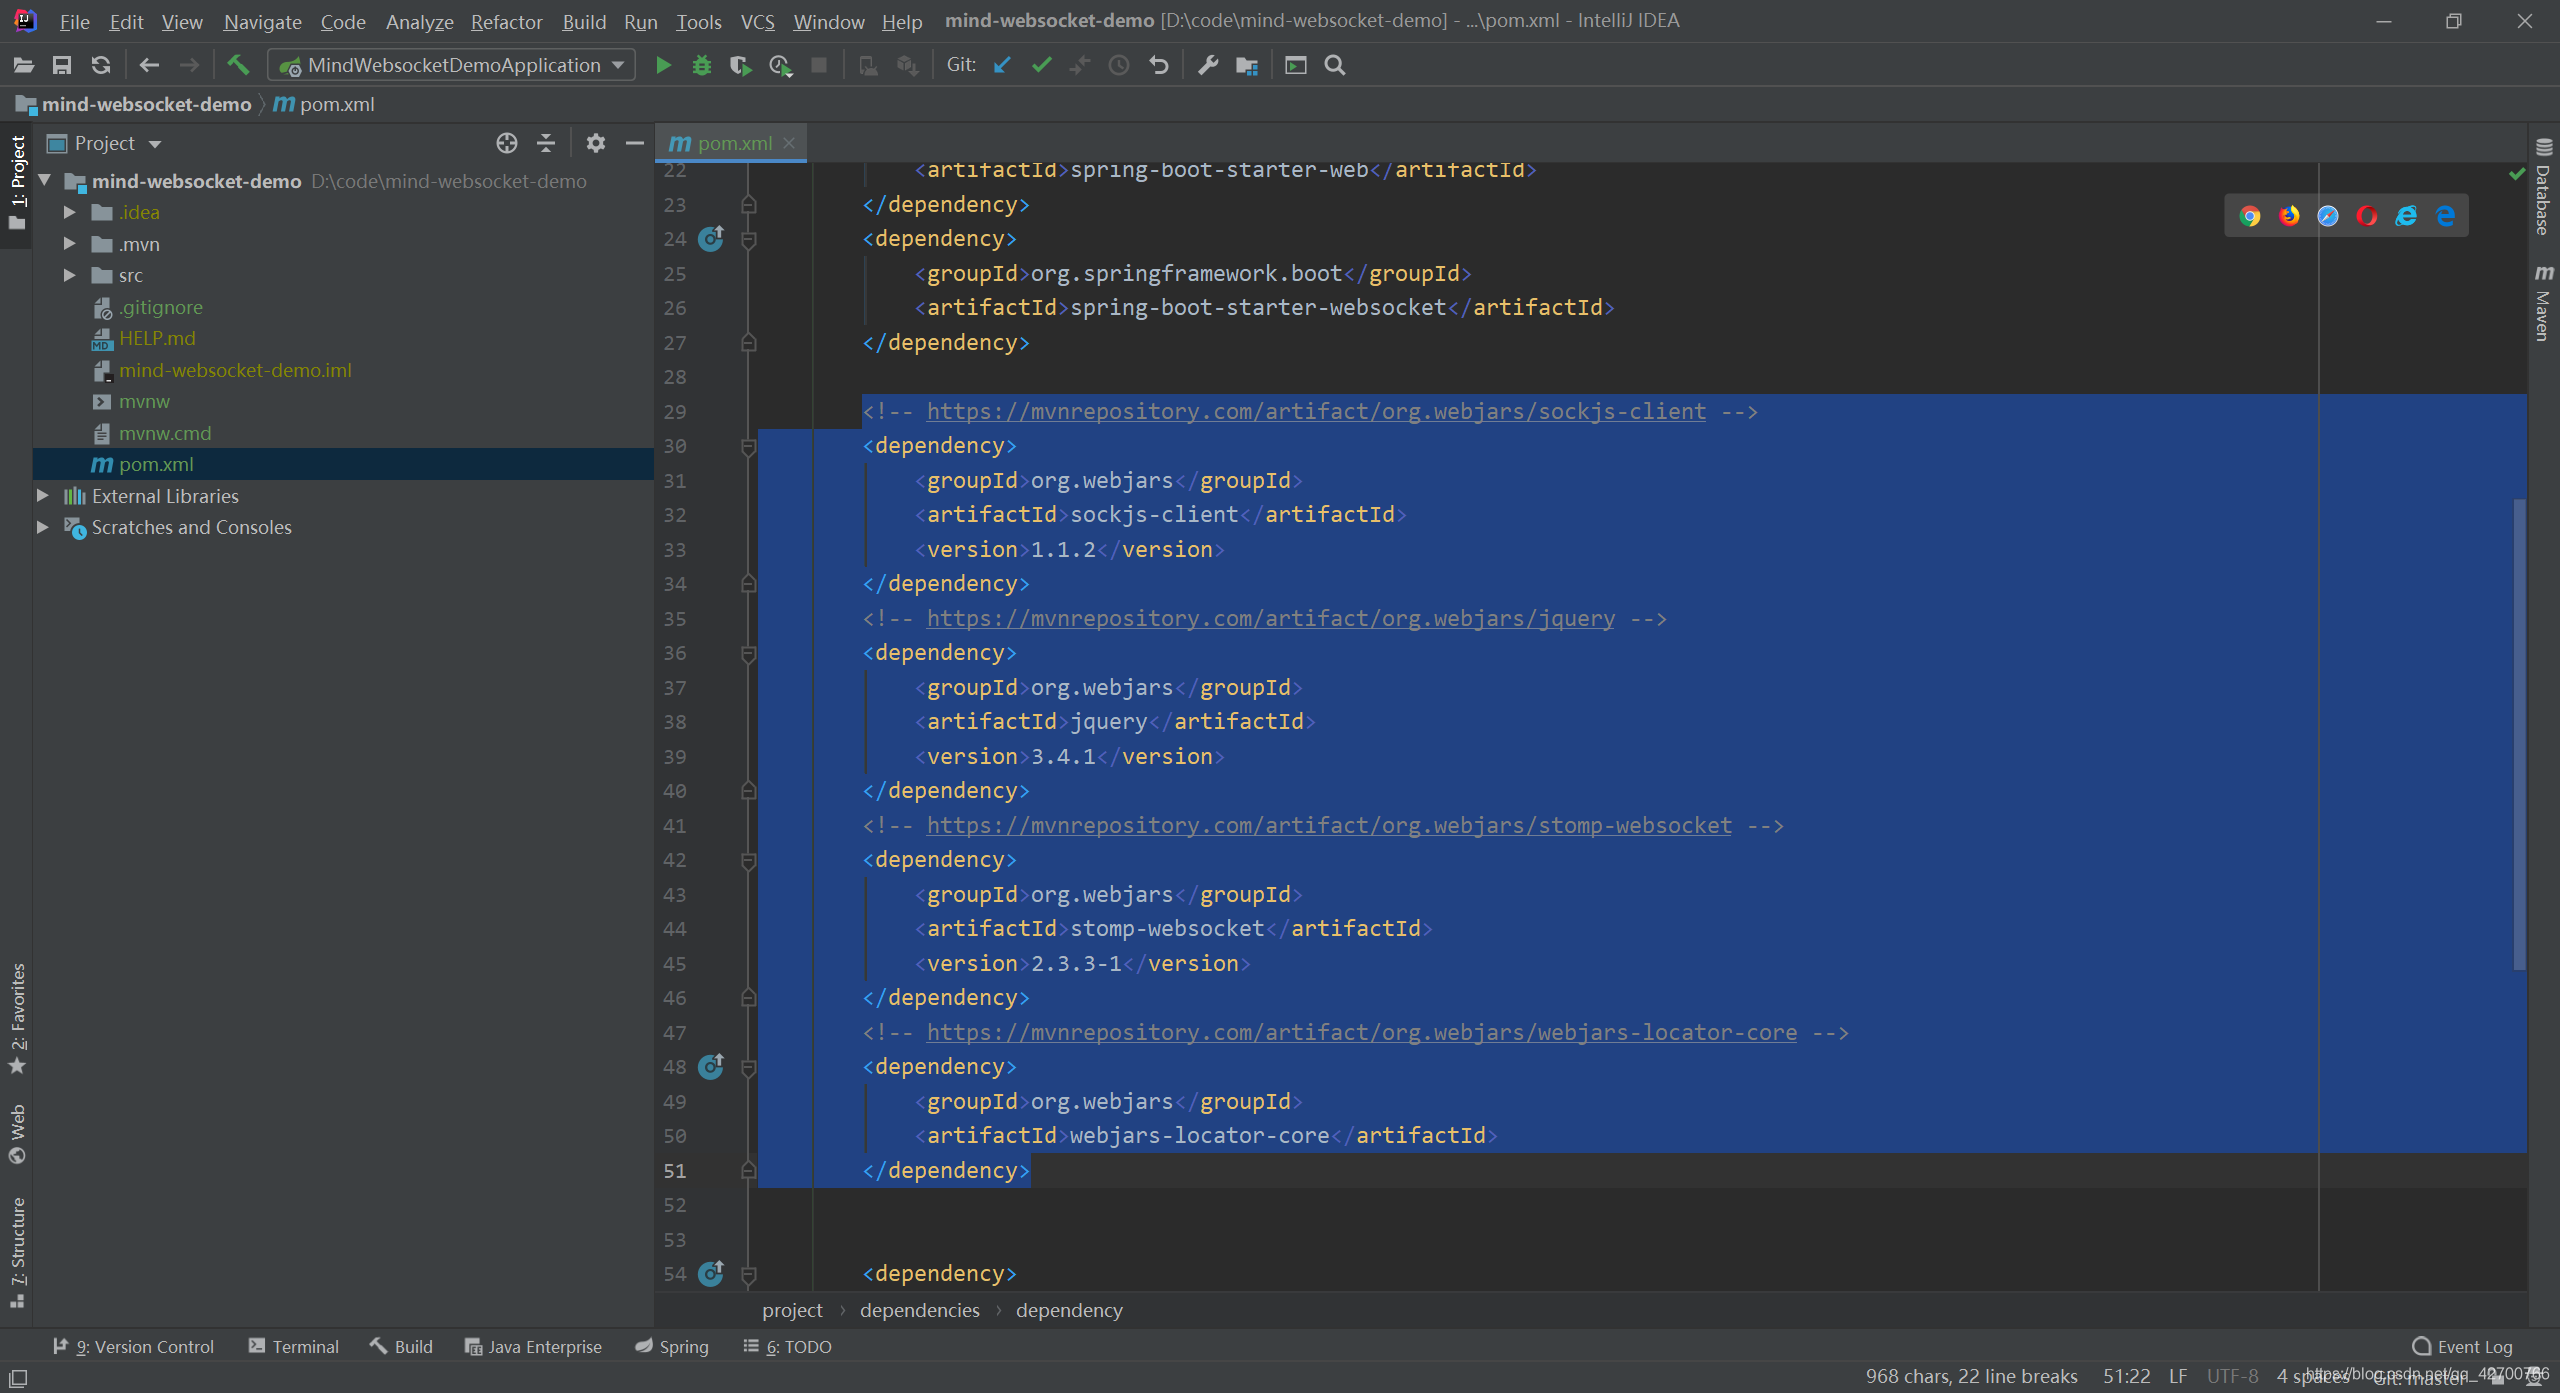
<!-- https://mvnrepository.com/artifact/org.webjars/sockjs-client -->
        <dependency>
            <groupId>org.webjars</groupId>
            <artifactId>sockjs-client</artifactId>
            <version>1.1.2</version>
        </dependency>
        <!-- https://mvnrepository.com/artifact/org.webjars/jquery -->
        <dependency>
            <groupId>org.webjars</groupId>
            <artifactId>jquery</artifactId>
            <version>3.4.1</version>
        </dependency>
        <!-- https://mvnrepository.com/artifact/org.webjars/stomp-websocket -->
        <dependency>
            <groupId>org.webjars</groupId>
            <artifactId>stomp-websocket</artifactId>
            <version>2.3.3-1</version>
        </dependency>
        <!-- https://mvnrepository.com/artifact/org.webjars/webjars-locator-core -->
        <dependency>
            <groupId>org.webjars</groupId>
            <artifactId>webjars-locator-core</artifactId>
        </dependency>
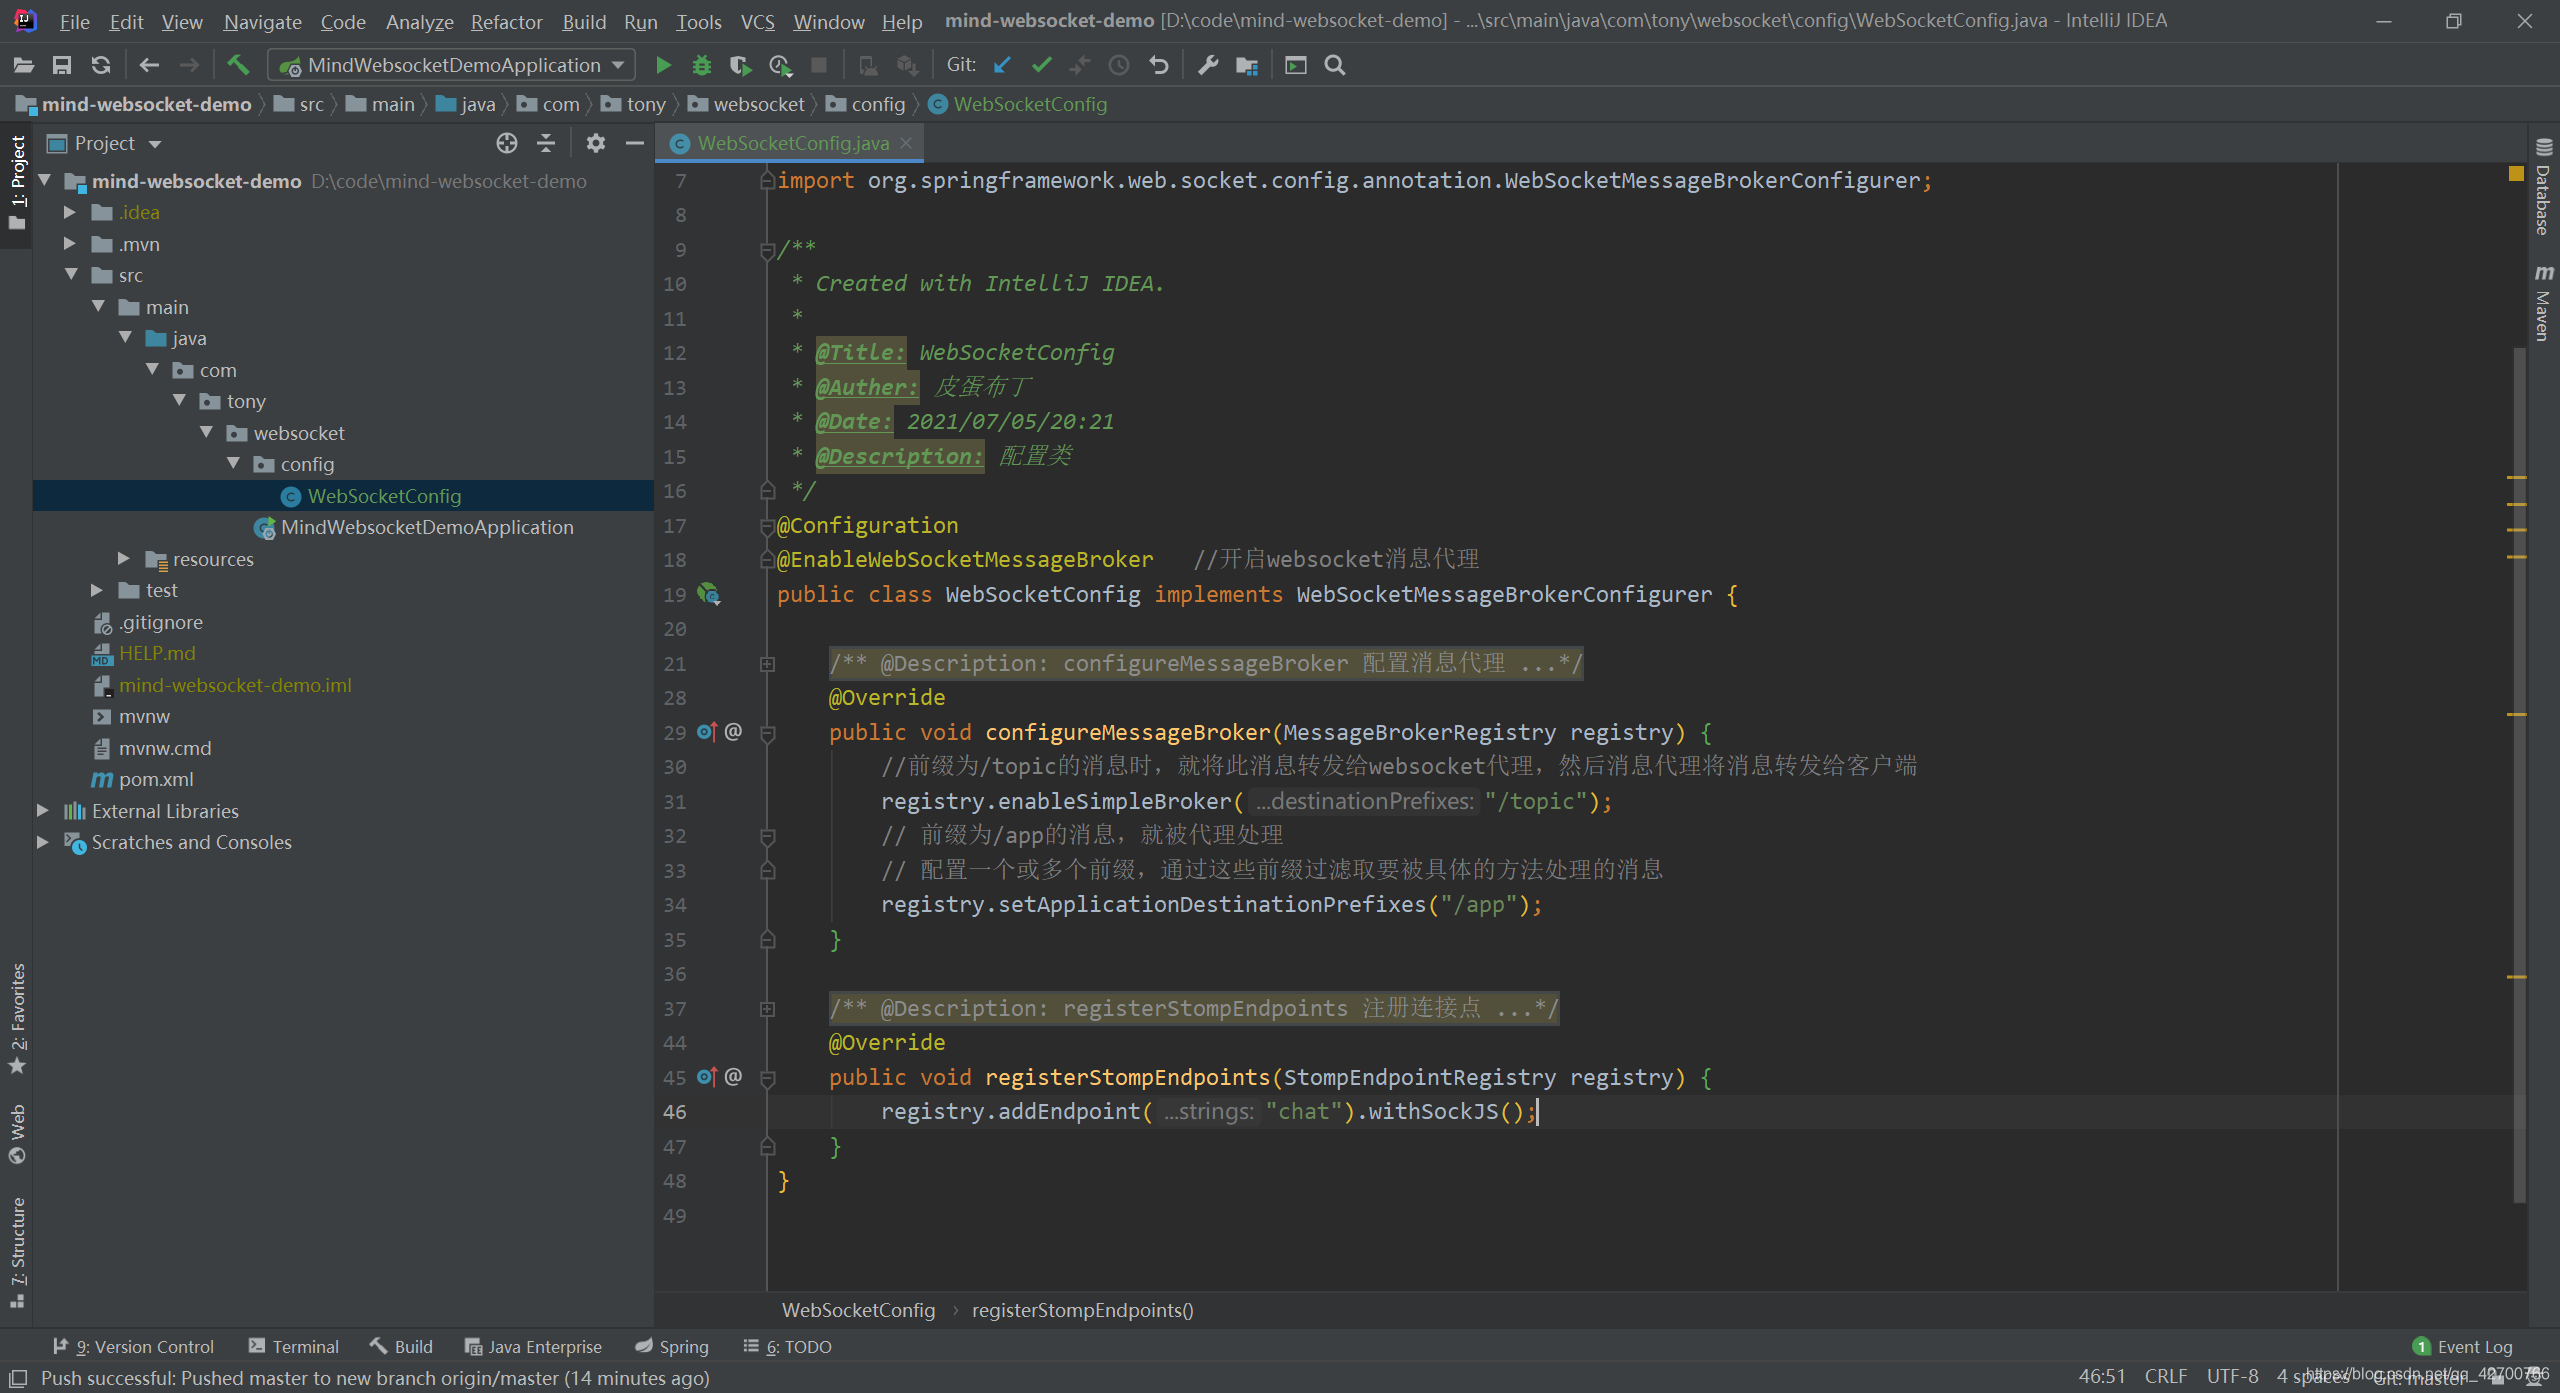
三、添加配置类
package com.tony.websocket.config;

import org.springframework.context.annotation.Configuration;
import org.springframework.messaging.simp.config.MessageBrokerRegistry;
import org.springframework.web.socket.config.annotation.EnableWebSocketMessageBroker;
import org.springframework.web.socket.config.annotation.StompEndpointRegistry;
import org.springframework.web.socket.config.annotation.WebSocketMessageBrokerConfigurer;

/**
 * Created with IntelliJ IDEA.
 *
 * @Title: WebSocketConfig
 * @Auther: 皮蛋布丁
 * @Date: 2021/07/05/20:21
 * @Description: 配置类
 */
@Configuration
@EnableWebSocketMessageBroker   //开启websocket消息代理
public class WebSocketConfig implements WebSocketMessageBrokerConfigurer {


    /**
    * @Description: configureMessageBroker 配置消息代理
    * @Param: [registry]
    * @return: void
    * @Author: 皮蛋布丁
    * @Date: 2021/7/5 20:25
    */
    @Override
    public void configureMessageBroker(MessageBrokerRegistry registry) {


        //前缀为/topic的消息时,就将此消息转发给websocket代理,然后消息代理将消息转发给客户端
        registry.enableSimpleBroker("/to
最低0.47元/天 解锁文章


 5520
5520

 被折叠的 条评论
为什么被折叠?
被折叠的 条评论
为什么被折叠?
 到【灌水乐园】发言


