Notifice组件
这类组件和之前的message组件都有很多相似的地方,getContainer函数获取容器,不存在容器的时候就自己创建一个dom然后挂载到body,每次创建新的Notifice组件都去检测一下这个dom是存在。页面上所有的Notifice组件都是挂载到这个getContainer函数返回的节点上面的。
那我们怎么才能把一个dom挂载到指定的节点呢,我以react为例子,React.createRoot(dom)创建一个根节点,root.render(需要挂载的组件或者节点);利用这个函数我们就可以把我们想要的任何函数挂载到指定的节点了。
const onMouseDown = ({ target }) => {
if (!popupRef.current.contains(target)) {
closeTrigger(); // 某个实现的方法
}
};
getContainer函数
const getContainer = (placement: string) => {
  const wrapper = document.createElement('div');
  const div = document.createElement('div');
  wrapper.classList.add('dcqc-notification');
  wrapper.style.position = 'fixed';
  if (placement === 'right') {
    wrapper.style.right = '0';
    wrapper.style.top = '20.0px';
    wrapper.style.marginRight = '20.0px';
    wrapper.classList.add('dcqc-notification-right');
  } else if (placement === 'center') {
    wrapper.style.left = '50%';
    wrapper.style.top = '20.0px';
    wrapper.style.transform = 'translateX(-50%)';

    wrapper.style.marginLeft = '20.0px';
    wrapper.classList.add('dcqc-notification-center');
  } else {
    wrapper.style.left = '0';
    wrapper.style.top = '20.0px';
    wrapper.style.marginLeft = '20.0px';
    wrapper.classList.add('dcqc-notification-left');
  }

  wrapper.style.zIndex = '999';
  wrapper.style.pointerEvents = 'auto'; //遮挡穿透点击
  div.appendChild(wrapper);

  document.body.appendChild(div);
  return wrapper;
};
挂载节点内容
一些动画效果在挂载的时候就可以加上去了,通过动态class的方式实现动态效果。
update函数是通过外部调用异步修改组件的内容值。
const createNotification = (arg: string) => (props: any) => {
  const { placement = 'left' } = props;
  const { enterName, outName } = getClassName(placement);
  let wrapper = document.querySelector(`.dcqc-notification-${placement}`);
  if (!wrapper) {
    wrapper = getContainer(placement);
  }
  let content = document.createElement('div');
  content.classList.add('dcqc-notification-content');
  content.classList.remove(outName);
  content.classList.add(enterName);
  wrapper.appendChild(content);
  const root = ReactDOM.createRoot(content);
  const handleClose = () => {
    content.classList.add(outName);
    content.classList.remove(enterName);

    let timer = setTimeout(() => {
      if (content.parentElement) {
        wrapper?.removeChild(content);
      }

      root.unmount();
      clearTimeout(timer);
    }, 262);
  };

  const render = (_param: any) => {
    root.render(
      <Notification type={arg} {..._param} handleClose={handleClose} />,
    );
  };

  const update = (_e: any) => {
    render(_e);
  };

  render(props);
  return {
    update,
  };
};
通过函数式的方式挂载组件
const open = createNotification('');
const info = createNotification('info');
const success = createNotification('success');
export default {
  open,
  info,
  success,
};
使用示例
  <Button
        onClick={() => {
          Notification.open({
            placement: 'right',
            description:
              ' I will never close automatically. This is a purposely very very long description that has many many characters and words.',
            title: 'Notification Title',
          });
        }}
      >
        right
      </Button>
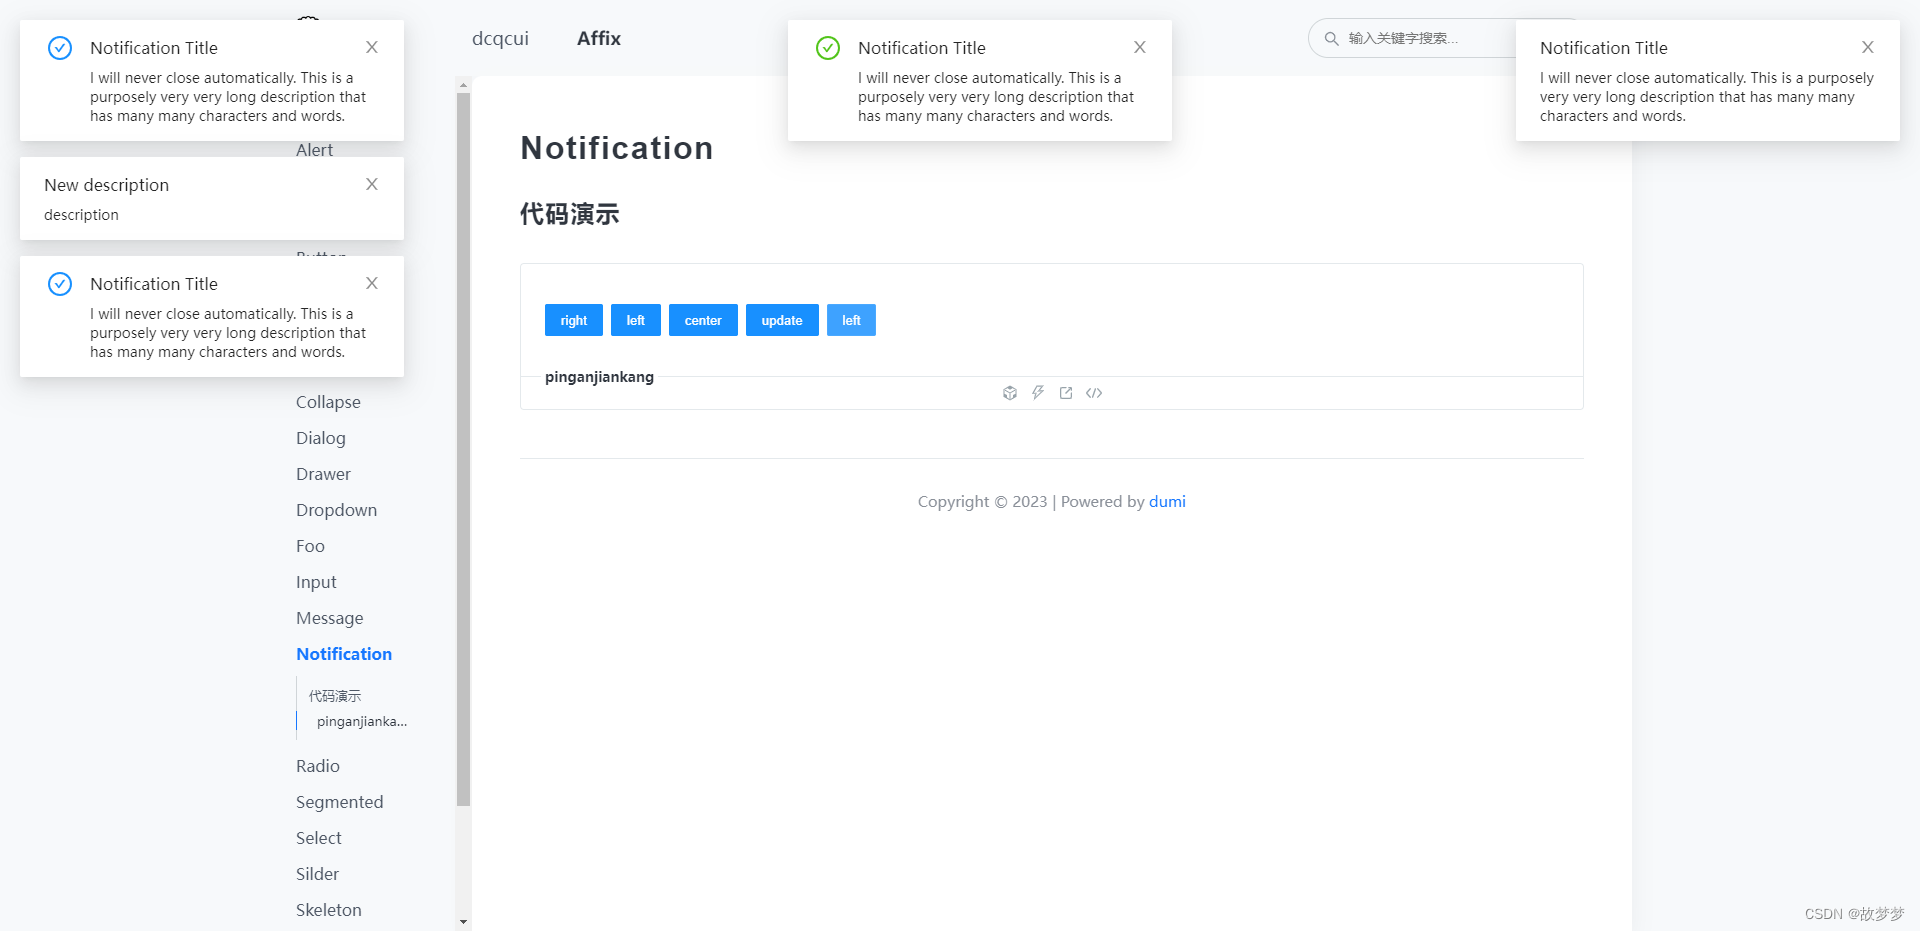
图例

所有的组件message,notifice等等组件实现方式都是通过这种方式去实现的。有兴趣可以看一下我另一篇介绍dialog的组件封装。也是弹窗类组建的代表。


 412
412


 被折叠的 条评论
为什么被折叠?


