


后端springboot,前端vue
1,后端配置
Maven构建分布式项目时子模块相互依赖打包技巧_Archie_java的博客-CSDN博客_maven子项目依赖打包
maven 打包问题(repackage failed: Unable to find main class)_骑着蜗牛百米冲刺的博客-CSDN博客_maven 打包 找不到主类
SpringBoot 打包异常:Unable to find main class_azhegps的博客-CSDN博客
Unable to find main class更好的解决方案是
下面代码段的工具类包pom配置
<skip>true</skip>
日志报错就修改日志文件存储位置 或者改文件夹权限777
最顶级pom配置 (guli_parent)
    <!-- 最顶级父pom (guli_parent)   打包项目配置  -->
    <build>
        <plugins>
            <!-- maven打包插件 -->
            <plugin>
                <groupId>org.springframework.boot</groupId>
                <artifactId>spring-boot-maven-plugin</artifactId>
                <executions>
                    <execution>
                        <goals>
                            <goal>repackage</goal>
                        </goals>
                    </execution>
                </executions>
            </plugin>
            <!-- 资源文件拷贝插件 -->
            <plugin>
                <groupId>org.apache.maven.plugins</groupId>
                <artifactId>maven-resources-plugin</artifactId>
                <configuration>
                    <encoding>UTF-8</encoding>
                </configuration>
            </plugin>
            <!-- Java编译插件 -->
            <plugin>
                <groupId>org.apache.maven.plugins</groupId>
                <artifactId>maven-compiler-plugin</artifactId>
                <configuration>
                    <source>1.8</source>
                    <target>1.8</target>
                    <encoding>UTF-8</encoding>
                </configuration>
            </plugin>
        </plugins>

<!--        这一段放guli_parent中也可以,放service层也可以-->
<!--        更新:最顶级pom中还要配置上下面这一段-->
<!--        目的是配置xml properties yml yaml的路径 防止改变mapper路径后找不到mapper  -->
<!--        不能只配置include 中src/main/java下的xml 因为include是"只包括"  只配置这个不配置resources不行 -->
<!--        所以配置src/main/java后也要把src/main/resources加上  resources目录下的各种配置文件才能被扫描到-->
        <resources>
            <resource>
                <!--   当xml文件在类路径里不在resources目录时应该配置这个,同时application.properties文件也要修改配置-->
                <!--   项目编译时,告诉idea,在编译的时候将src/main/java下的xml一起打包进class文件夹中, 这样就不会报错Invalid bound statement (not found)-->
                <directory>src/main/java</directory>
                <includes>
                    <include>**/*.xml</include>
                </includes>
                <filtering>false</filtering>
            </resource>
            <resource>
                <directory>src/main/resources</directory>
                <includes>
                    <include>**/*.properties</include>
                    <include>**/*.yml</include>
                    <include>**/*.yaml</include>
                    <include>**/*.xml</include>
                </includes>
                <filtering>false</filtering>
            </resource>
        </resources>

    </build>
工具类包pom配置
   <!-- common pom   打包项目配置  为了别的模块能正常依赖他 -->
    <build>
        <plugins>
            <plugin>
                <groupId>org.springframework.boot</groupId>
                <artifactId>spring-boot-maven-plugin</artifactId>
                <!-- 这个属性为可执行jar包的名字后缀 -->
                <configuration>
                    <!-- 这个属性为可执行jar包的名字后缀 打包项目配置  为了别的模块能正常依赖他  -->
                    <classifier>exec</classifier>
                    <!-- 这是一个工具类 没有main方法 ,加这个是为了解决Unable to find main class -->
                    <skip>true</skip>
                </configuration>
            </plugin>
        </plugins>
    </build>
    <!-- 其余子模块会继承父模块 -->
2,前端配置 node 环境dev方式部署
然后改config目录下dev.env.js文件中的base api地址 localhost改成服务器IP地址,端口号改成对应的(这个是处理后端的 nginx的地址和端口号)
OSS_PATH以及其他的配置也要加上或者改成对应的
接着打成压缩包上传,不要直接上传原始文件夹,一定要压缩打包上传,不然会漏文件,压缩前先删除依赖文件包
2 (方法二)前端 直接build 放静态资源部署部署
首先也是解决这个问题
然后改config目录下prod.env.js文件中的base api地址 localhost改成nginx服务器IP地址,端口号改成对应的(这个是处理后端的 nginx的地址和端口号)
OSS_PATH以及其他的配置也要加上或者改成对应的
接着 npm run build 打包成功后会生成一个dist文件夹
复制这个dist文件夹到服务器根目录下的html文件夹下自己再建一个文件夹如guliqianduan放进去
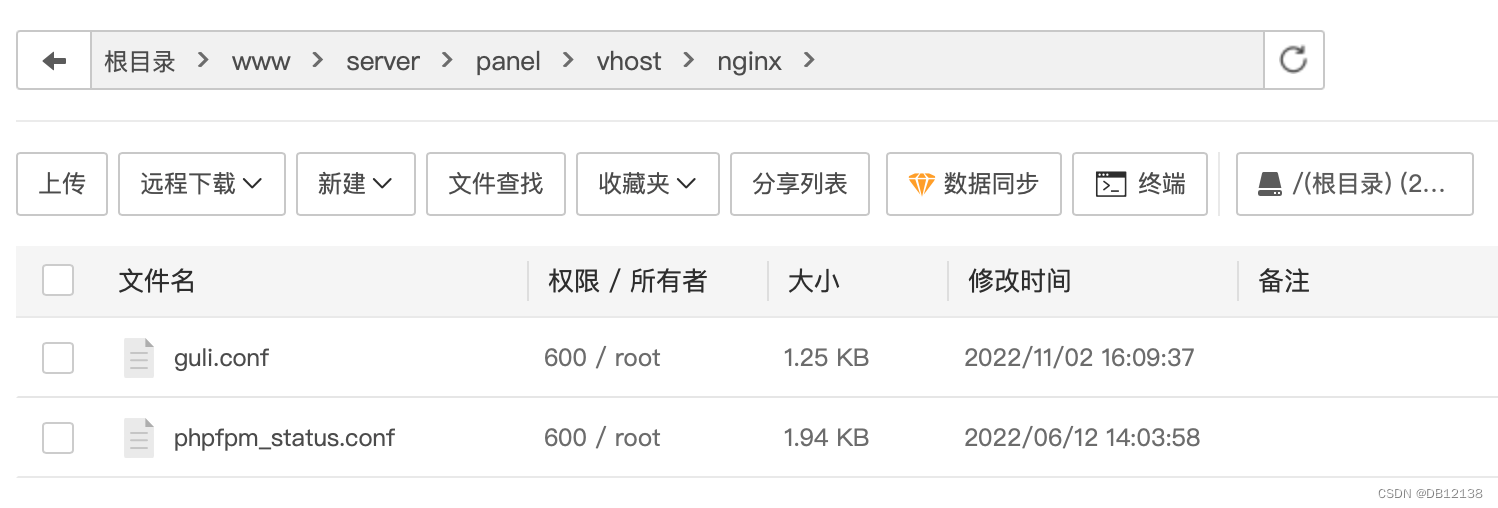
然后配置nginx 在/www/server/panel/vhost/nginx文件夹下创建一个nginx配置文件如guli.conf
下面这个是前端
server{
	listen       80;#端口号
	server_name  dbac.fun;#项目网址

	location / {
	        #跨域
			add_header Access-Control-Allow-Origin *;
			add_header Access-Control-Allow-Methods 'GET, POST, OPTIONS';
			add_header Access-Control-Allow-Headers 'DNT,X-Mx-ReqToken,Keep-Alive,User-Agent,X-Requested-With,If-Modified-Since,Cache-Control,Content-Type,Authorization';
			if ($request_method = 'OPTIONS') {
			# 禁止OPTIONS
				return 204;
			}

			root  /www/wwwroot/guli/dist; #dist文件夹也就是前端静态html等文件存放地址
			index  index.html index.htm;#首页
			try_files $uri $uri/ /index.html;
		}

}
注意 springboot项目微服务+前后端分离 后端也用nginx反向代理的时候。需要改前端请求的的baseapi ,在前端项目改config目录下对应开发环境或者生产环境的文件中的base api地址 localhost改成nginx监控的服务器IP地址和端口号(这个是处理后端的 nginx的地址和端口号)
然后还要创建一个处理后端的nginx配置文件
nginx配置文件别忘了改地址端口号等路径
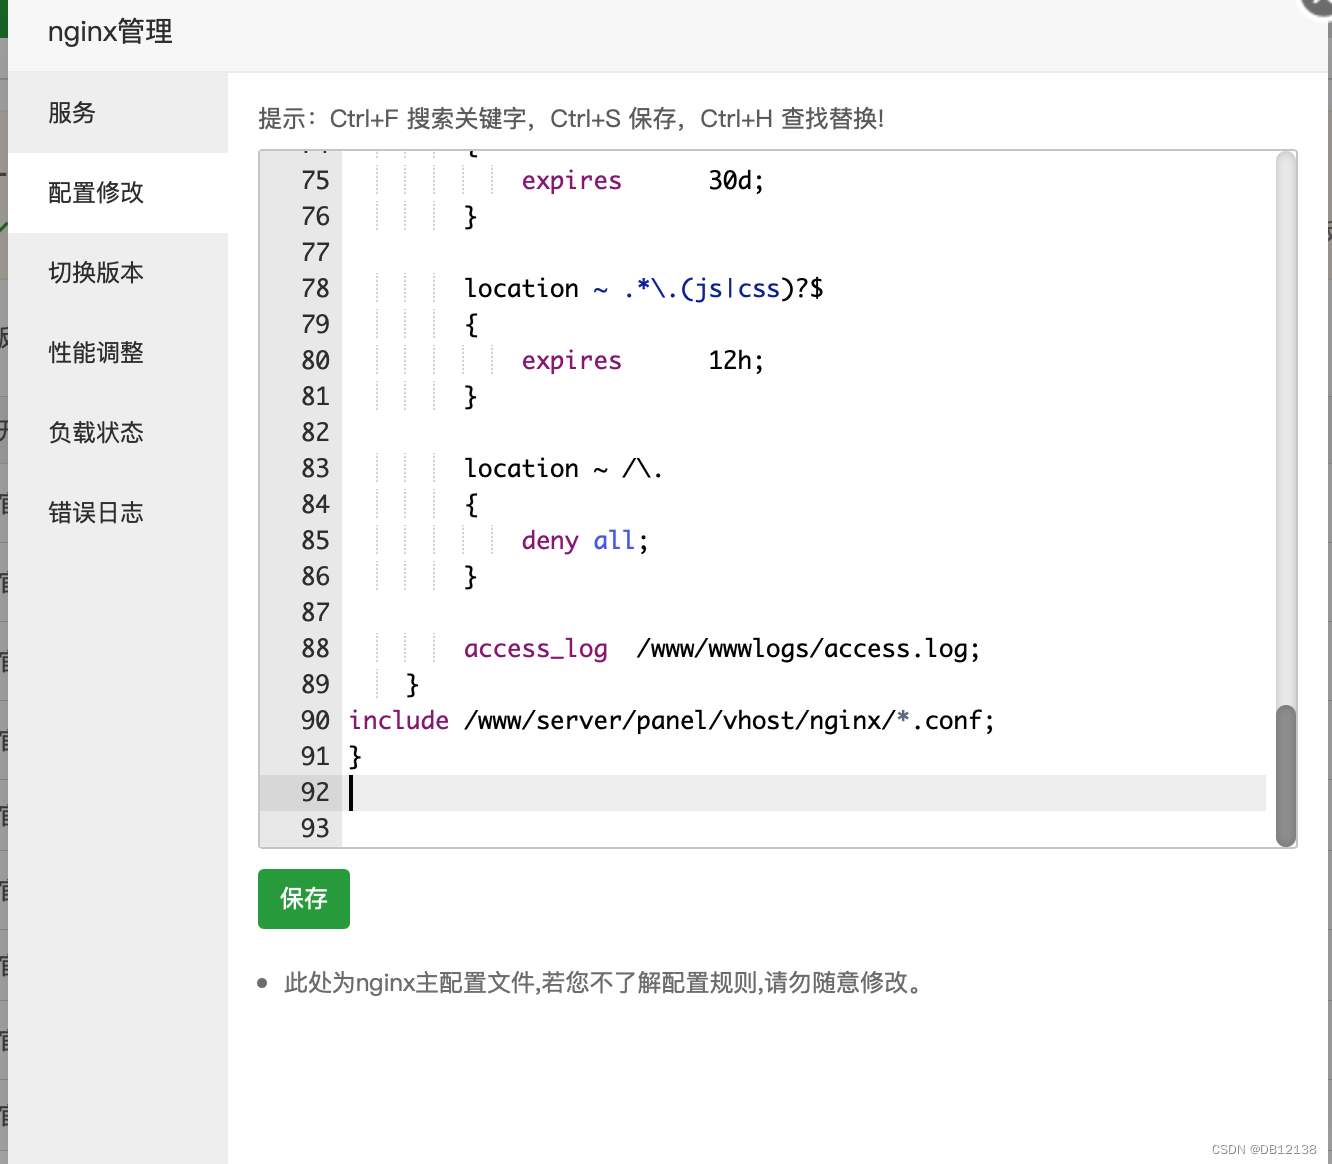
配置nginx 在/www/server/panel/vhost/nginx文件夹下(选择这个文件夹是因为nginx主配置文件里面的http{}块里面import了这个文件夹)。「可以import其他的文件夹。也可以直接在主配置文件里的http{}块里加server{}块」
创建一个nginx配置文件如gulihouduan.conf
-
Nginx 文件上传 413 错误解决方法
- 配置nginx
- 在大HTTP块儿里或者location /{}里添加一句 client_max_body_size 200M;
- 这是最大文件200兆的意思
下面这个是后端 ---注意监听的域名和端口号。要和pro.env.js中配置的BASE_API对应
server
{
    listen 80;
    server_name edusch.dbac.fun;

# 监听9001端口  server_name就是域名
#这一整个server块可以写到nginx主配置文件的http{}块里面,也可以单独的文件,在include路径里

#   HTTP反向代理相关配置开始 >>>
#   ~ 表示正则匹配 不加~表示完全匹配
#   ~ /eduservice/ 就表示路径里包含eduservice的就转发到localhost:8001


     #这里应该是后端端服务器的地址和端口号
    location ~ /eduservice/ {
        proxy_pass http://43.142.91.228:8001;
    }

    location ~ /eduoss/ {
        proxy_pass http://43.142.91.228:8002;
    }

}
下面这个也是是后端 ---注意监听的域名和端口号。要和pro.env.js中配置的BASE_API对应
server
{
    listen 9001;
    server_name dbac.fun;

# 监听9001端口  server_name就是域名
#这一整个server块可以写到nginx主配置文件的http{}块里面,也可以单独的文件,在include路径里

#   HTTP反向代理相关配置开始 >>>
#   ~ 表示正则匹配 不加~表示完全匹配
#   ~ /eduservice/ 就表示路径里包含eduservice的就转发到localhost:8001


     #这里应该是后端端服务器的地址和端口号
    location ~ /eduservice/ {
        proxy_pass http://43.142.91.228:8001;
    }

    location ~ /eduoss/ {
        proxy_pass http://43.142.91.228:8002;
    }

}
这个是一个完整的
前后端都有 (
后端 ---注意监听的域名和端口号。要和pro.env.js中配置的BASE_API能匹配
)
2022 11 27 新版nginx配置 可全部80 端口 一个nginx文件
server{
	listen       80;#端口号
	server_name  dbac.fun;#项目网址
# 		也可以写server_name  dbac.fun;#项目网址
#       也可以写127.0.0.1 表示本机
#       也可以按照对应的写二级域名都行
#       写127.0.0.1的话一个端口只能一个server块(里面可以多个了location块)
#       写域名 网址的话 可以一个端口多个server块

    # 前端
	location / {
	        #跨域
			add_header Access-Control-Allow-Origin *;
			add_header Access-Control-Allow-Methods 'GET, POST, OPTIONS';
			add_header Access-Control-Allow-Headers 'DNT,X-Mx-ReqToken,Keep-Alive,User-Agent,X-Requested-With,If-Modified-Since,Cache-Control,Content-Type,Authorization';
			if ($request_method = 'OPTIONS') {
			# 禁止OPTIONS
				return 204;
			}

			root  /www/wwwroot/guli/dist; #dist文件夹也就是前端静态html等文件存放地址
			index  index.html index.htm;#首页
			try_files $uri $uri/ /index.html;
		}

#后端的可以写到这个,这样配置 、、、、也可以单独的一个二级域名 下面那样配置
#如果这样配置的话 前端的baseapi是 BASE_API: '"http://dbac.fun:80/"',
#如果单独二级域名 下面那样配置的话 BASE_API: '"http://edusch.dbac.fun:80/"',
    location ~ /eduservice/ {
        proxy_pass http://43.142.91.228:8001;
        #可以写服务器的外网地址(如果在别的服务器那只能写外网地址)
        #如果就在本机 也可以写 127.0.0.1
        #   ~ /eduservice/ 就表示路径里包含/eduservice/的就转发到http://43.142.91.228:8001
    }

    location ~ /eduoss/ {
        proxy_pass http://127.0.0.1:8002;
    }

}
# 、、、、也可以单独的一个二级域名 配置
#如果这样配置的话 前端的baseapi是 BASE_API: '"http://dbac.fun:80/"',
#如果单独二级域名 下面那样配置的话 BASE_API: '"http://edusch.dbac.fun:80/"',
server
{
    listen 80;
    server_name edusch.dbac.fun;
    # 这个server_name edusch.dbac.fun;   二级域名版

# 监听9001端口  server_name就是域名
#这一整个server块可以写到nginx主配置文件的http{}块里面,也可以单独的文件,在include路径里

#   HTTP反向代理相关配置开始 >>>
#   ~ 表示正则匹配 不加~表示完全匹配
#   ~ /eduservice/ 就表示路径里包含/eduservice/的就转发到localhost:8001


     #这里应该是后端端服务器的地址和端口号
    #  如果是别的机器就写别的机器的地址和端口号
    #  如果就是本机 直接写127.0.0.1再加端口号也行也行
    location ~ /eduservice/ {
        proxy_pass http://43.142.91.228:8001;
    }

    location ~ /eduoss/ {
        proxy_pass http://43.142.91.228:8002;
    }

}

#其他
server{
	listen       80;#端口号
	server_name  www.dbac.fun;#项目网址

	location / {
			root  /www/wwwroot/dbac/dist; #dist文件夹也就是前端静态html等文件存放地址
			index  index.html index.htm;#首页
			try_files $uri $uri/ /index.html;
		}

}
server{
	listen       80;#端口号
	server_name  www.doublecc.club;#项目网址

	location / {
			root  /www/wwwroot/doublecc/dist; #dist文件夹也就是前端静态html等文件存放地址
			index  index.html index.htm;#首页
			try_files $uri $uri/ /index.html;
		}
}
nginx配置文件路径


 2585
2585


 被折叠的 条评论
为什么被折叠?
被折叠的 条评论
为什么被折叠?
 到【灌水乐园】发言


