


目录
- 一、准备虚拟机,下载centos 7
- 二、安装centos
- 三、用MobaXterm远程控制虚拟机
- 四、登录到虚拟机
- 1.切换到root用户
- 2.给系统升级
- 3. 安装vim
- 4.安装SSH协议
- 5.设置SSH服务开机自启动
- 6.启动SSH服务
- 7.安装防火墙
- 8.开启防火墙
- 9.添加http服务到firewalld,pemmanent表示永久生效,若不加--permanent系统下次启动后就会失效。
- 10.重启防火墙
- 11.接下来,安装Postfix以发送通知邮件
- 12.将postfix服务设置成开机自启动
- 13.启动postfix,安装命令
- 14.检查系统中是否已经安装wget,使用命令若出现下图wget相关版本描述则说明系统中已经安装wget 若报系统找不到命令说明wget未安装
- 15.若wget未安装则进行安装
- 16.安装gitlab
- 17.安装gitlab
- 18.修改gitlab配置文件
- 19.输入小写的“i”进入编辑模式:
- 20.按Esc键退出编辑模式,然后输入命令“:wq”保存并退出。
- 21.重启防火墙
- 22.重置gitlab
- 23.重启gitlab
- 24.查看版本号
- 25.破解管理员密码
- 26.设置第一个用户
- 27.设置密码
- 28.确认密码
- 29.保存用户
- 30.退出
- 31、网页登录gitlab
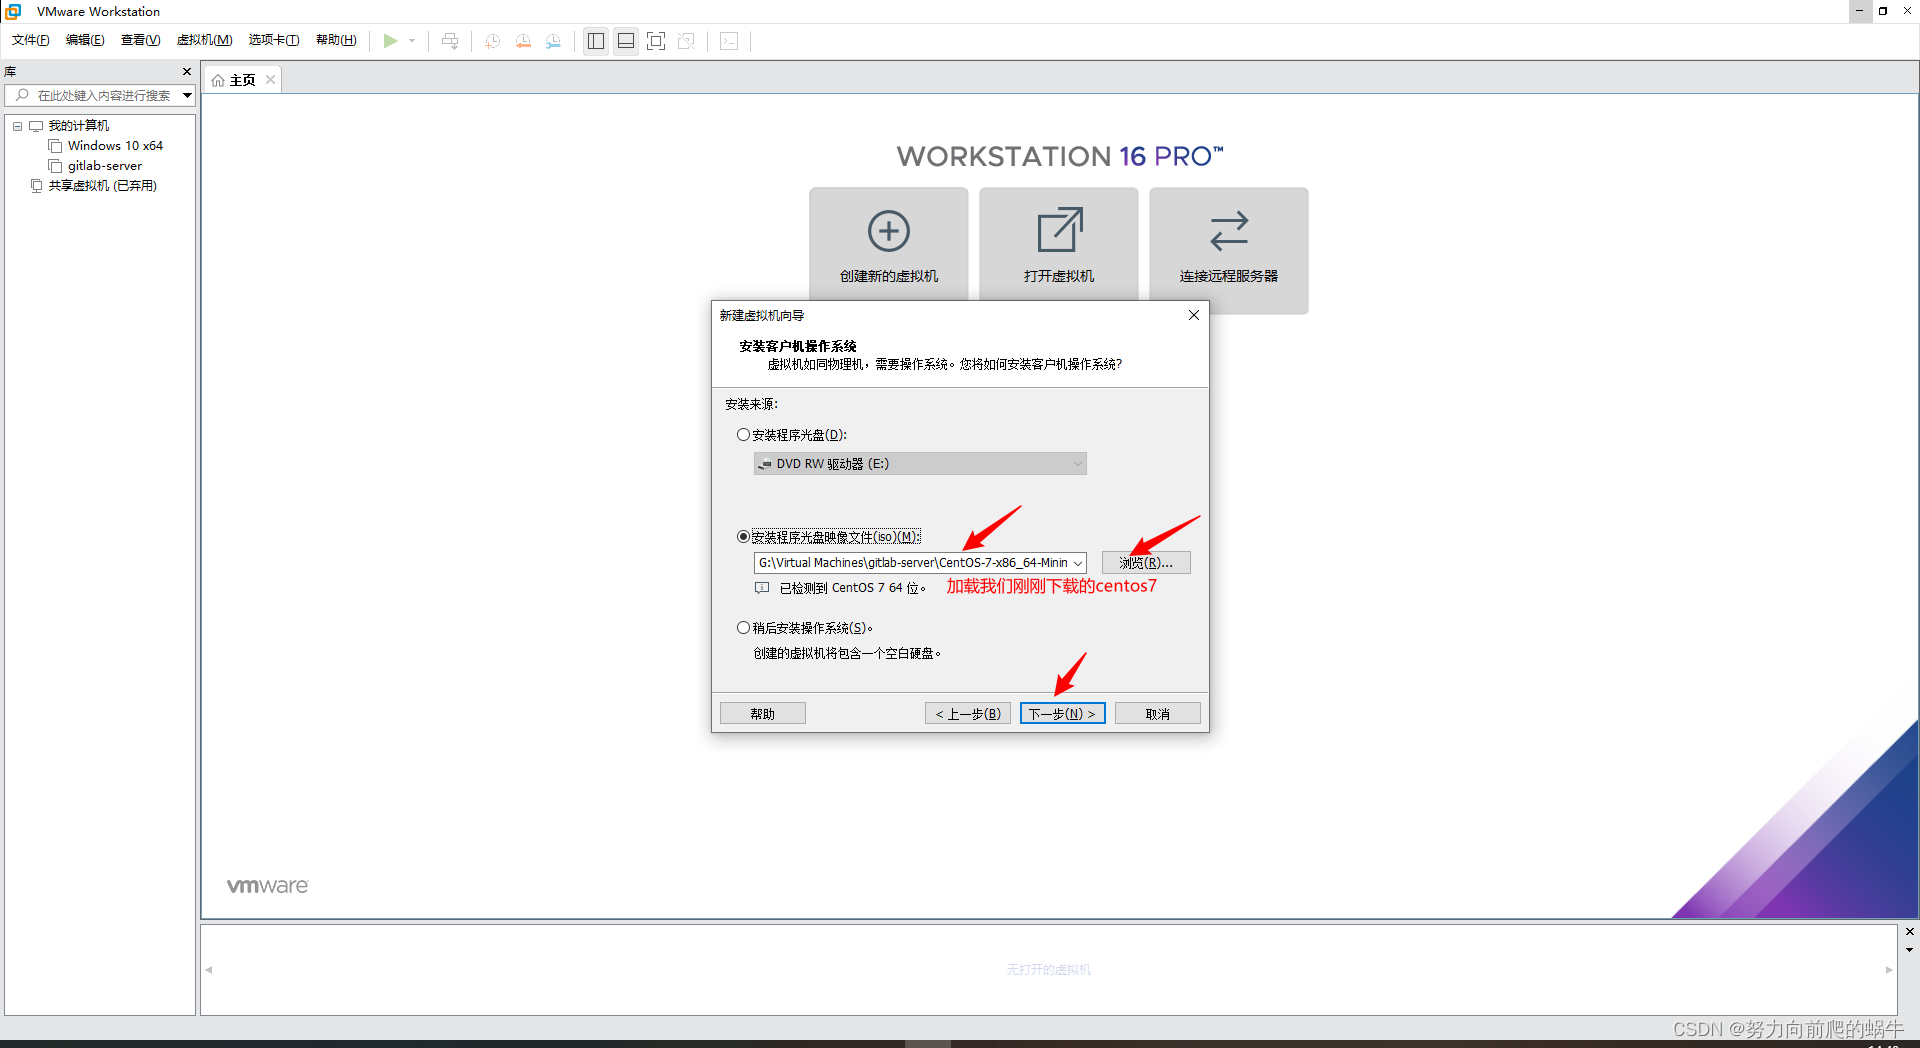
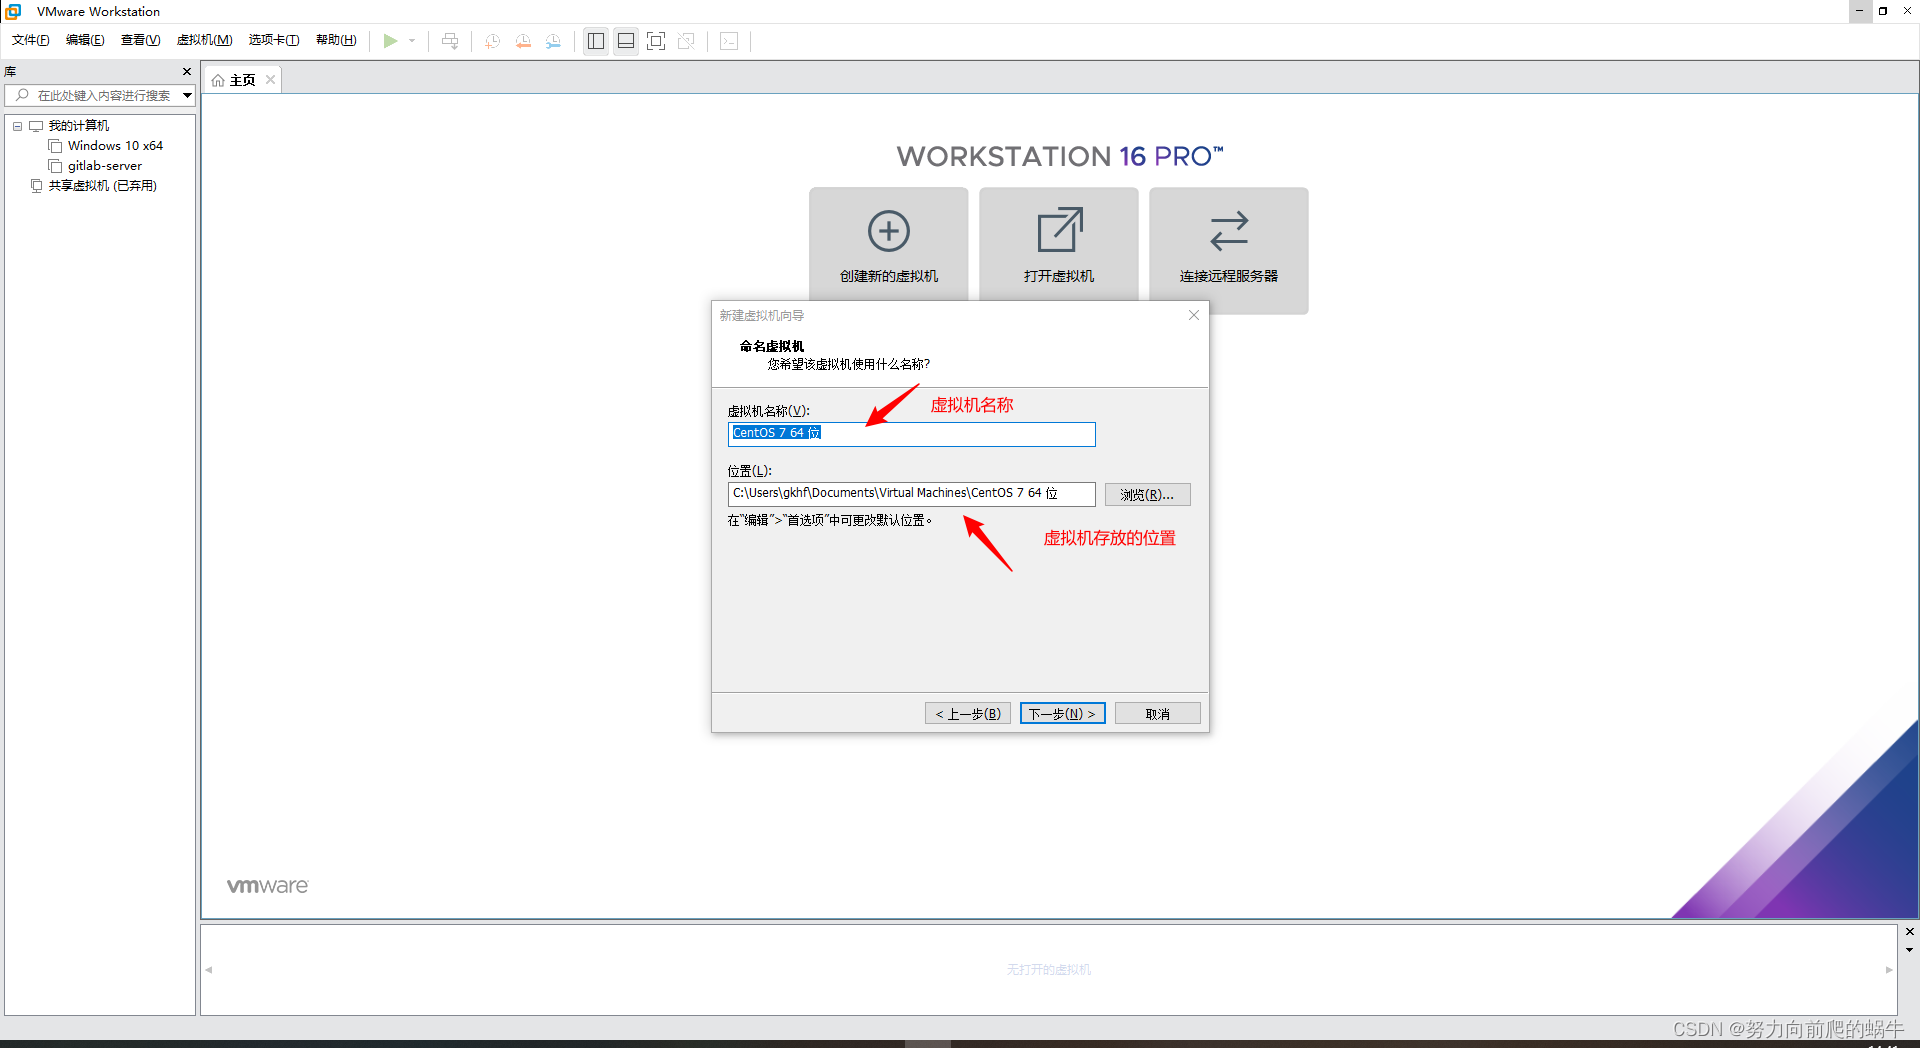
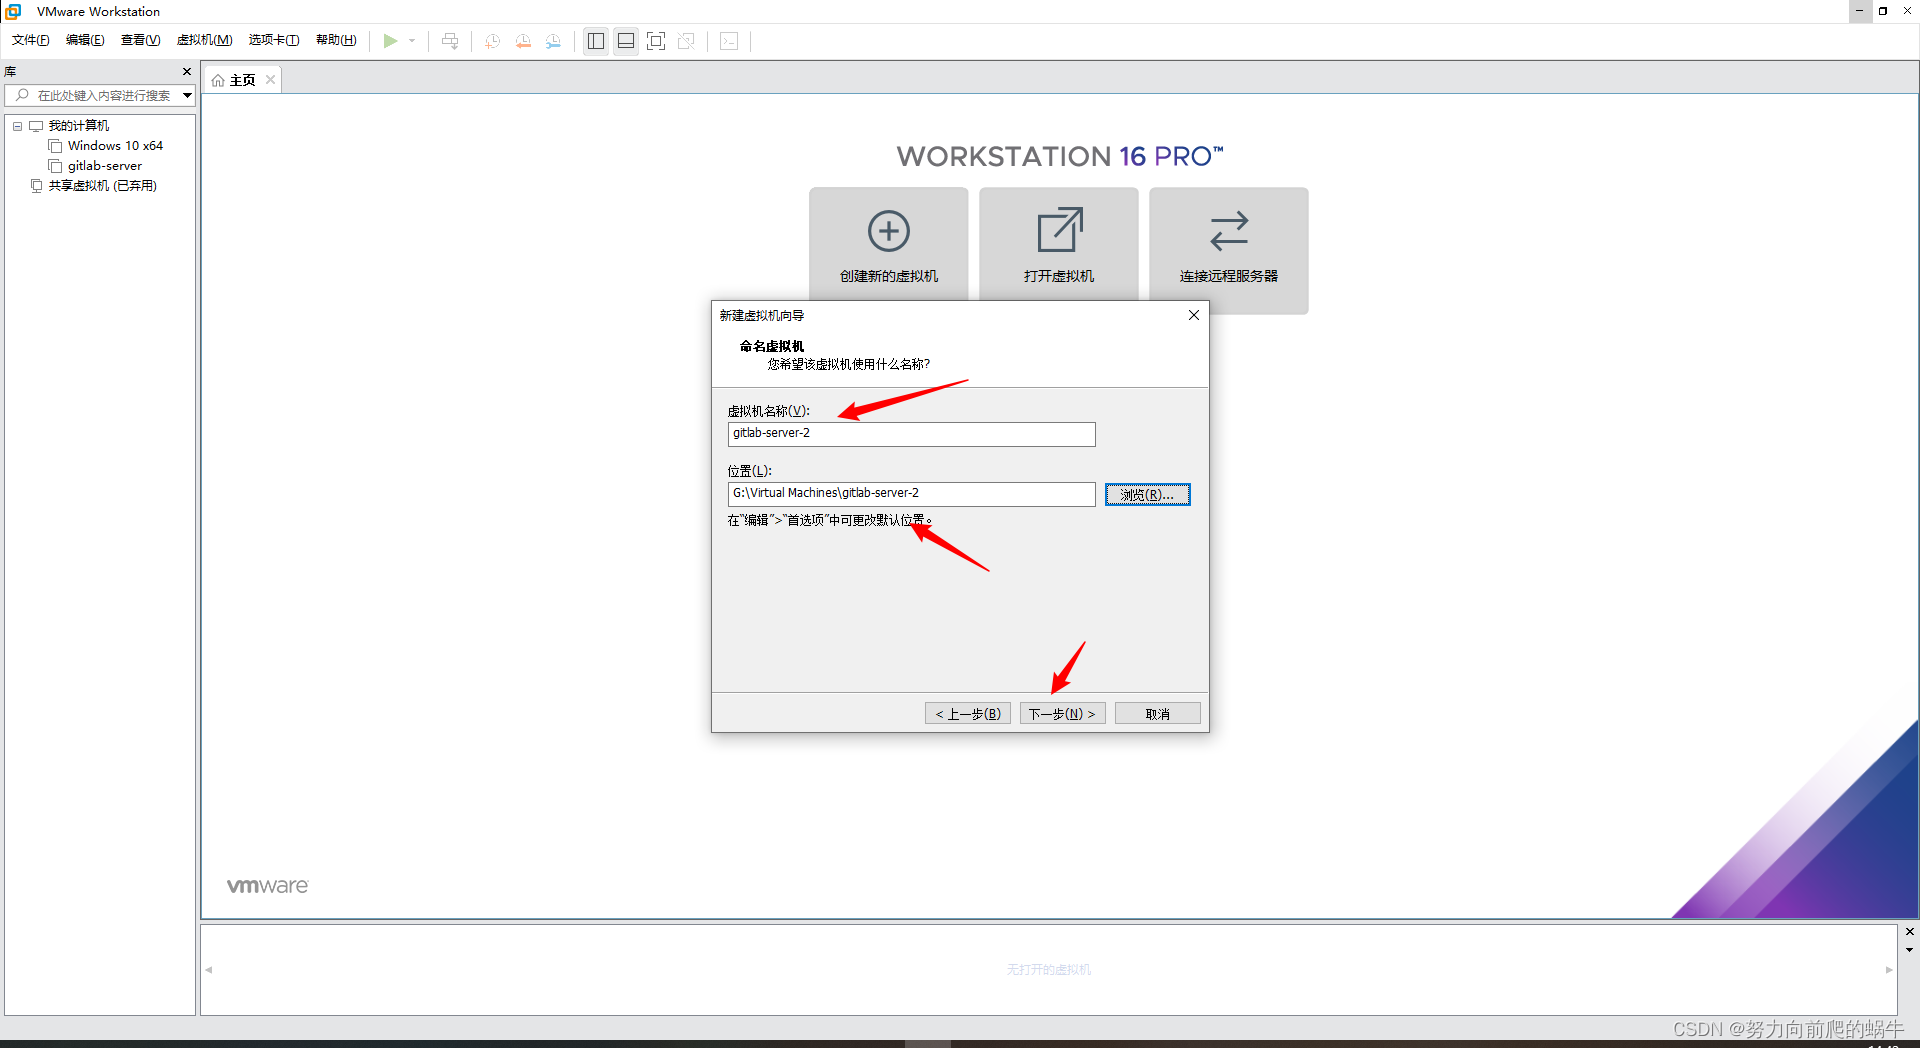
一、准备虚拟机,下载centos 7
绝对手把手良心教程
vmware 手把手安装链接
如所示


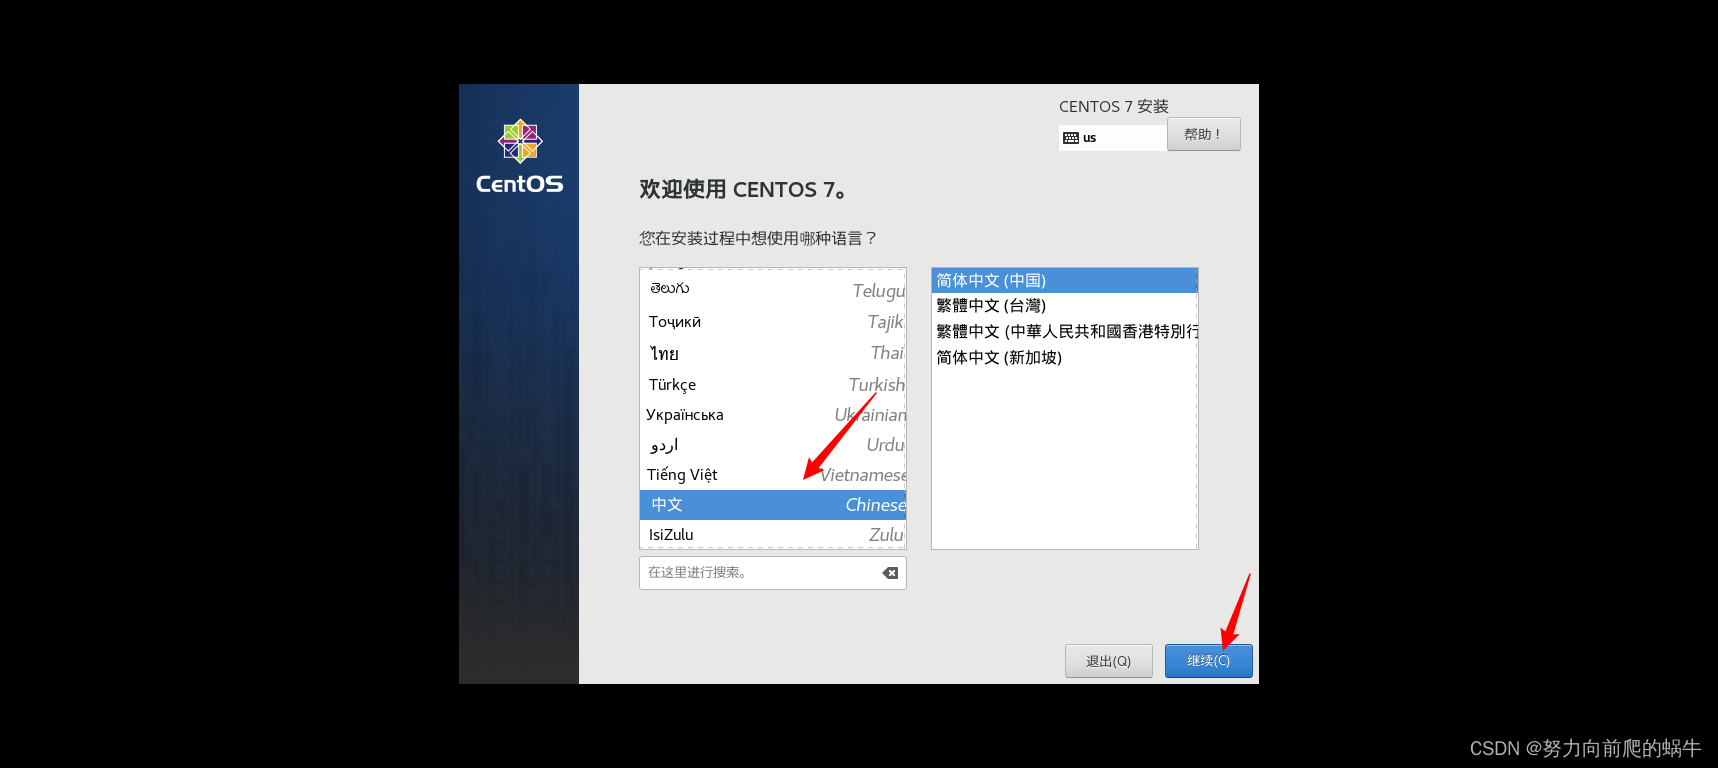
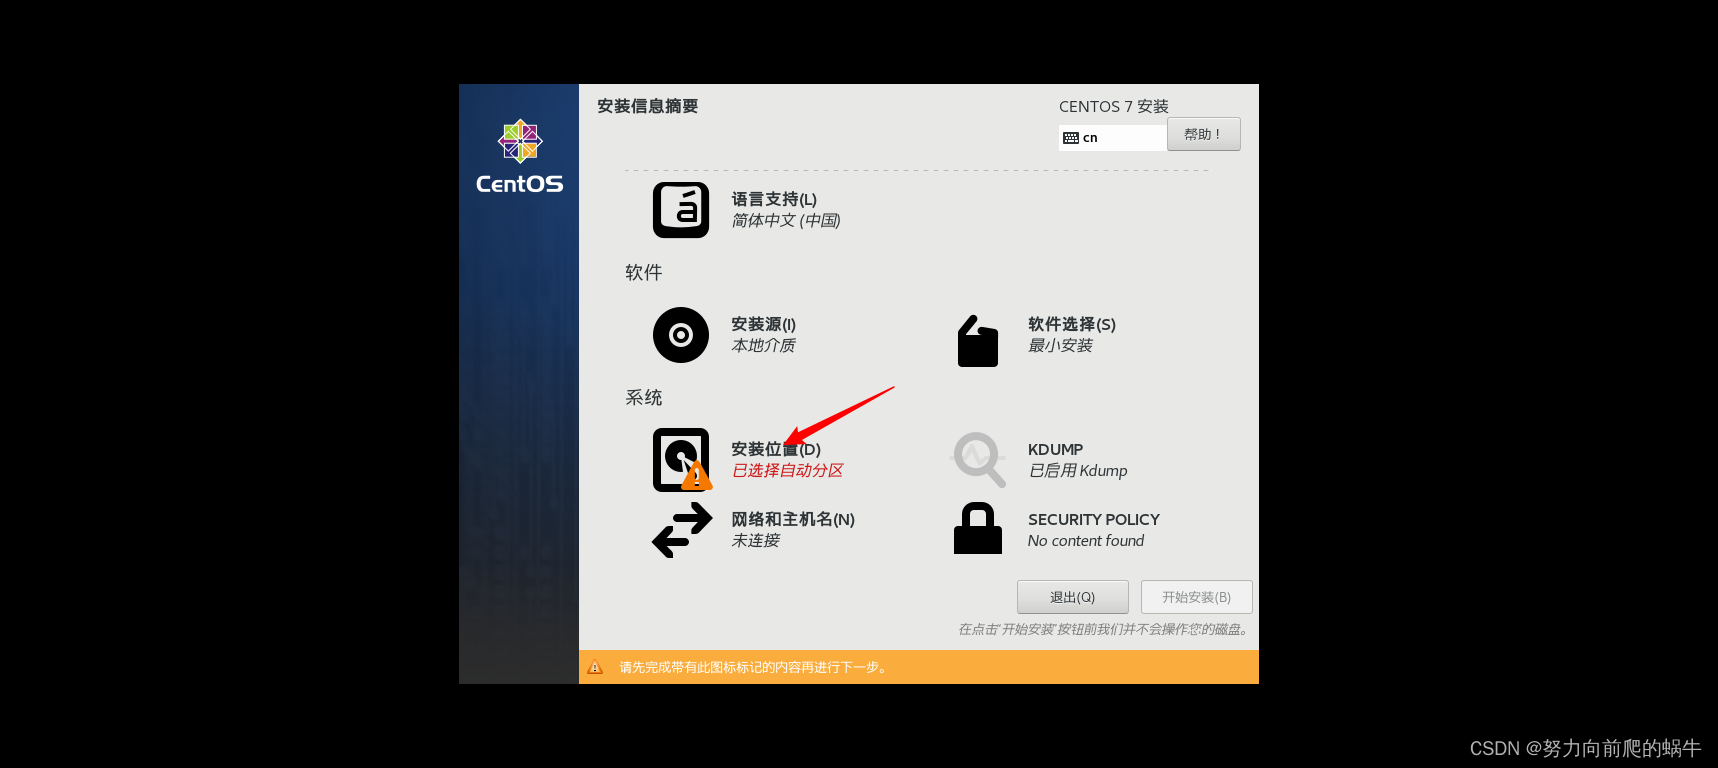
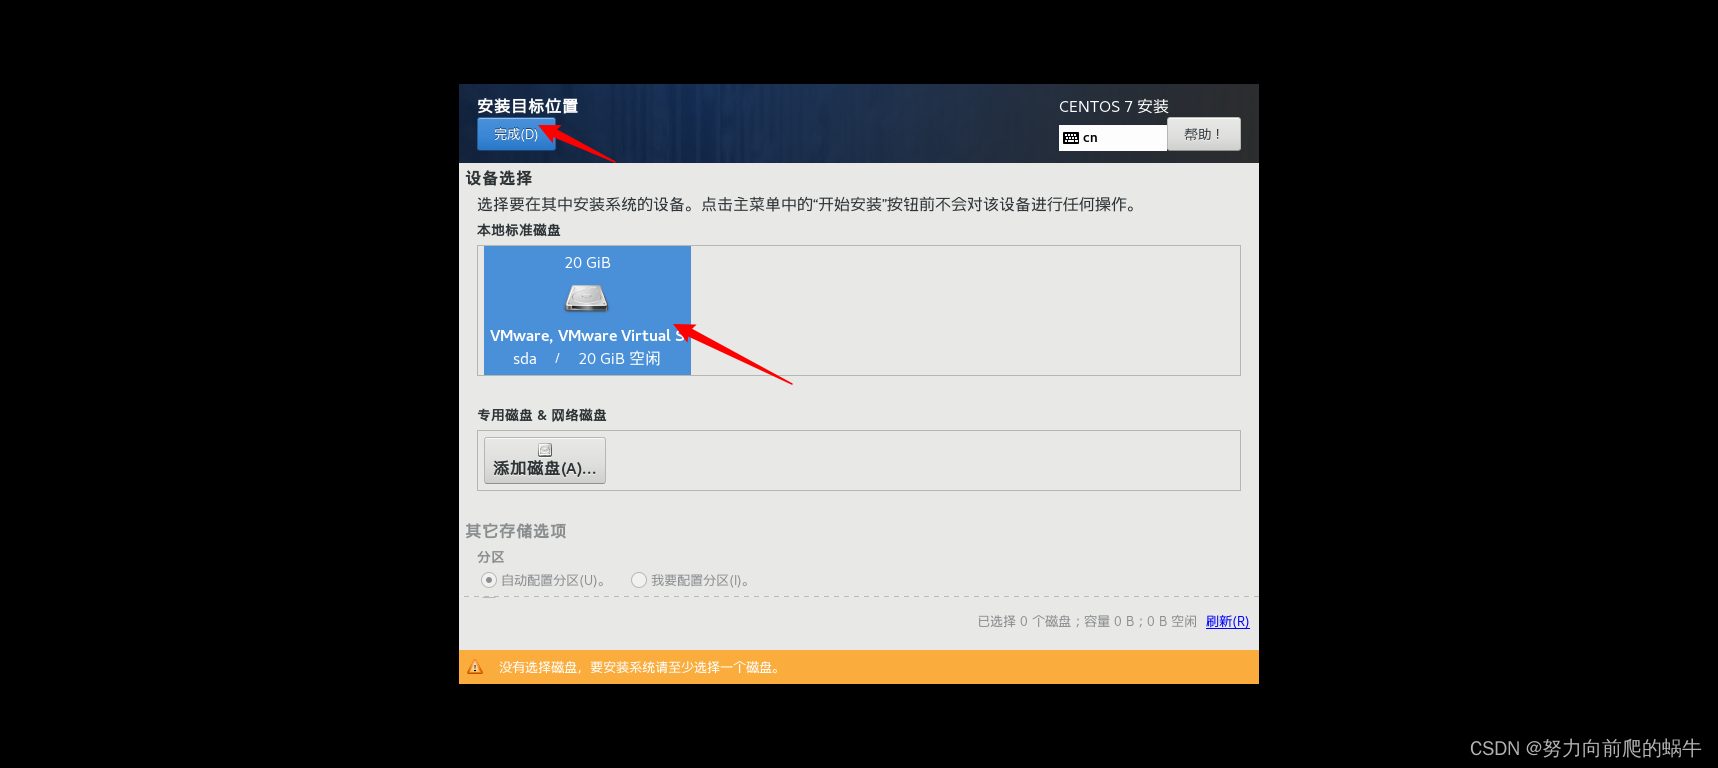
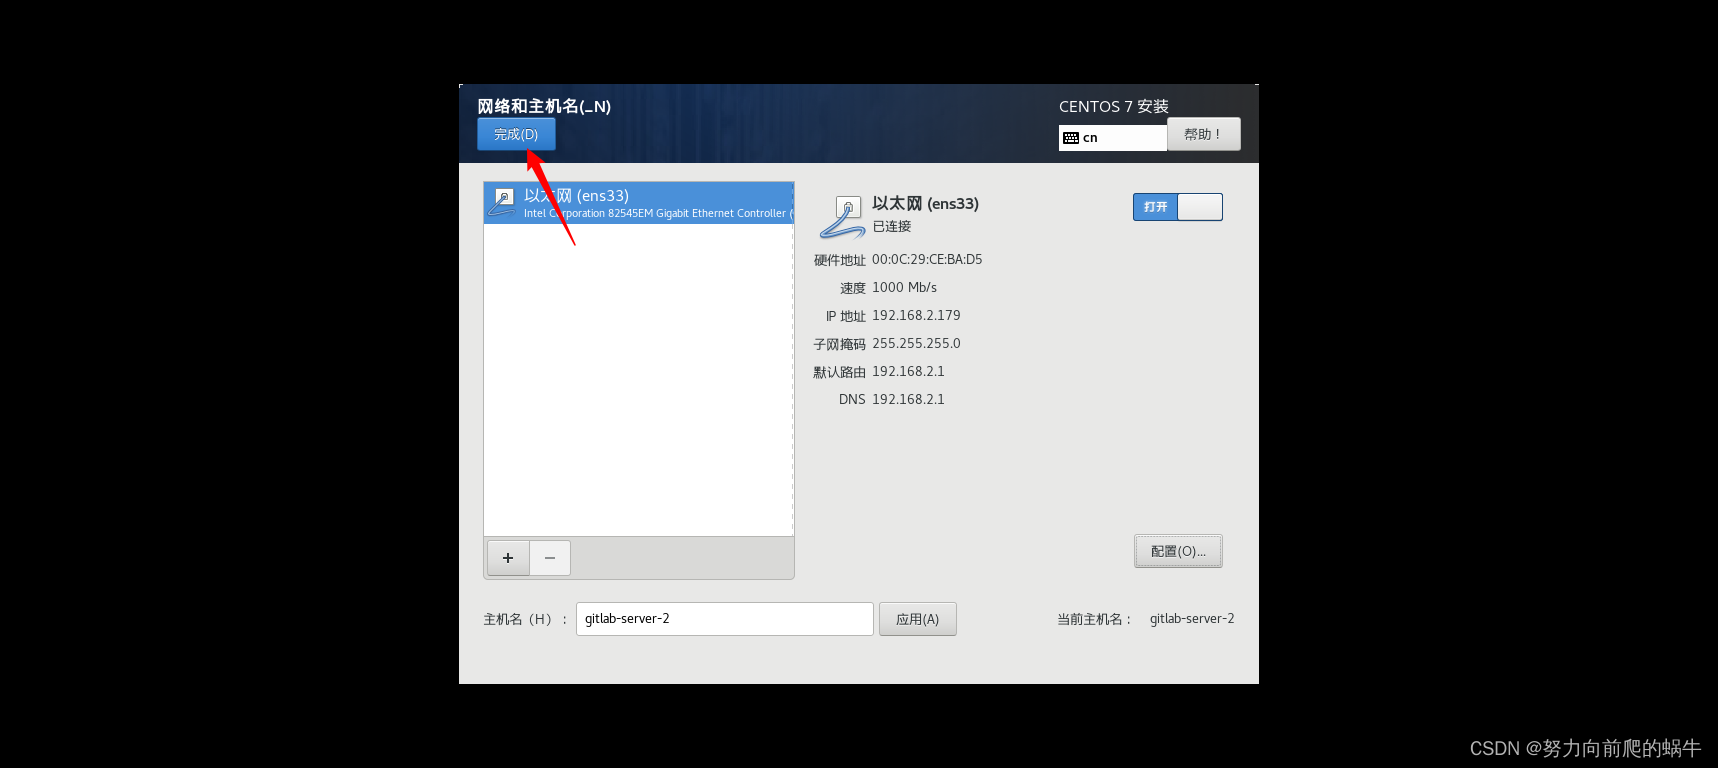
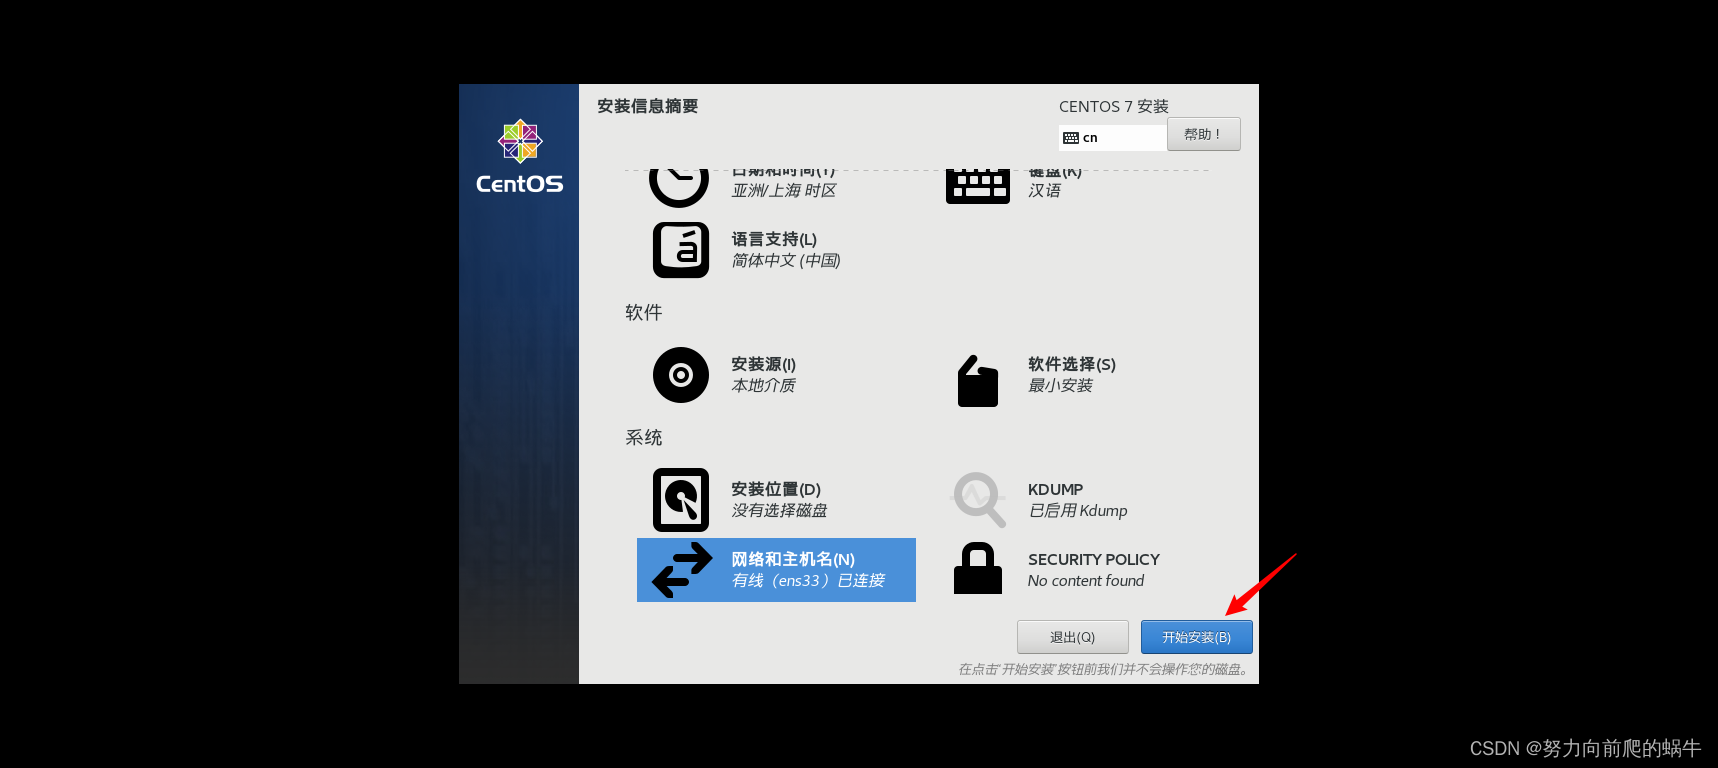
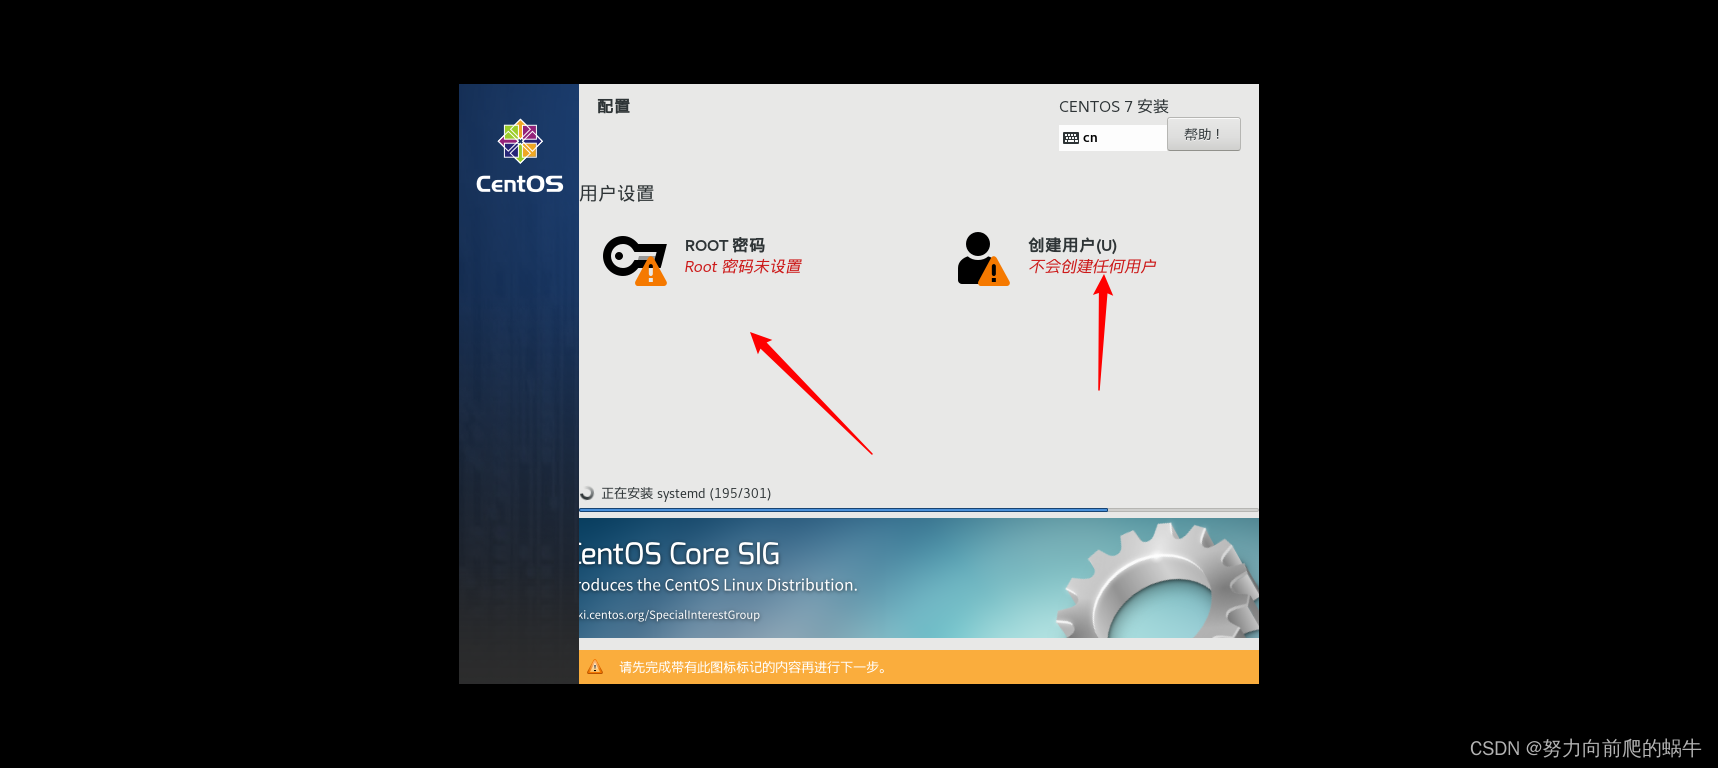
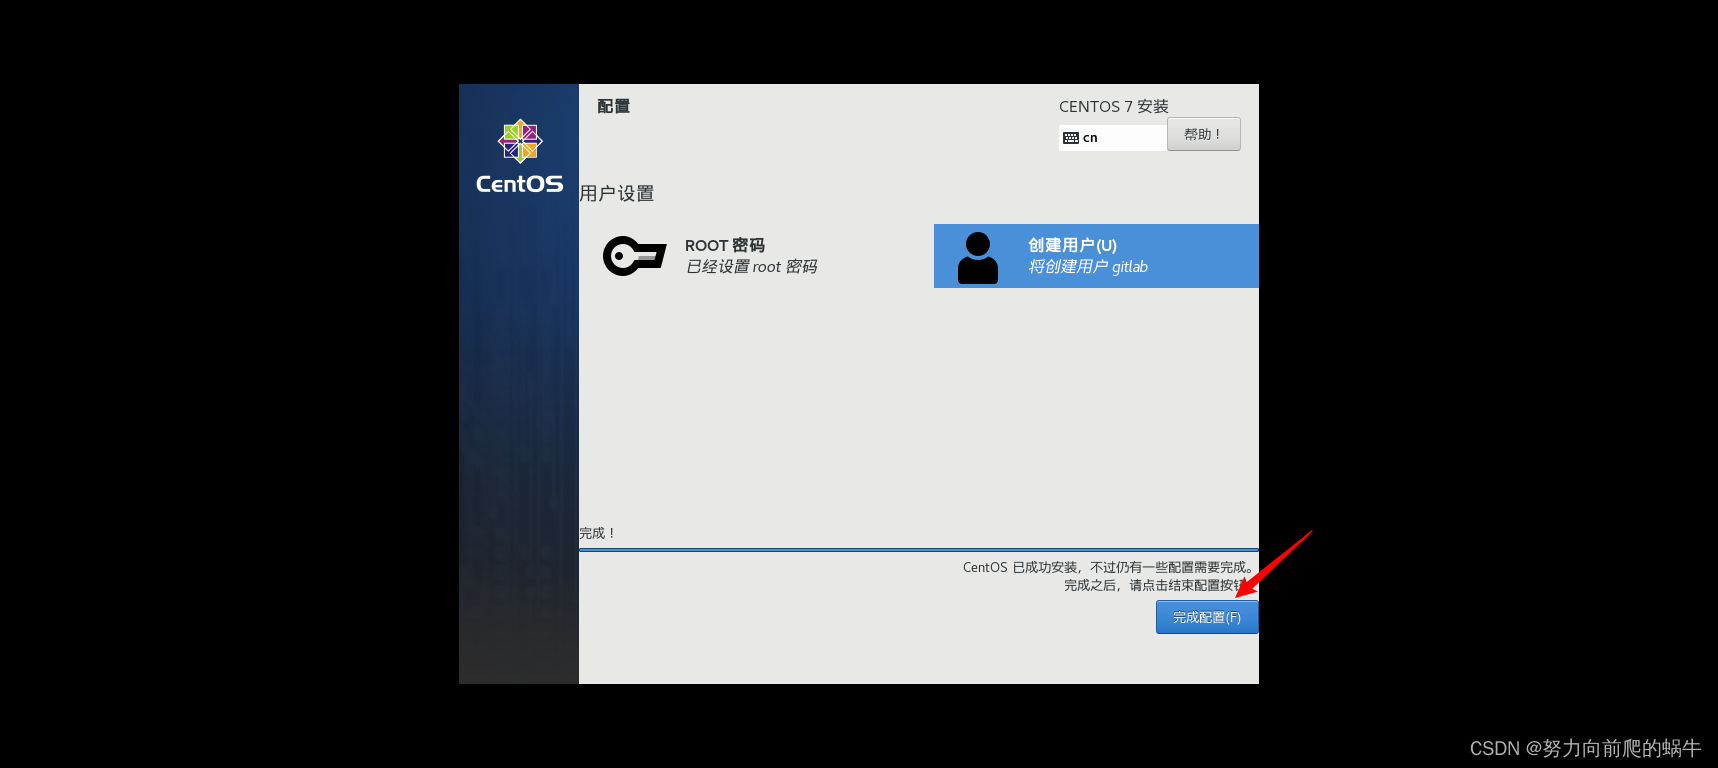
二、安装centos
没有截图的都保持默认即可


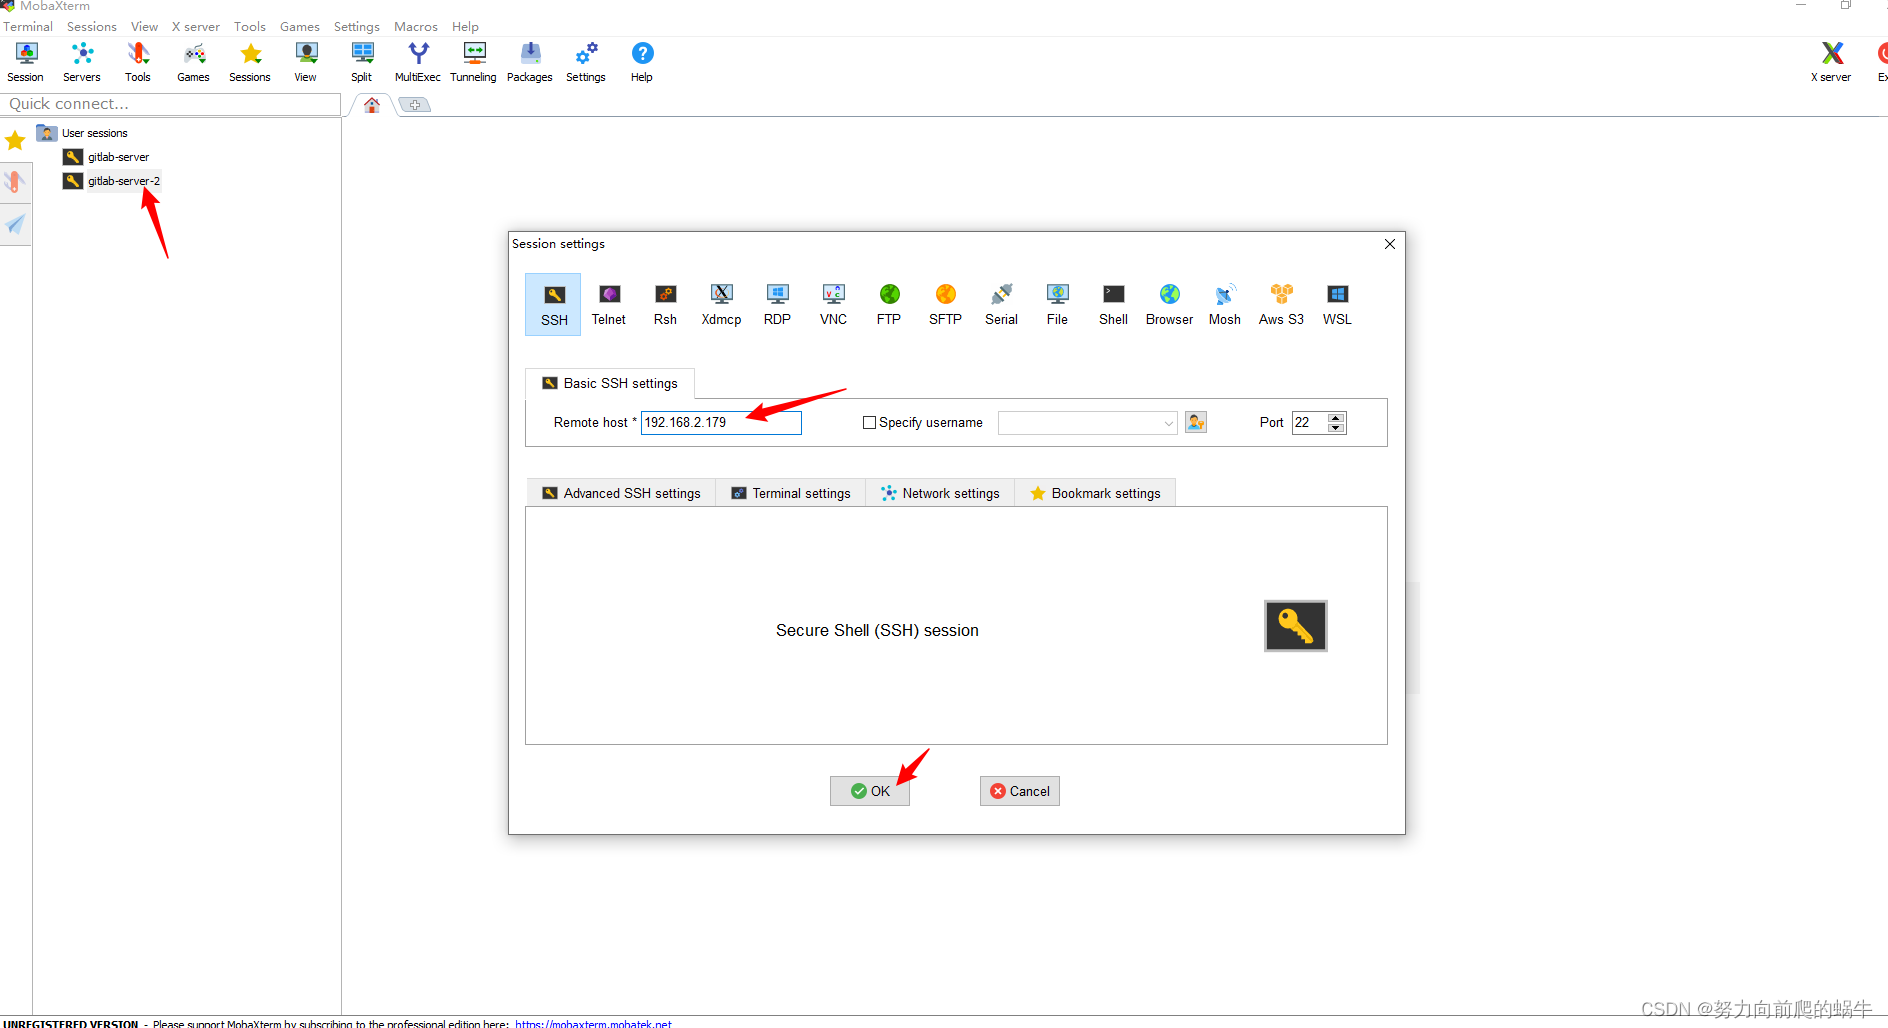
三、用MobaXterm远程控制虚拟机

四、登录到虚拟机
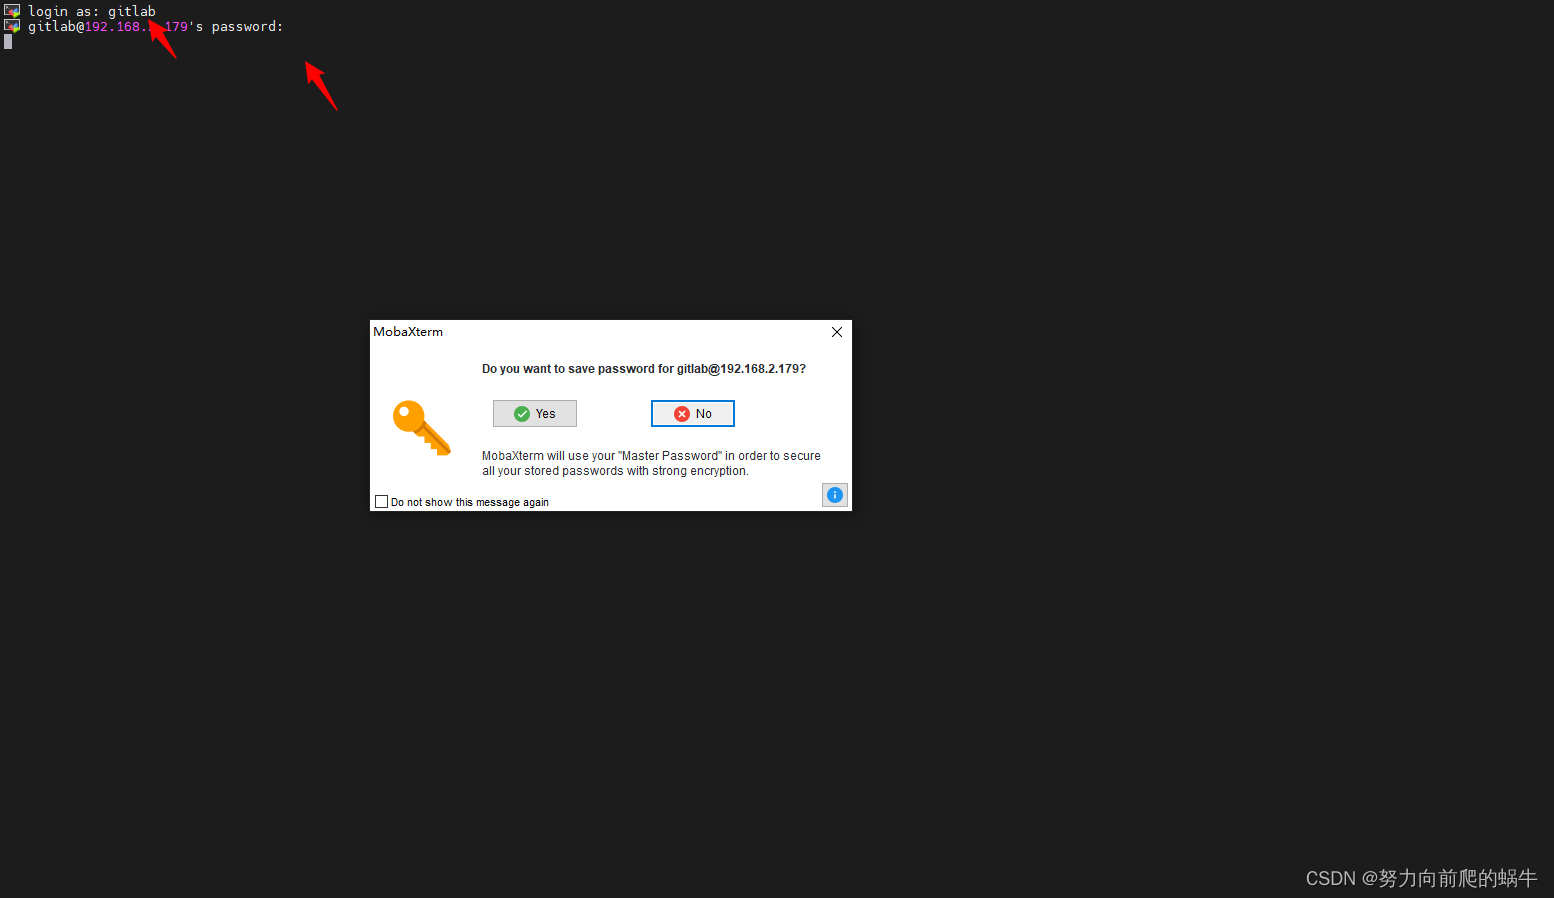
选择NO
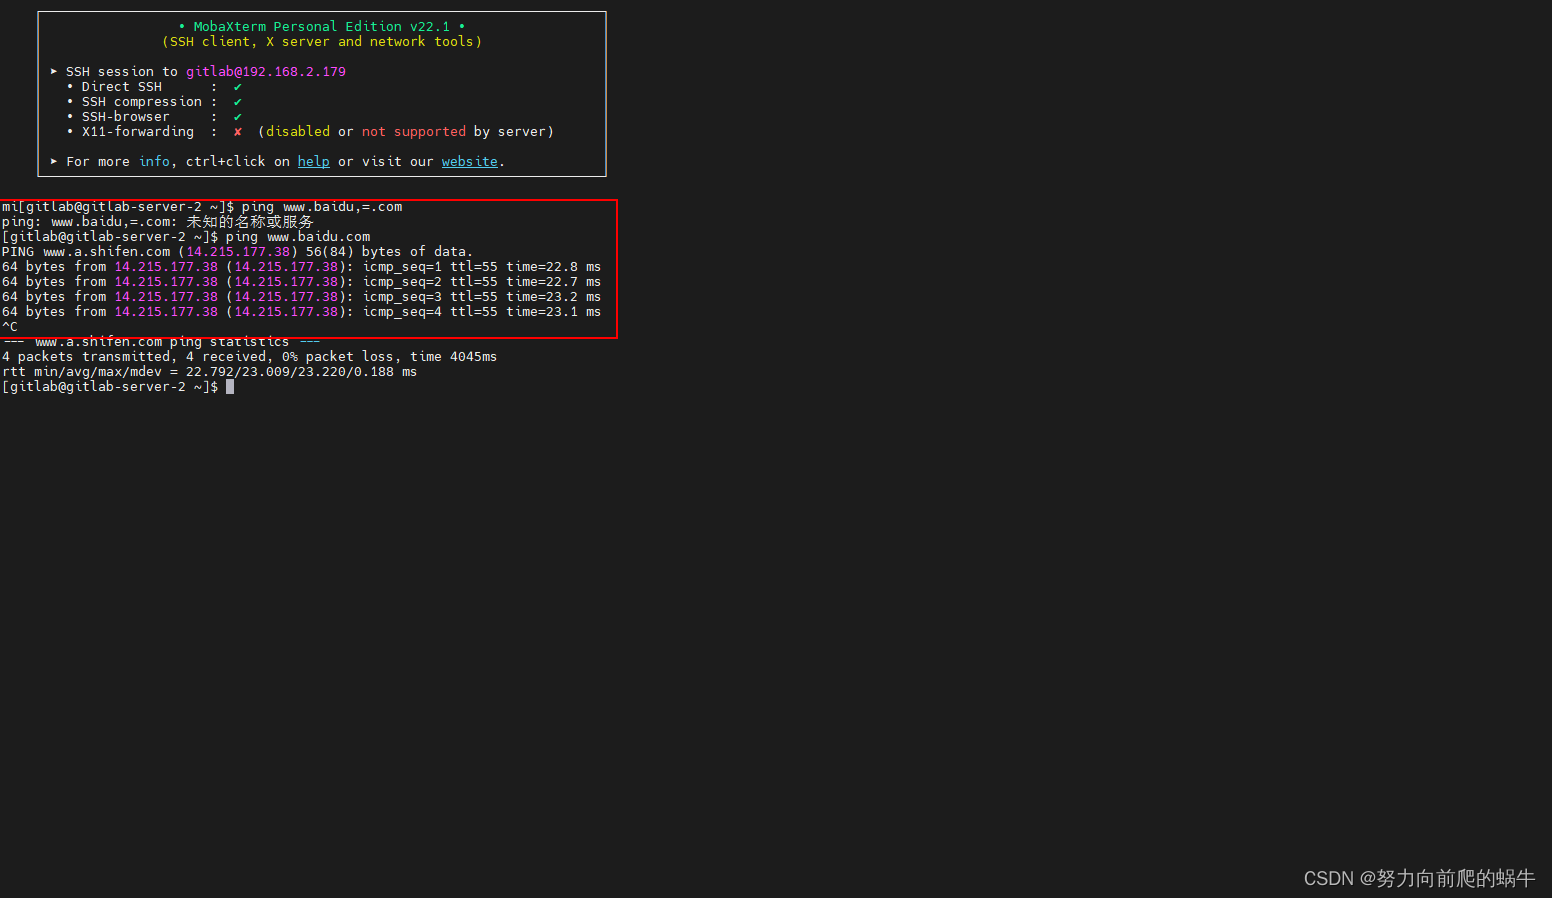
看是否能够ping通百度
ping www.baidu.com
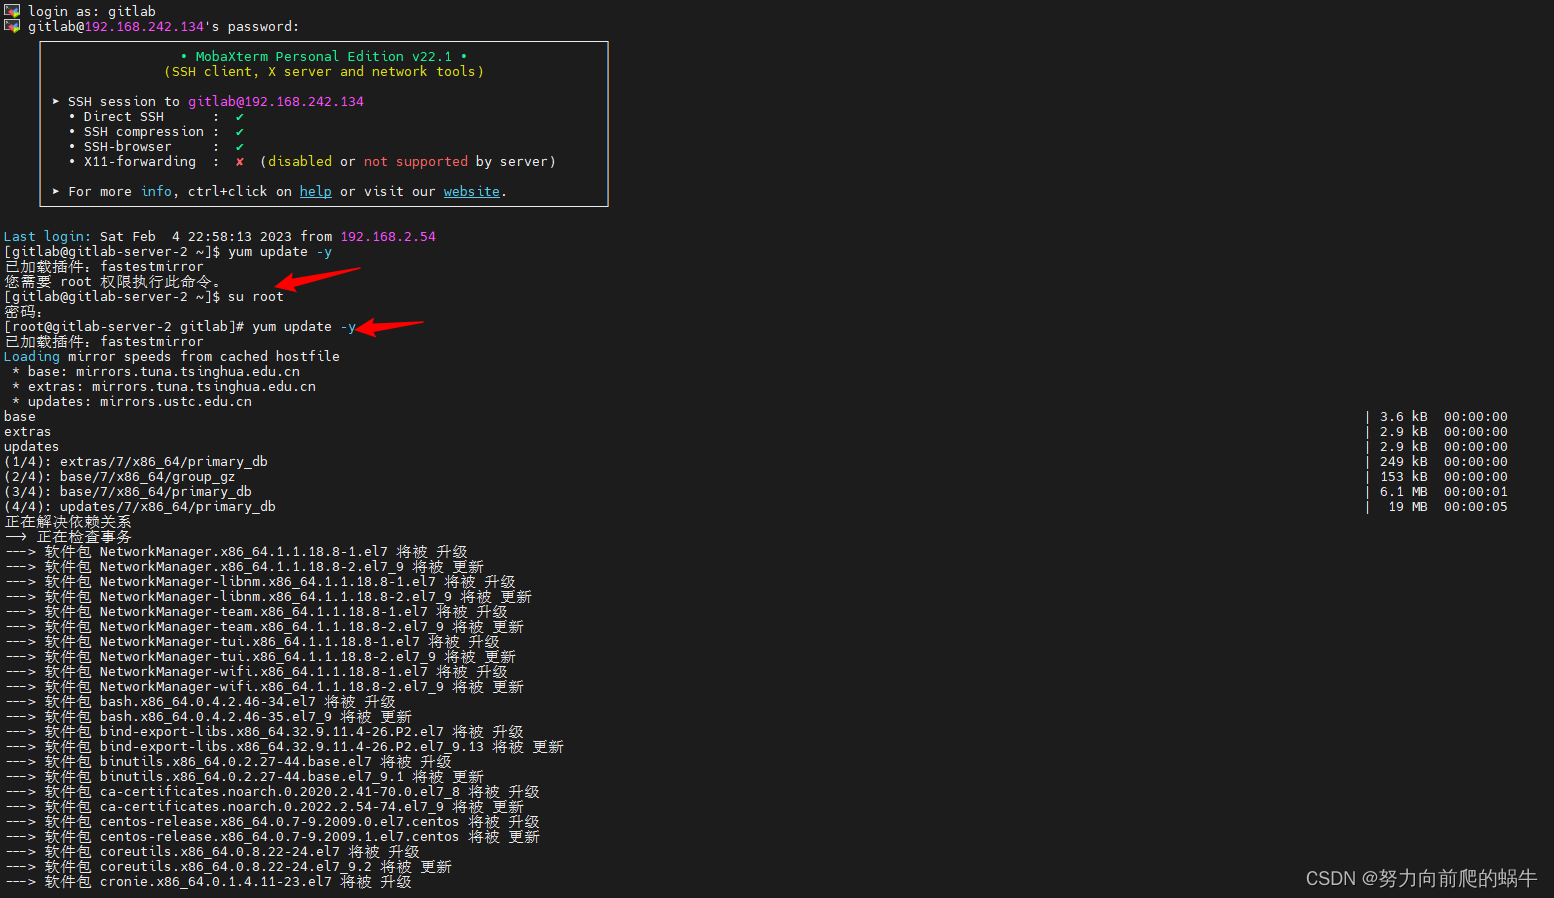
1.切换到root用户
su root
如所示

2.给系统升级
yum update -y
如果出现如所示
[root@localhost yum.repos.d]# yum update -y
已加载插件:fastestmirror


 One of the configured repositories failed (未知),
 and yum doesn't have enough cached data to continue. At this point the only
 safe thing yum can do is fail. There are a few ways to work "fix" this:

     1. Contact the upstream for the repository and get them to fix the problem.

     2. Reconfigure the baseurl/etc. for the repository, to point to a working
        upstream. This is most often useful if you are using a newer
        distribution release than is supported by the repository (and the
        packages for the previous distribution release still work).

     3. Disable the repository, so yum won't use it by default. Yum will then
        just ignore the repository until you permanently enable it again or use
        --enablerepo for temporary usage:

            yum-config-manager --disable <repoid>

     4. Configure the failing repository to be skipped, if it is unavailable.
        Note that yum will try to contact the repo. when it runs most commands,
        so will have to try and fail each time (and thus. yum will be be much
        slower). If it is a very temporary problem though, this is often a nice
        compromise:

            yum-config-manager --save --setopt=<repoid>.skip_if_unavailable=true

Cannot retrieve metalink for repository: epel/x86_64. Please verify its path and try again
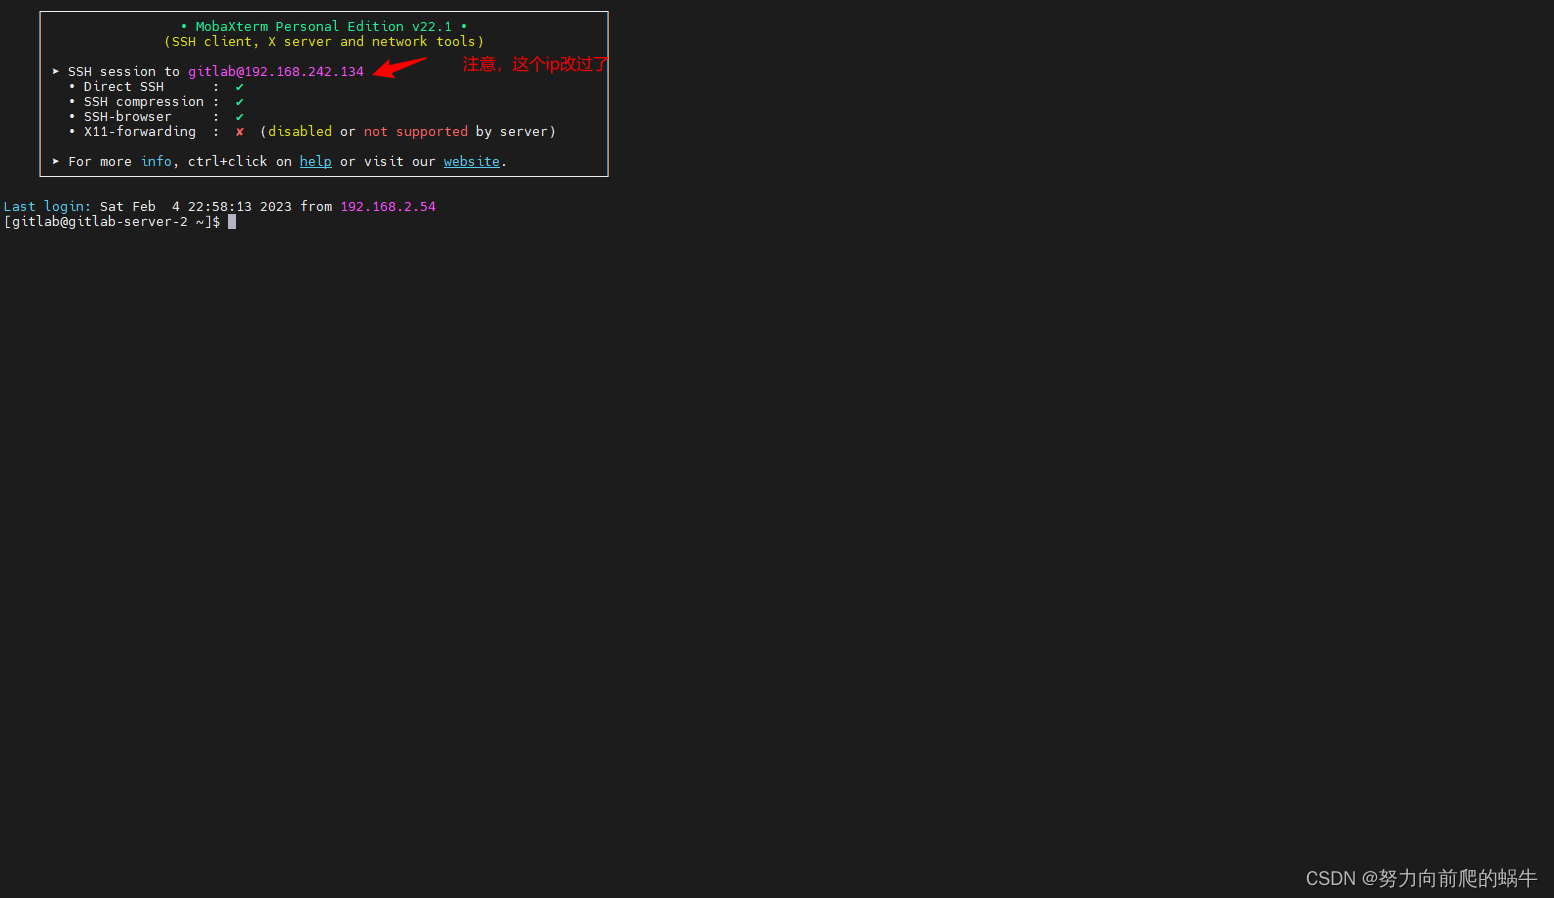
先将虚拟机的网络链接设置成NAT 模式

再用 ip a 查看 虚拟机ip地址

切换MobaXterm 中gitlab-server-2 session的ip地址


可以看到我们的ip地址变了
继续用该命令
yum update -y

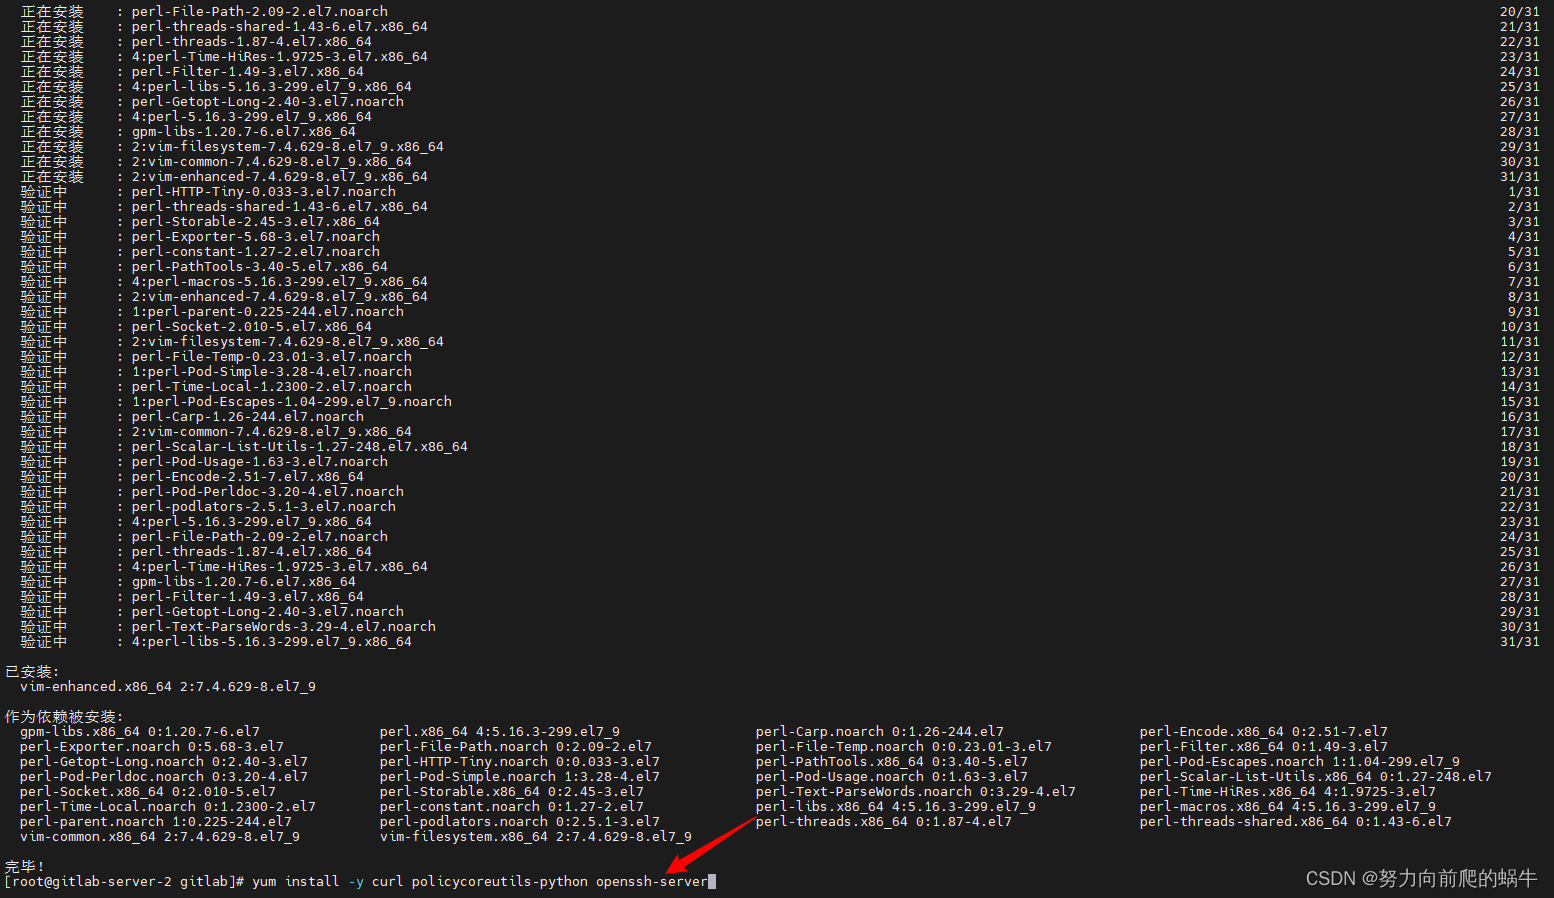
3. 安装vim
yum install vim -y
如所示


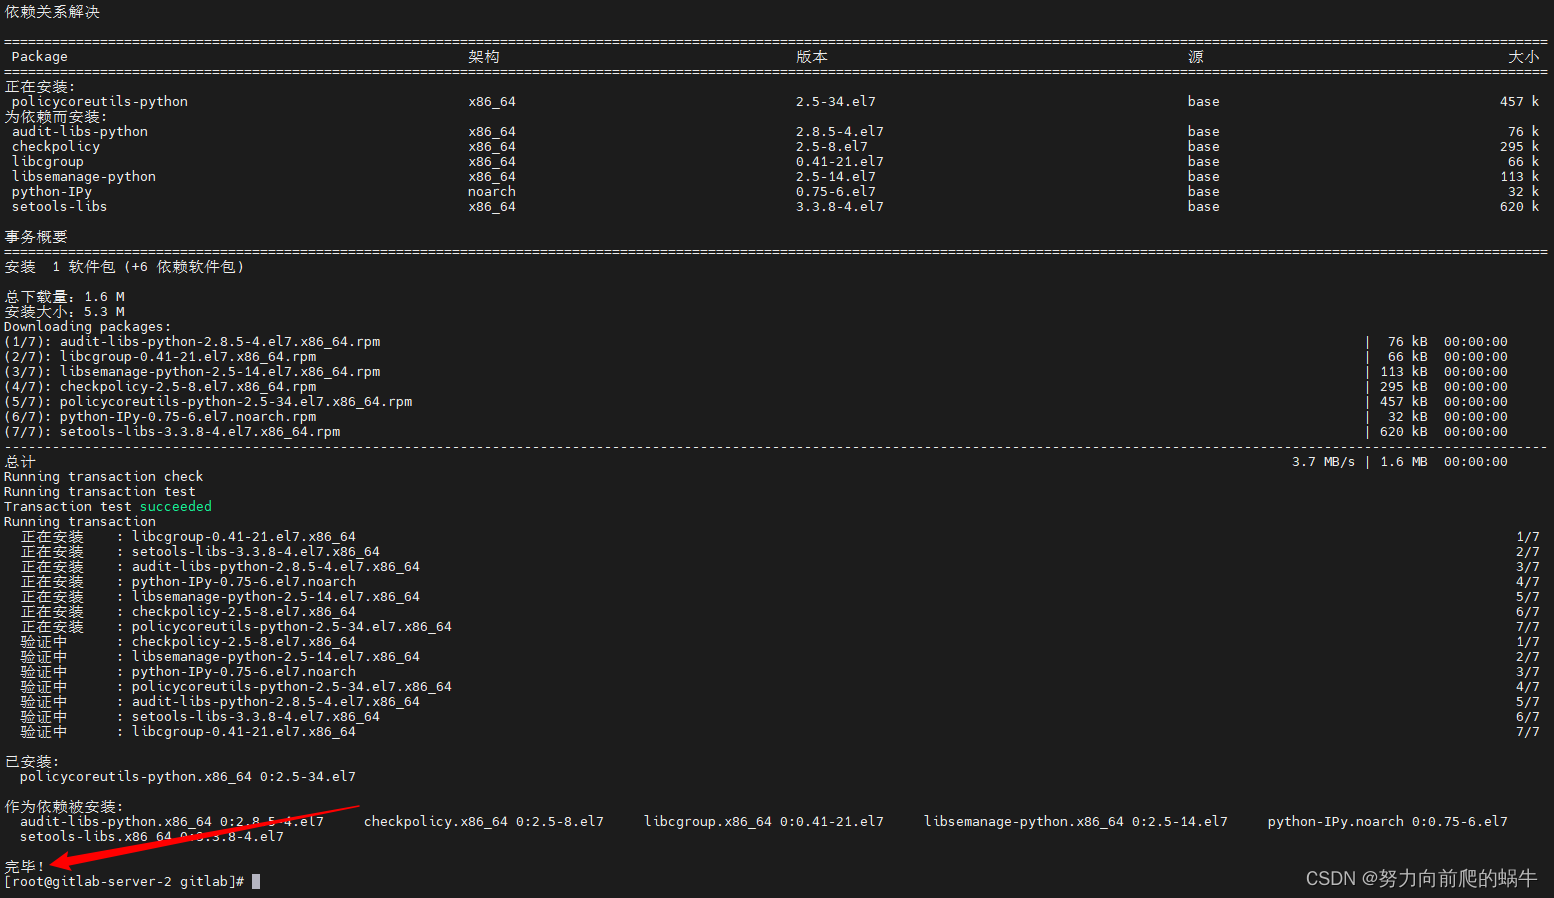
4.安装SSH协议
yum install -y curl policycoreutils-python openssh-server
如所示
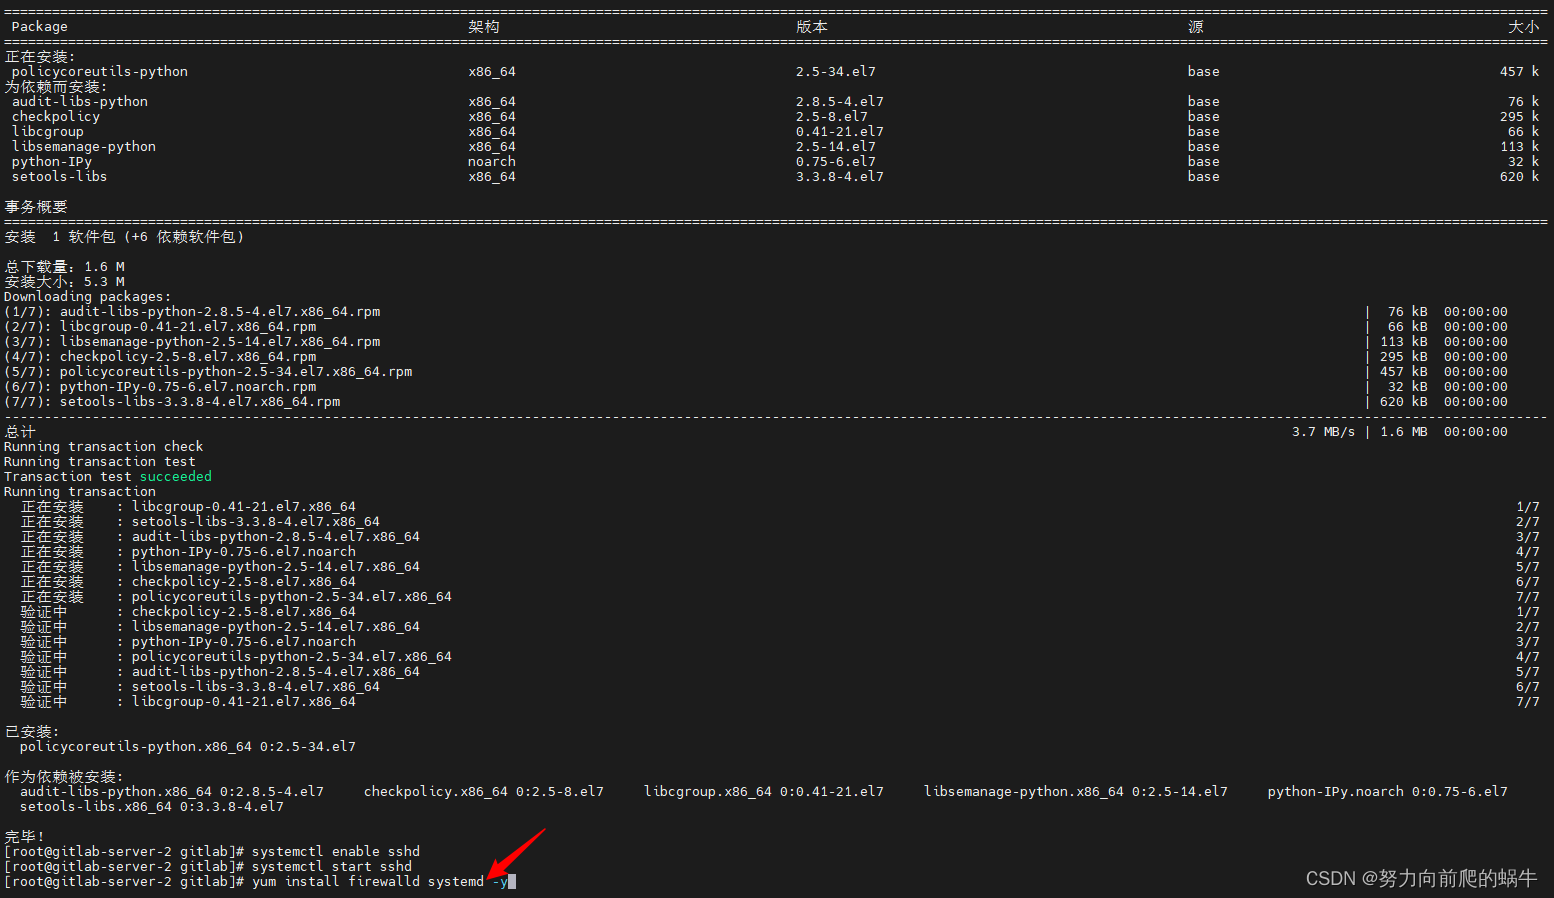
5.设置SSH服务开机自启动
systemctl enable sshd
如所示
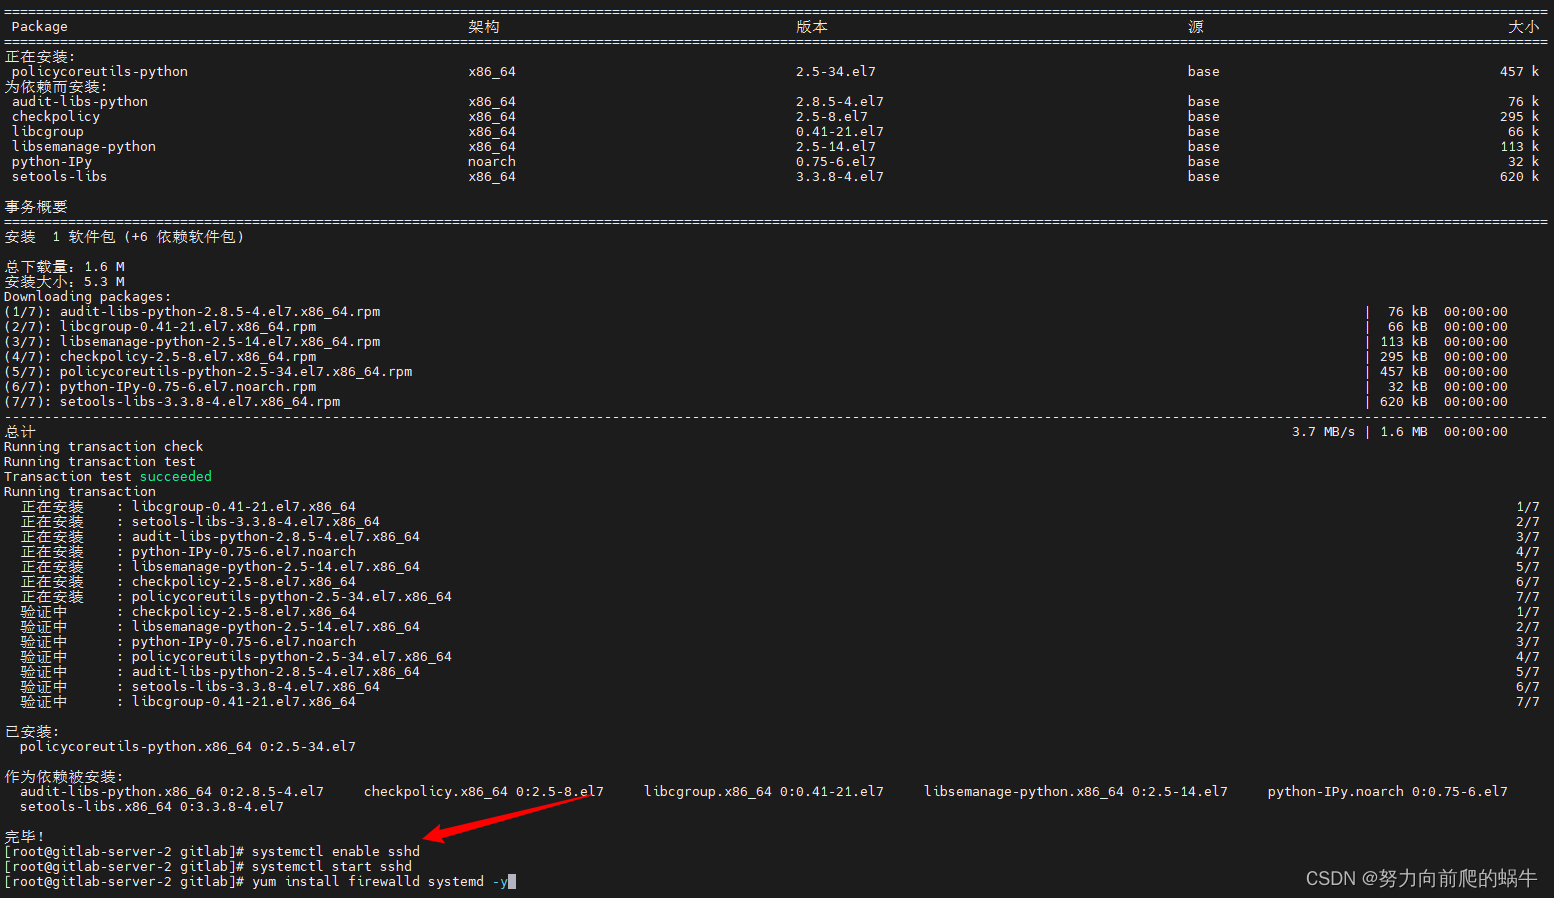
6.启动SSH服务
systemctl start sshd
如所示

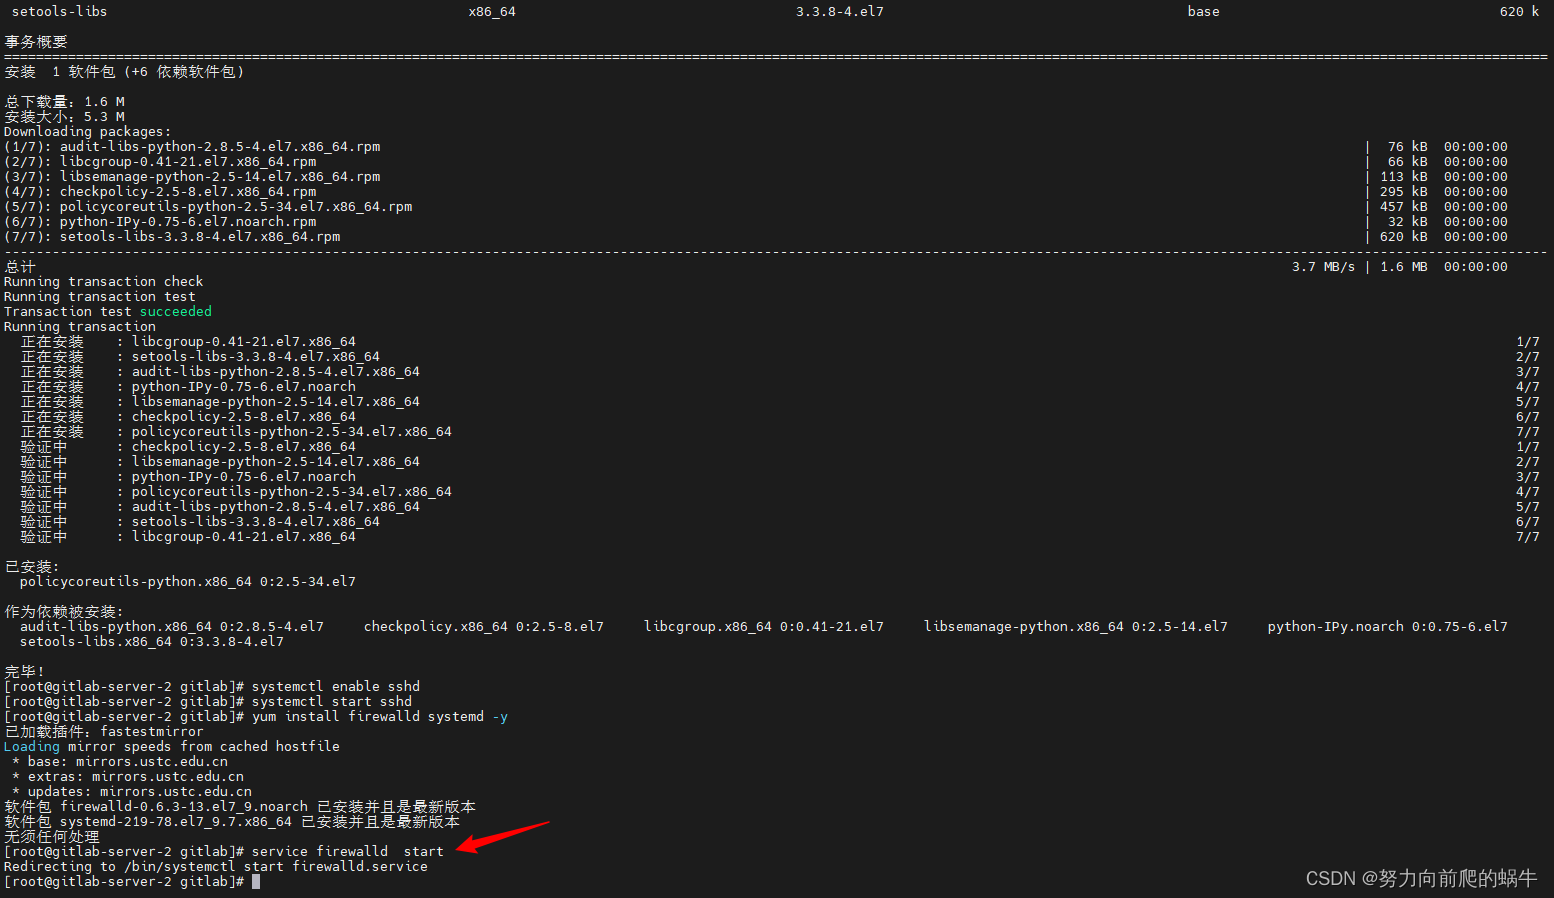
7.安装防火墙
yum install firewalld systemd -y
如所示

8.开启防火墙
service firewalld start
如所示
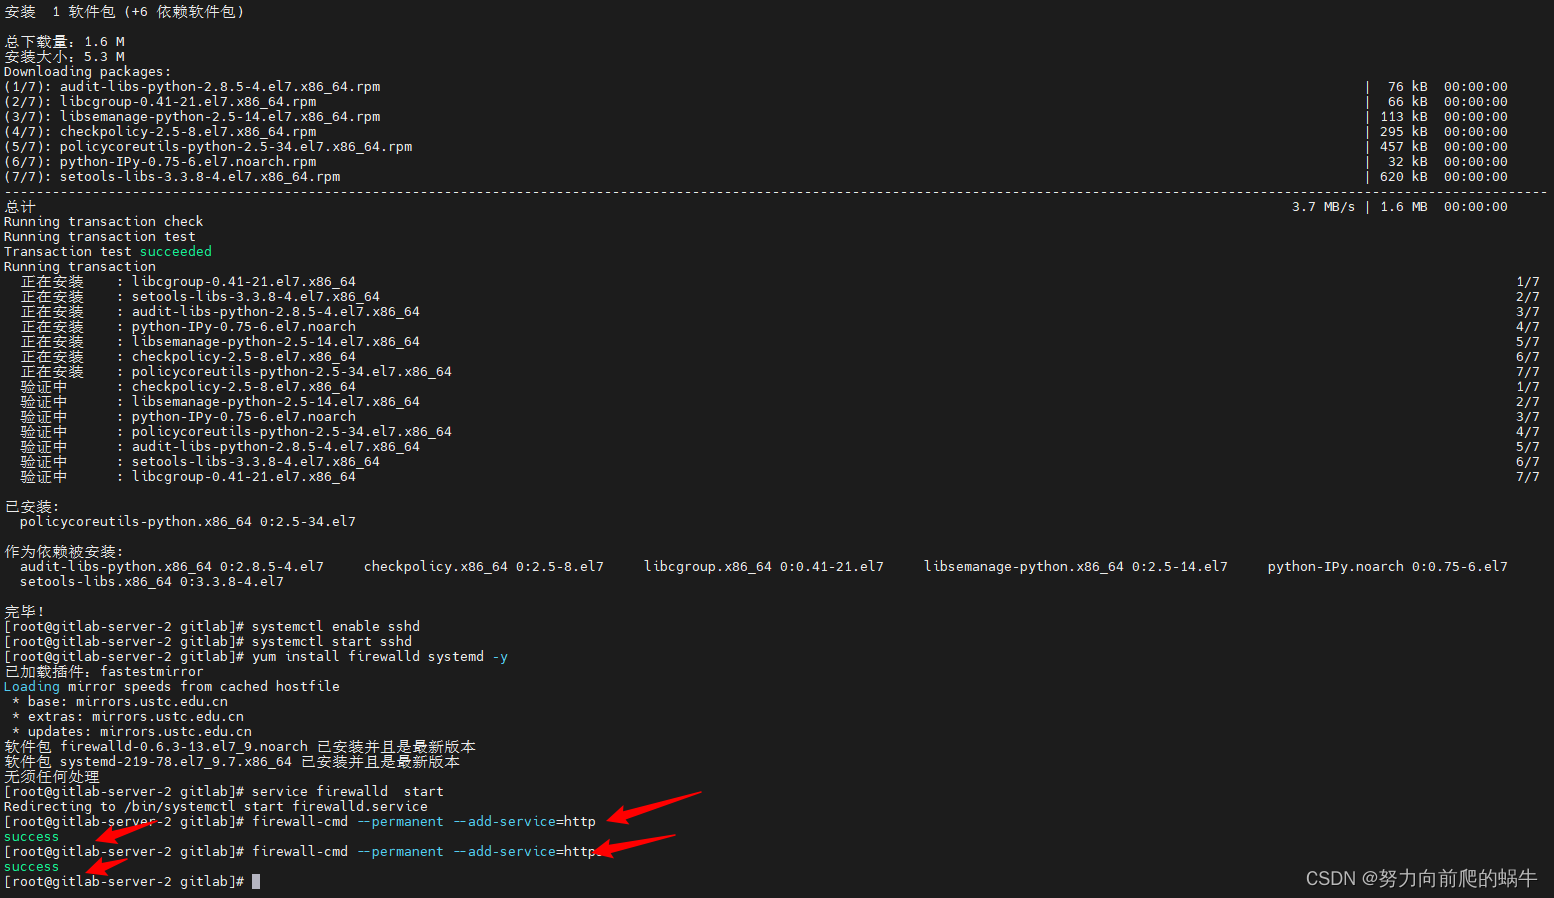
9.添加http服务到firewalld,pemmanent表示永久生效,若不加–permanent系统下次启动后就会失效。
firewall-cmd --permanent --add-service=http
firewall-cmd --permanent --add-service=https
如所示
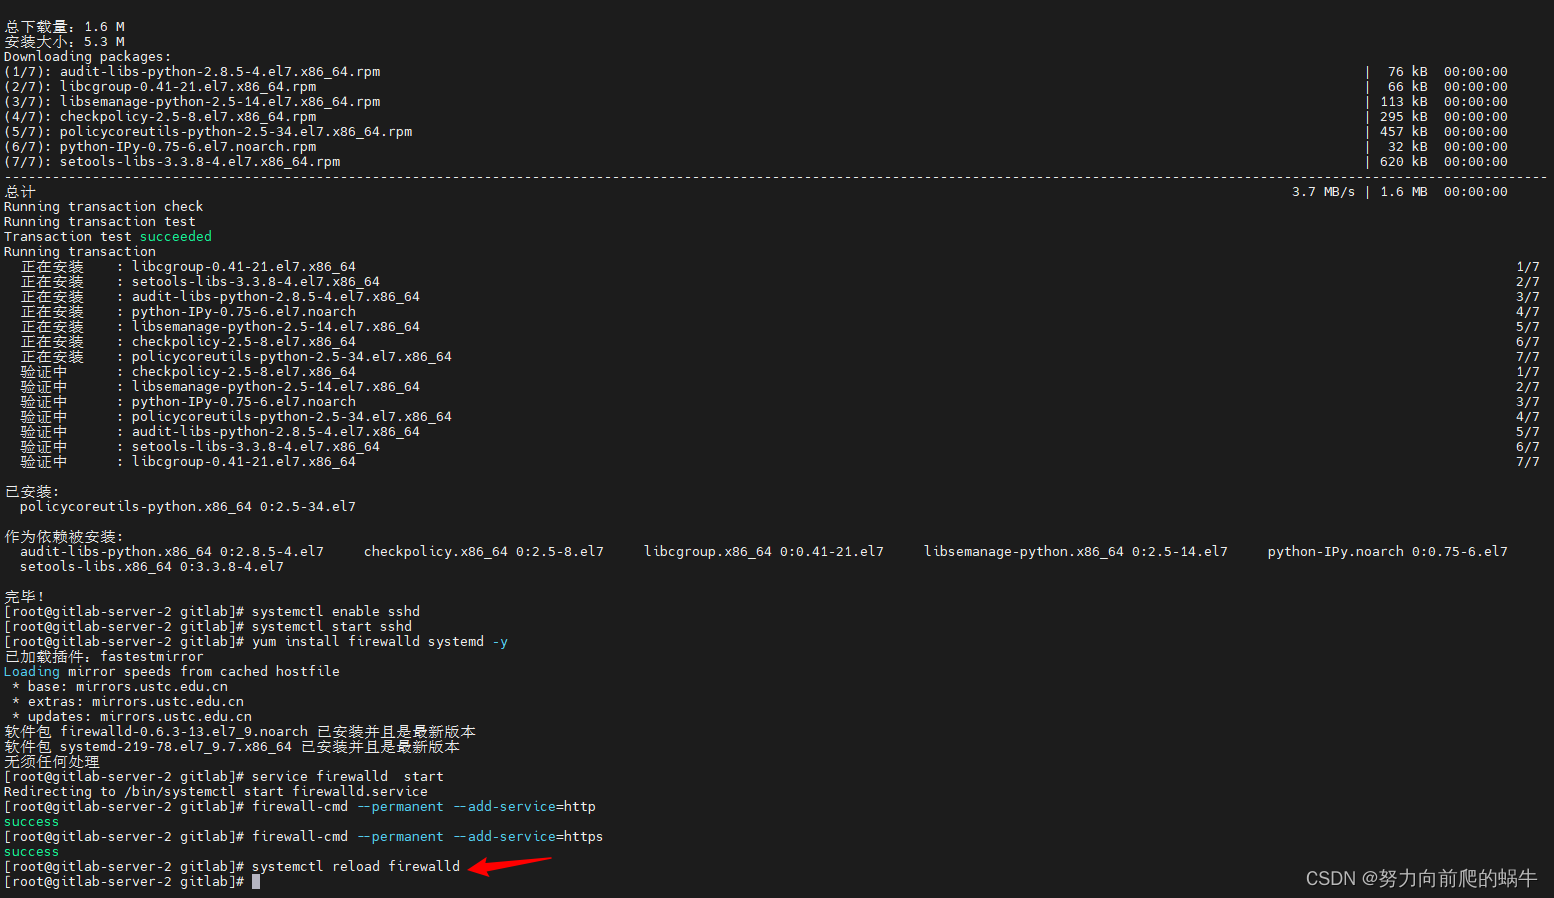
10.重启防火墙
systemctl reload firewalld
如所示
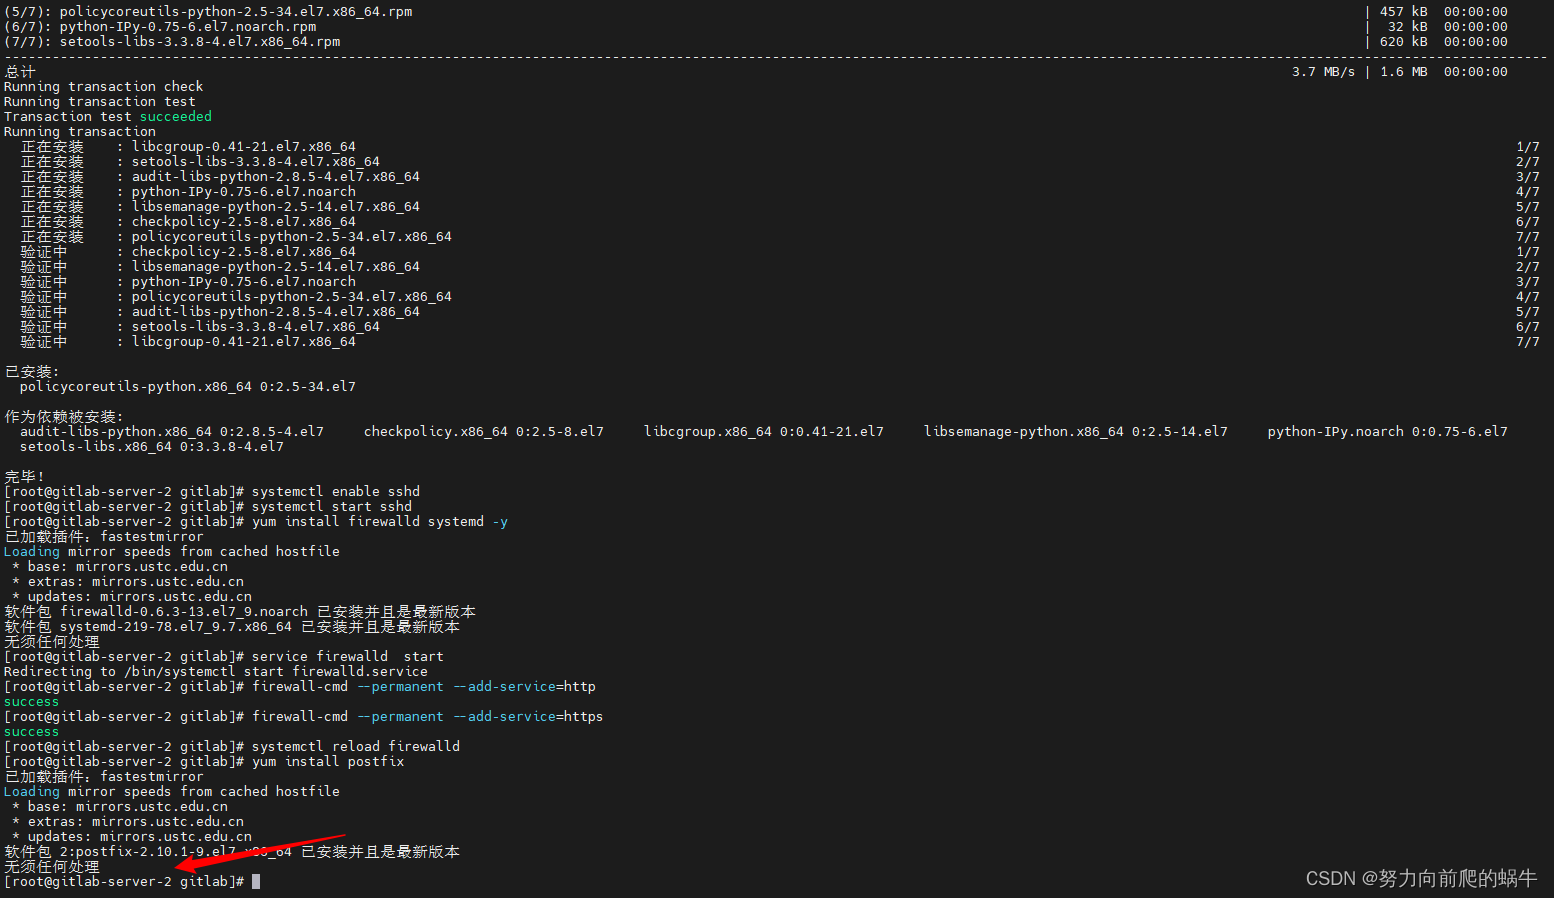
11.接下来,安装Postfix以发送通知邮件
yum install postfix
如所示

12.将postfix服务设置成开机自启动
systemctl enable postfix
如所示
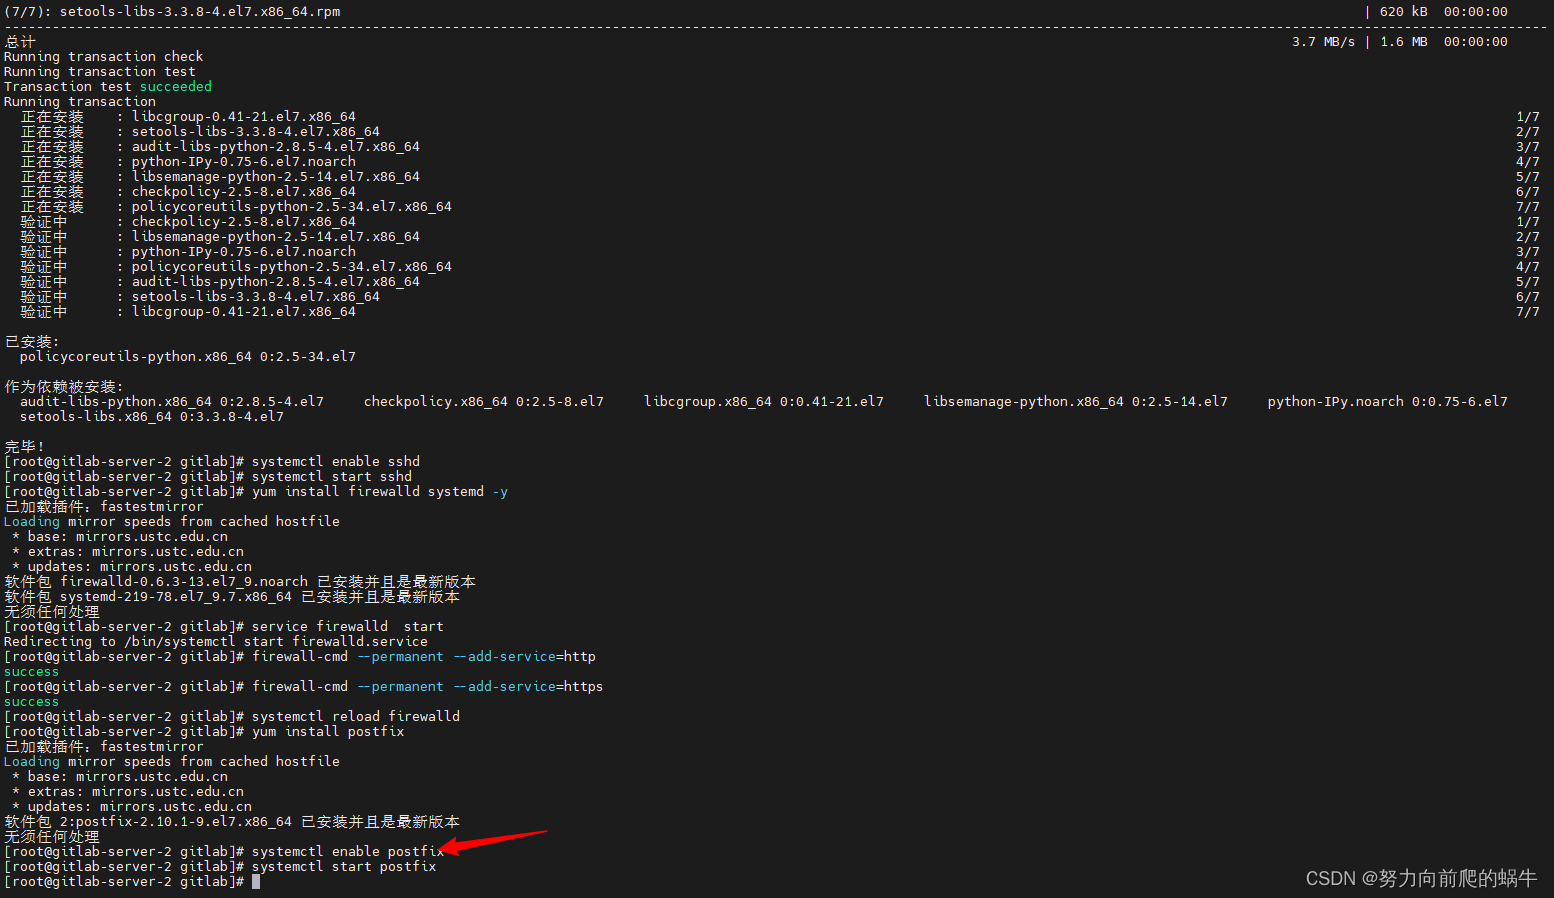
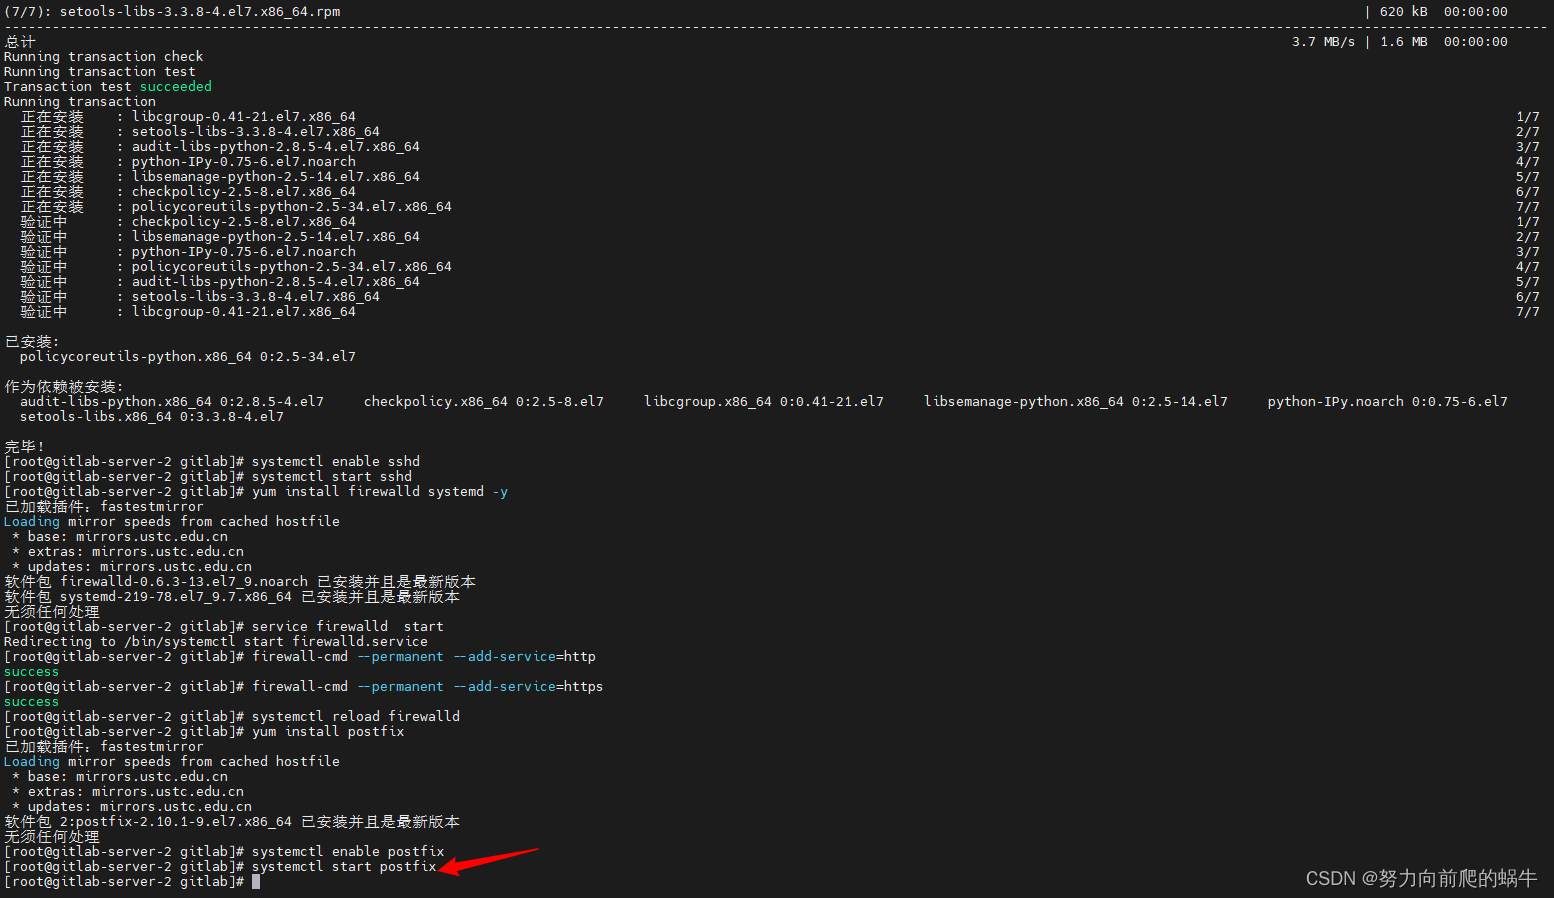
13.启动postfix,安装命令
systemctl start postfix
如所示
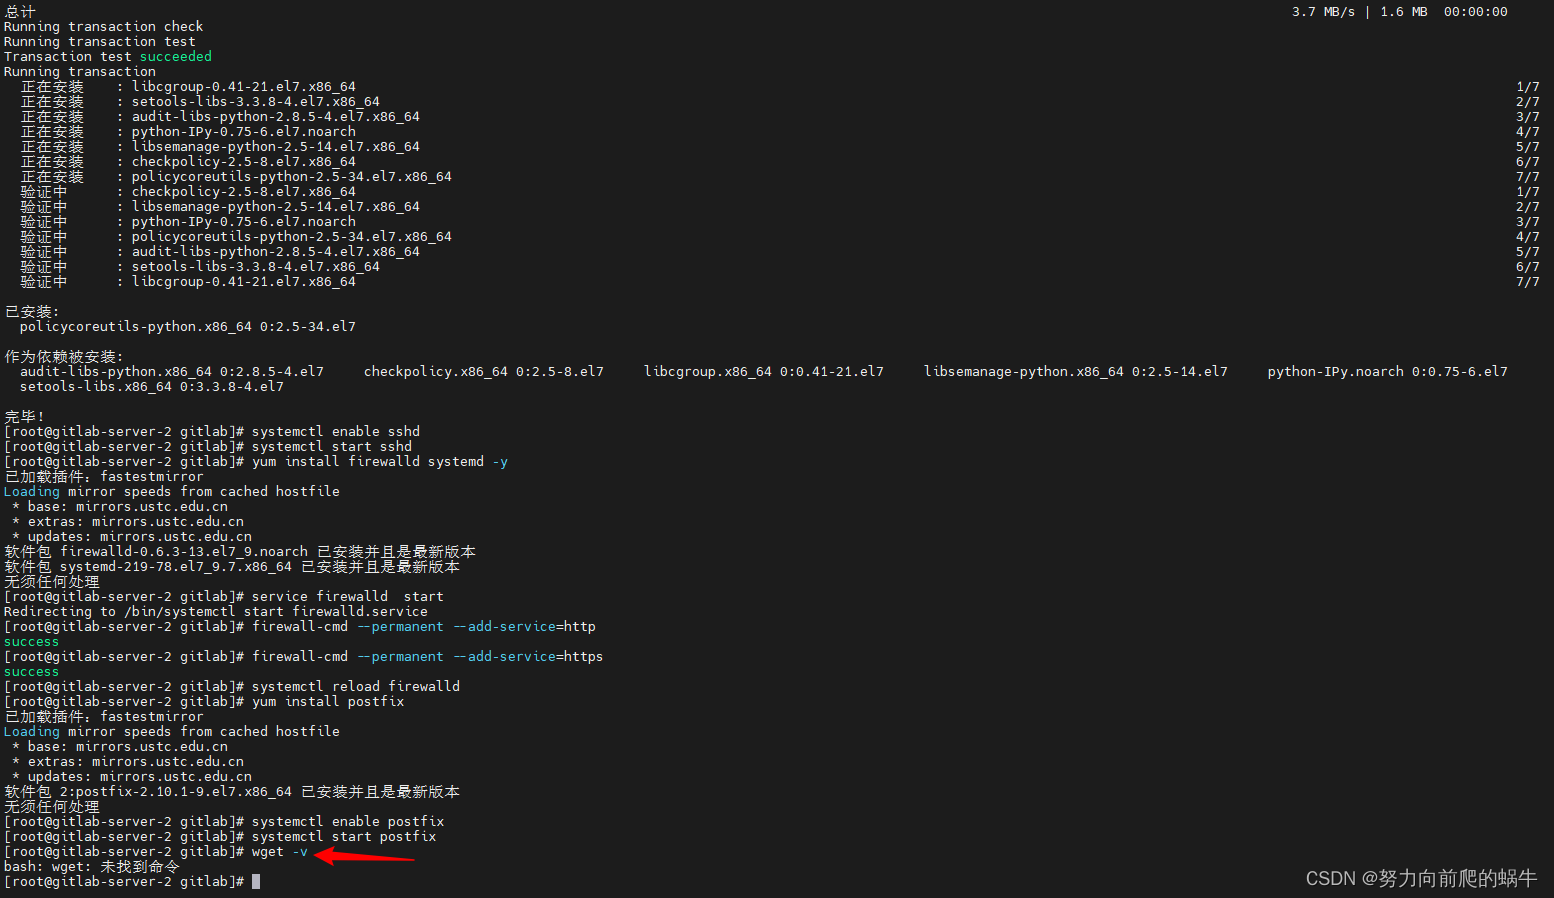
14.检查系统中是否已经安装wget,使用命令若出现下图wget相关版本描述则说明系统中已经安装wget 若报系统找不到命令说明wget未安装
wget -v
如所示
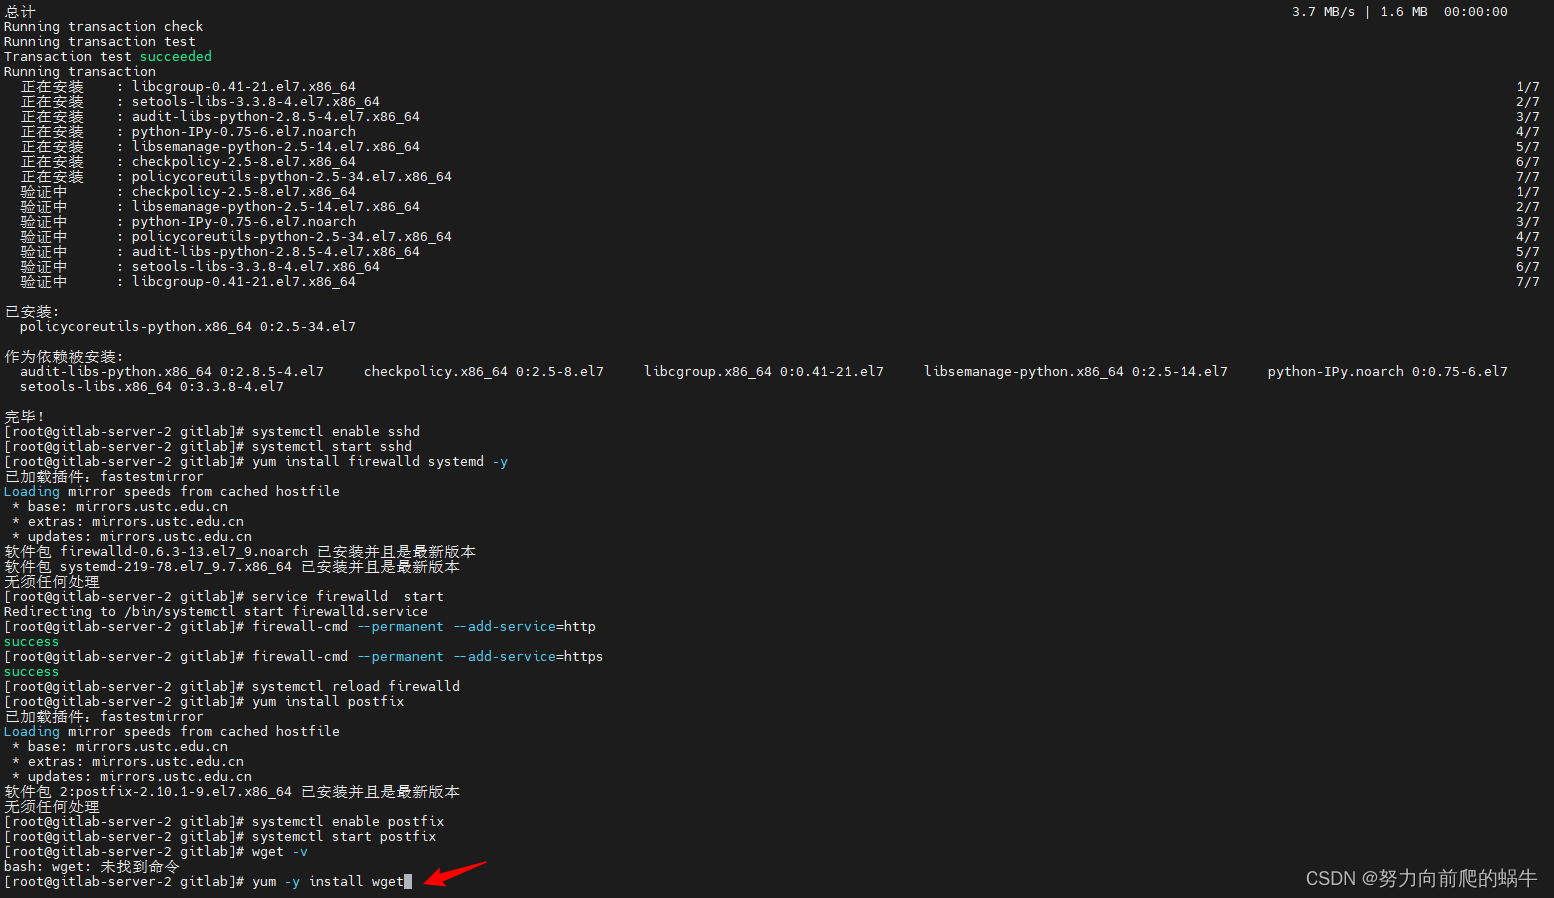
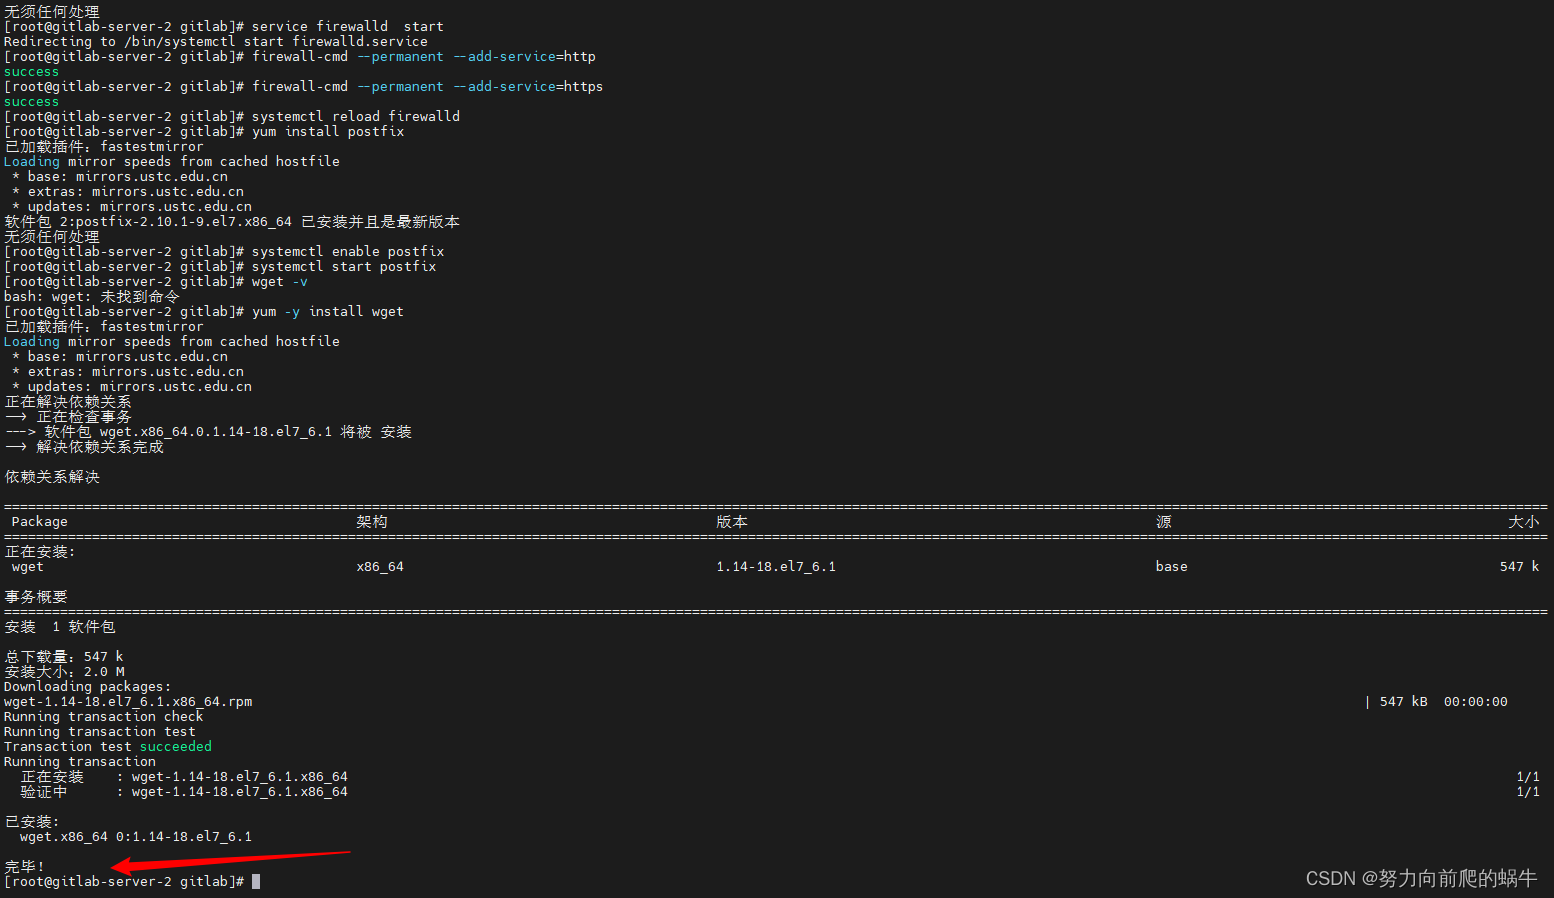
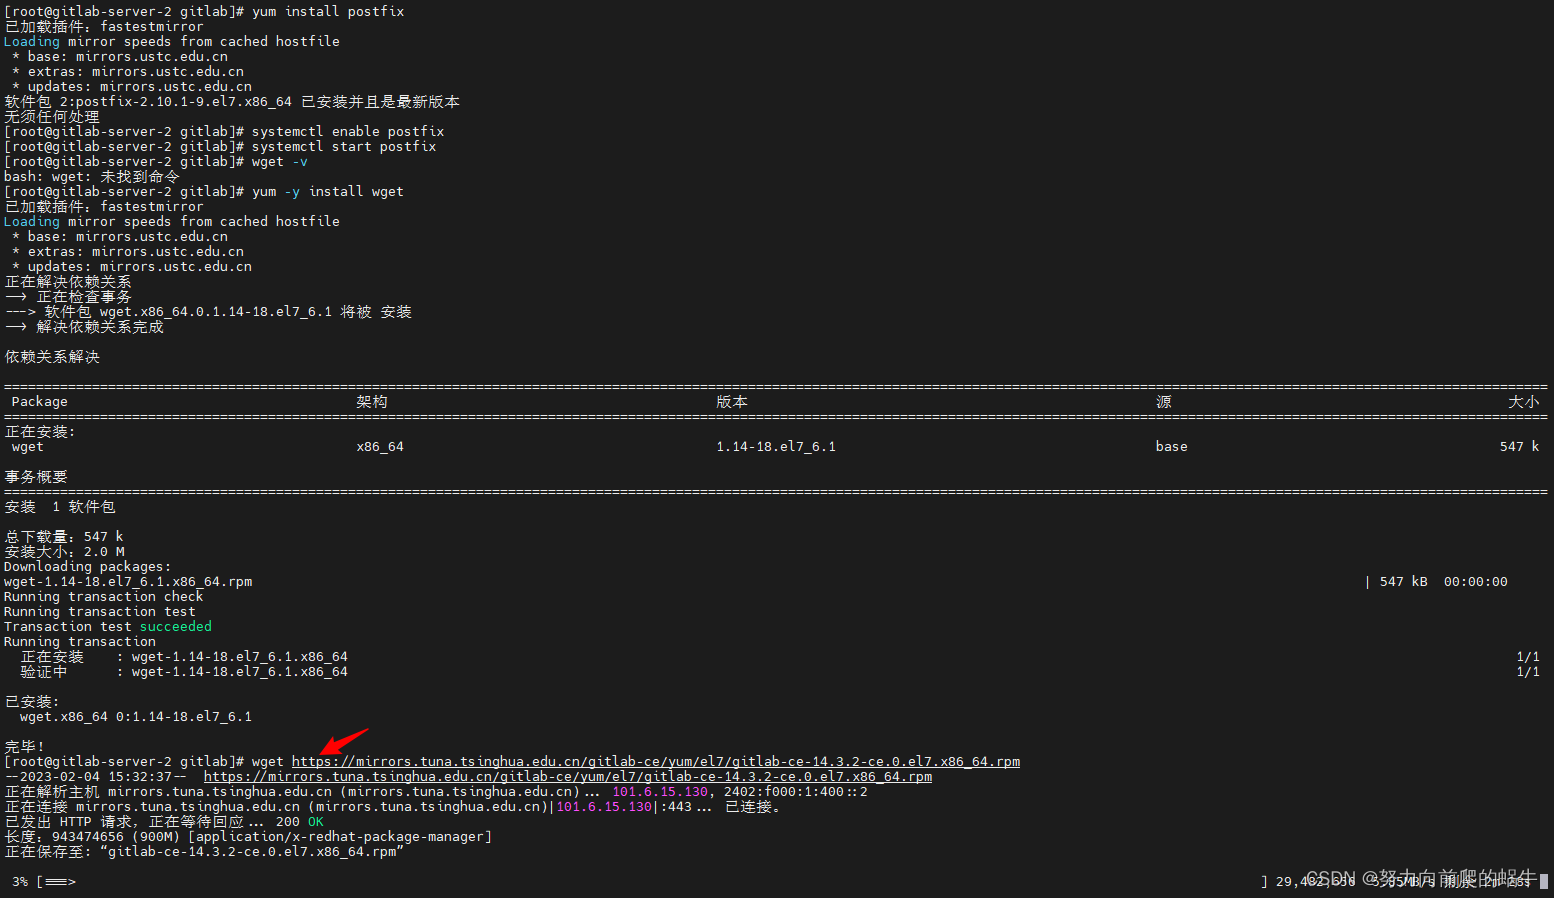
15.若wget未安装则进行安装
yum -y install wget
如所示
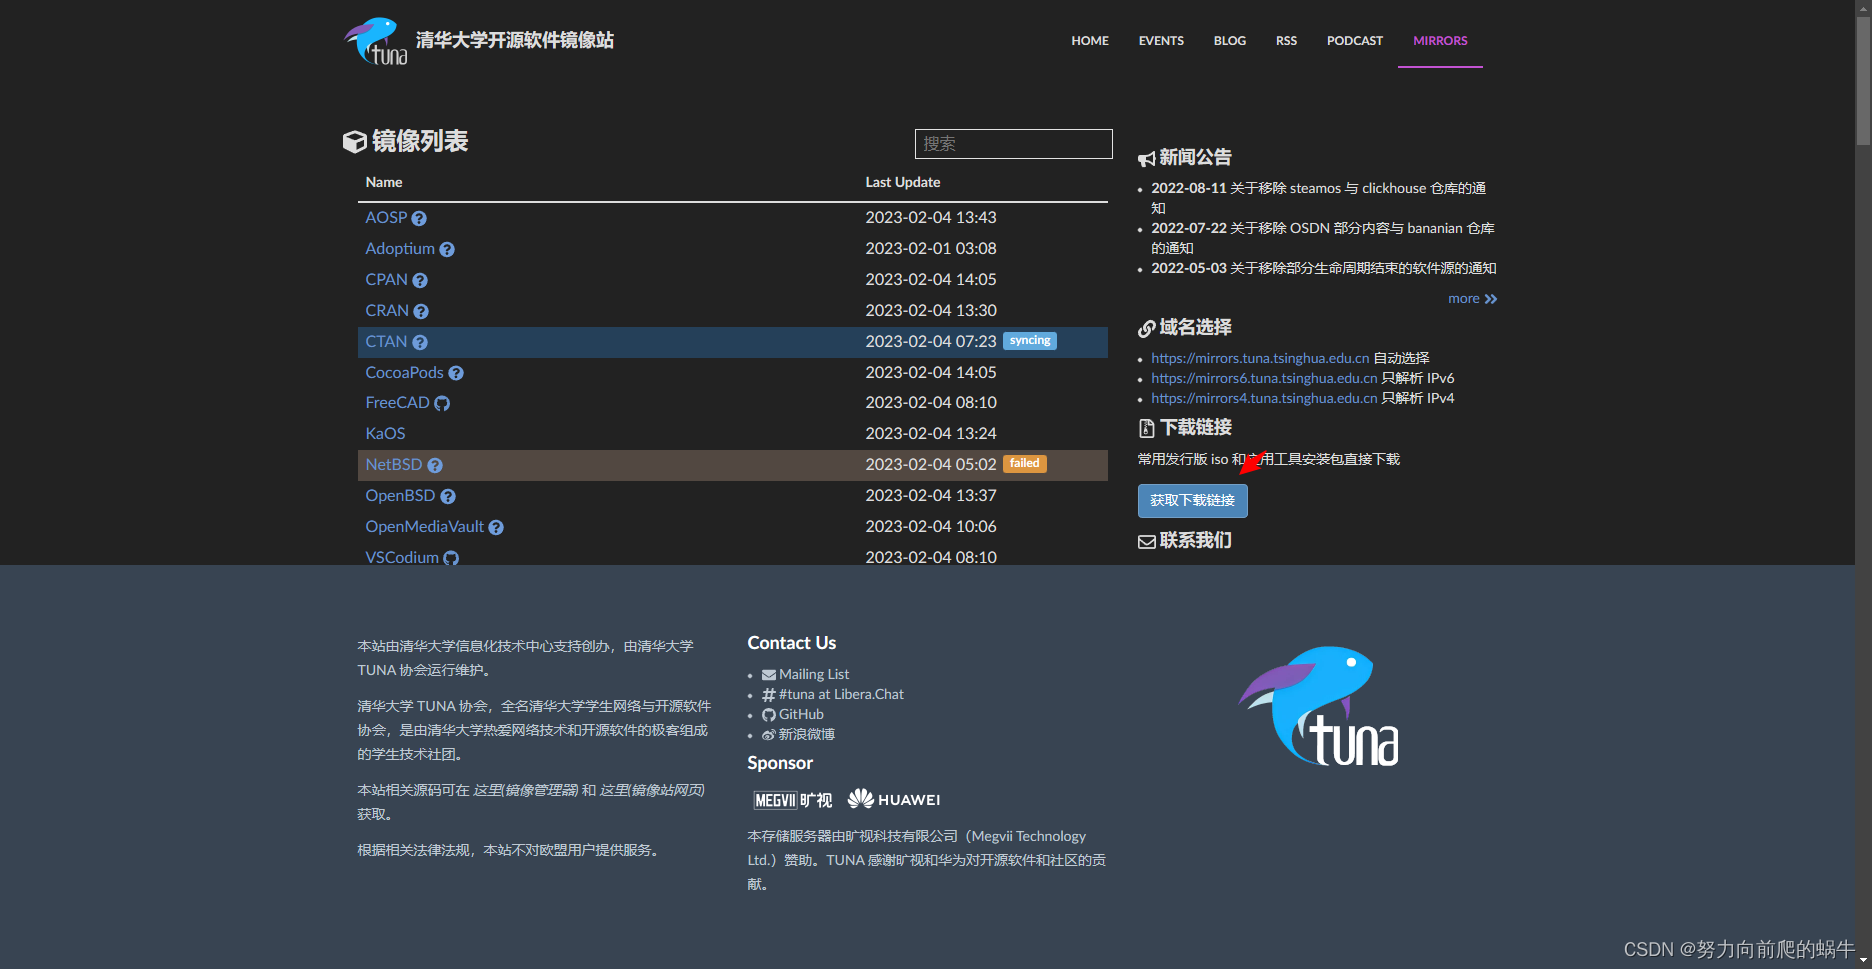
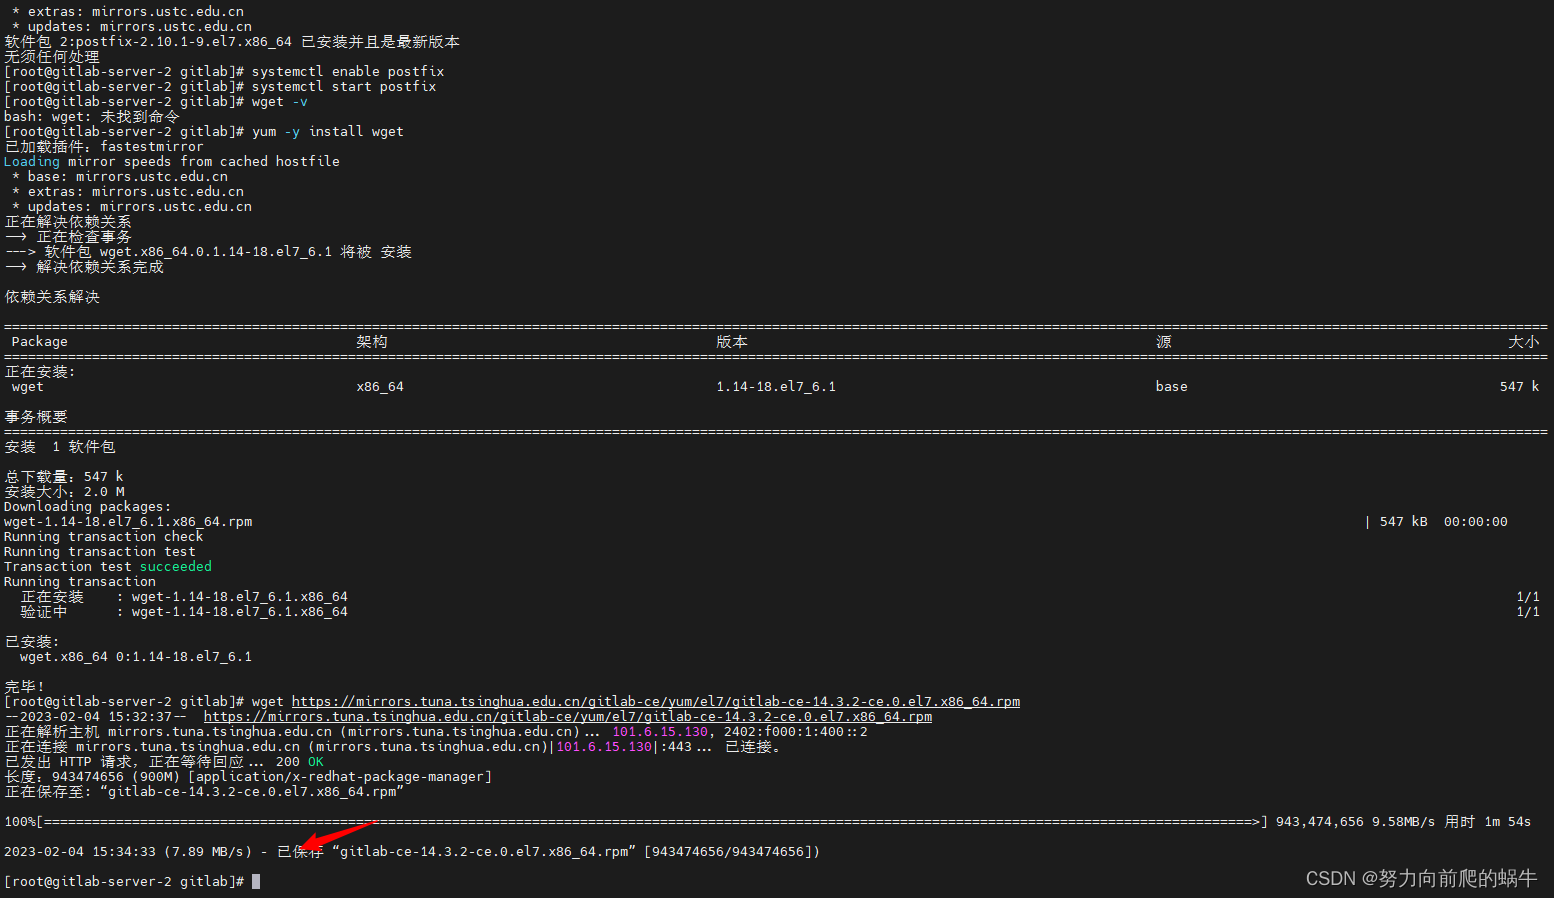
16.安装gitlab
wget https://mirrors.tuna.tsinghua.edu.cn/gitlab-ce/yum/el7/gitlab-ce-14.3.2-ce.0.el7.x86_64.rpm
如所示
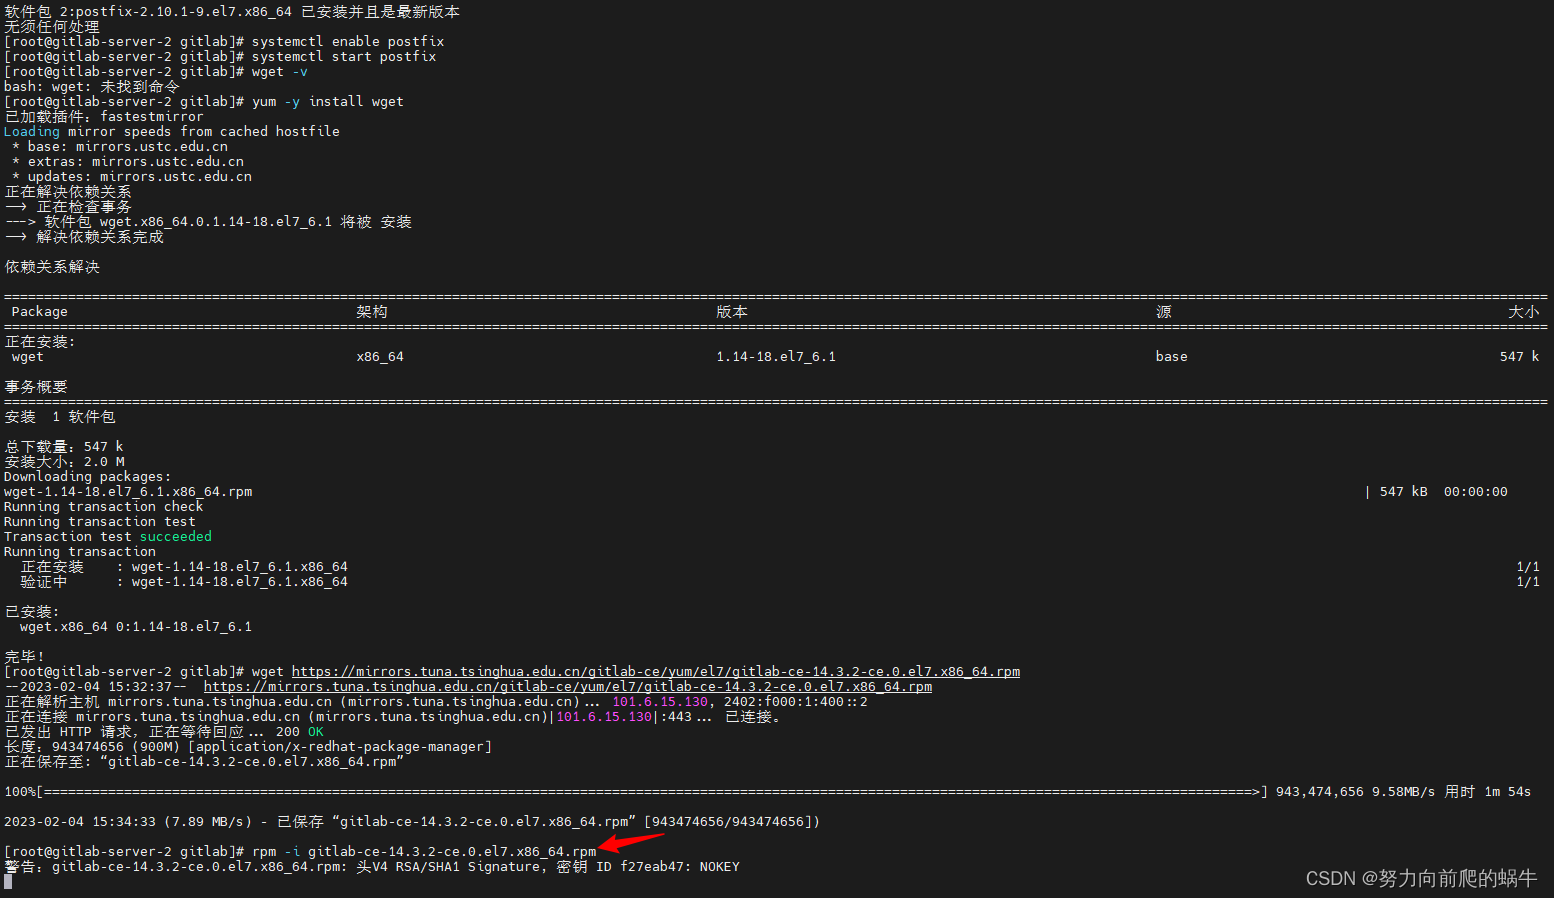
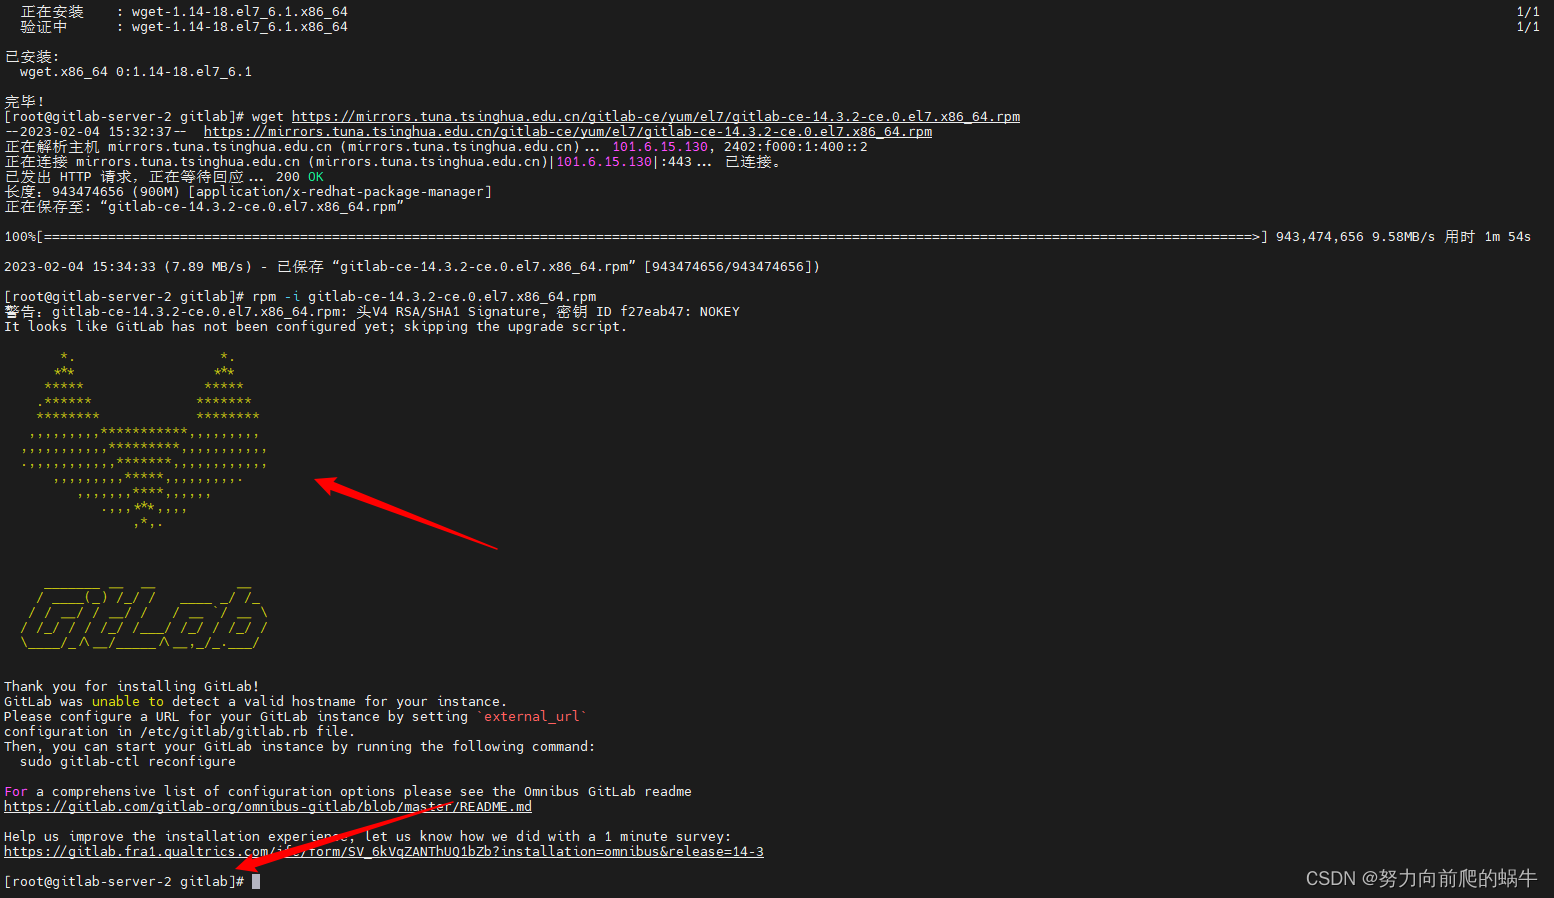
17.安装gitlab
rpm -i gitlab-ce-14.3.2-ce.0.el7.x86_64.rpm
如所示
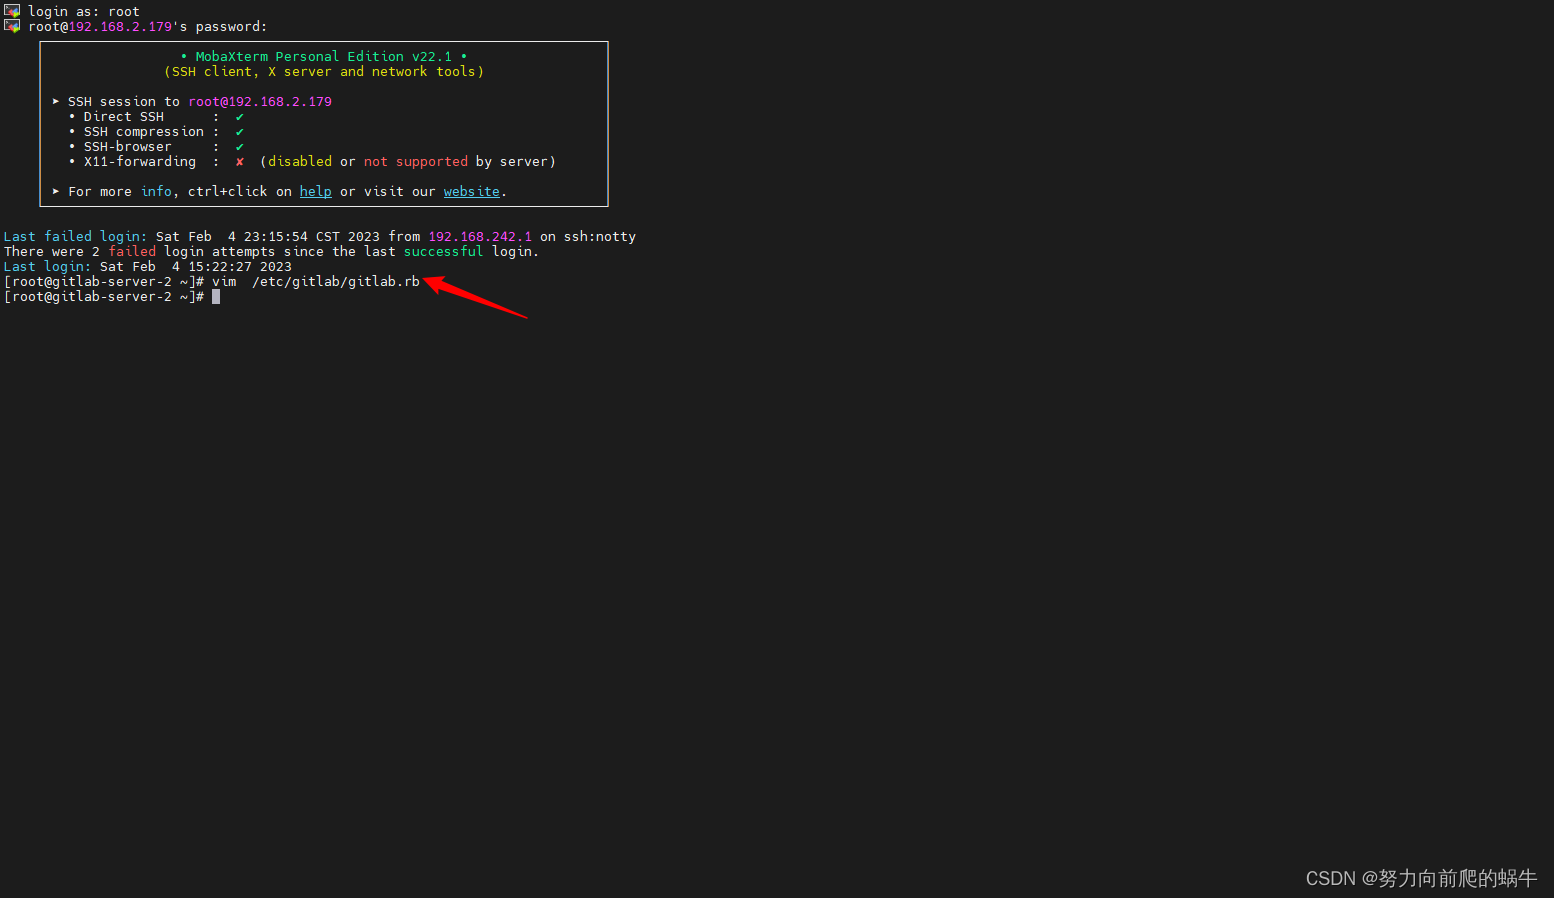
18.修改gitlab配置文件
网络连接切回桥接模式
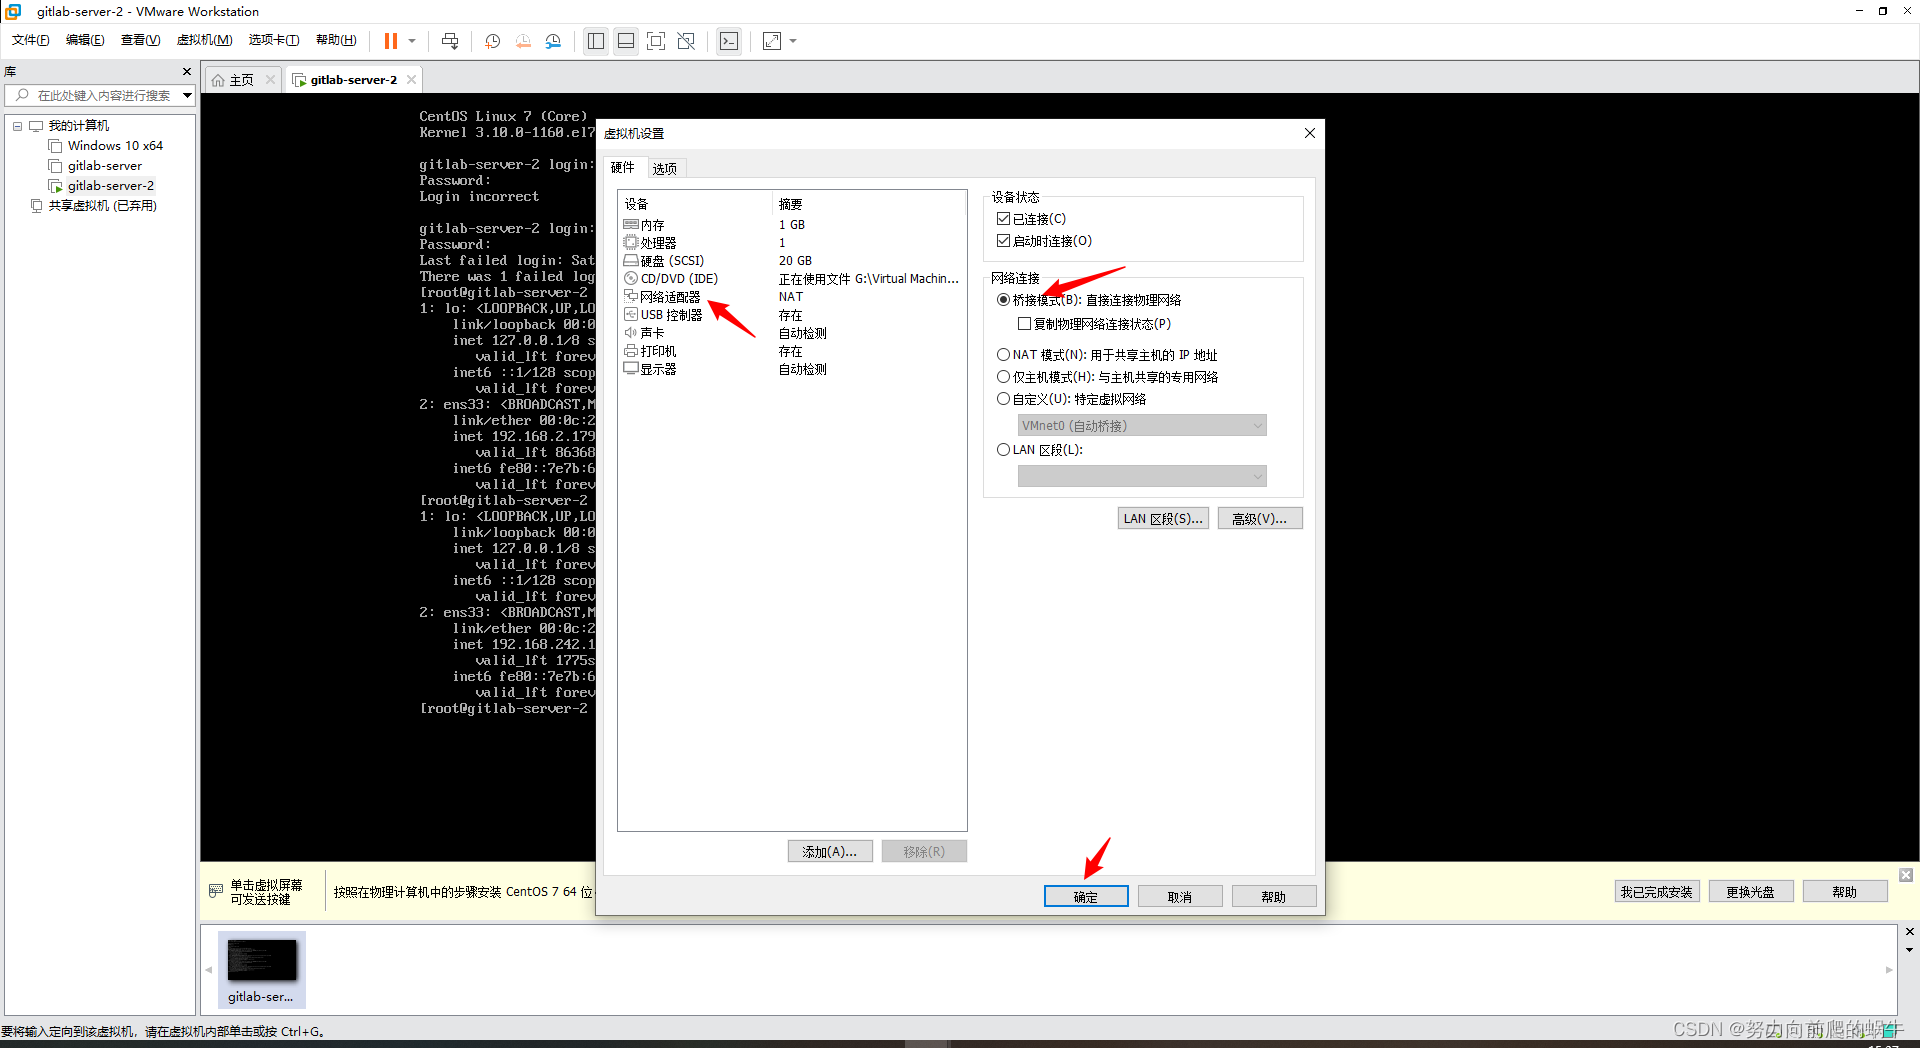

切换MobaXterm 中gitlab-server-2 session的ip地址
vim /etc/gitlab/gitlab.rb
如所示
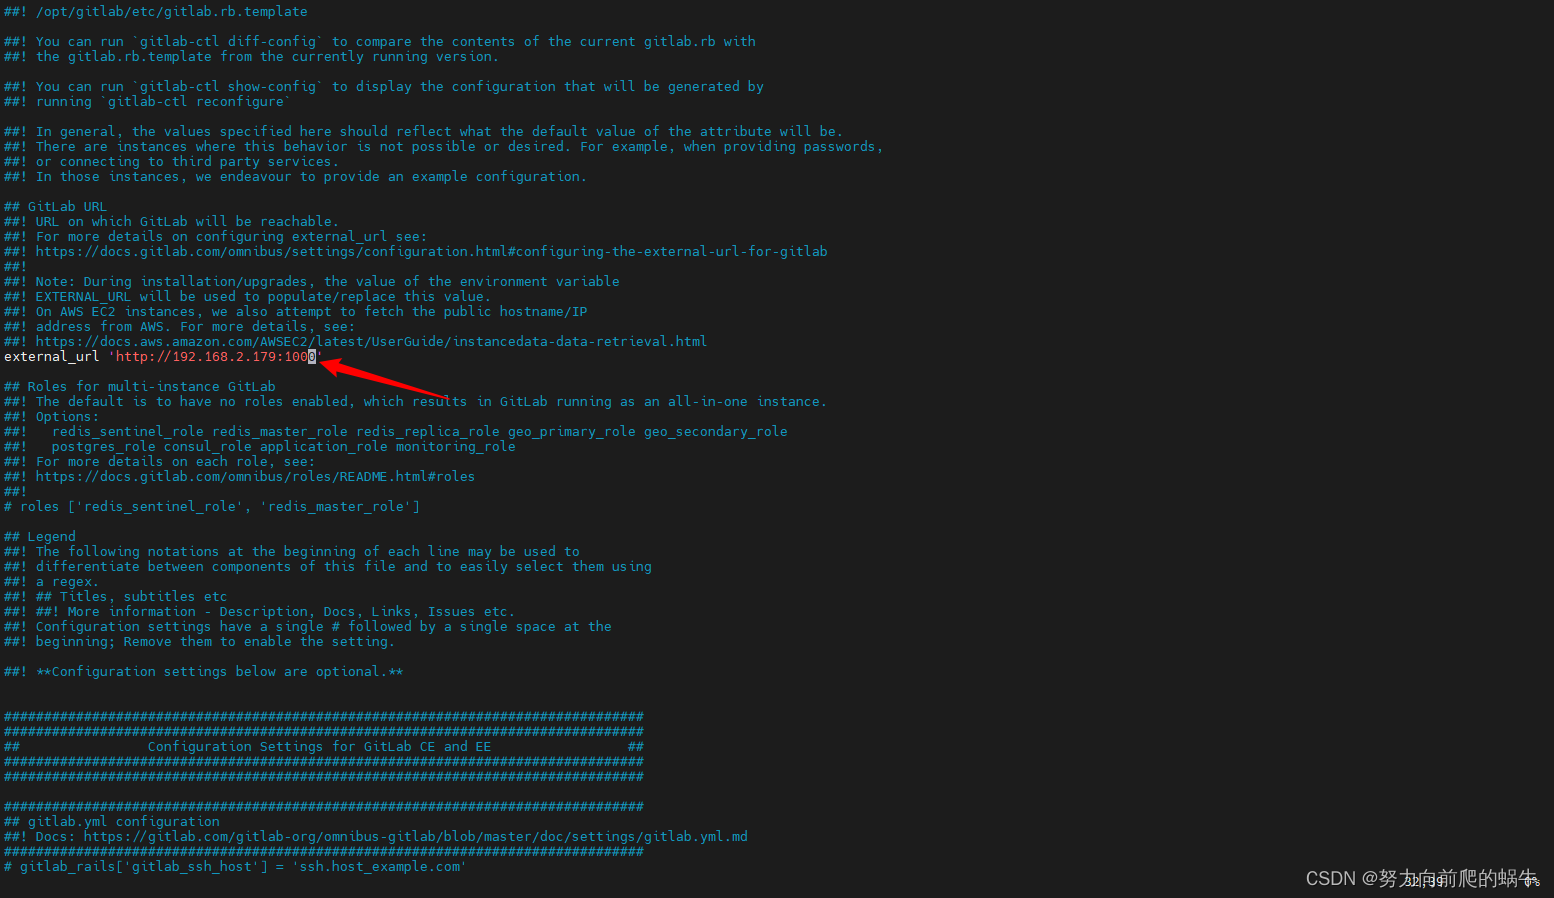
19.输入小写的“i”进入编辑模式:
红色字体
external_url 'http://gitlab.example.com'
如所示
改为虚拟机主机ip
external_url 'http://192.168.2.179:1000'
如所示
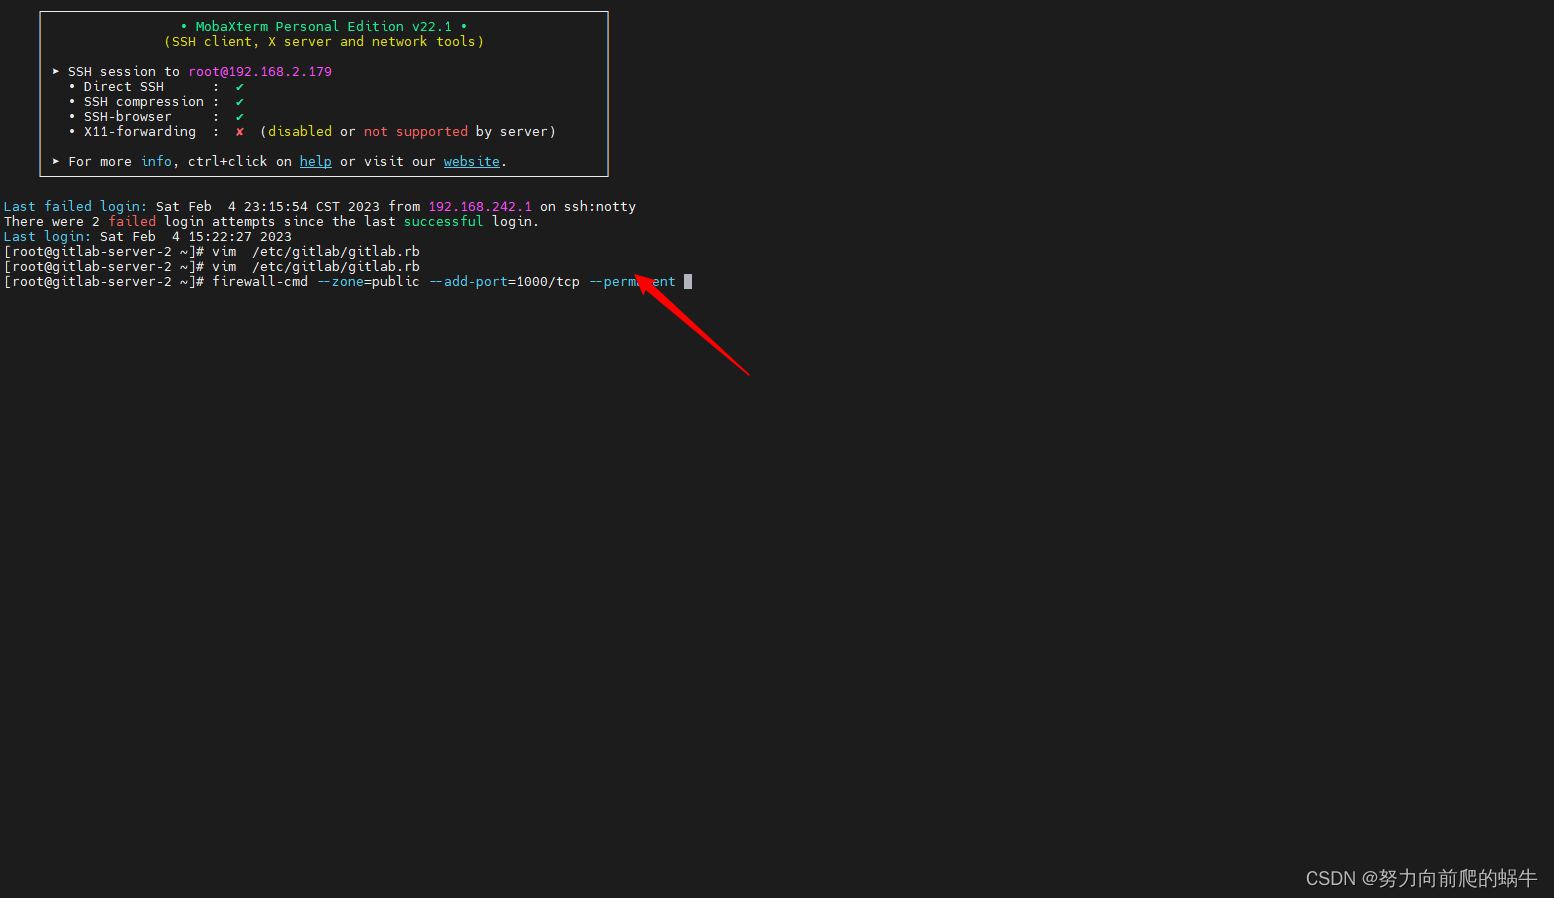
20.按Esc键退出编辑模式,然后输入命令“:wq”保存并退出。
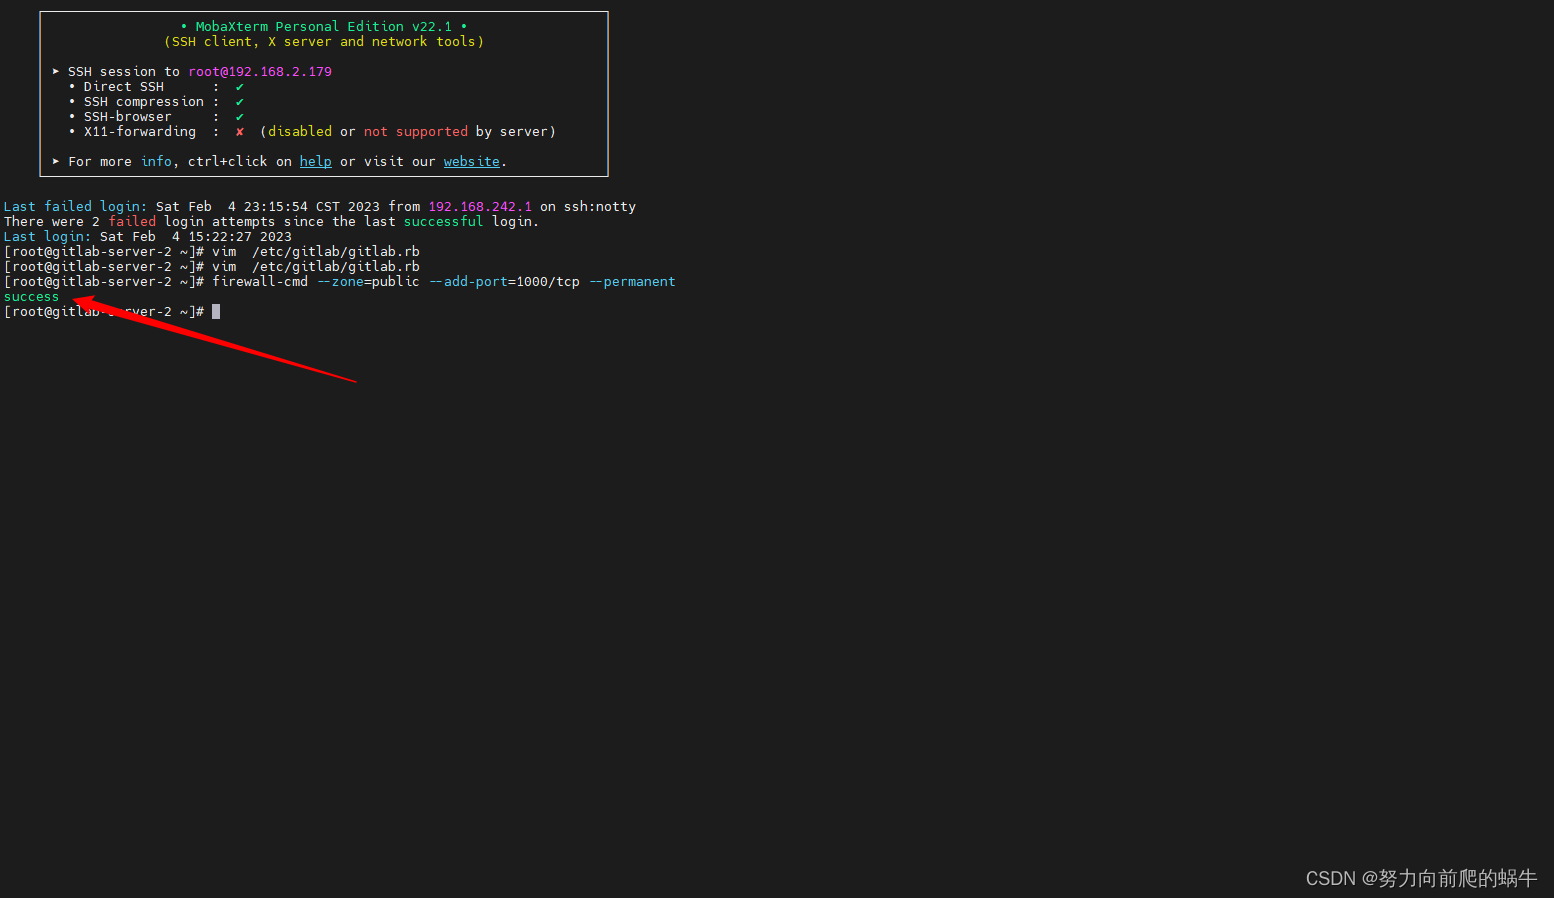
将1000端口添加到防火墙中
firewall-cmd --zone=public --add-port=1000/tcp --permanent
如所示
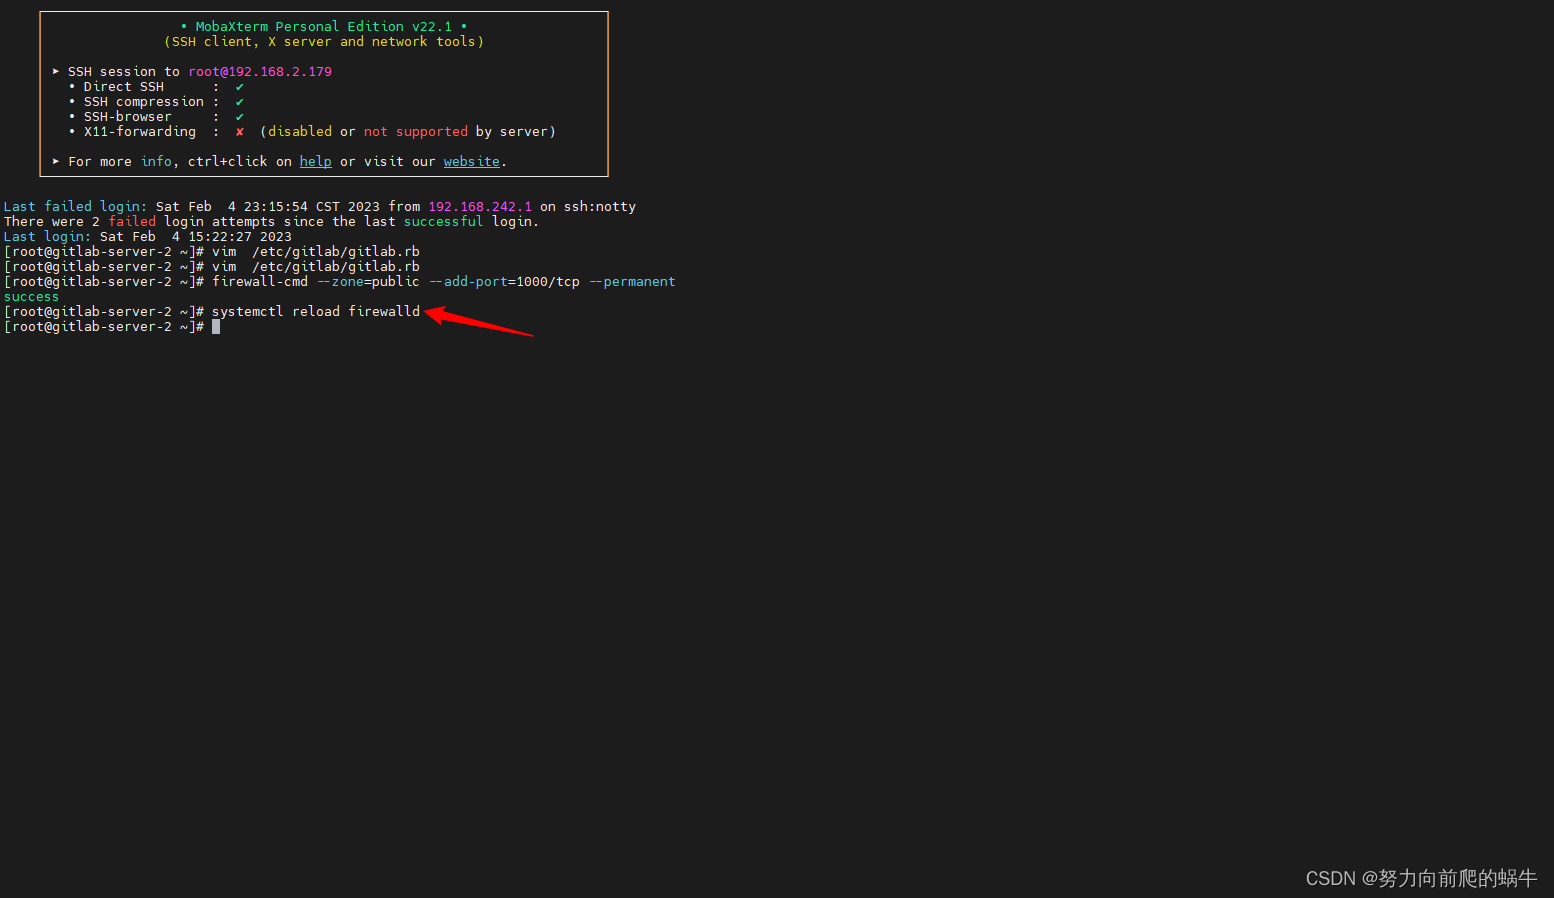
21.重启防火墙
systemctl reload firewalld
如所示
22.重置gitlab
gitlab-ctl reconfigure
如所示


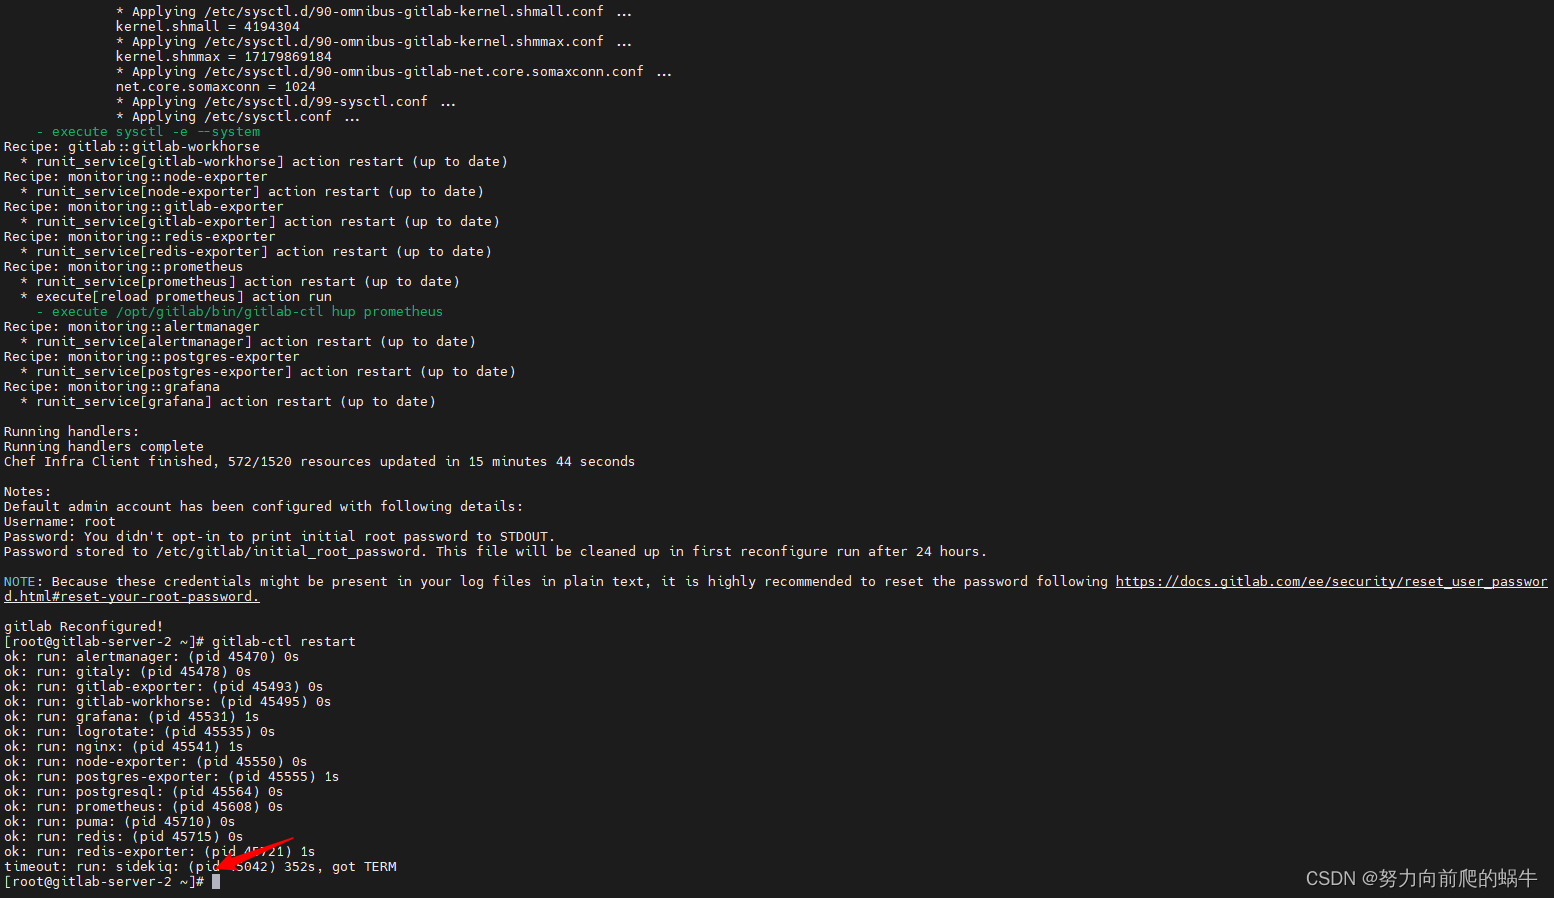
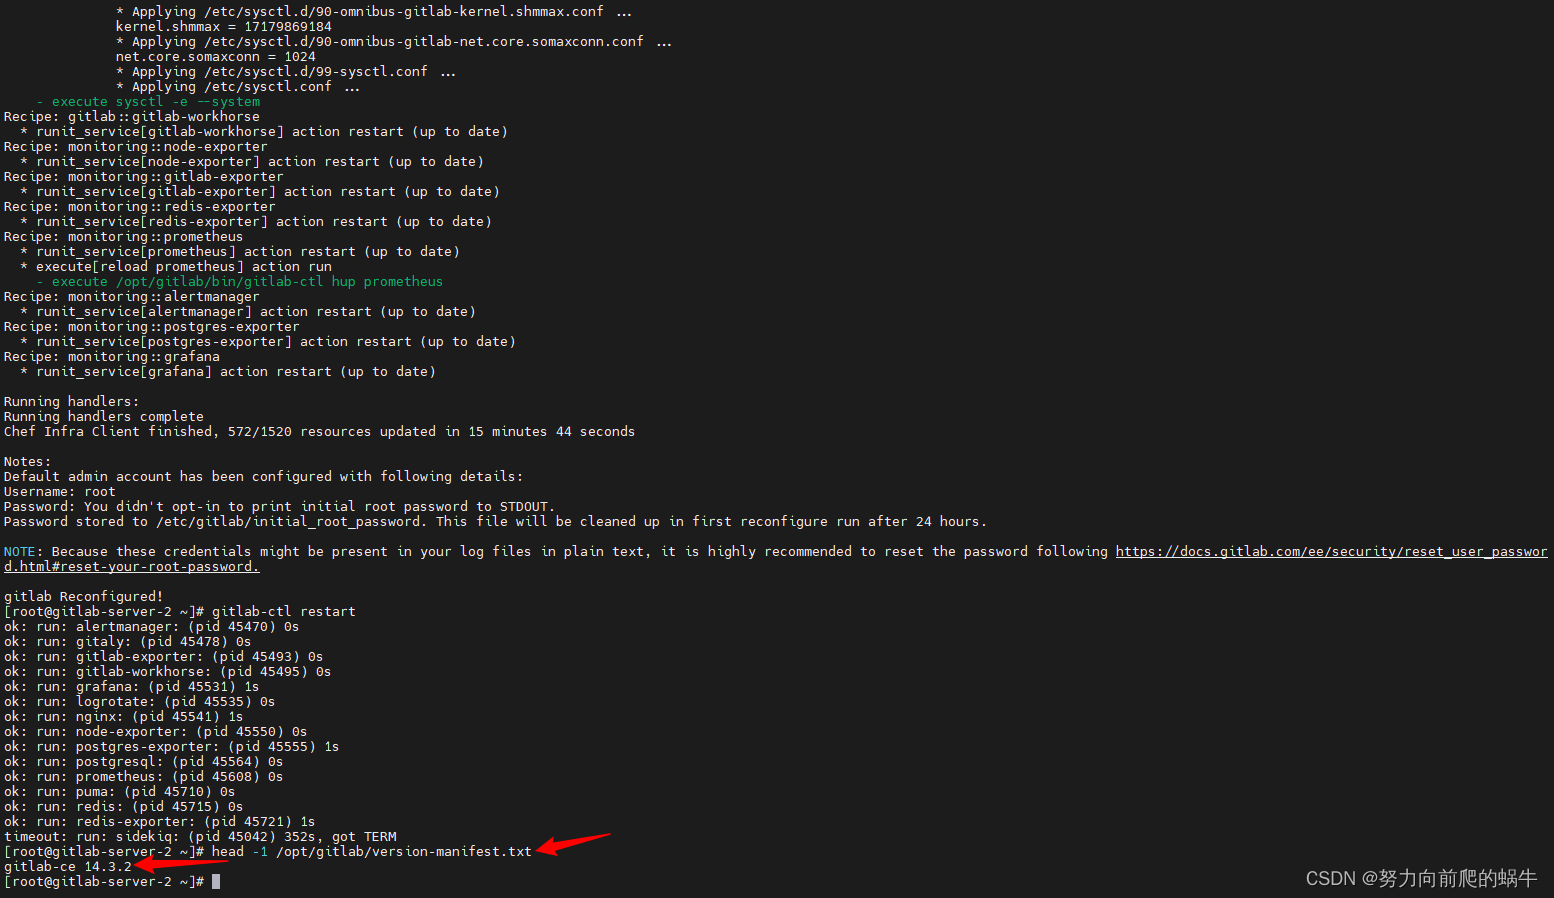
23.重启gitlab
gitlab-ctl restart
如所示

24.查看版本号
head -1 /opt/gitlab/version-manifest.txt
如所示
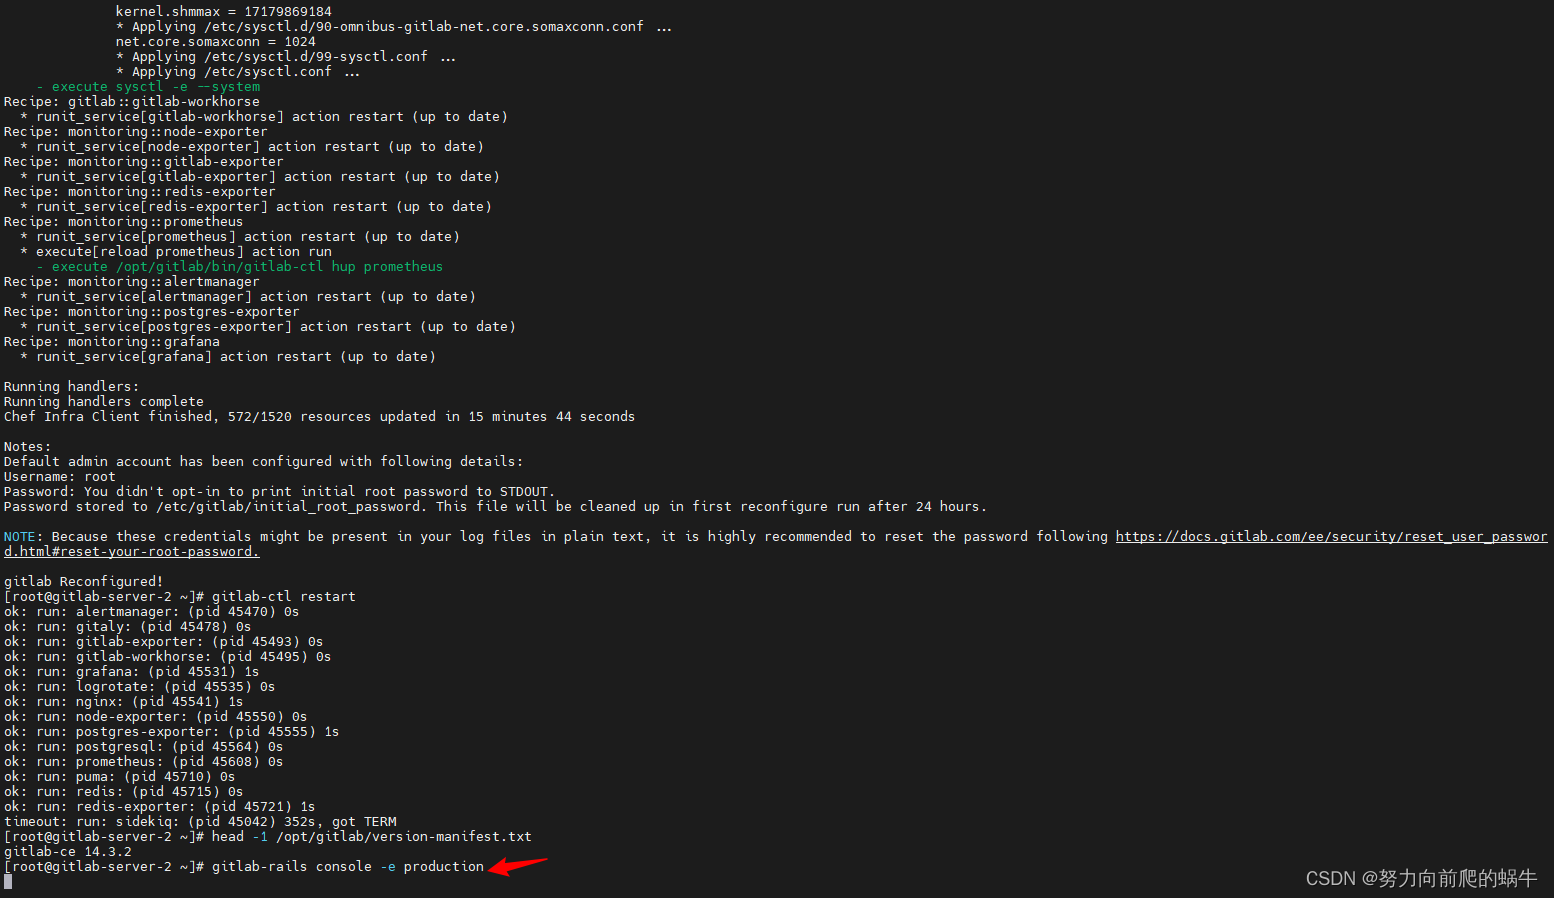
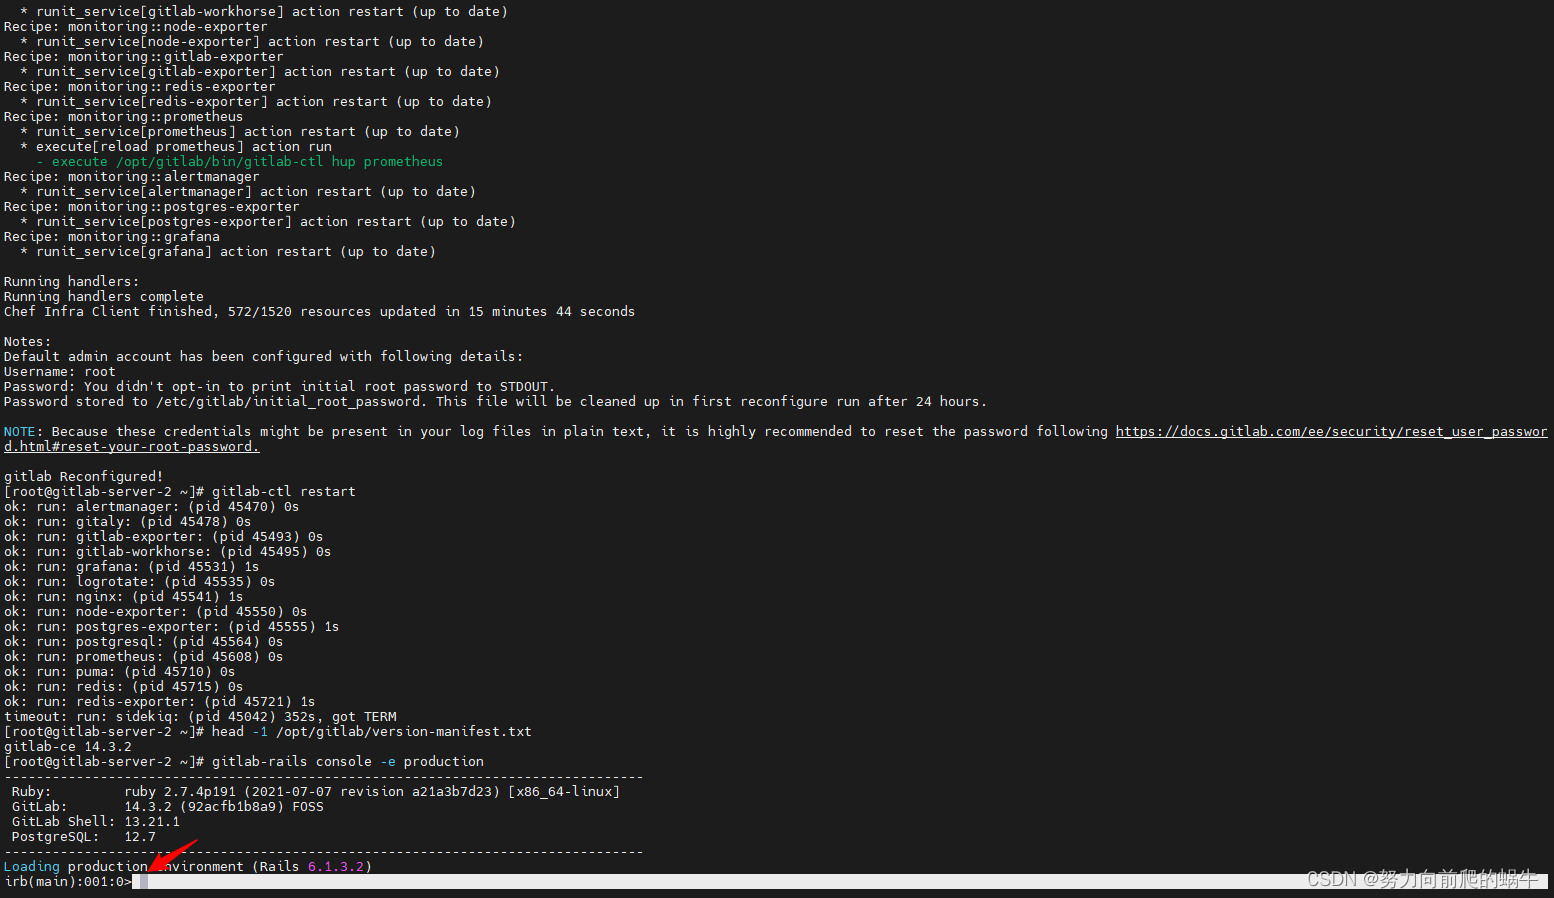
25.破解管理员密码
gitlab-rails console -e production
如所示
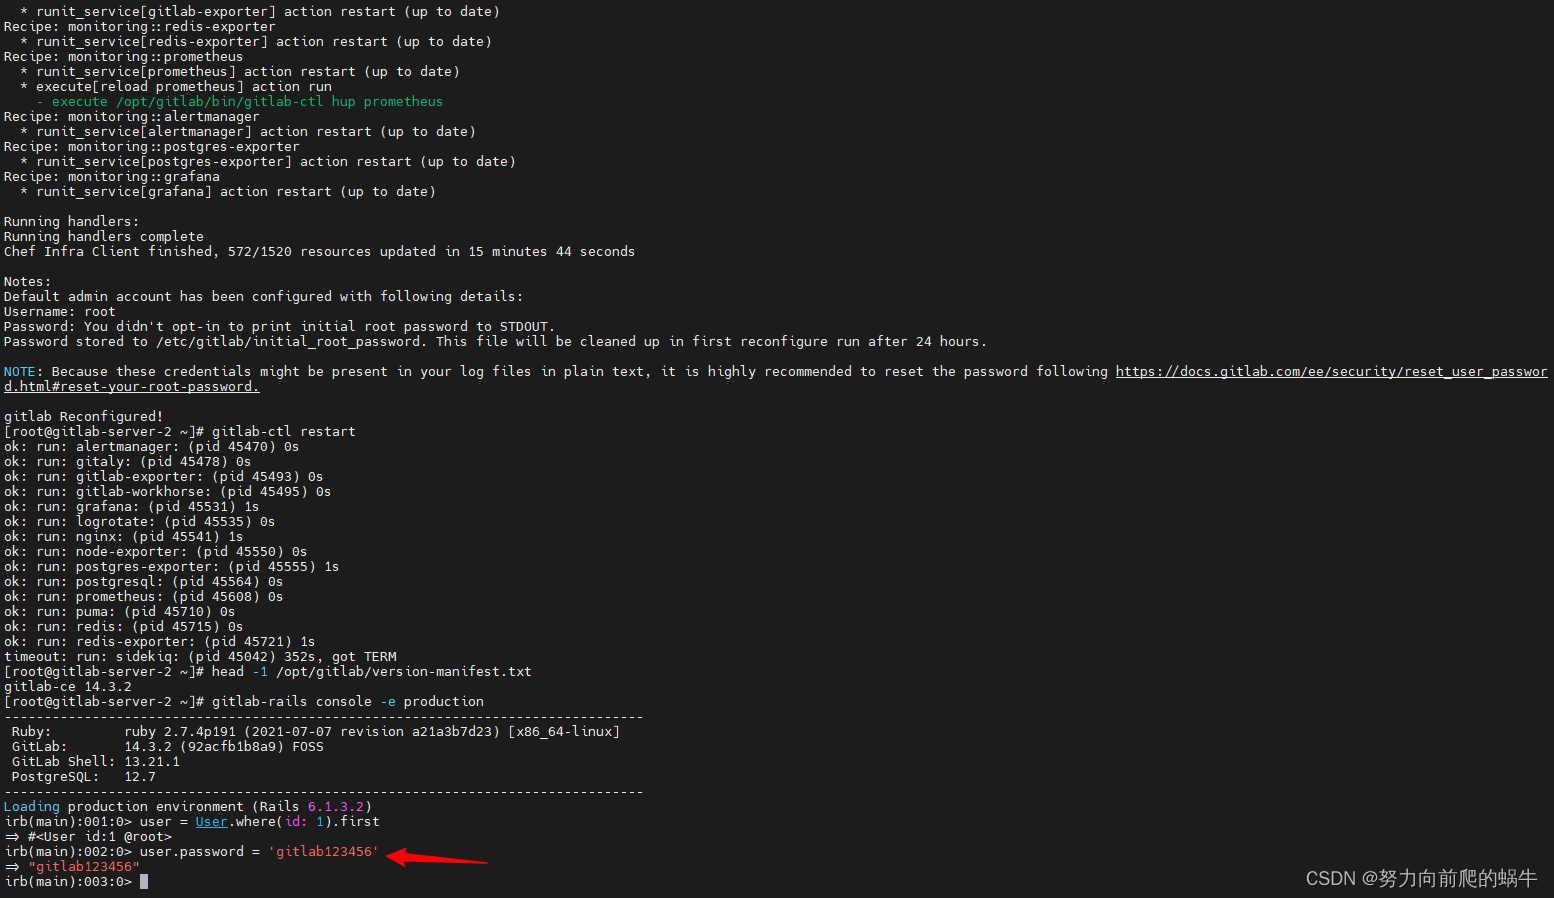
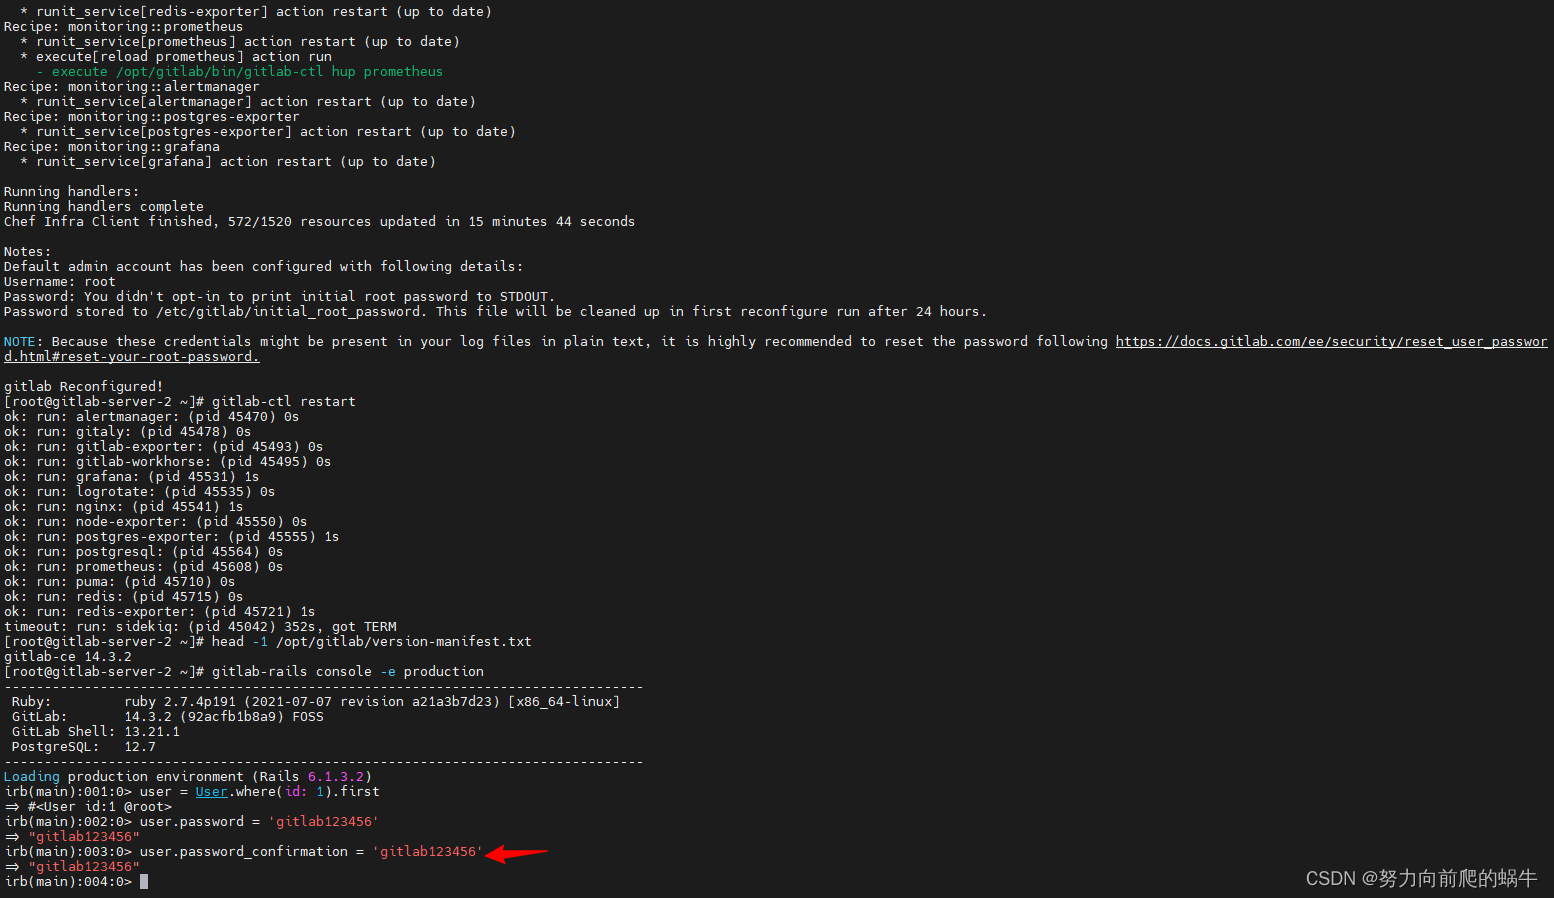
26.设置第一个用户
user = User.where(id: 1).first
如所示

27.设置密码
user.password = 'gitlab123456'
如所示
28.确认密码
user.password_confirmation = 'gitlab123456'
如所示
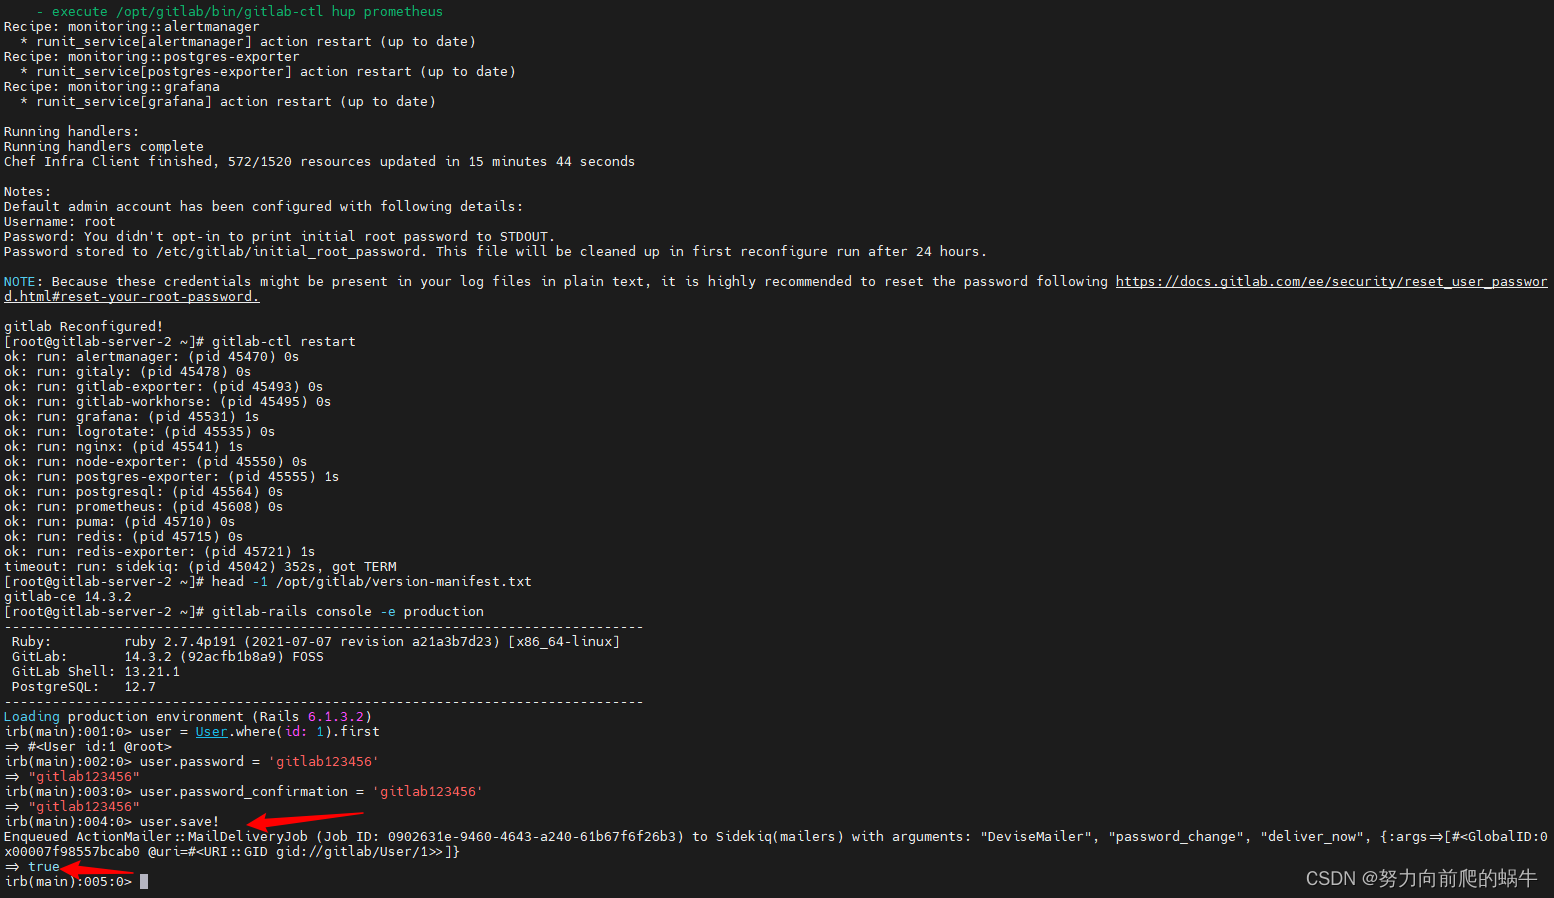
29.保存用户
user.save!
如所示
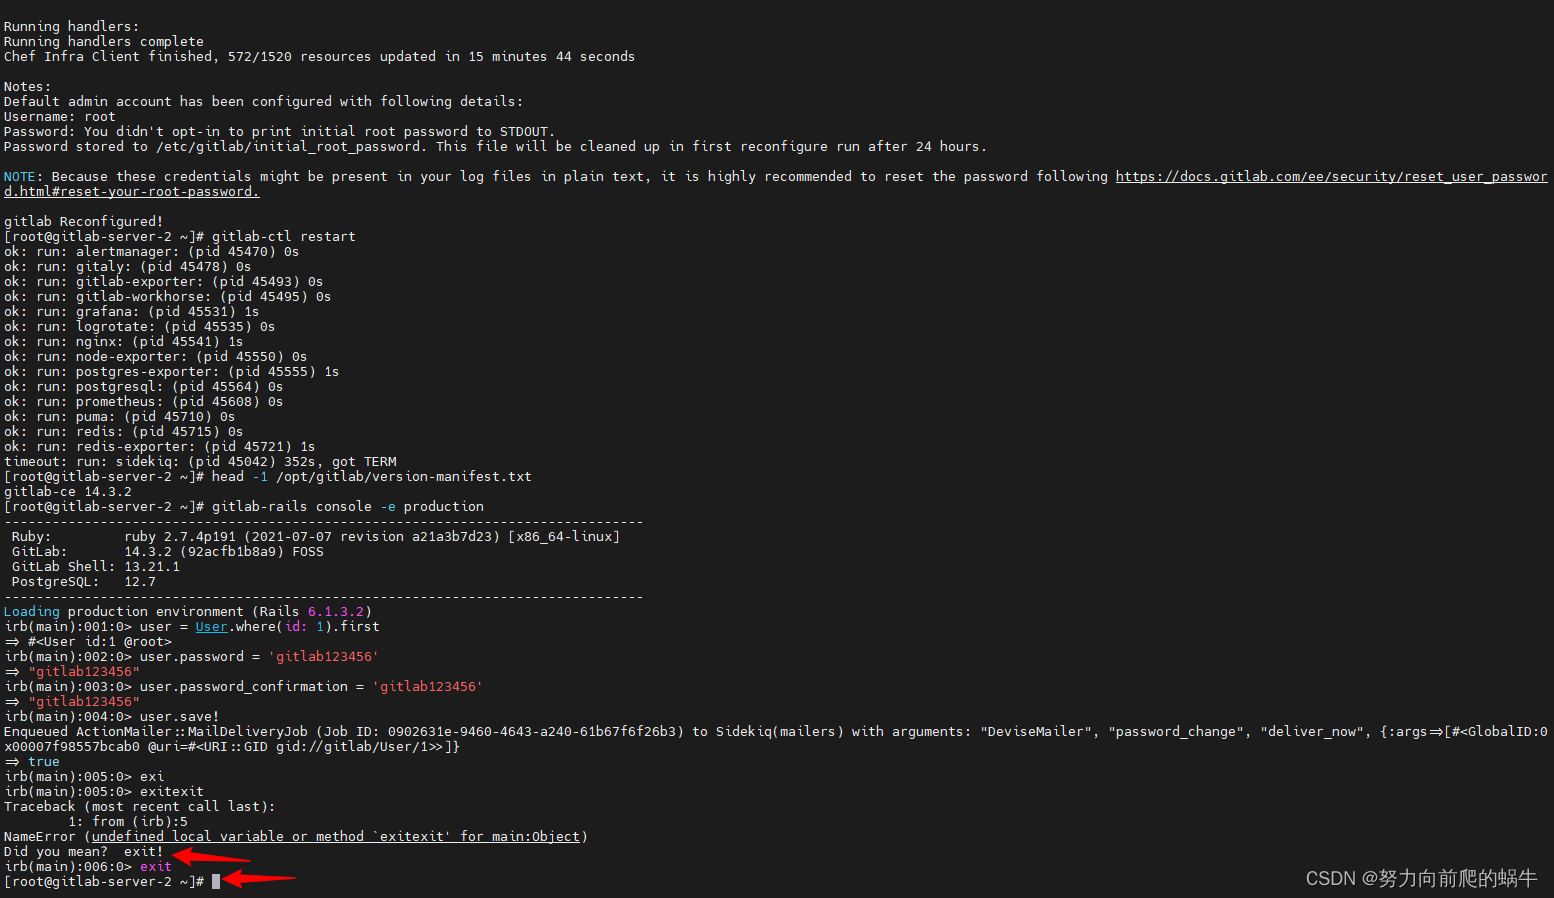
30.退出
exit
如所示
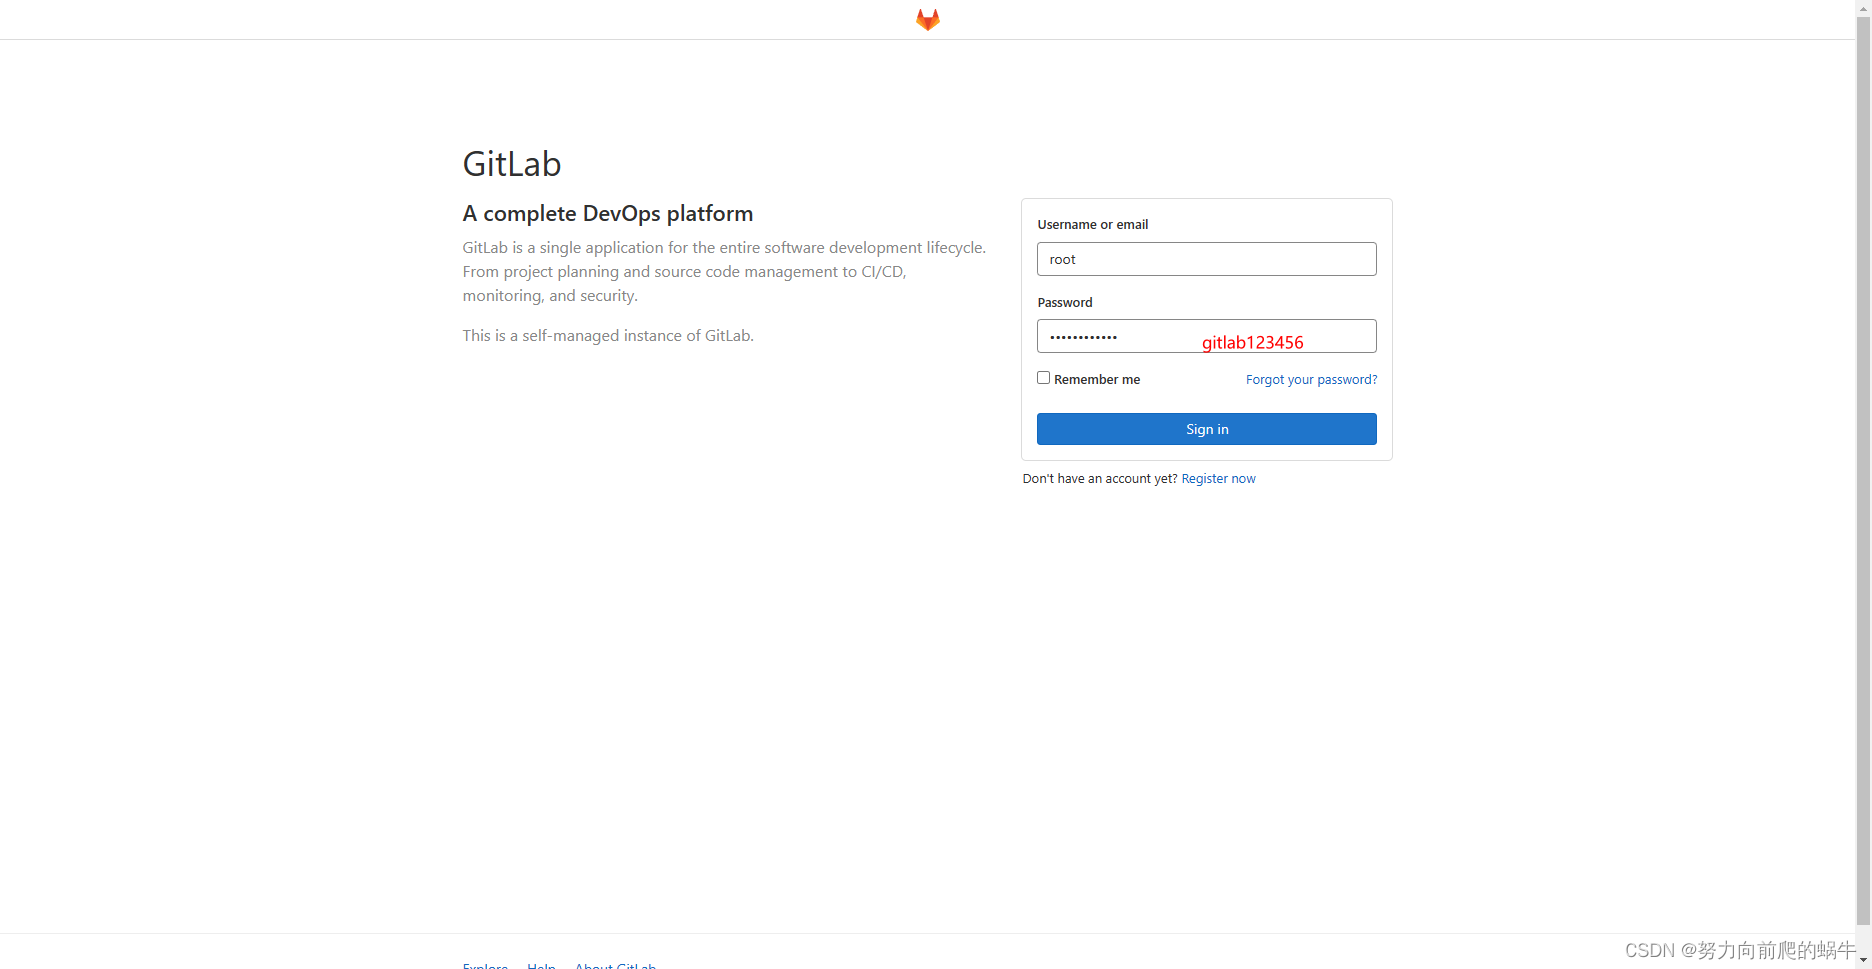
31、网页登录gitlab
在浏览器中输入 192.168.2.179:1000
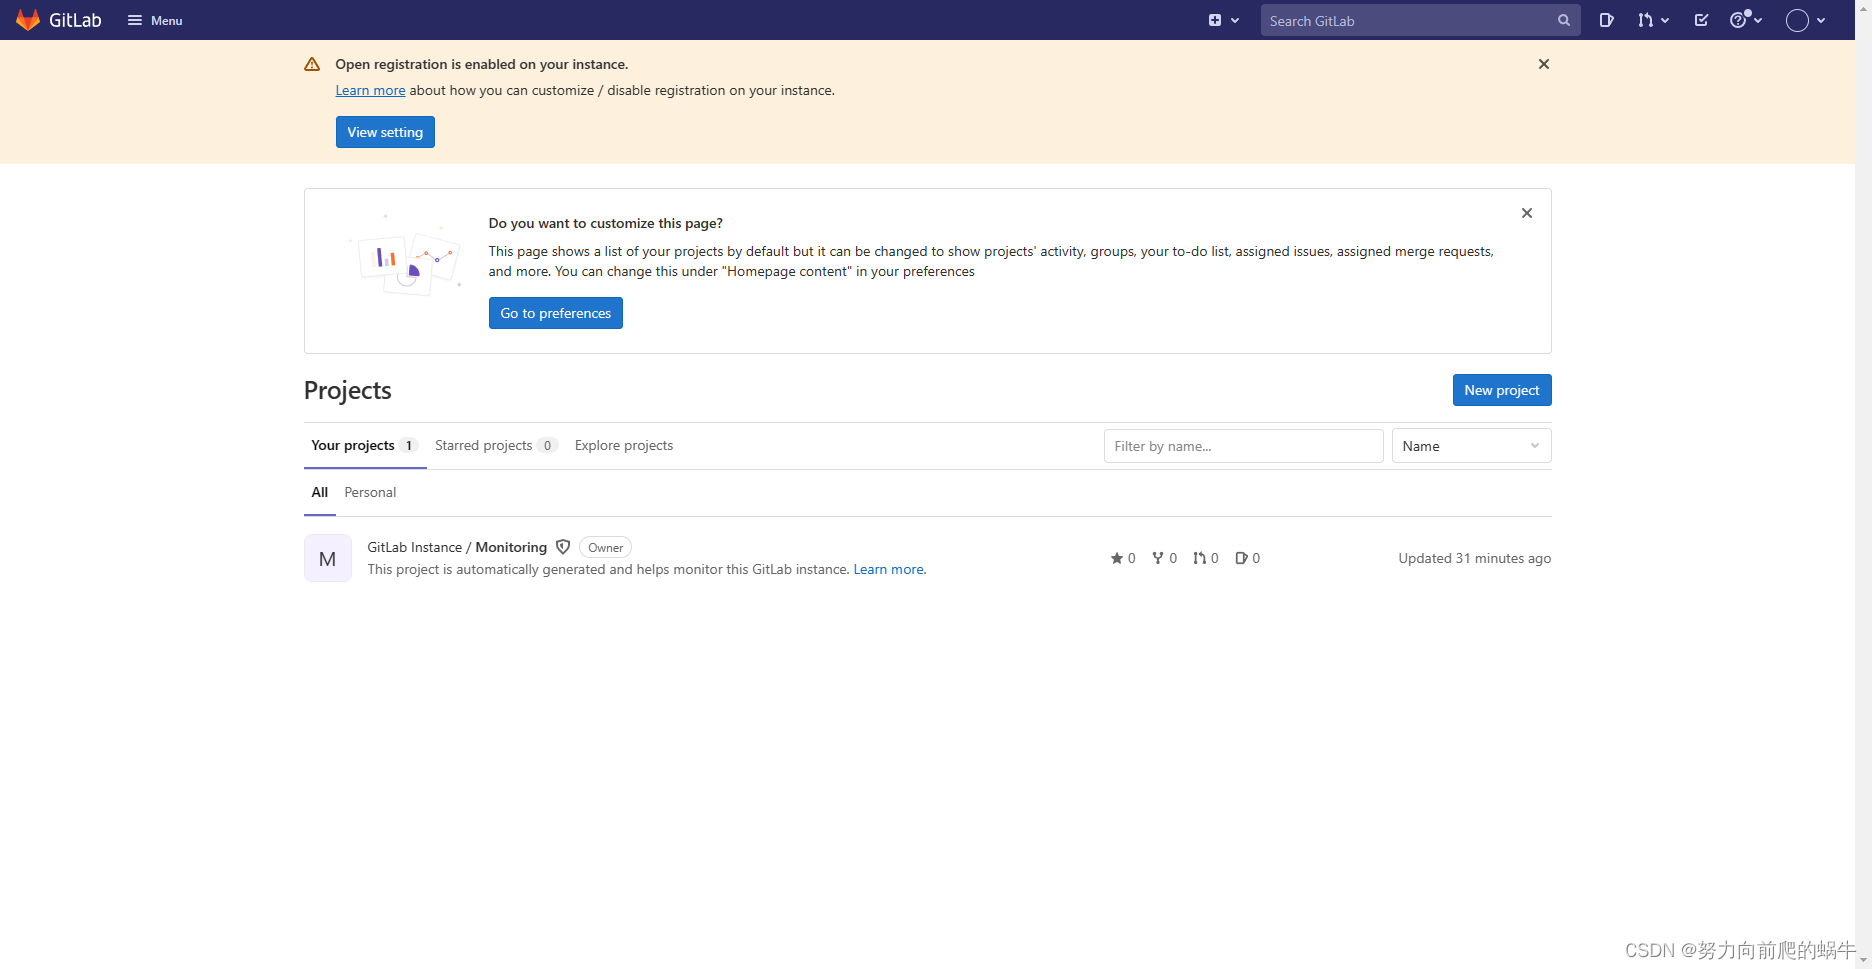
更改偏好设置

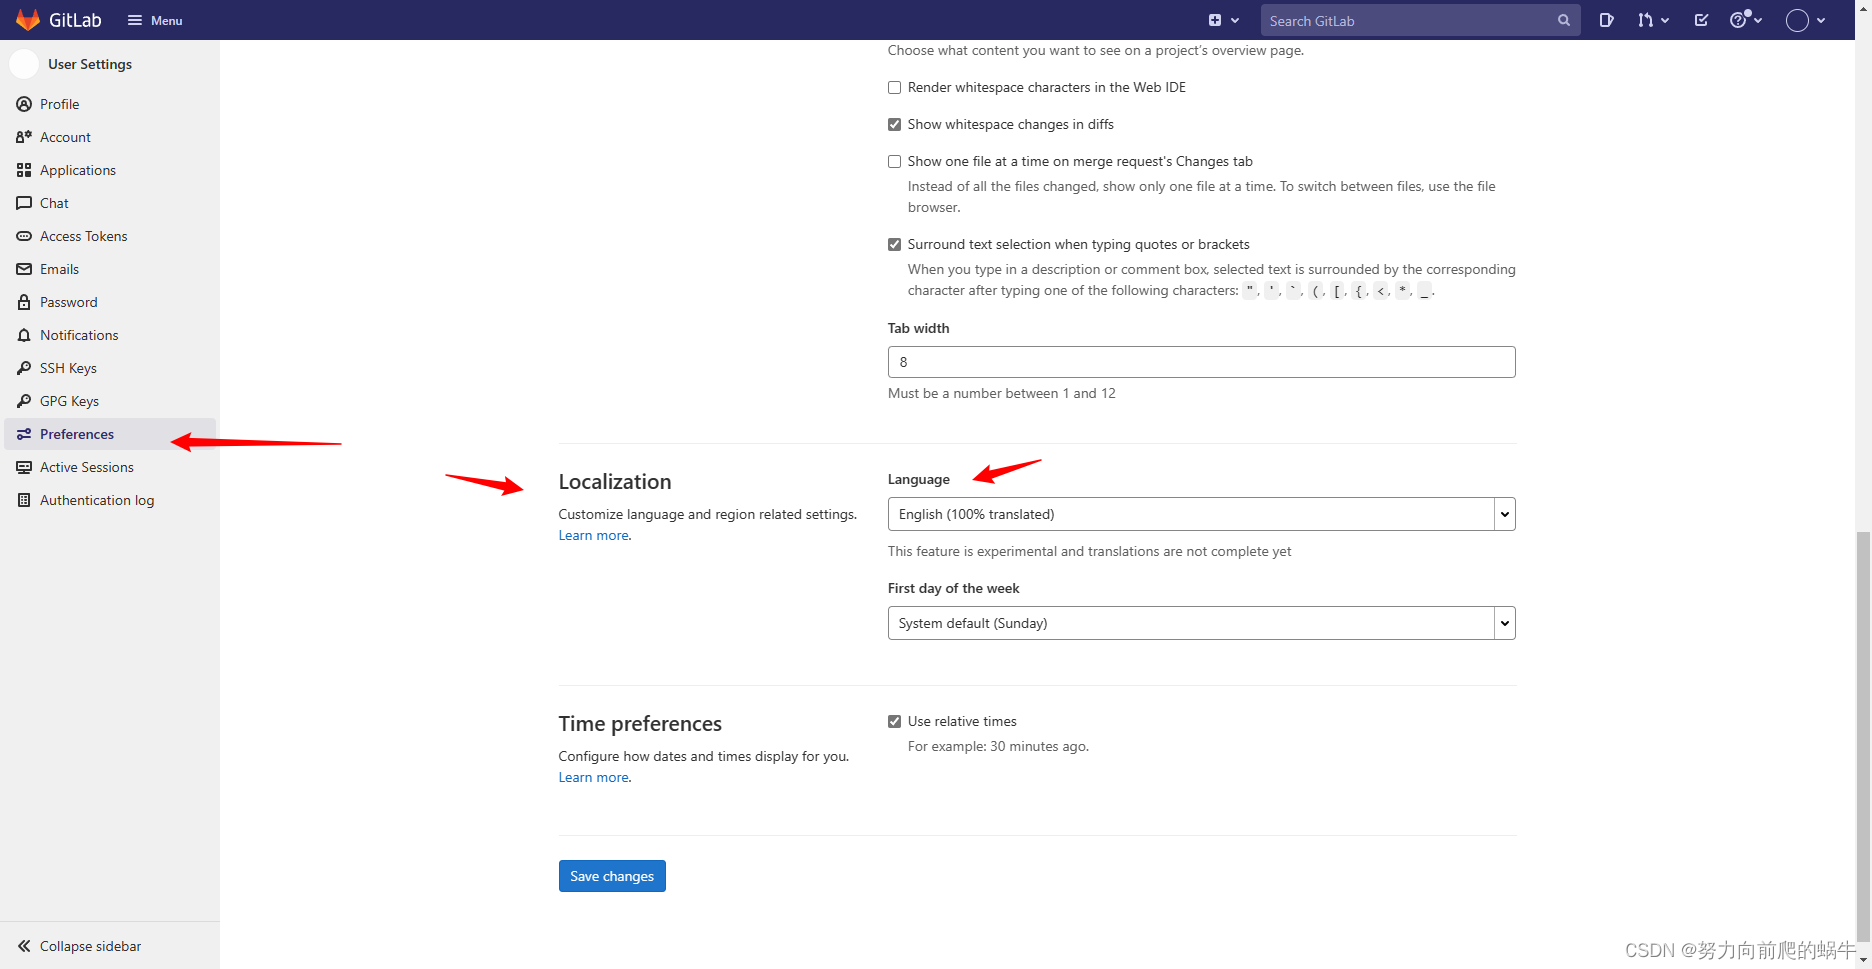
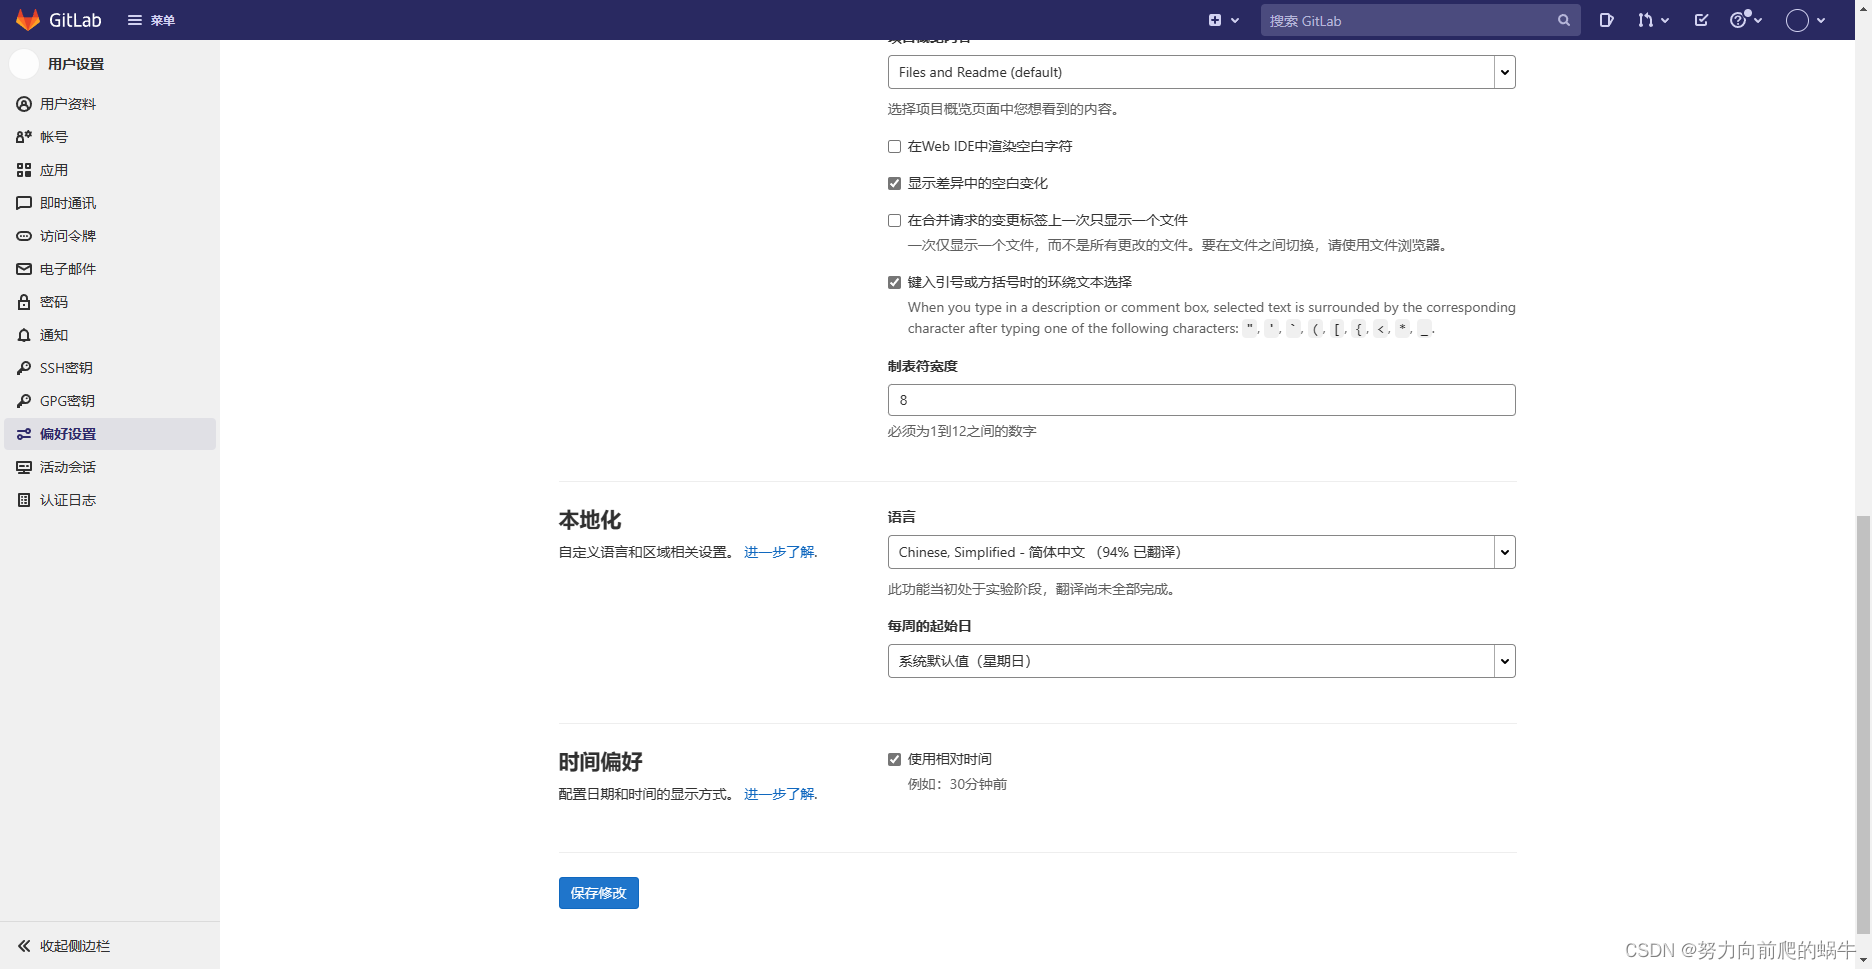
切换切面为中文模式
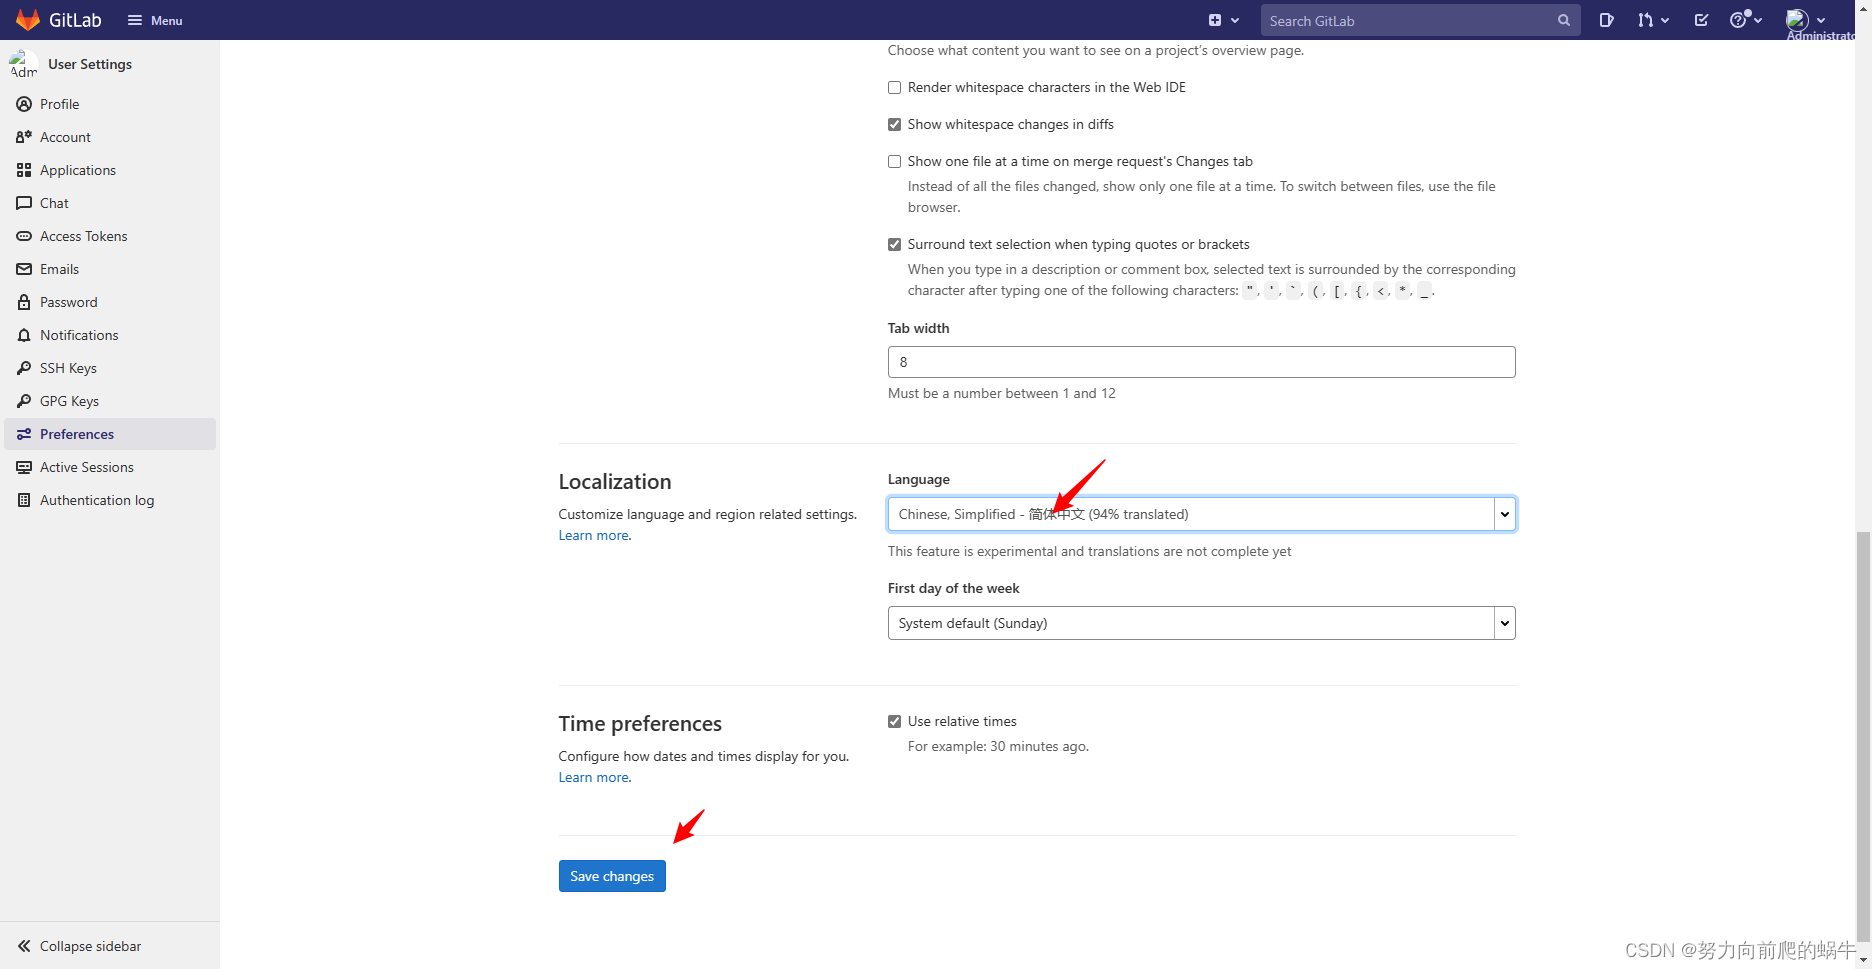
至此,gitlab本地仓库就搭建完毕


 362
362


 被折叠的 条评论
为什么被折叠?
被折叠的 条评论
为什么被折叠?
 到【灌水乐园】发言


