


前言
此文中华为设备使用ENSP模拟器模拟,与现网设备有可能存在出入,不同产品型号所涉及命令需要根据华为官网产品文档对应,请注意查询设备产品文档,其他厂家设备原理相同,操作方式有差异
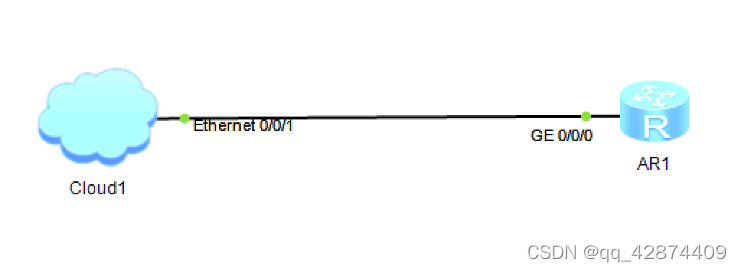
一、网络拓扑
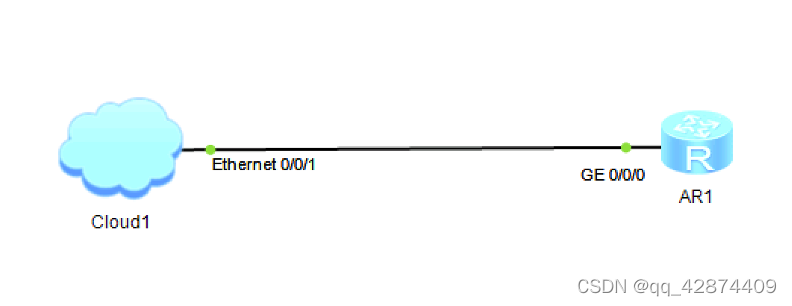
二、配置需求
将AR1设备配置文件备份到本地,备份完成后清除AR1设备所有配置,重新配置IP地址与本地电脑连通,并导入配置文件,进行恢复配置。
三、备份配置操作流程
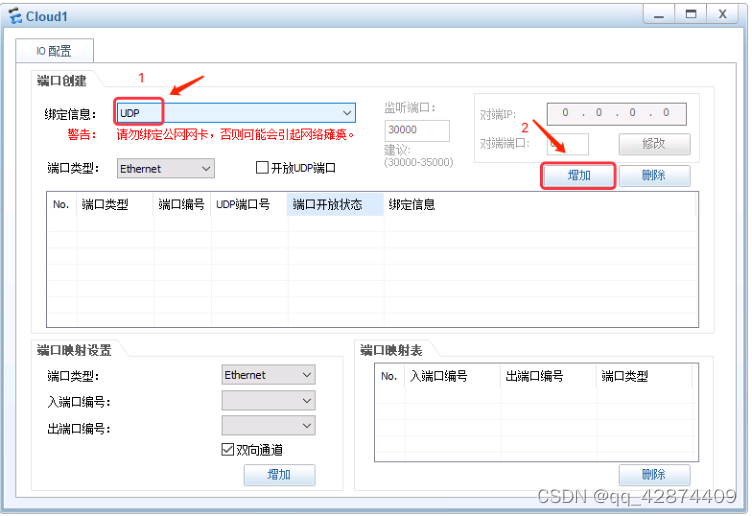
1.云桥接—模拟器与设备桥接
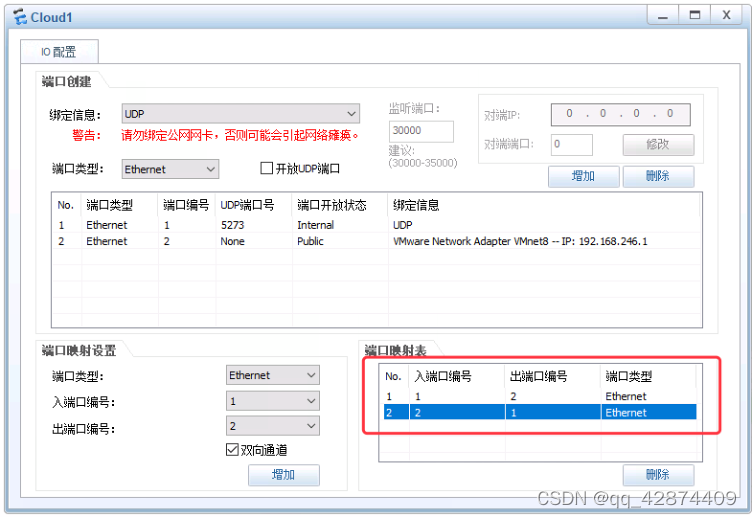
1)Cloud配置
双击Cloud1,进行新增UDP端口
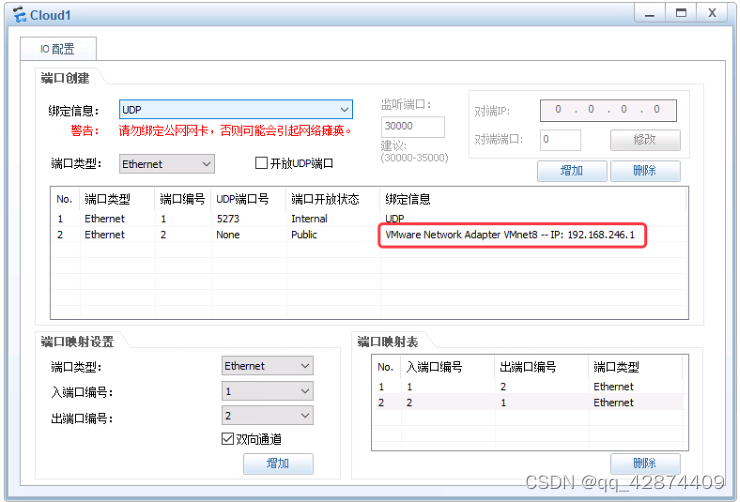
2)选择电脑中存在的虚拟网卡,并新增虚拟网卡端口
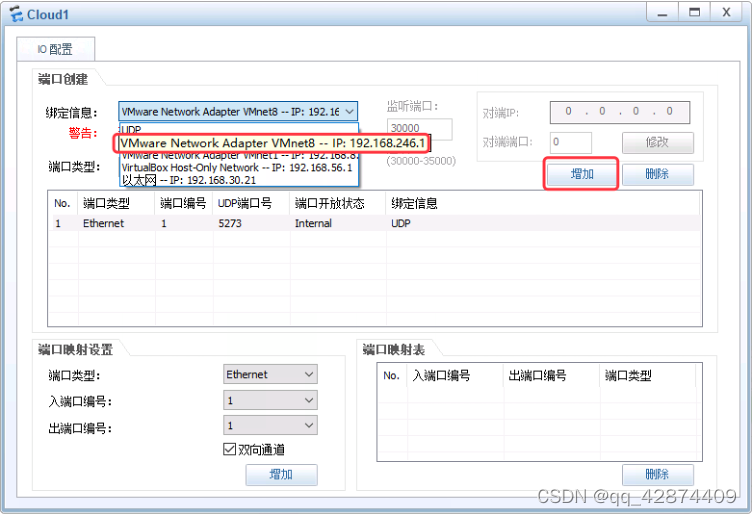
PASS:如果你是真机环境,此时需要用一根网线一端接入设备接口,一端接入PC网卡接口。
3)选择端口,并增加接口
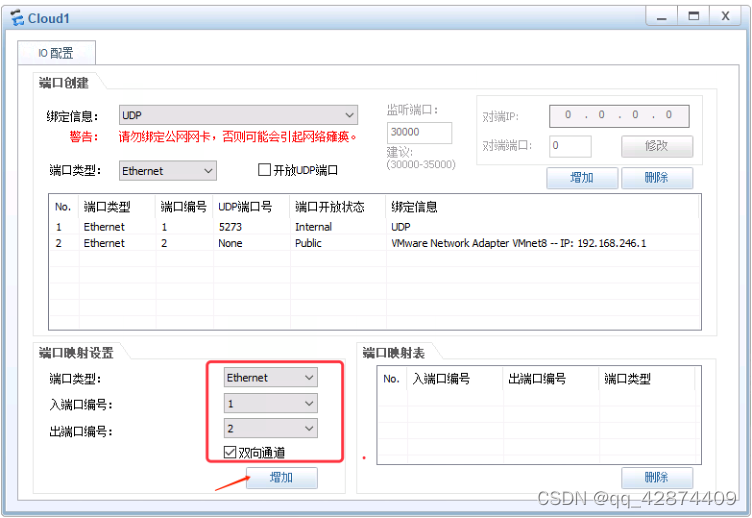
PASS:需要增加完成端口后才能进行线路连接
4)端口增加完成后最终效果
5)最后进行线路连接

2.配置AR1接口IP地址,并测试本地PC与网络设备连通性
1)AR1
代码如下(示例):
<Huawei>system-view
[Huawei]sysname R1
[R1]interface   g0/0/0
[R1-GigabitEthernet0/0/0]ip address 192.168.246.2 24
PASS:如何确定电脑与网络设备连接IP地址,也可以自行进入电脑控制面板设置IP地址。
[R1]ping  192.168.246.1

  PING 192.168.246.1: 56  data bytes, press CTRL_C to break

    Reply from 192.168.246
最低0.47元/天 解锁文章


 1407
1407

 被折叠的 条评论
为什么被折叠?
被折叠的 条评论
为什么被折叠?
 到【灌水乐园】发言


