


安装辅助库
go get -u -v github.com/ramya-rao-a/go-outline
如果网络原因,可以选择先从 github 下载,之后手动安装。
git clone https://github.com/golang/tools.git $GOPATH/src/golang.org/x/tools
安装成功的提示:

安装 Gin 框架,使用命令:
go get -u -v github.com/gin-gonic/gin
Gin 程序
编写第一个 Gin 程序。
/**
* @author Real
* @since 2023/10/28 16:42
*/
package main
import "github.com/gin-gonic/gin"
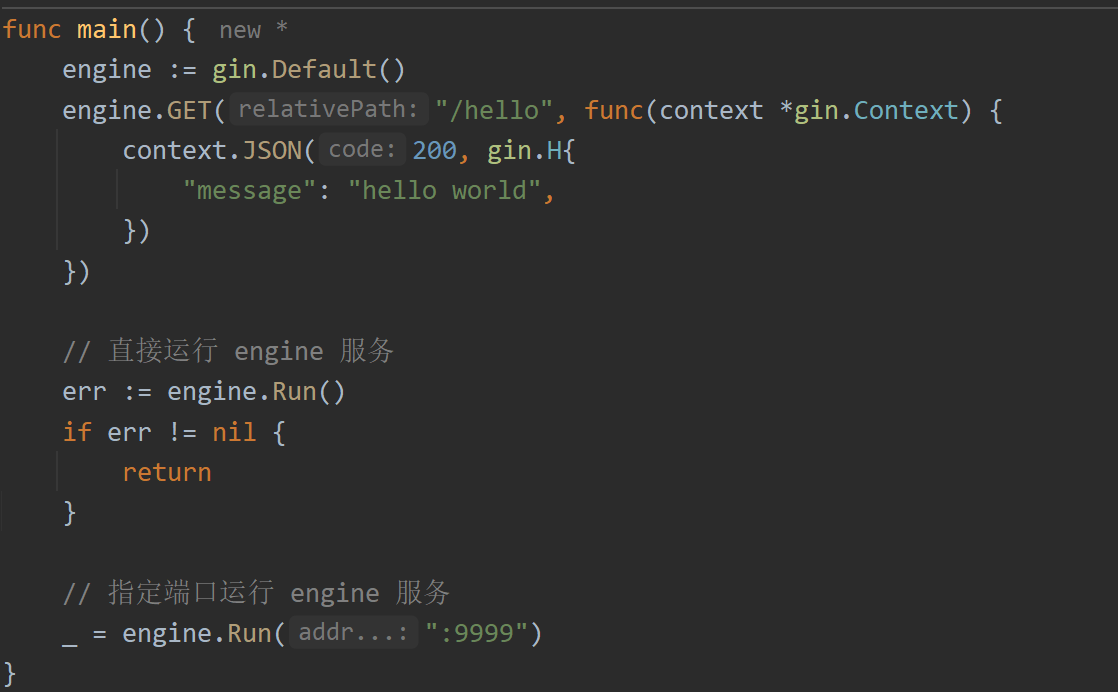
func main() {
engine := gin.Default()
engine.GET("/hello", func(context *gin.Context) {
context.JSON(200, gin.H{
"message": "hello world",
})
})
// 直接运行 engine 服务
err := engine.Run()
if err != nil {
return
}
}
之后直接运行,可以看到在控制栏,有对应的服务启动。同时 Gin 还提供了自己的监控 Console 控制台。

浏览器访问 [**http://localhost:8080/hello**](http://localhost:8080/hello) 即可访问上述的方法服务。
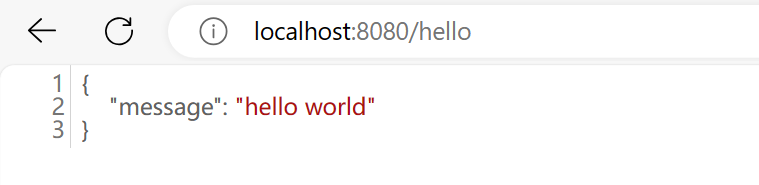
可以看到访问的结果是输出在 Gin Function 中返回的 H 结构 JSON 字符串。
- 首先,我们使用了
gin.Default()生成了一个实例,这个实例即 WSGI 应用程序。 - 接下来,我们使用
engine.GET("/hello",...)声明了一个路由,告诉 Gin 什么样的 URL 能触发传入的函数,这个函数返回我们想要显示在用户浏览器中的信息。 - 最后用
engine.Run()函数来让应用运行在本地服务器上,默认监听端口是 8080,可以传入参数设置端口,例如engine.Run(":9999")即运行在 9999 端口。
测试:一个 engine 实例,能否同时监听两个端口。
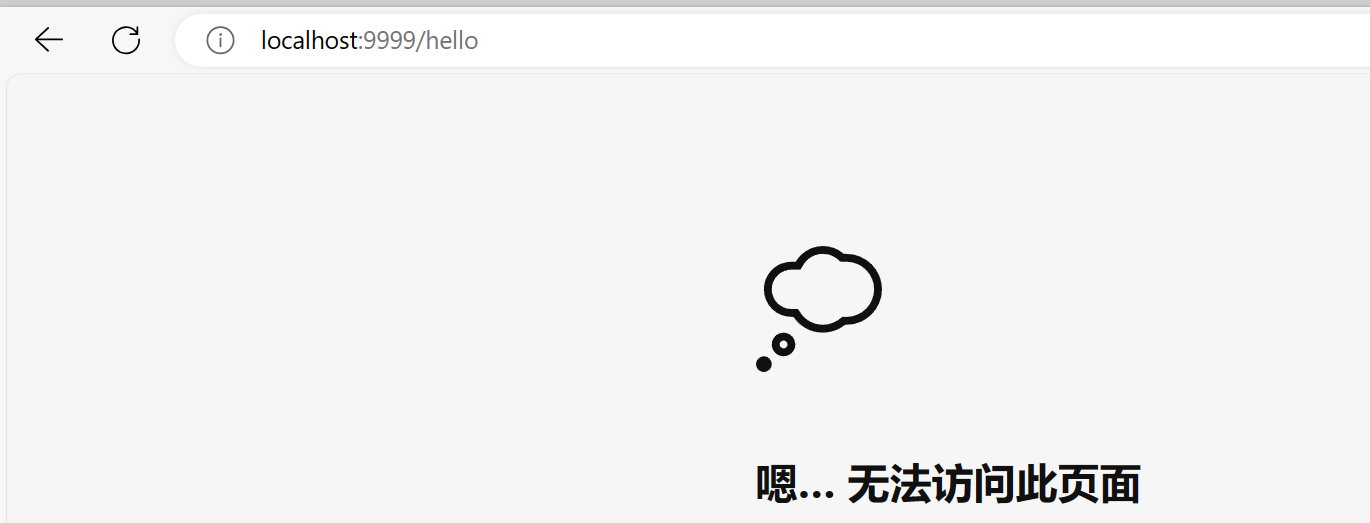
编写这样的程序,之后启动程序,查看控制台,发现只显示监听了 8080 端口。

访问 9090 端口,发现系统提示无服务。
测试:一个 main 方法,能否同时启动多个 engine 实例。
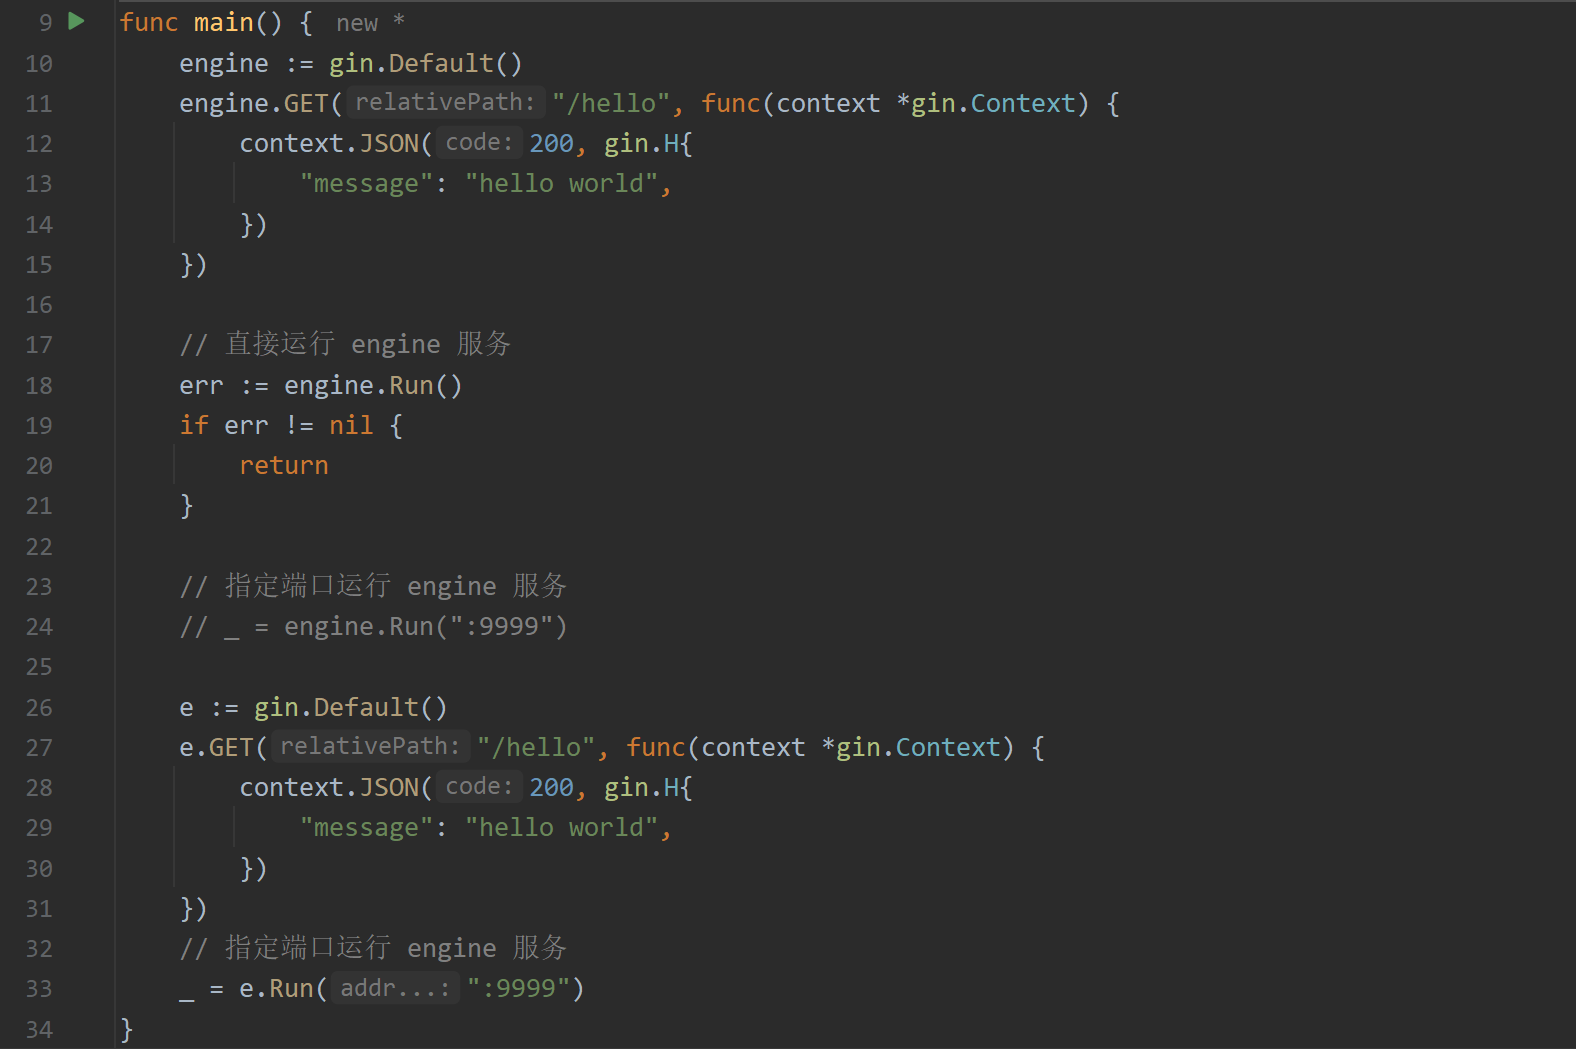
查看控制台,发现仍然只 Listen 8080 端口。

经过两次测试,结论:
- 发现 Gin 在监听 HTTP 请求时,一个 main 方法中,只能启动一个实例且只能监听一个端口。
- 有同时监听多个端口的需求,需要启动多个服务。
路由 Route
Gin 在接受请求的时候,可以支持多种模式。Router 将请求根据不同的策略,路由到不同的 Context 上下文中。
无参数
package main

import (
	"fmt"
	"github.com/gin-gonic/gin"
	"net/http"
)

func main() {
	fmt.Println("------------- routerWithRouter --------------")
	routerWithoutParameter()
}

func routerWithoutParameter() {
	// 创建一个默认的路由引擎
	engine := gin.Default()

	// 注册一个 GET 请求,第一个参数是请求的路径,第二个参数是处理这个请求的函数
	// gin.Context 封装了 request 和 response
	// context.String() 第一个参数是状态码,第二个参数是返回的内容
	// 没有指定端口,默认监听 8080 端口;没有参数,默认监听 / 路径
	engine.GET("/", func(context *gin.Context) {
		context.String(http.StatusOK, "hello world!")
	})

	engine.Run()
}
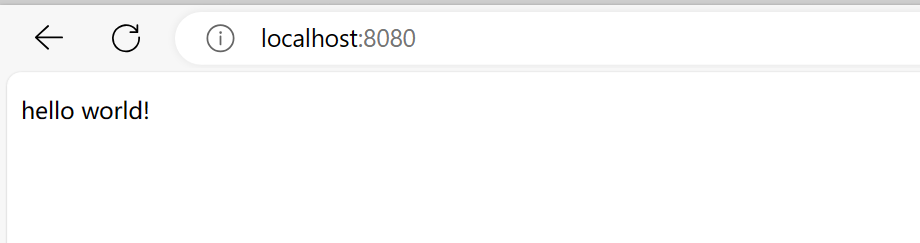
运行程序,结果如下:

在浏览器访问 [**http://localhost:8080/**](http://localhost:8080/)** **之后,可以看到输出的 String 字符串。
路径参数
func routerWithPathParameter() {
	engine := gin.Default()
	// func 程序中的函数没有名称,称为匿名函数
	engine.GET("/hello/:name", func(context *gin.Context) {
		name := context.Param("name")
		context.String(200, "hello %s", name)
	})

	_ = engine.Run()
}
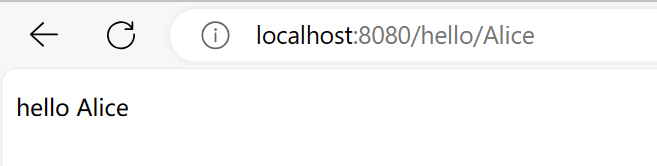
运行之后,可以看到 Gin 在 Console 控制台的输出结果:
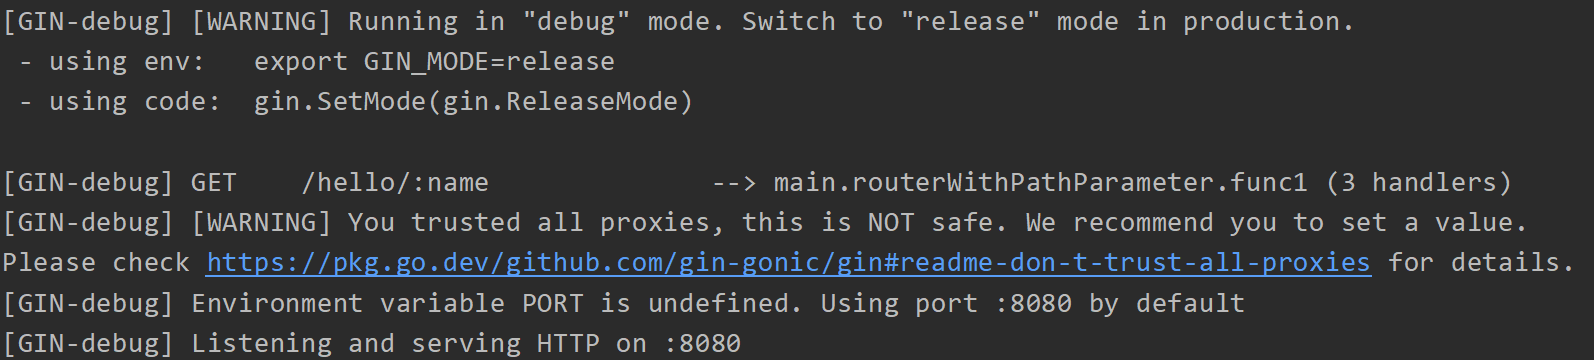
浏览器访问 [**http://localhost:8080/hello/Alice**](http://localhost:8080/hello/Alice)** **可以看到浏览器的输出结果:
获取 Query 参数
针对 HTTP 请求中的 RequestParam 类型的参数,在 Gin 中的处理方式也十分简单。
// 匹配users?name=xxx&role=xxx,role可选
func routerWithQuery() {
	engine := gin.Default()
	engine.GET("/hello", func(context *gin.Context) {
		name := context.Query("name")
		role := context.Query("role")
		context.String(200, "%s is a %s", name, role)
	})

	_ = engine.Run()
}
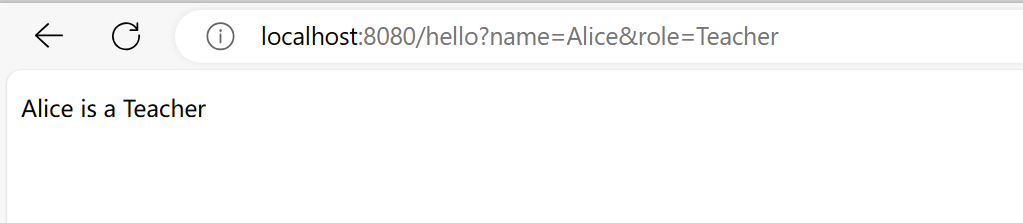
启动之后,访问 [**http://localhost:8080/hello?name=Alice&role=Teacher**](http://localhost:8080/hello?name=Alice&role=Teacher)** **地址,可以看到输出的结果,符合我们的预期。
获取 Post 参数
上述方式,是对于 Get 请求的处理。Post 请求参数通常是以表单的形式提交的,所以对于这部分请求的处理,与 Query 不一样。
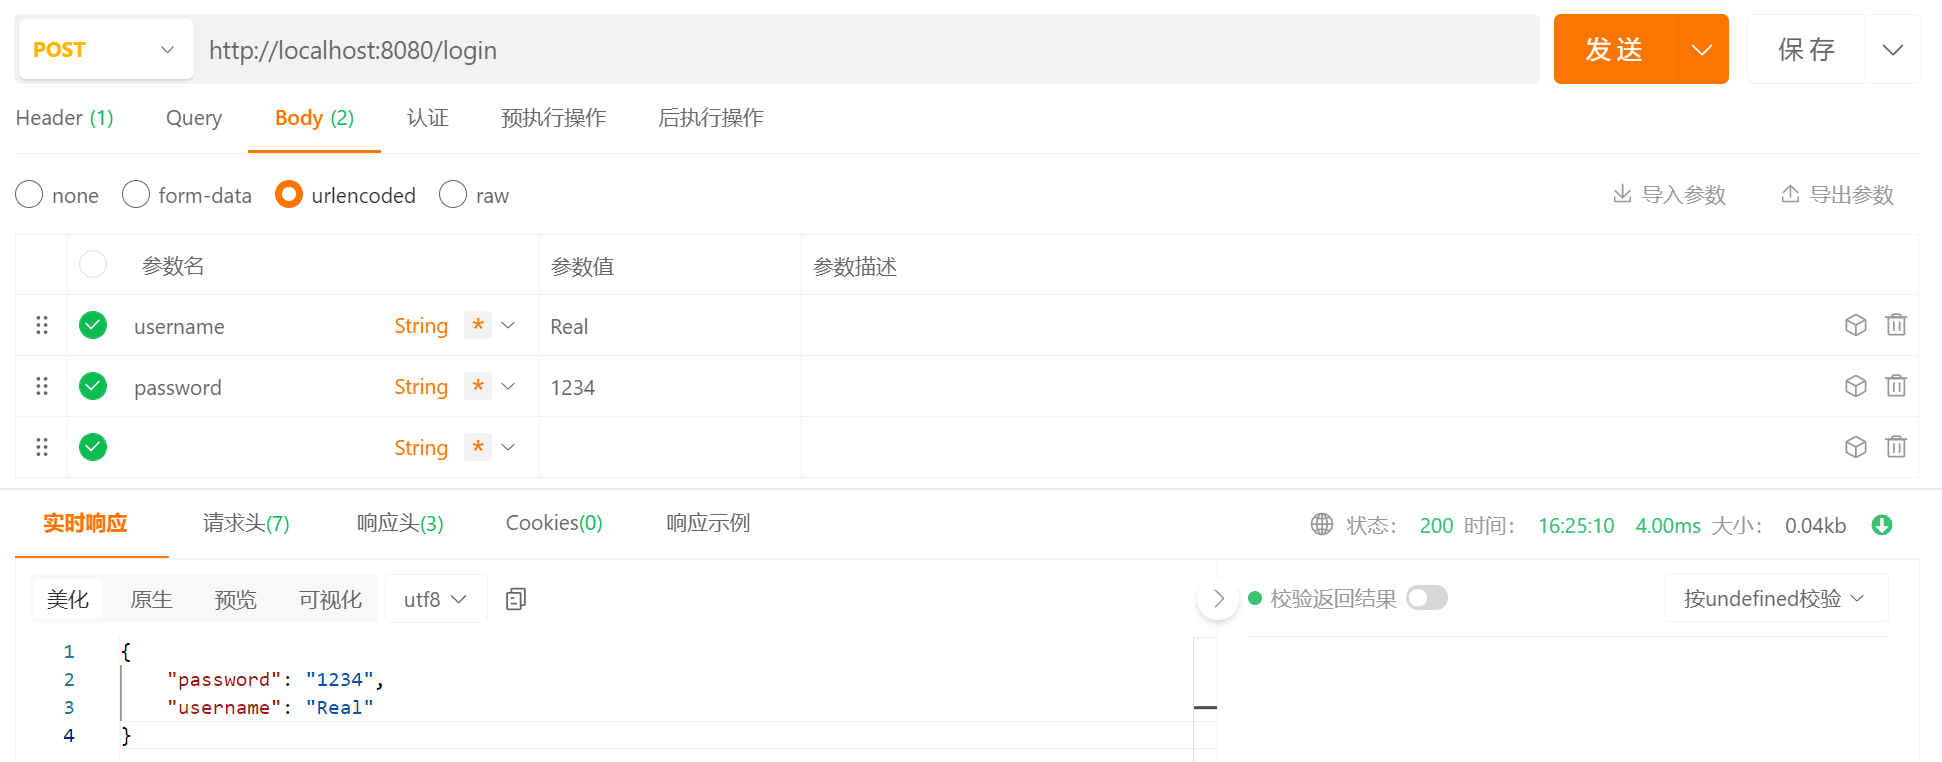
func routerWithPostForm() {
	engine := gin.Default()
	engine.POST("/login", func(context *gin.Context) {
		username := context.PostForm("username")
		// 优先以 postForm 的值为准,如果没有则使用默认值
		password := context.DefaultPostForm("password", "000000")
		context.JSON(200, gin.H{
			"username": username,
			"password": password,
		})
	})

	_ = engine.Run()
}
请求结果来看,对于表单数据的处理,也十分简单。
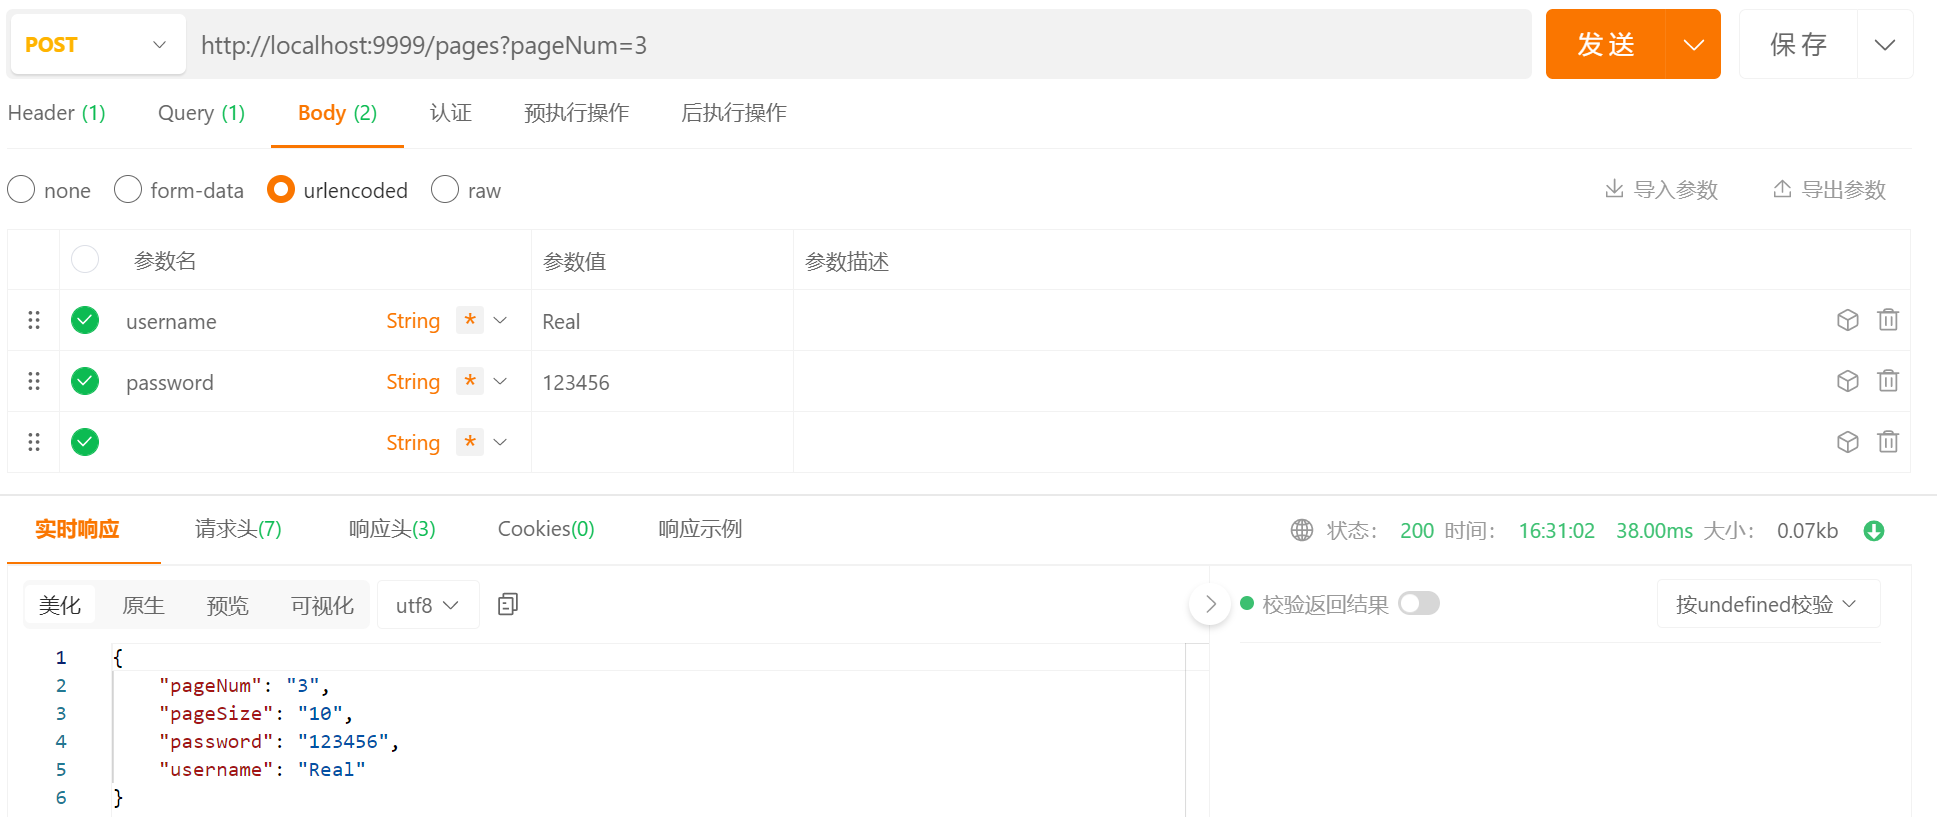
Query 与 Post 混合
对于 Query 和 Post 混合的场景中,应该使用 Post 请求。
func routerWithQueryAndPostForm() {
	engine := gin.Default()
	engine.POST("/pages", func(context *gin.Context) {
		pageNum := context.Query("pageNum")
		pageSize := context.DefaultQuery("pageSize", "10")
		username := context.PostForm("username")
		password := context.DefaultPostForm("password", "000000")

		context.JSON(http.StatusOK, gin.H{
			"pageNum":  pageNum,
			"pageSize": pageSize,
			"username": username,
			"password": password,
		})
	})

	_ = engine.Run(":9999")
}
请求结果:
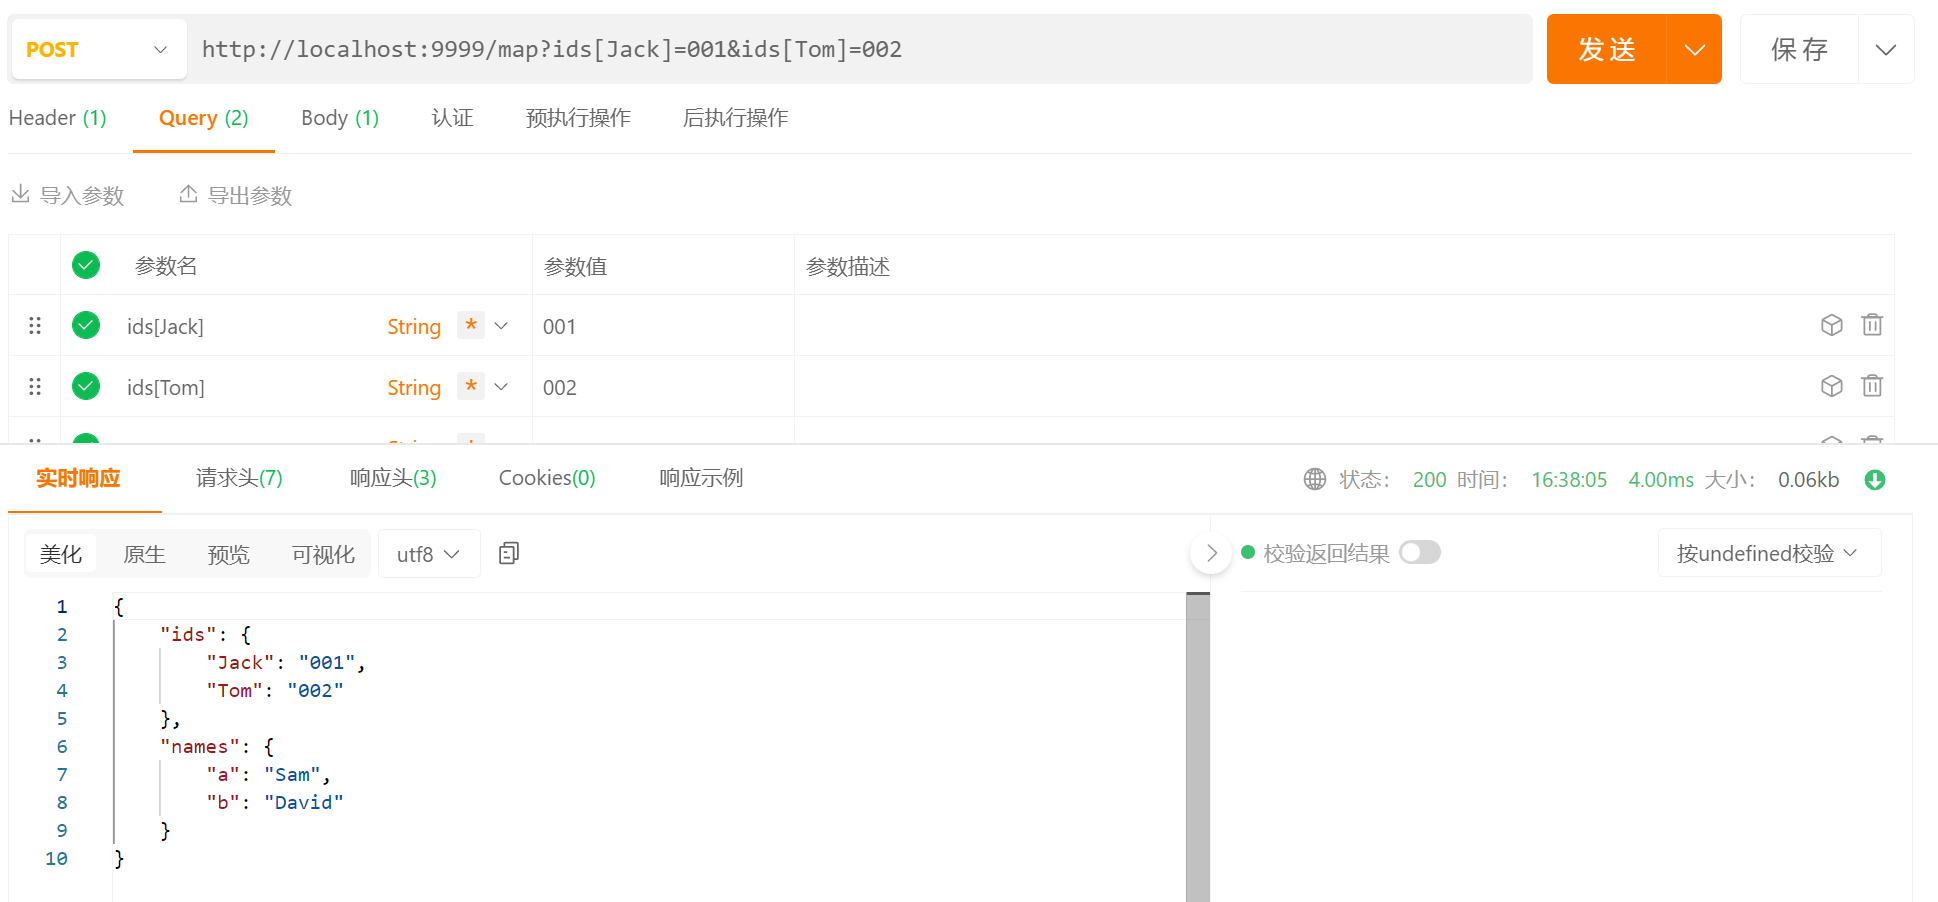
Map 传参
除了常见的 Get 与 Post 传参方式,还有另外比较常见的 Map 传参方式。虽然这种方式不符合 REFTful 风格,但是 Gin 同样提供了比较好的支持。
func routerWithMap() {
	engine := gin.Default()
	engine.POST("/map", func(context *gin.Context) {
		ids := context.QueryMap("ids")
		names := context.PostFormMap("names")

		context.JSON(http.StatusOK, gin.H{
			"ids":   ids,
			"names": names,
		})
	})

	_ = engine.Run(":9999")
}
启动之后,查看控制台的输出,正常。

我们需要将参数放在 URL 中,并且需要符合 Go 的语法,这样才能被 Gin 正确解析。
curl --request POST \
  --url 'http://localhost:9999/map?ids[Jack]=001&ids[Tom]=002' \
  --header 'Content-Type: application/x-www-form-urlencoded' \
  --header 'content-type: application/json' \
  --data 'names[a]=Sam&names[b]=David'
访问上述的 curl 之后,我们可以看到结果被正确输出了。
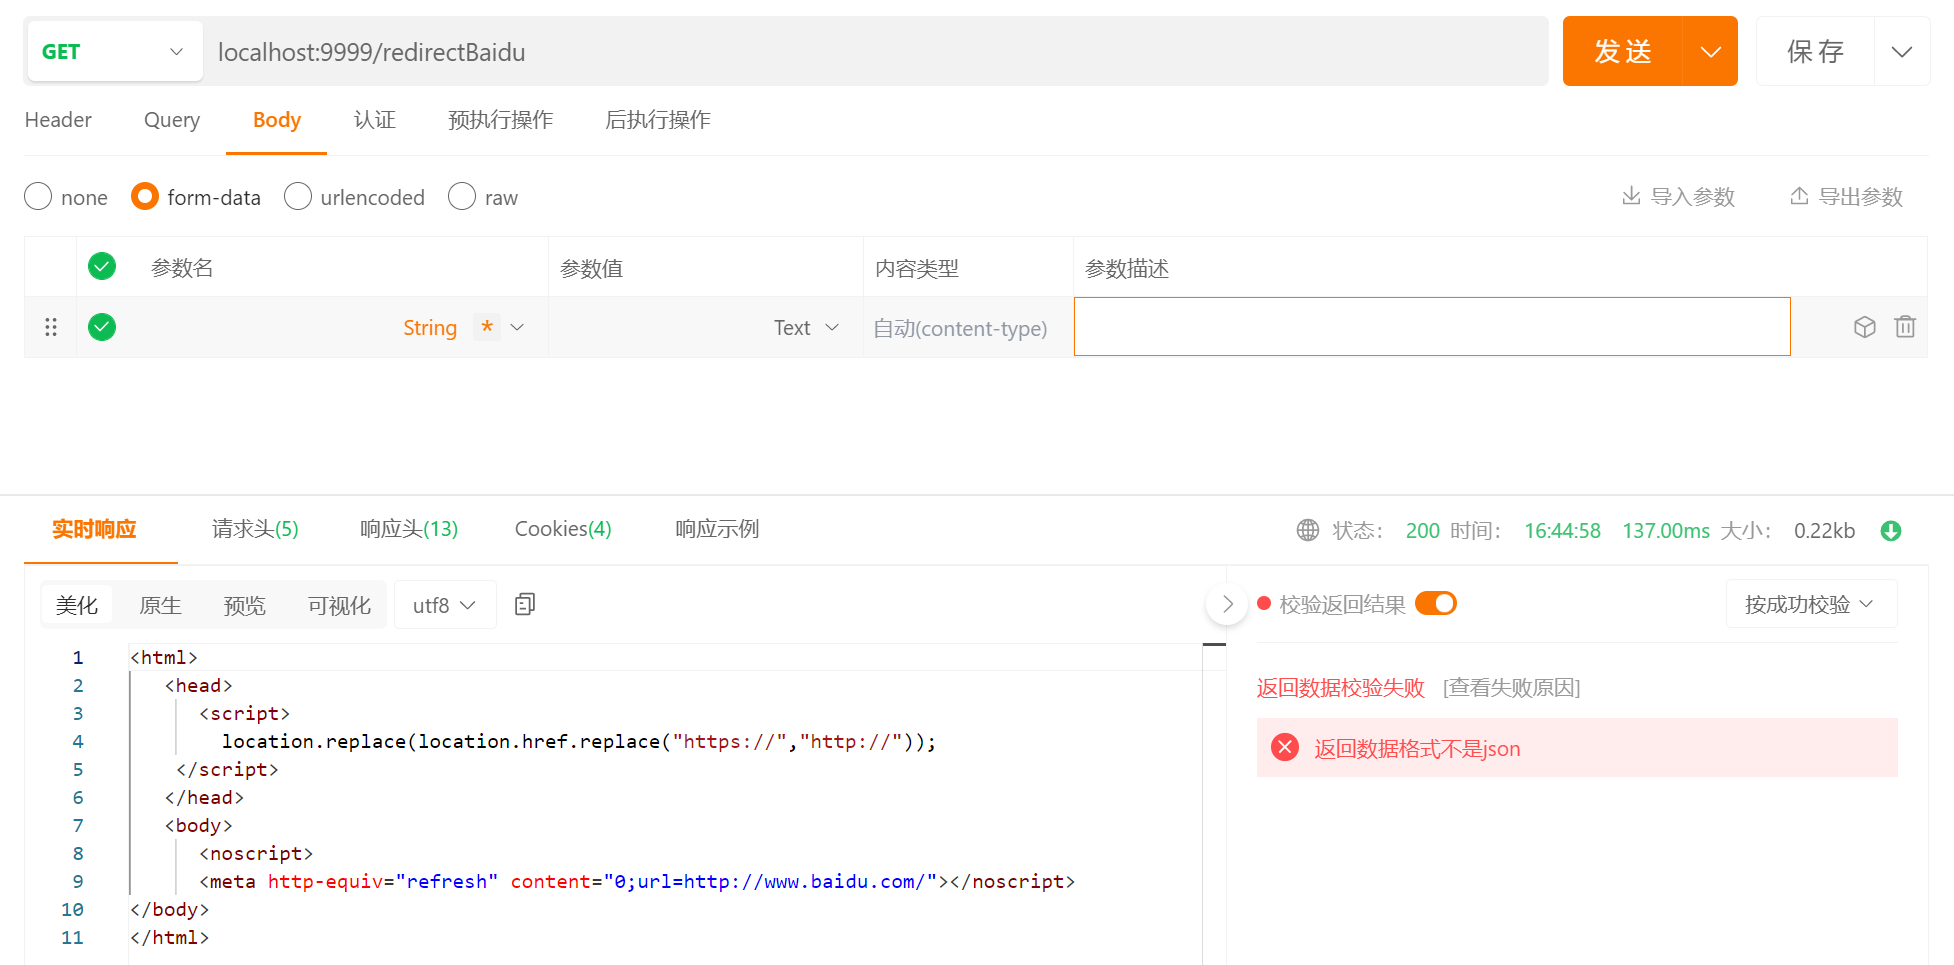
重定向 Redirect
重定向在 HTTP 协议中,对应的 Code 是 301。Gin 框架同样对 Redirect 提供了支持。
func routerWithRedirect() {
	engine := gin.Default()
	engine.GET("/redirectBaidu", func(context *gin.Context) {
		context.Redirect(http.StatusMovedPermanently, "https://www.baidu.com")
	})

	_ = engine.Run(":9999")
}
之后访问 [http://localhost:9999/redirectBaidu](http://localhost:9999/redirectBaidu) 地址,会直接跳转百度的网站。
测试:如果重定向是同一个端口,设置的同样是 Gin 的端口服务,查看是否会正常跳转。
func routerWithRedirectSelf() {
	engine := gin.Default()
	engine.GET("/redirect", func(context *gin.Context) {
		context.Redirect(http.StatusMovedPermanently, "/index")
	})

	engine.GET("/index", func(context *gin.Context) {
		context.Request.URL.Path = "/"
		context.String(http.StatusOK, "index")
	})

	_ = engine.Run(":9999")
}
访问 [**http://localhost:9999/redirect**](http://localhost:9999/redirect)** 网站之后,会直接跳转到 [**http://localhost:9999/index**](http://localhost:9999/redirect) **服务,最终输出 index 数据。
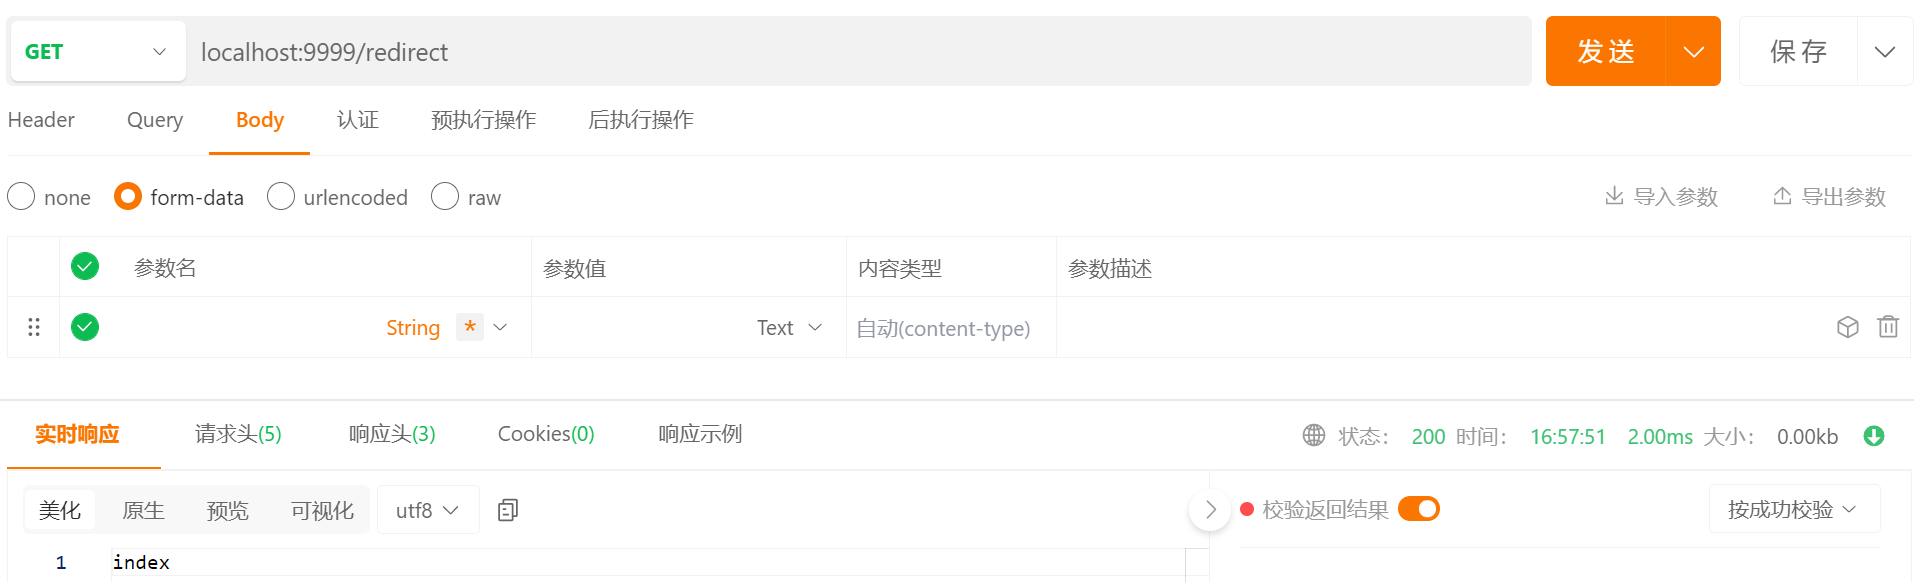
结论:重定向自身服务,是可行的。
分组路由 Grouping Routes
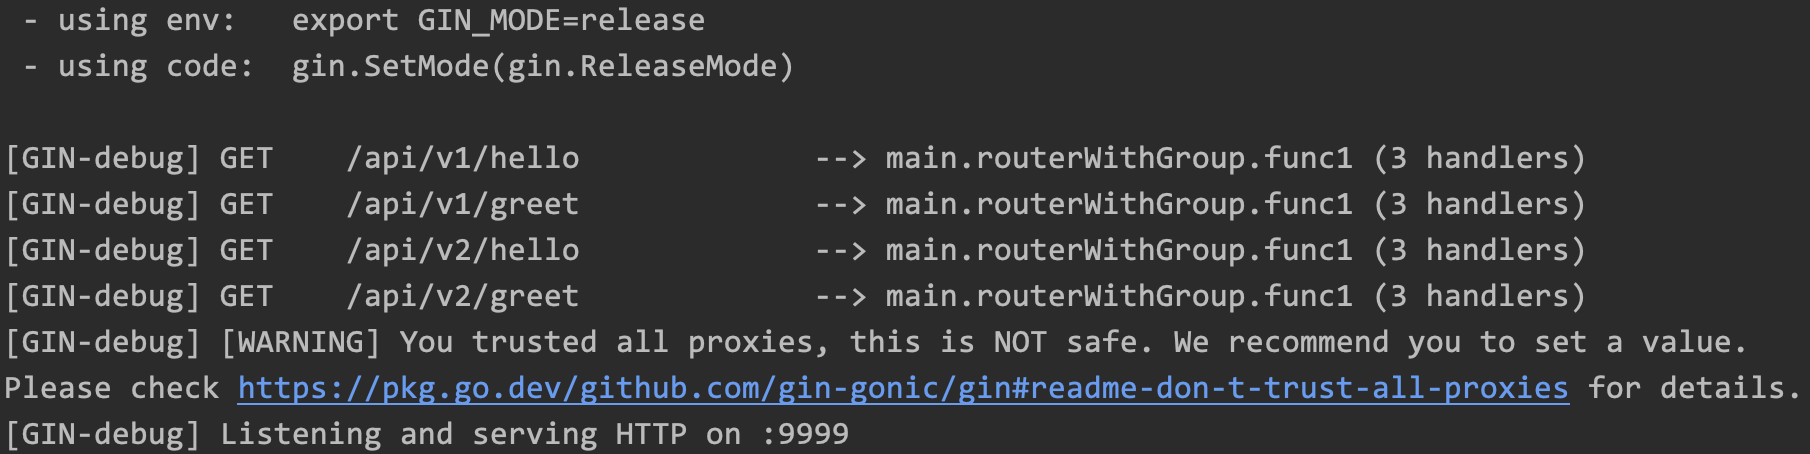
如果有一组路由,前缀都是 /api/v1 开头,是否每个路由都需要加上 /api/v1 这个前缀呢?答案是不需要,Gin 提供的分组路由可以解决这个问题。
利用分组路由还可以更好地实现权限控制,例如将需要登录鉴权的路由放到同一分组中,简化权限控制。
func routerWithGroup() {
	defaultHandler := func(context *gin.Context) {
		context.JSON(http.StatusOK, gin.H{
			"path": context.FullPath(),
		})
	}

	engine := gin.Default()
	v1Group := engine.Group("/api/v1")
	{
		v1Group.GET("/hello", defaultHandler)
		v1Group.GET("/greet", defaultHandler)
	}

	v2Group := engine.Group("/api/v2")
	{
		v2Group.GET("/hello", defaultHandler)
		v2Group.GET("/greet", defaultHandler)
	}

	_ = engine.Run(":9999")
}
启动之后,可以看到 console 输出的信息。
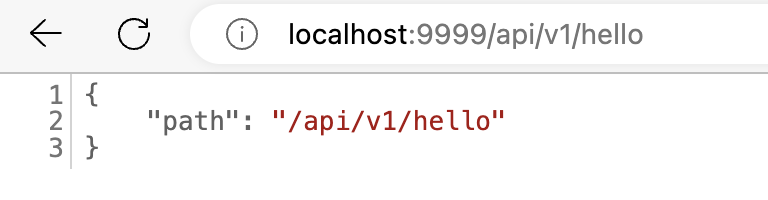
访问 [**http://localhost:9999/api/v1/hello**](http://localhost:9999/api/v1/hello)** **之后,可以看到输出的结果。
上传文件
Gin 同样提供了对上传文件的支持。Gin 支持上传单个文件,也支持同时上传多个文件。
上传单个文件
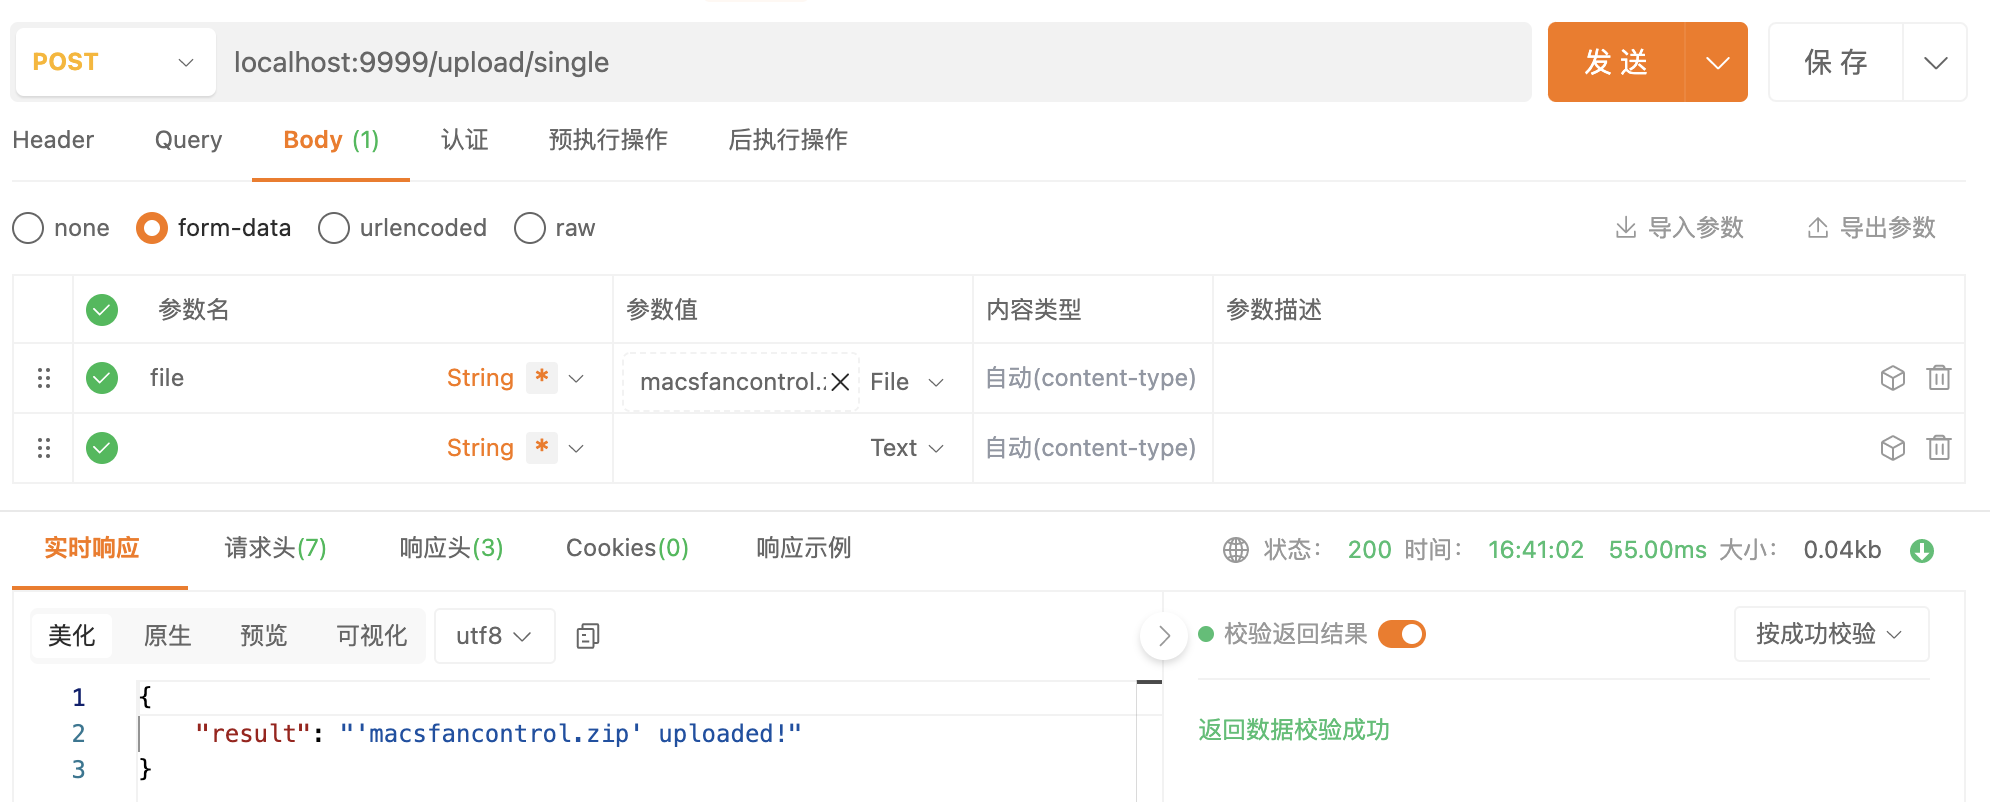
func uploadSingleFile() {
	engine := gin.Default()
	engine.POST("/upload/single", func(context *gin.Context) {
		file, _ := context.FormFile("file")
		// context.SaveUploadedFile(file, file.Filename)
		context.JSON(http.StatusOK, gin.H{
			"result": fmt.Sprintf("'%s' uploaded!", file.Filename),
		})
	})

	_ = engine.Run(":9999")
}
访问 [**http://localhost:9999/upload/single**](http://localhost:9999/upload/single)** **之后,上传文件,可以得到:
控制台输出:

上传多个文件
上传多个文件,处理细节稍微有点不同。
func uploadMultipleFile() {
	engine := gin.Default()
	engine.POST("/upload/multiple", func(context *gin.Context) {
		form, _ := context.MultipartForm()
		files := form.File["file"]

		result := make(map[string]string)

		for _, file := range files {
			// context.SaveUploadedFile(file, file.Filename)
			result[file.Filename] = fmt.Sprintf("'%s' uploaded!", file.Filename)
		}

		context.JSON(http.StatusOK, result)
	})

	_ = engine.Run(":9999")
}
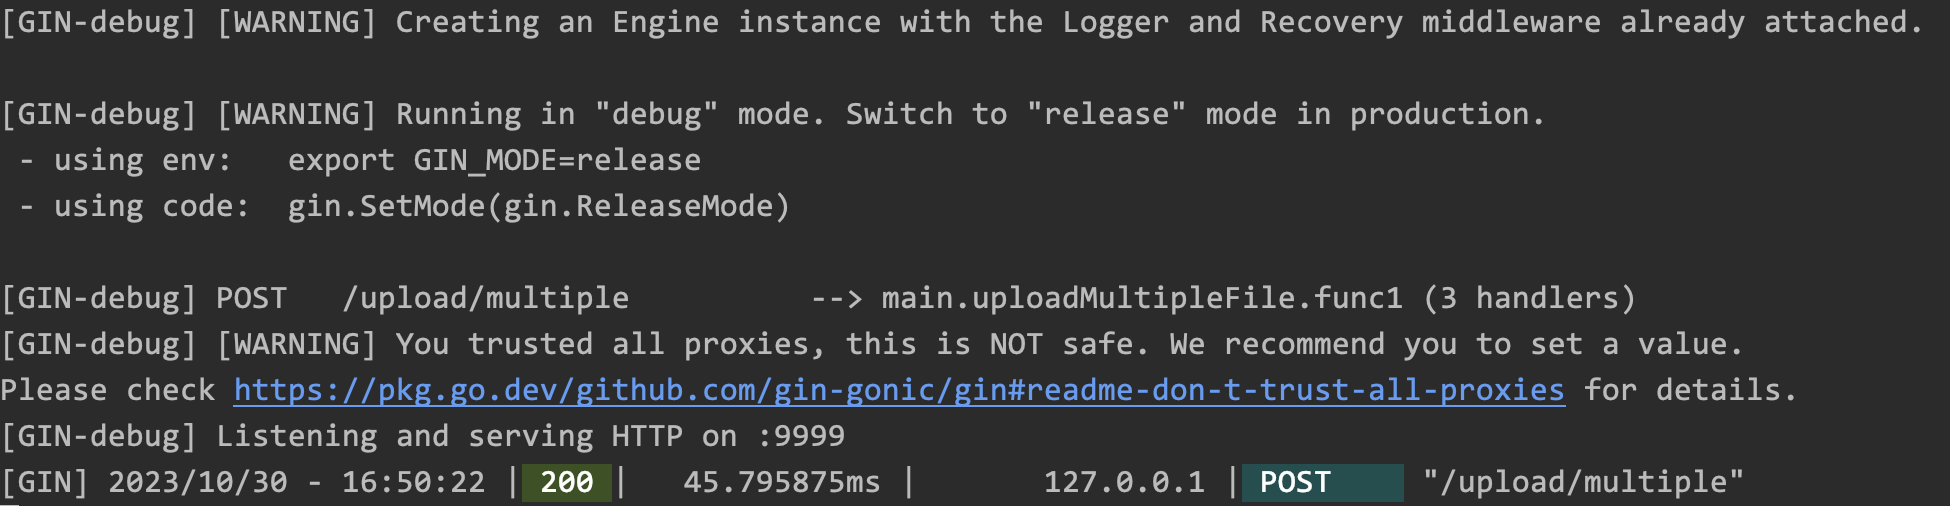
启动之后,同时上传多个 key 为 file 的文件,可以得到:
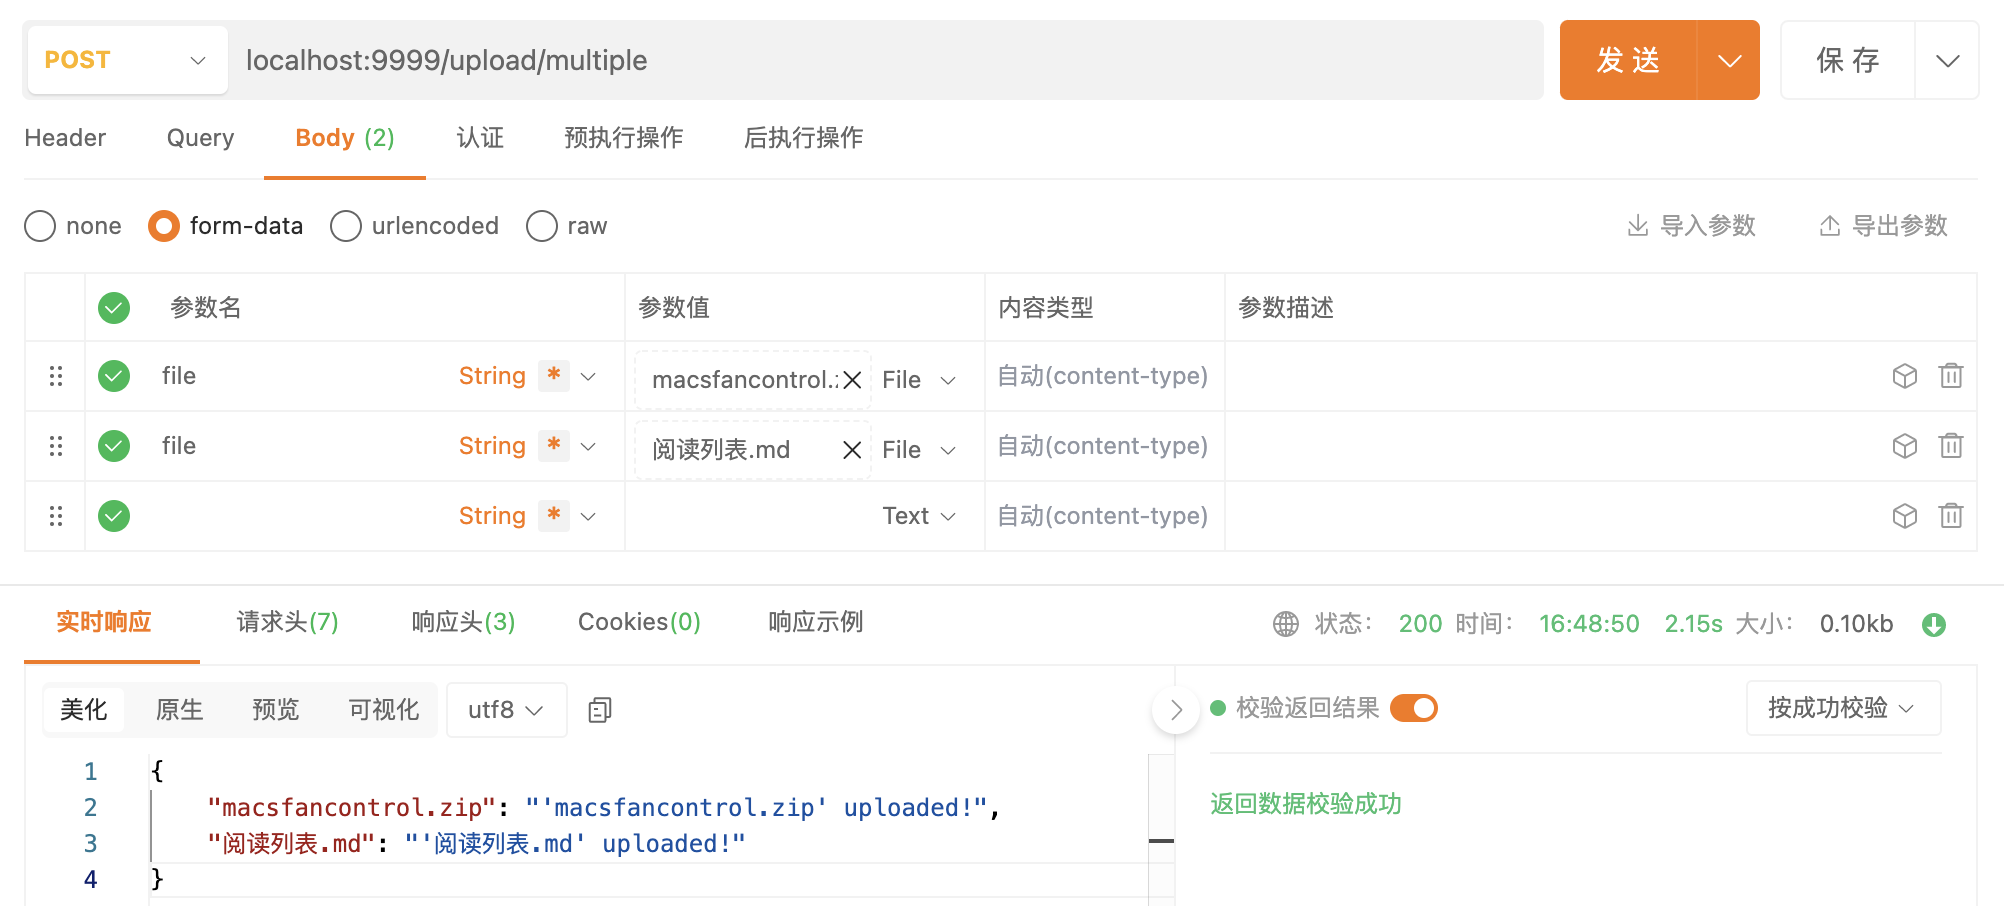
控制台的输出,如下:
HTML 模版 Template
Gin 默认使用模板 Go 语言标准库的模板 text/template 和 html/template,语法与标准库一致,支持各种复杂场景的渲染。参考官方文档 text/template,html/template。
type student struct {
	Name string
	Age  int
}

func htmlTemplate() {
	engine := gin.Default()
	engine.LoadHTMLGlob("/Users/*/GolandProjects/go_study/gin/template/templates/*")

	stu1 := &student{Name: "Real", Age: 18}
	stu2 := &student{Name: "Alice", Age: 18}

	engine.GET("/arr", func(context *gin.Context) {
		context.HTML(http.StatusOK, "arr.tmpl", gin.H{
			"title":  "Gin",
			"stuArr": [2]*student{stu1, stu2},
		})
	})

	_ = engine.Run(":9999")
}
运行之后,访问 [**http://localhost:9999/arr**](http://localhost:9999/arr)** **可以得到运行结果:
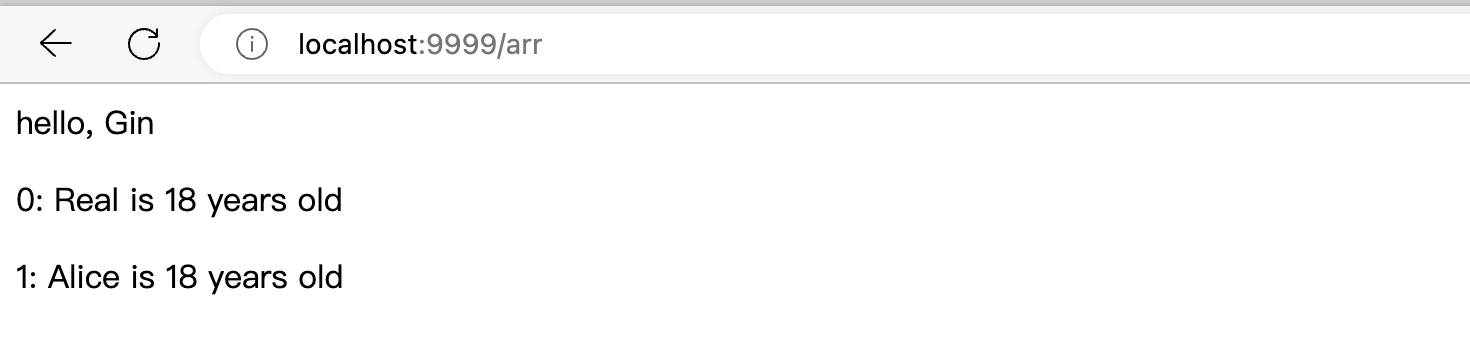
其中,engine.LoadHTMLGlob() 方法中的参数可能访问不到具体的模版,所以需要填写绝对路径。attr.impl 模版文件,内容如下:
<html>
  <body>
    <p>hello, {{.title}}</p> {{range $index, $ele := .stuArr }}
    <p>{{ $index }}: {{ $ele.Name }} is {{ $ele.Age }} years old</p>
    {{ end }}
  </body>
</html>
中间件 MiddleWare
Gin 支持自定义一些中间件。
middleware 可以作用于全局、单个路由、分组路由,适应于不同的场景。
全局
func middlewareGlobal() {
	engine := gin.Default()
	// 作用于全局
	engine.Use(gin.Logger())
	engine.Use(gin.Recovery())

	// 作用于全局
	engine.Use(Logger())

	engine.GET("/hello", func(context *gin.Context) {
		keys := context.Keys
		fmt.Println(keys)
		context.JSON(200, gin.H{
			"message": "hello world",
			"Test":    context.GetString("Test"),
		})
	})

	_ = engine.Run(":9999")
}

func Logger() gin.HandlerFunc {
	return func(context *gin.Context) {
		now := time.Now()
		// 给Context实例设置一个值
		context.Set("Test", "123456")
		// 请求前
		context.Next()
		// 请求后
		latency := time.Since(now)
		log.Print(latency)
	}
}
运行之后的访问效果:

单个路由
func middlewareSingle() {
	engine := gin.Default()
	// 作用于单个路由
	engine.GET("/benchmark", Logger())

	_ = engine.Run(":9999")
}
处理结果类似。

分组路由
func middlewareGroup() {
	engine := gin.Default()

	// 作用于某个组
	authorized := engine.Group("/")
	authorized.Use(AuthRequired())
	{
		authorized.POST("/login", loginEndpoint())
		authorized.POST("/submit", submitEndpoint())
	}

	_ = engine.Run(":9999")
}

func AuthRequired() gin.HandlerFunc {
	return func(context *gin.Context) {
		if context.GetBool("authenticated") {
			context.Next()
		} else {
			context.String(401, "unauthorized")
		}
	}
}

func loginEndpoint() gin.HandlerFunc {
	return func(context *gin.Context) {
		context.String(200, "login")
	}
}

func submitEndpoint() gin.HandlerFunc {
	return func(context *gin.Context) {
		context.String(200, "submit")
	}
}
正常访问,返回的 code 为 401,符合预期。
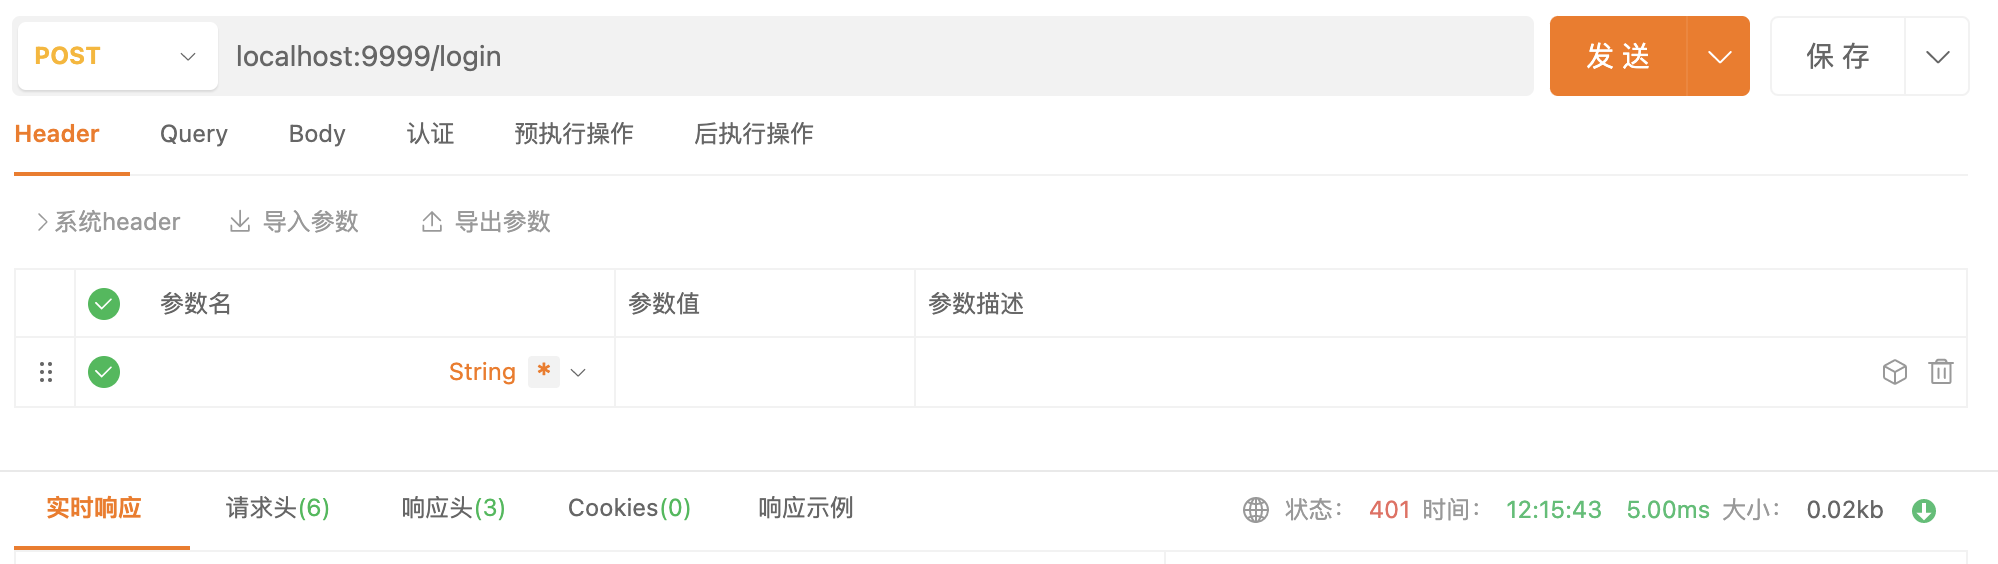
运行结果:

热加载调试 Hot Reload
Python 的 Flask 框架,有 debug 模式,启动时传入 debug=True 就可以热加载(Hot Reload, Live Reload)了。即更改源码,保存后,自动触发更新,浏览器上刷新即可。免去了杀进程、重新启动之苦。
Gin 原生不支持,但有很多额外的库可以支持。例如:
- github.com/codegangsta/gin
- github.com/pilu/fresh
安装 pilu/fresh 依赖,使用:
go get -v -u github.com/pilu/fresh
安装好后,只需要将 go run main.go 命令换成 fresh 即可。每次更改源文件,代码将自动重新编译(Auto Compile)。
Reference
- 极客兔兔 Gin 教程:https://geektutu.com/post/quick-go-gin.html
- 热部署刷新框架:https://github.com/gravityblast/fresh
- Gin 项目托管地址:https://github.com/gin-gonic/gin
- Gin 官方网站:https://gin-gonic.com/


 27万+
27万+


 被折叠的 条评论
为什么被折叠?
被折叠的 条评论
为什么被折叠?
 到【灌水乐园】发言


