


前言
在Spring Framework中分别使用TaskExecutor和TaskScheduler接口提供异步执行和任务调度的抽象。
TaskExecutor主要用来创建线程池用来管理异步定时任务开启的线程,
TaskScheduler用于创建定时任务。
异步线程池
当我们想后台程序在生产过程中产生一些日志同时不影响我们主要功能的执行,我们并不需要看这个日志,只是要产生日志而已。
异步调用则是只是发送了调用的指令,调用者无需等待被调用的方法完全执行完毕。
Spring中存在一个AsyncConfigurer接口,它是一个可以配置异步线程池的接口
- getAsyncExecutor()方法返回一个自定义线程池,开启异步时,线程池就会提供空闲线程来执行异步任务。
- getAsyncUncaughtExceptionHandler()是一个异步异常处理器
- 使用的时候配置类实现AsyncConfigurer接口,实现getAsyncExecutor方法返回的线程池,这样Spring就会将使用这个线程池作为其异步调用的线程。
- @EnableAsync标注配置文件,Spring就会开启异步可用,可用使用注解@Async驱动Spring使用异步调用
@Configuration
@EnableAsync
public class AsyncConfig implements AsyncConfigurer {

    @Override
    public Executor getAsyncExecutor(){
        ThreadPoolTaskExecutor taskExecutor = new ThreadPoolTaskExecutor();
        taskExecutor.setCorePoolSize(8); //核心线程数
        taskExecutor.setMaxPoolSize(16); //最大线程数
        taskExecutor.setQueueCapacity(50); //阻塞队列大小
        taskExecutor.initialize(); //初始化
        return taskExecutor;
    }
}
当我们的方法使用@Async驱动Spring使用异步,使用@Async后就会通过线程池的空闲线程去运行该方法。
public interface AsyncService {
    public void getLog();
}
import org.springframework.scheduling.annotation.Async;
@Service
public class AsyncServiceImpl implements AsyncService{
    @Override
    @Async
    public void getLog() {
        //生成日志
        //存储日志
    }
}
import com.cncodehub.common.lang.Result;
import org.springframework.beans.factory.annotation.Autowired;
import org.springframework.web.bind.annotation.GetMapping;
import org.springframework.web.bind.annotation.RestController;

@RestController
public class AsyncController {

    @Autowired
    private AsyncService asyncService;

    @GetMapping("/page")
    public Result page(){
        //各种操作
        asyncService.getLog(); //产生日志
        return Result.succ200("OK");
    }
}
【Spring实现了一些线程池】
SimpleAsyncTaskExecutor:并不是真正的线程池,默认每次调用都会创建一个新的线程
SyncTaskExecutor:没有实现异步调用
ConcurrentTaskExecutor:不推荐
SimpleThreadPoolTaskExecutor
ThreadPoolTaskExecutor:推荐,对ThreadPoolExecutor的封装类
异步有返回值方法:
    @Async
    public Future<String> getLogAns(int tap){
        log.info("异步执行getLogAns,有返回值");
        Future<String> future;
        try {
            Thread.sleep(1000);
            future = new AsyncResult<String>("finish log "+tap);
        }catch (InterruptedException e){
            future = new AsyncResult<String>("error");
        }
        return future;
    }
虽然Future可以用于描述一个异步计算的结果,但是这个结果值的获取还是得阻塞获取或者轮询。如果阻塞获取其实没意义了,本来想用异步就是为了不阻塞;但是轮询也要考虑CPU资源的消耗问题。
可以使用CompletableFuture。
异步消息
为了给其他系统发送消息,Java引入了JMS(Java Message Service,Java消息服务)。JMS按其规范划分为点对点和发布订阅。
使用RabbitMQ进行异步消息传输:
<!-- RabbitMQ依赖 -->
<dependency>
	<groupId>org.springframework.boot</groupId>
    <artifactId>spring-boot-starter-amqp</artifactId>
</dependency>


@SpringBootApplication
public class ReBublogApplication {
    public static void main(String[] args) {
        ConfigurableApplicationContext run = SpringApplication.run(ReBublogApplication.class, args);
    }

    @Value("${rabbitmq.queue.msg}")
    private String msgQueueName = null;

    @Value("${rabbitmq.queue.user}")
    private String userQueueName = null;

    /**
     * 创建两个消息队列
     */

    @Bean
    public Queue createQueueMsg(){
        //创建字符串消息队列,boolean值代表是否持久化消息
        return new Queue(msgQueueName,true);
    }

    @Bean
    public Queue createQueueUser(){
        //创建用户消息队列
        return new Queue(userQueueName,true);
    }
}
public interface RabbitMqService {
    //发送字符串消息
    public void sendMsg(String msg);

    //发送用户消息
    public void sendUser(User user);
}
@Service
public class RabbitMqServiceImpl implements RabbitMqService, RabbitTemplate.ConfirmCallback {

    @Value("${rabbitmq.queue.msg}")
    private String msgRouting = null;

    @Value("${rabbitmq.queue.user}")
    private String userRouting = null;

    @Autowired
    private RabbitTemplate rabbitTemplate = null;

    @Override
    public void sendMsg(String msg) {
        System.out.println("发送消息:"+msg);
        //设置回调
        rabbitTemplate.setConfirmCallback(this);
        //发送消息
        rabbitTemplate.convertAndSend(msgRouting,msg);
    }

    @Override
    public void sendUser(User user) {
        System.out.println("发送User:"+user);
        rabbitTemplate.setConfirmCallback(this);
        rabbitTemplate.convertAndSend(userRouting,user);
    }

    //回调确认方法
    @Override
    public void confirm(CorrelationData correlationData,boolean ack,String cause){
        if(ack){
            System.out.println("消息成功消费");
        }else {
            System.out.println("消息消费失败:"+cause);
        }
    }
}
@Component
public class RabbitMessageReceiver {
    @RabbitListener(queues = {"${rabbitmq.queue.msg}"})
    public void receiveMsg(String msg){
        System.out.println("收到消息:"+msg);
    }

    @RabbitListener(queues = {"${rabbitmq.queue.user}"})
    public void receiveUser(User user){
        System.out.println("收到User:"+user);
    }
}
@RestController
@RequestMapping("/rabbitmq")
public class RabbitMqController {
    //注入Spring Boot 自定生成的对象
    @Autowired
    private RabbitMqService rabbitMqService = null;

    @GetMapping("/msg")
    public Result msg(@RequestParam String msg){
        rabbitMqService.sendMsg(msg);
        return Result.succ200(msg);
    }

    @GetMapping("/user")
    public Result user(@RequestParam String name){
        User user = new User();
        user.setUsername(name);
        rabbitMqService.sendUser(user);
        return Result.succ200(user);
    }
}


定时任务
有时候我们会有定时的需求,比如每隔几秒钟刷新一下,重新载入缓存等。
在SpringBoot中使用@EnableScheduling和@Scheduled就可以实现这样的功能。
/**
 * 启用 Spring 的计划任务执行功能,类似于 Spring 的<task:*> XML 命名空间中的功能。 要使用@上Configuration类,如下所示:
 *    @Configuration
 *    @EnableScheduling
 *    public class AppConfig {
 *
 *        // various @Bean definitions
 *    }
 * 这可以检测容器中任何 Spring 管理的 bean 上的Scheduled注释
 */

@Configuration
@EnableScheduling
public class ScheduledConfig {
}
下面@Async调用的是最上面定义的线程池里的空闲线程。
@Service
public class NoticeService {
    int count=1;

    @Scheduled(fixedDelay = 2*1000) //每隔一秒执行一次
    @Async //异步执行
    public void job(){
        System.out.println(Thread.currentThread().getName()+"每2秒执行1次,当前为第"+count+"次");
        count++;
    }

    //秒    分    时 天 月 星期 [年]
    @Scheduled(cron = "0 35,36,37 16 * * ?") //每天的16:35 、16:36、16:37 进行提醒
    @Async
    public void noticeJob(){
        System.out.println(Thread.currentThread().getName()+"到点了!快起来");
    }

	@Scheduled(cron = "${sync-notice.cron}")
    @Async
    public void noticeJob2(){
        System.out.println("Job2!!!");
    }
}


原理
以@EnableAsync注解为例


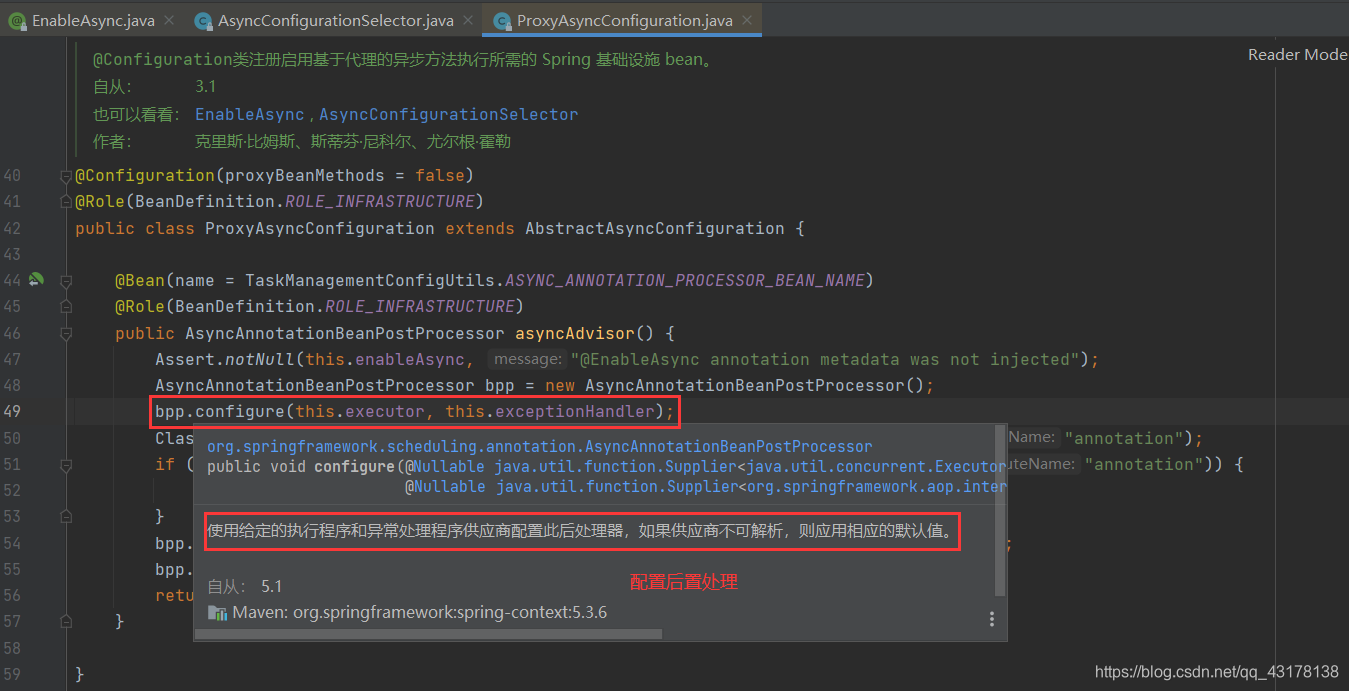
主要还是来看看这个ProxyAsyncConfiguration:
这个配置类的核心就是在于引入了AsyncAnnotationBeanPostProcessor。

不知道BeanPostProcessor是啥的建议去看我另外一篇文章:Spring设计文章-看AOP部分就可以了

 其实上面这段代码总而言之就是要返回一个BeanPostProcessor的子类AsyncAnnotationBeanPostProcessor,把需要的装备配齐。
Spring上下文一定会通过扫描配置类然后获取到这个BeanPostProcessor,它在Bean初始化的前置和后置操作也将被执行。
再来看AsyncAnnotationBeanPostProcessor类本身:

在AsyncAnnotationBeanPostProcessor类的某方法里可以看到有一个检测使用@Async注解的方法或类的方法。
下面应该是给每个有@Async的类或方法的类生成一个有异步方法调用能力的代理对象。

这个AsyncAnnotationAdvisor很关键:
看到下面这些可能会感觉头皮发麻,因为这真的就是AOP


注意这里:

继续追踪

追到了,AsyncExecutionAspectSupport这个异步方法执行方面的基类:


如有谬误欢迎指正。
我觉得这位大佬解读的更好,觉得懵圈的可以看他的文章–>【这是一个链接】
参考书籍:《深入浅出Spring Boot 2.x》


 834
834


 被折叠的 条评论
为什么被折叠?
被折叠的 条评论
为什么被折叠?
 到【灌水乐园】发言


