


springboot3.0配置swagger
1.gradle添加依赖:
implementation "org.springdoc:springdoc-openapi-starter-webmvc-ui:2.2.0"
implementation "org.springdoc:springdoc-openapi-starter-webmvc-api:2.2.0"
2.添加swaggerConfig:
import io.swagger.v3.oas.models.Components;
import io.swagger.v3.oas.models.OpenAPI;
import io.swagger.v3.oas.models.info.Info;
import io.swagger.v3.oas.models.security.SecurityRequirement;
import io.swagger.v3.oas.models.security.SecurityScheme;
import org.springframework.beans.factory.ObjectProvider;
import org.springframework.beans.factory.annotation.Value;
import org.springframework.boot.info.BuildProperties;
import org.springframework.context.annotation.Bean;
import org.springframework.context.annotation.Configuration;
import org.springframework.web.servlet.config.annotation.CorsRegistry;
import org.springframework.web.servlet.config.annotation.WebMvcConfigurer;

import java.util.HashMap;
import java.util.Map;
import java.util.Optional;

@Configuration
public class SwaggerConfig {

    @Bean
    public OpenAPI openApi(@Value("${spring.application.name}") String applicationName, ObjectProvider<BuildProperties> buildProperties) {
        OpenAPI openAPI = new OpenAPI();
        // add header
        Map<String, SecurityScheme> map = new HashMap<>();
        map.put("x-auth-token", new SecurityScheme().type(SecurityScheme.Type.APIKEY).in(SecurityScheme.In.HEADER).name("x-auth-token"));
        openAPI.components(new Components().securitySchemes(map));
        map.keySet().forEach(key -> openAPI.addSecurityItem(new SecurityRequirement().addList(key)));

        // base info
        openAPI.info(new Info().title(applicationName)
                .description("服务名称")
                .version(Optional.ofNullable(buildProperties.getIfAvailable()).map(BuildProperties::getVersion).orElse("1.0.0")));
        return openAPI;
    }
}
微服务聚合swagger API文档
如果你用的是微服务架构,springCloud的openfeign,api不全是写在gateway还有其他服务的话,又不想开多个端口或者打开多个页面查看swagger API文档,需要做聚合API文档,可以只开放gateway服务的端口并且可以请求和查看其他服务的API。
application.yml
server:
  port: 8080

spring:
  application:
    name: api-gateway
  cloud:
    gateway:
      routes:
        - id: user-service
          uri: lb://user-service
          predicates:
            - Path=/user/**
          filters:
            - RewritePath=/user/(?<path>.*), /$\{path}
        - id: document-service
          uri: lb://document-service
          predicates:
            - Path=/document/**
          filters:
            - RewritePath=/document/(?<path>.*), /$\{path}
        - id: openapi
          uri: http://localhost:${server.port}
          predicates:
            - Path=/v3/api-docs/**
          filters:
            - RewritePath=/v3/api-docs/(?<path>.*), /$\{path}/v3/api-docs

springdoc:
  swagger-ui:
    urls:
      - name: document
        url: /v3/api-docs/document
      - name: user
        url: /v3/api-docs/user
如果需要配置api 的路由,和swagger的路由规则区分,比如user,可以在path后面添加以/api为前缀的路由
- id: user-service
  uri: lb://user-service
  predicates:
    - Path=/user/**,/api/user/**
  filters:
    - RewritePath=/user-routes/(?<path>.*), /$\{path}

后面还会有一个问题,比如我在8080端口打开的swagger文档,去请求8083端口的user-service,会有个跨域的问题:
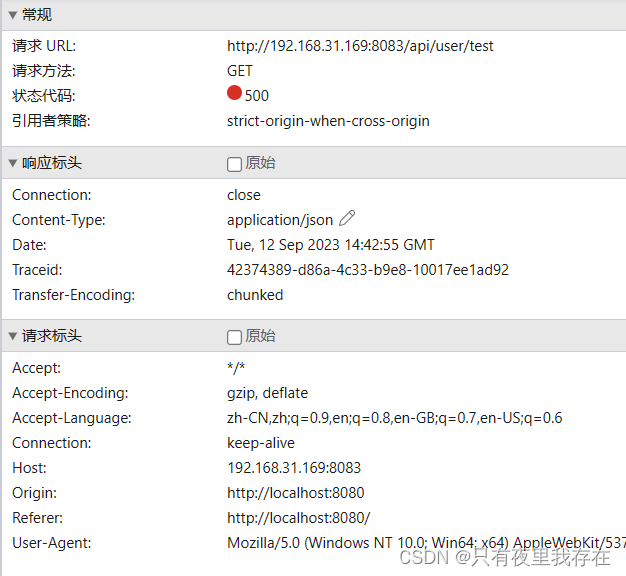
有两种方式可以解决:
- 配置允许跨域:
SwaggerConfig继承WebMvcConfigurer
@Configuration
public class SwaggerConfig implements WebMvcConfigurer{...}
然后里面添加一个重写的function:
 //Allow CORS requests
 @Override
 public void addCorsMappings(CorsRegistry registry) {
     registry.addMapping("/api/**")
             // .allowedOrigins("http://localhost:8080")
             .allowedOriginPatterns("*")
             .allowedMethods("*")
             .allowedHeaders("*")
             .allowCredentials(true);
 }
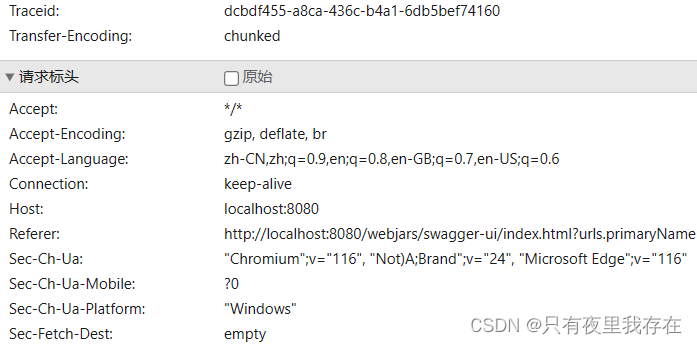
- 修改application.yml
添加server.forward-headers-strategy: framework 配置
server:
  port: 8083
  forward-headers-strategy: framework
然后启动的swagger文档,请求的都是8080端口了,不会出现跨域问题。
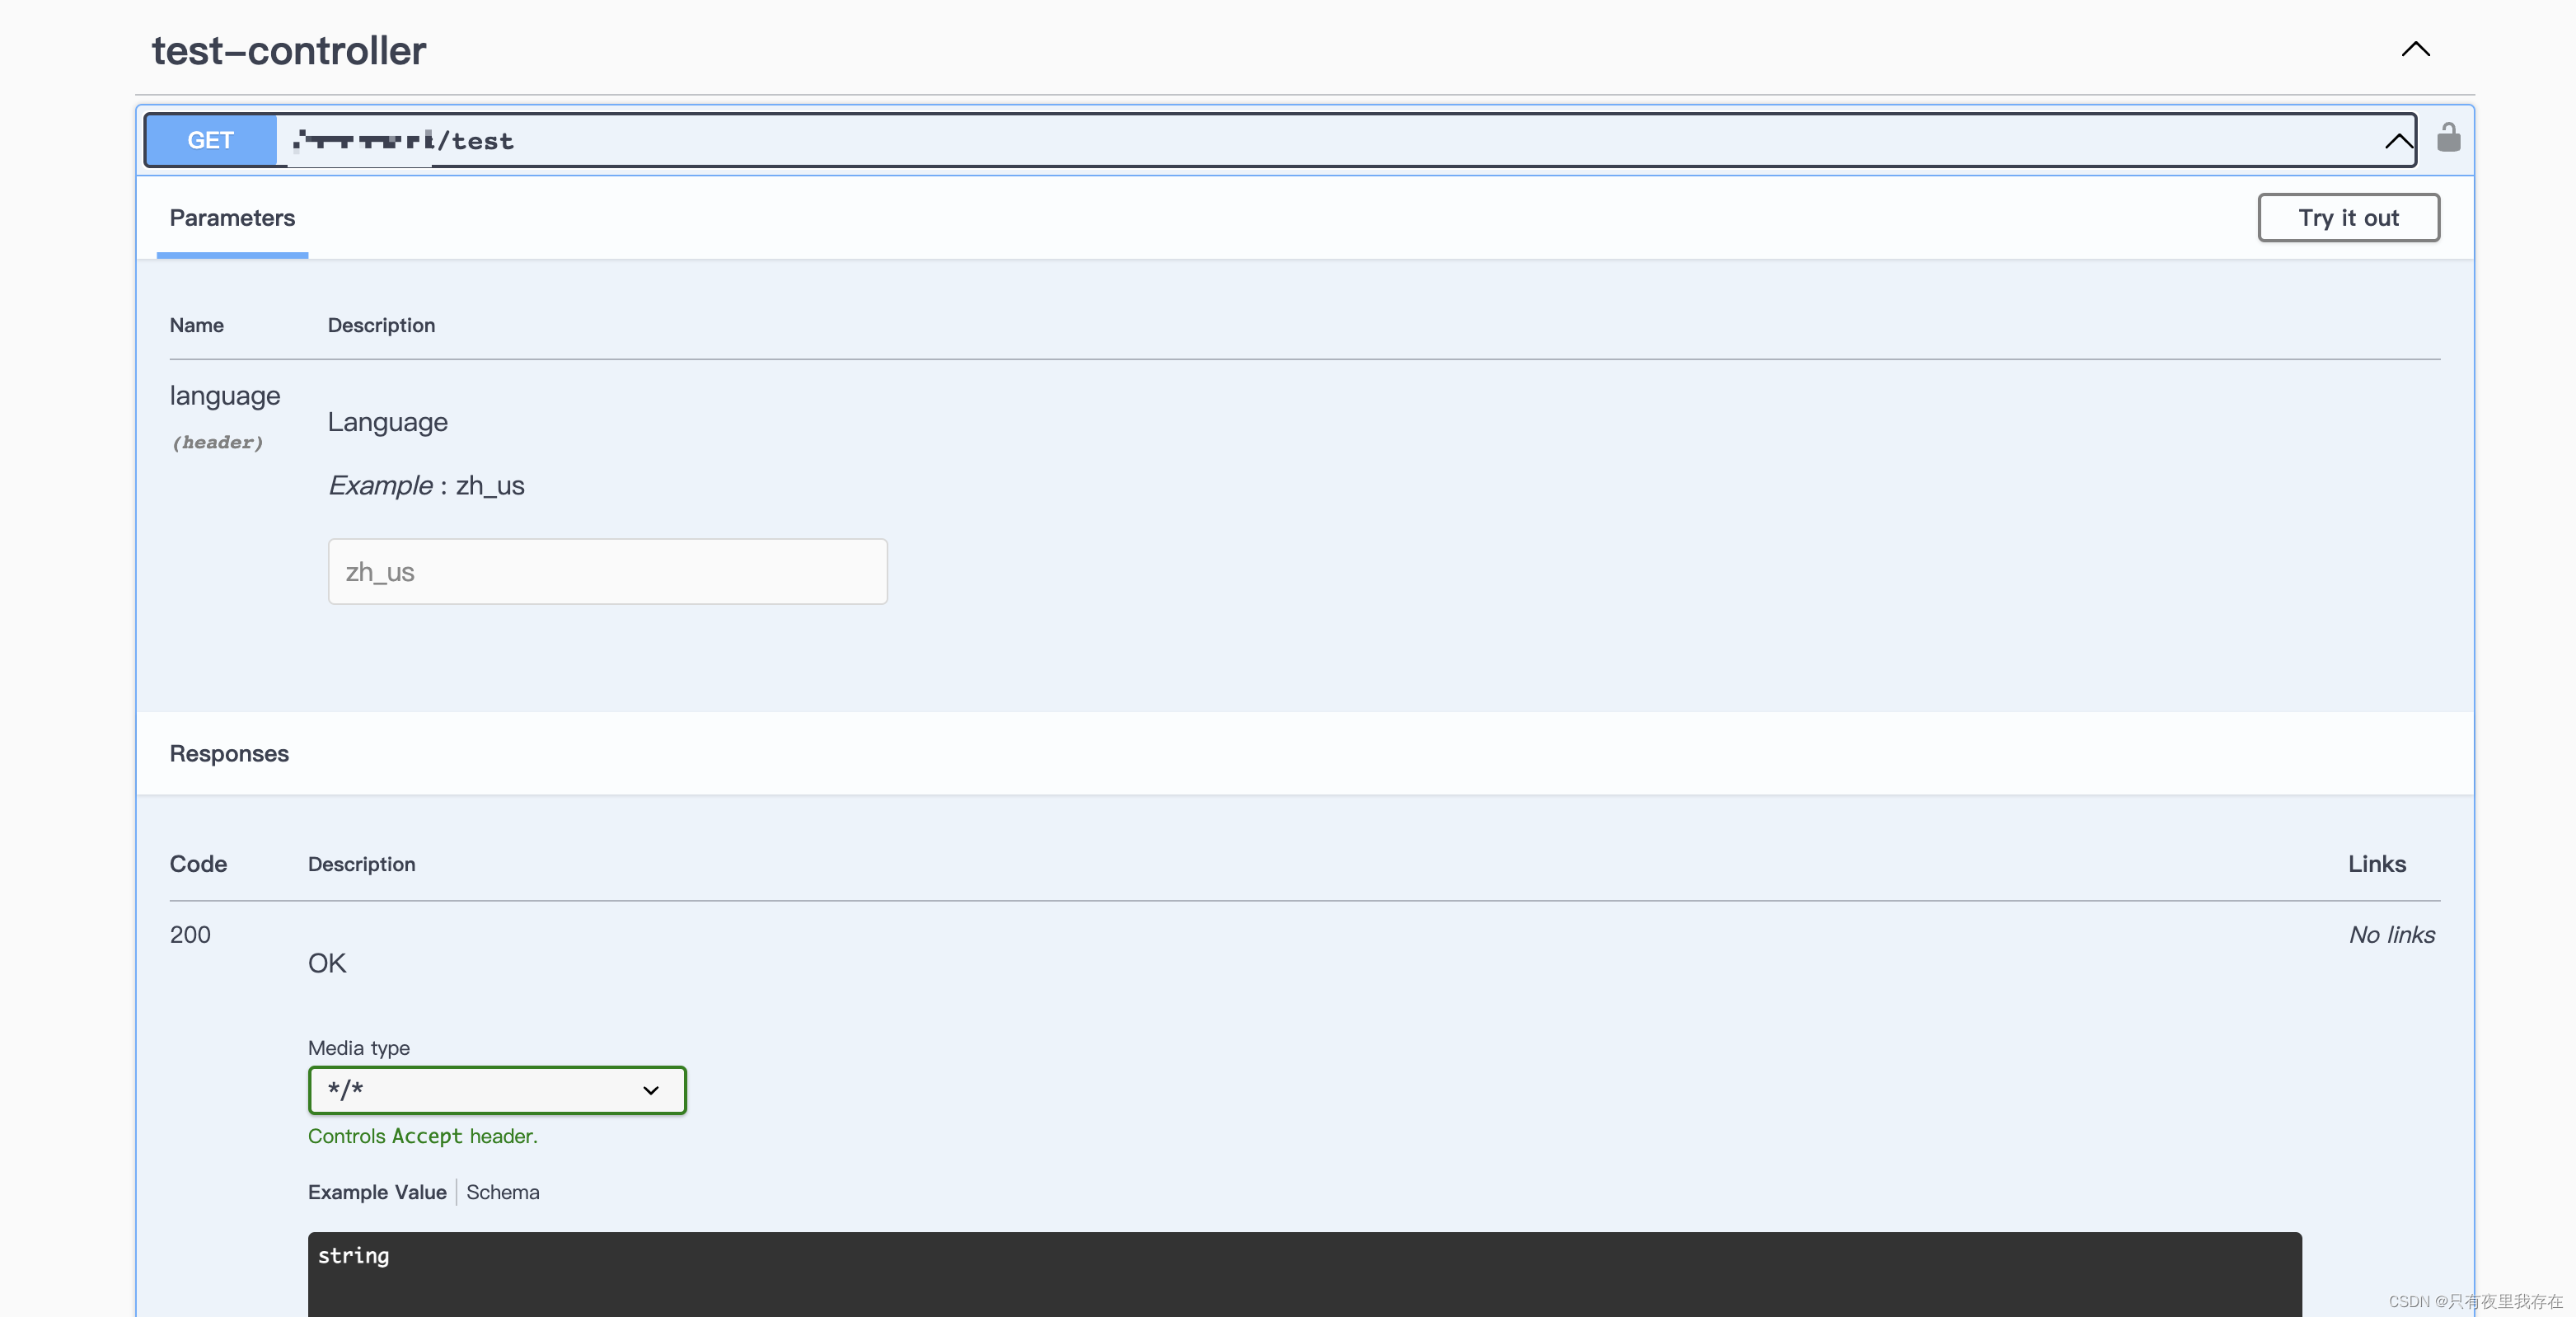
如果还想添加自定义的全局header参数,可以在SwaggerConfig添加一个配置,比如我想添加一个language
 @Bean
 public OperationCustomizer customizeHeaderParameter() {
     return (operation, handlerMethod) -> {
         List<Parameter> parameters = new ArrayList<>();
         parameters.add(new Parameter()
                 .name("language")
                 .description("Language")
                 .in(ParameterIn.HEADER.toString())
                 .required(false).example("zh_us"));
         operation.setParameters(parameters);
         return operation;
     };
 }


 1635
1635

 被折叠的 条评论
为什么被折叠?
被折叠的 条评论
为什么被折叠?
 到【灌水乐园】发言


